Remember how as a child you could spend hours watching the sun slowly crawl across the sky, casting whimsical shadows on the grass. Time flowed unnoticed, filled with adventures and discoveries. What if we add a little bit of nature’s magic to this and create a real, living mechanism in your garden that will mark the days and hours? Flowers that open at dawn and close by evening can become not just decoration, but a real clock. The idea, it seems, is a bit fairy-tale-like, but quite achievable! Let’s transform an ordinary garden plot into a place where time dances to the rhythm of blooming buds.
Why Flower Clocks Are Needed in the Garden: An Idea for Original Decor
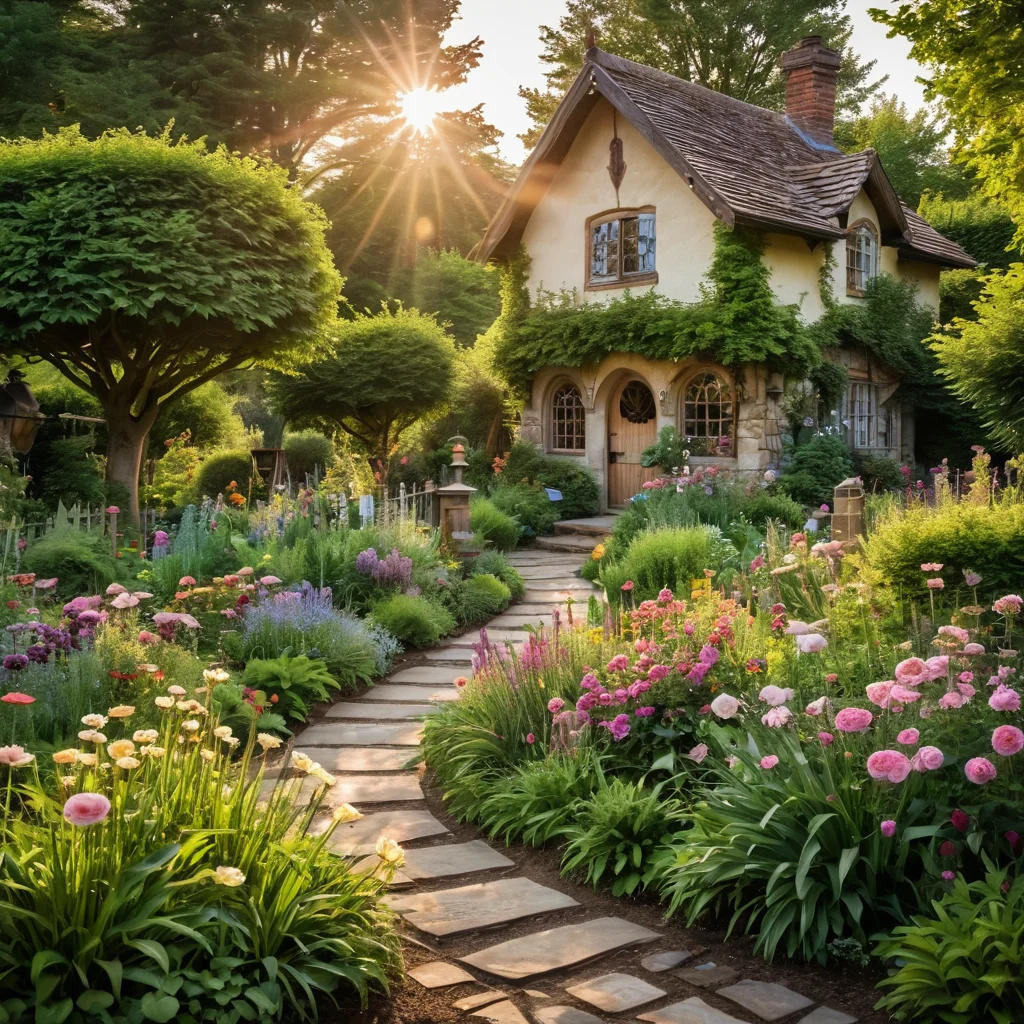
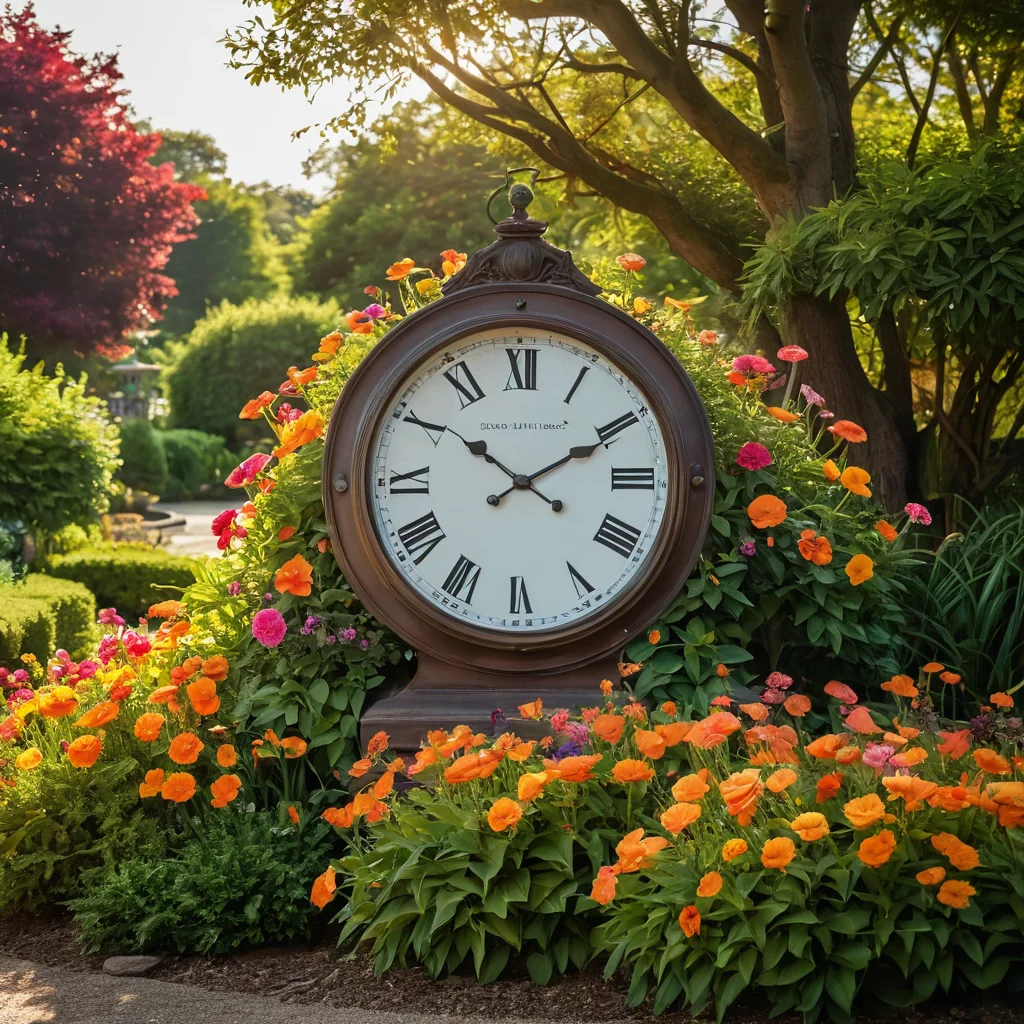
Imagine: guests come to your garden, and the first thing that catches their eye is not just a flowerbed, but a real work of art that also tells time! Flowers planted in the form of a dial change their appearance throughout the day, reminding us of the relentless march of time, but they do it so beautifully that you want to freeze and admire. This is not just garden decor, it’s a whole philosophy. Flower clocks are:
- An original highlight of your plot. Such a solution will definitely not leave anyone indifferent and will become an object of admiration.
- A living time indicator. By observing the opening and closing buds, you can approximately determine the time of day, which is especially interesting for children.
- An opportunity to express creativity. You can choose any plants, create any design – from a classic dial to abstract shapes.
- An element that unites different garden zones. Flower clocks can become a central element to which paths lead, or a finishing touch in a landscape composition.
- Eco-friendly and natural decor. Instead of plastic figures or metal structures – living plants that please the eye and bring benefits (for example, attracting bees and butterflies).
- An interesting project for the whole family. Creating and caring for flower clocks can be an engaging joint activity.
Believe my experience, such a composition in the garden is not just beautiful, it is also very inspiring. It’s a way of saying: ‘My garden is a living space, filled with meaning and beauty’.
Types of Flower Clocks: From Simple to Complex Structures
When we talk about flower clocks, not everyone imagines the same structures. In fact, there are many options, from the most basic to quite intricate. The choice depends on your desires, skills, and, of course, the size of the plot.
The simplest options:
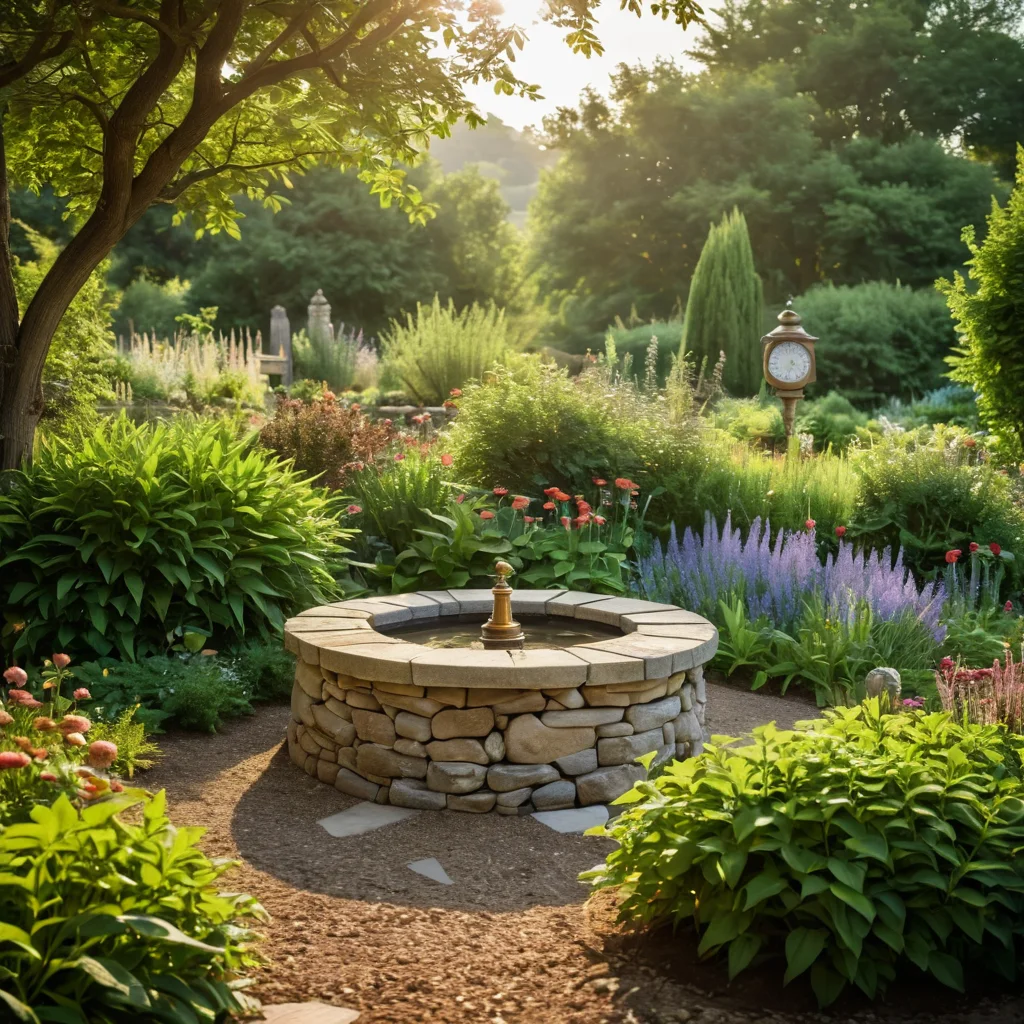
- A round flowerbed with markings. This is perhaps the most accessible method. A round flowerbed is formed, and then hourly markings are indicated using gravel, decorative stones, or simply furrows in the ground. A small decorative element or even a real, but very simple, moisture-protected clock mechanism can be placed in the center.
- Sun clock. This is even simpler. You only need a small area of land where you plant, for example, a single row of low-growing flowers in a circle. A stake is inserted into the center (or an existing vertical plant is used), which casts a shadow. You can tell the time by the shadow of this stake.
More complex structures:
- Multi-tiered flowerbeds. Here, various stands, tiers, and sometimes even old cartwheels or car tires are used, placed one above the other. Plants are planted on each tier, creating a volumetric dial.
- Clocks with a real mechanism. For the most daring and technically savvy. This can be a full-fledged garden mechanism hidden in a decorative casing, or even just hands fixed on a pole, which you will manually move, orienting yourself by the sun or real time. Of course, this option requires more effort and attention to detail.
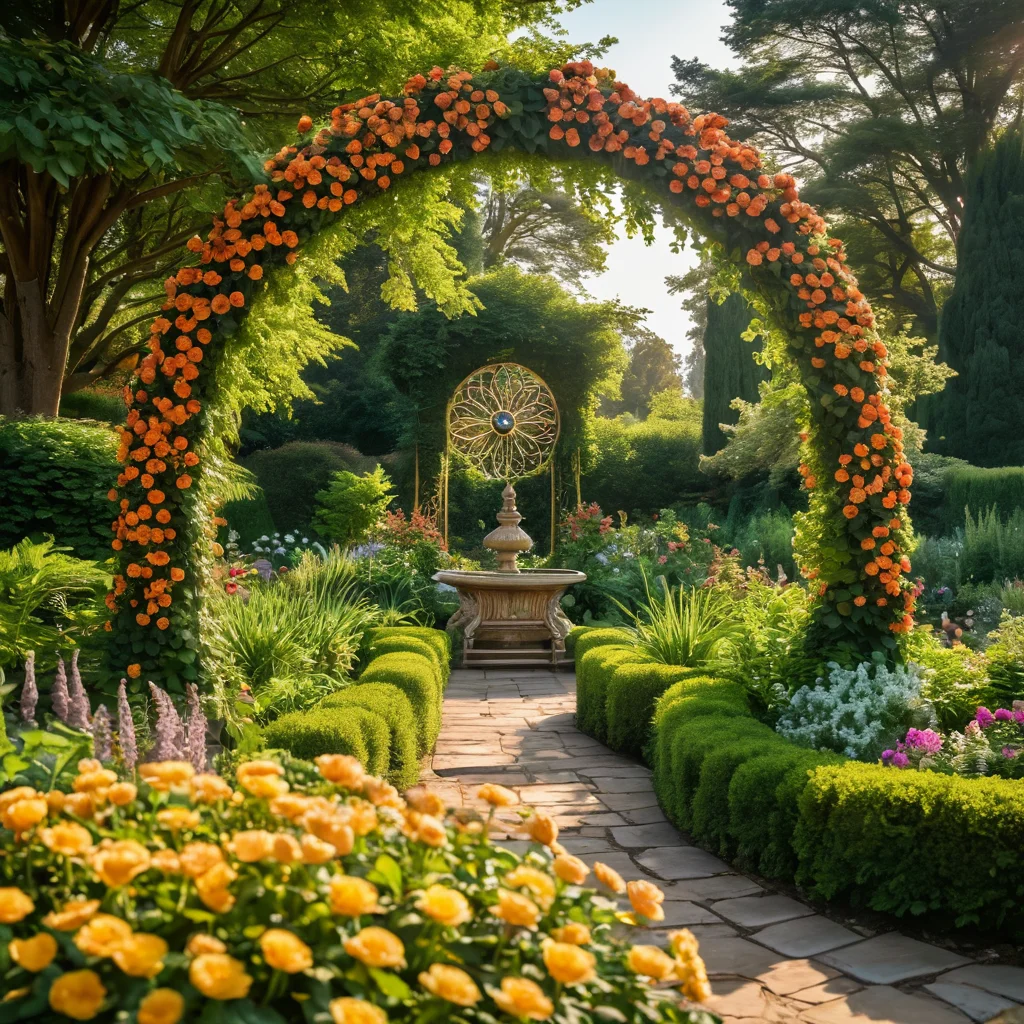
- Sculpture clocks. When flower clocks become part of a larger decorative composition. For example, the dial can be integrated into a stone wall, or the hands can be made of decorative elements entwined with climbing plants.
I always advise starting with the simple. If you are a beginner, try making a regular round flowerbed with markings. Feel how great it is to see your garden come alive and become interactive. And then, when you feel confident, you can tackle more ambitious projects.
Choosing a Location for Flower Clocks: Lighting and Access
The right location is half the battle in creating any garden composition, and flower clocks are no exception. It determines how long and beautifully your plants will bloom, and how easy it will be for you to care for them. Let’s look at what to pay attention to.
Lighting is the main factor:
- Sun, sun, and more sun! Most of the flowers we will use to create bright dials love sunlight. Therefore, the ideal place is a well-lit area. Make sure that at least 6-8 hours of direct sunlight fall on the chosen spot during the day.
- Avoid deep shade. If the place is too shady, your plants will stretch, bloom poorly, or refuse to bloom at all. Some flowers can grow in partial shade, of course, but to create a bright and dynamic dial, it’s better to choose the most light-loving species.
- Morning sun is a bonus. It’s especially nice when the spot is well lit by the morning sun. This will help the flowers open earlier, and you can enjoy their beauty sooner.
Accessibility and visibility:
- Visibility from different points. Flower clocks are a decorative element that should be clearly visible. Choose a place from which it will be well viewed from different points of the garden: from the terrace, from the house window, from the main path.
- Ease of care. Think about how you will water, weed, and care for the plants. The place should be easily accessible. If you plan to use real clock mechanisms, make sure they are easily accessible for maintenance.
- Proximity to water sources. If possible, place the flower clock near a water tap or garden hose. This will significantly facilitate regular watering.
- Protection from wind. Strong winds can damage delicate flowers and even shift the structure. If your area is often windy, consider some protection – for example, plant low shrubs around it or install a decorative fence.
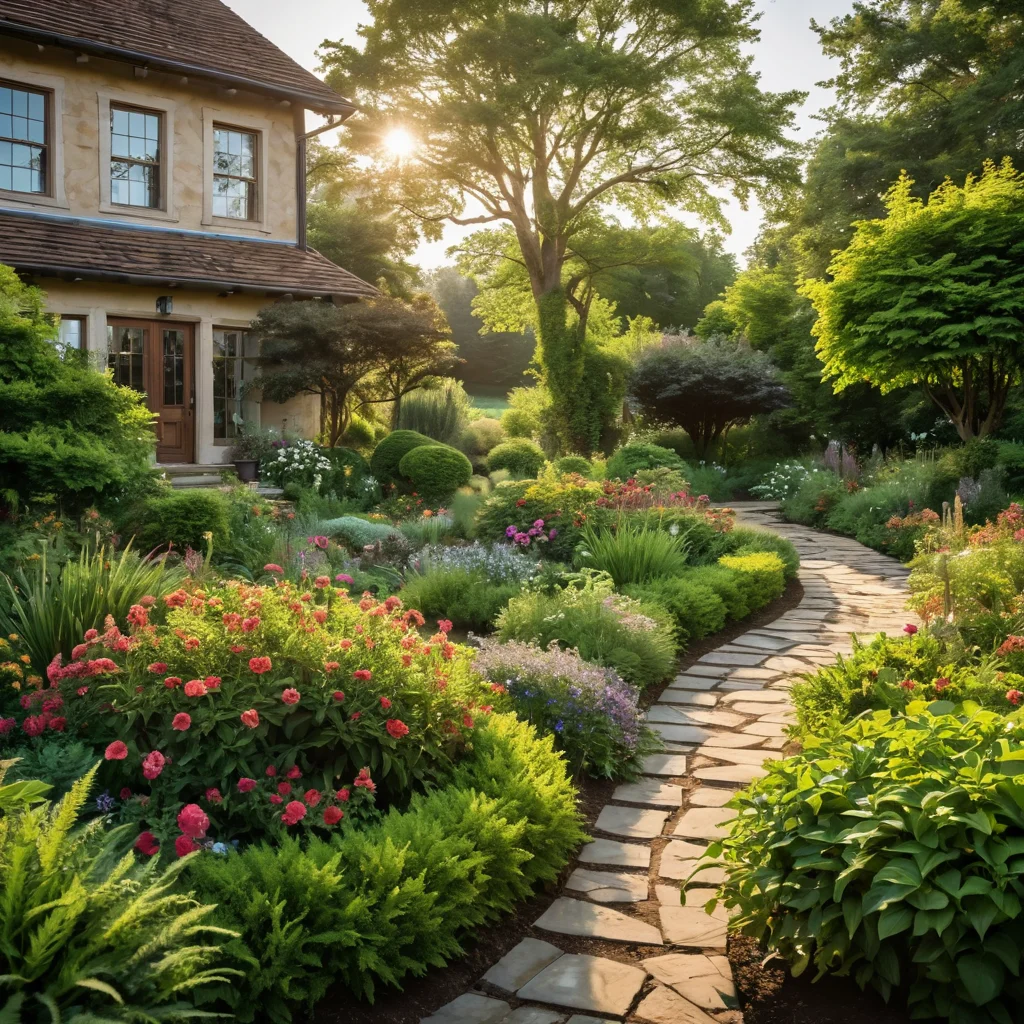
I prefer to place flower clocks in an open, well-visible area so that they become a real garden dominant. This can be central glades, intersections of paths, or even just a platform near the house.
Materials and Base for Flower Clocks: Choosing a Reliable Structure
The base is the skeleton of our future flower clock. Its reliability and durability determine how long the entire structure will last and how neat it will look. Let’s look at the materials and methods for creating a base.
Classic option – an earth flowerbed:
- Forming a round flowerbed. This is the simplest and most budget-friendly option. You will need to dig a flowerbed of the desired diameter and give it a round shape.
- Marking the dial. In this case, it is important to clearly define the boundaries of the flowerbed and the places for the hourly markings. For this, the following are excellent:
- Low border stones or bricks.
- Decorative gravel or crushed stone.
- Metal tape or special garden edging.
- Wooden bars, treated with an antiseptic.
- Soil preparation. The inner space of the flowerbed should be well prepared: remove weeds, dig it up, add compost or fertile soil. Loosen the soil well.
Structures made from improvised materials:
- Old car tires. They can be painted in bright colors and used as a base, placed one above the other or in a row.
- Plastic or metal containers. Large pots, basins, even old buckets can serve as a base into which plants can be planted.
- Wooden boxes or pallets. They can be used to build multi-tiered structures. The main thing is to treat the wood well against rot.
- Old cartwheels or bicycle wheels. They will give your clock a vintage charm.
More complex structures:
- Metal frame. If you want to create a more durable and complex shape, you can contact specialists or weld a metal frame of the desired shape yourself.
- Stone or brick structures. This is a capital solution that will require more effort but will last for many years. You can lay the base from stones, bricks, creating the desired shape and relief.
What to consider when choosing a base:
- Size. Choose the size of the base based on the scale of your garden and the intended design.
- Durability. Preference should be given to materials resistant to moisture and temperature fluctuations.
- Aesthetics. The material of the base should harmonize with the overall style of your plot.
In my experience, even the simplest improvised materials, like old tires or wooden boxes, can look very stylish if painted and decorated correctly. The main thing is your imagination!
Choosing Plants for Flower Clocks: How to Create Bright Dials
The most magical stage is choosing the flowers! It is they who will turn an ordinary flowerbed into a living, ticking dial. For your flower clocks to be pleasing to the eye, it is important to select plants that meet certain criteria. The main thing is that they bloom beautifully and grow well in your chosen conditions.
Plant selection criteria:
- Flower size and shape. To create clear dial lines, it’s better to choose plants with small, uniform flowers. Large flowers can create indistinct spots.
- Blooming time. Ideally, your chosen plants should bloom simultaneously or sequentially throughout the season.
- Plant height. For hourly markings, it’s better to use low-growing plants so they don’t shade each other and create ‘bumps’. For the central part or to indicate ’12’, you can choose taller plants.
- Color scheme. Your imagination is unlimited here! You can use contrasting colors to indicate numbers and background, or create smooth transitions.
- Resistance to conditions. Consider the lighting, soil type, and climate of your region.
Examples of plants for flower clocks:
- To indicate ’12’, ‘3’, ‘6’, ‘9’:
- Ornamental grasses (e.g., sedge, blue-eyed grass) – create textured accents.
- Low shrubs (e.g., boxwood, spirea) – for more solid structures.
- Large annuals (e.g., zinnia, dahlias) – if you want bright accents.
- For numbers and dial lines:
- Low-growing annuals:
- Alyssum (white, pink, purple) – creates a delicate, fragrant cloud.
- Lobelia (blue, light blue, white) – for bright blue lines.
- Pansies – variety of colors, overwinters well in southern regions.
- Ageratum – for creating blue or purple spots.
- Marigolds – bright orange and yellow shades.
- Low-growing perennials:
- Dianthus deltoides – dense cushions with small flowers.
- Thyme – fragrant, low-growing, with small flowers.
- Sedum – a succulent that holds its shape well.
- Ground cover plants:
- Mint – fragrant, spreads quickly, but requires control.
- Phlox subulata – creates bright colored carpets.
- Low-growing annuals:
- To fill the background (inner space of the dial):
- Lawn grass – the simplest option.
- Low-growing trailing plants (e.g., petunias) – to create a volumetric effect.
- Ornamental cabbage – interesting texture and color.
My advice: don’t be afraid to experiment! I often use combinations of annuals and perennials. For example, I plant hardy perennials along the perimeter, and bright annuals inside, which I change every year to refresh the composition. Try using plants that only open their buds at a certain time of day – this will add ‘magic’ to the clock.
Step-by-Step Instructions: How to Make Flower Clocks Yourself
So, we’ve come to the most interesting part – creating our flower clocks. Don’t be intimidated if this is your first project of this kind. I will try to describe each step in as much detail as possible so that you succeed!
Step 1: Planning and Design Selection
- Determine the location. As we’ve already discussed, it should be a sunny, well-visible spot.
- Choose the type of clock. Decide which option you prefer: a simple flowerbed, a tire structure, or something more complex.
- Draw a sketch. Make a simple sketch of your future clock: determine the diameter, where the numbers will be located, the hands (if planned), the central part.
- Select plants. Based on your sketch and the conditions on the plot, choose plants.
Step 2: Preparing the Base
- Mark the area. Use stakes and string to mark the boundaries of your future dial.
- Prepare the soil. If it’s an earth flowerbed, dig it to the depth of a shovel blade, remove all weed roots, add compost or humus. Loosen the soil well.
- Assemble the structure (if using tires, boxes, etc.). Paint them if necessary. Place them in the chosen location. Make sure the structure is stable.
- Mark the hourly points. If it’s an earth flowerbed, lay the border of the flowerbed and the lines leading to the numbers with border stones, bricks, or gravel. If you are making a clock on a base (e.g., from tires), you can use paint for marking.
- Create a central element (if needed). This could be a stake for a sundial, a decorative stone, or a place for a large plant.
Step 3: Planting Plants
- First, plant the ‘numbers’ or main elements. For example, plants for ’12’, ‘3’, ‘6’, ‘9’ or markings for the hour lines.
- Then, plant the plants to fill the dial. If it’s a lawn, sow grass. If it’s low-growing flowers, plant seedlings or seeds.
- Maintain spacing. Consider that the plants will grow. Don’t plant them too densely.
- Water. After planting, all plants must be well watered.
Step 4: Final Touches
- Install the hands (if any). If you decide to use real hands, fix them on the central pole.
- Add decor. You can arrange decorative stones, small figurines, or other elements that complement your composition.
- Check everything. Make sure all elements are securely fastened and the plants are well-rooted.
My main advice: Don’t strive for perfection from the first try. The most important thing is to start. In the process, you will understand yourself what can be improved, how to do better. And remember that a garden is a living organism that will change with you.
Caring for Flower Clocks: Watering, Fertilizing, and Pest Protection
Flower clocks are not only a beautiful creation but also a living organism that requires care. To ensure they delight you with their beauty and accuracy (within the floral understanding of time!) for a long time, you need to follow a few simple rules.
Regular watering:
- The main rule is moderation. Overwatering is as harmful as underwatering. Rely on the condition of the soil: it should be moist, but not soggy.
- The best time for watering is morning or evening. At these times, the sun is not as active, and moisture does not evaporate as quickly.
- Water at the root. Try not to get water on the leaves and flowers to avoid burns and fungal diseases.
- Watering depth. It is important that moisture penetrates deep enough for the plant roots to receive the necessary nutrition.
Fertilizing:
- Nutrition for growth and flowering. Flowers planted densely quickly deplete the soil. Therefore, regular fertilization is necessary.
- Types of fertilizers. Use complex mineral fertilizers for flowering plants. You can alternate mineral and organic fertilizers (e.g., cow manure infusion or compost).
- Frequency. Fertilization is usually done once every 2-3 weeks during the period of active growth and flowering.
- Follow the instructions. Always read the instructions on the fertilizer packaging and follow the dosage to avoid harming the plants.
Weeding and loosening:
- Weed control. Weeds are the main competitors of your flowers for light, water, and nutrients. Remove them regularly.
- Loosening the soil. After watering and rain, the top layer of soil can become compacted. Gently loosen it to ensure air access to the roots.
Pest and disease protection:
- Regular inspection. Carefully inspect plants for pests (aphids, spider mites) or signs of diseases (spots on leaves, wilting).
- Prevention. Adhering to agricultural practices (proper watering, fertilization, choosing resistant varieties) is the best prevention.
- Control. If problems are detected, use appropriate insecticides or fungicides. You can also use folk remedies (e.g., soapy water, garlic infusion).
Pruning and shaping:
- Removing faded buds. This stimulates the formation of new flowers and gives the flowerbed a neat appearance.
- Formative pruning. Some plants may require regular pruning to maintain their shape and compactness.
Believe me, caring for flower clocks is no more difficult than caring for a regular flowerbed. It just requires a little more attention and regularity. But the result is worth it!
Common Mistakes When Creating Flower Clocks and How to Avoid Them
Creating flower clocks is a fascinating process, but like any creative endeavor, mistakes can be made. I’ve compiled the most common ones for you so you can avoid them and create a truly magical composition.
Mistake 1: Incorrect Location Choice
- Problem: Choosing a too shady spot, or a place where plants will suffer from drafts.
- Consequences: Plants stretch, bloom poorly, lose their decorative appeal.
- Solution: Carefully choose a location, considering the plants’ lighting requirements. Ideally, a well-lit area.
Mistake 2: Unsuitable Plants
- Problem: Choosing plants with different heights, growth rates, or not suitable for your climate.
- Consequences: Taller plants shade shorter ones, some flowers die off quickly, others grow and ‘eat up’ space.
- Solution: Select plants with similar lighting and moisture requirements. Try to use low-growing, compact varieties to create a clear dial.
Mistake 3: Neglecting Soil Preparation
- Problem: Planting in unprepared, compacted soil.
- Consequences: Plants take root poorly, develop weakly, and get sick more often.
- Solution: Before planting, thoroughly dig up the soil, remove weeds, and add compost or fertile soil.
Mistake 4: Overcrowding
- Problem: The desire to make the composition as dense as possible, planting plants too close to each other.
- Consequences: Plants compete for resources, poor ventilation, which can lead to fungal diseases.
- Solution: Maintain the recommended spacing between plants. It’s better to plant fewer but give them the opportunity to develop fully.
Mistake 5: Insufficient or Excessive Watering
- Problem: Watering “by eye,” without considering weather conditions and plant needs.
- Consequences: Plants drying out from under-watering, root rot from over-watering.
- Solution: Regularly check soil moisture. Water thoroughly, but avoid waterlogging.
Mistake 6: Neglecting Care
- Problem: Creating the clock and leaving it “to its own devices.”
- Consequences: Loss of decorative appeal, overgrowth with weeds, development of diseases.
- Solution: Regularly weed, loosen, fertilize, and inspect plants.
My main advice: Don’t be afraid of mistakes! Mistakes are part of learning. If something goes wrong, don’t despair. It can always be corrected, replanted, replaced. The most important thing is to keep creating and enjoy the process. Flower clocks are not just a flowerbed, they are a small piece of your heart, brought to life on earth. And in this lies their main magic!