
Greetings, dear friends! There is something special in every home that makes it not just a place to live, but a true home, full of warmth and coziness. And often, it’s the little things that create this feeling. Today, we’ll talk about one such little thing – a street name and house number sign. It’s not just a pointer; it’s the first greeting for your guests, the business card of your dwelling, a small touch that adds individuality and completeness to the image.
Street Name Sign: A Greeting for Home and Guests ✨
Imagine how pleasant it is for your guests to see a neat, beautiful sign that immediately directs them to the right house. And how it delights your own eyes when you return home after a long day! A sign is not only practical but also very soulful. It creates an atmosphere of hospitality and coziness, emphasizes your taste and attention to detail. And, of course, it’s a great opportunity to express your creativity and make something unique with your own hands.
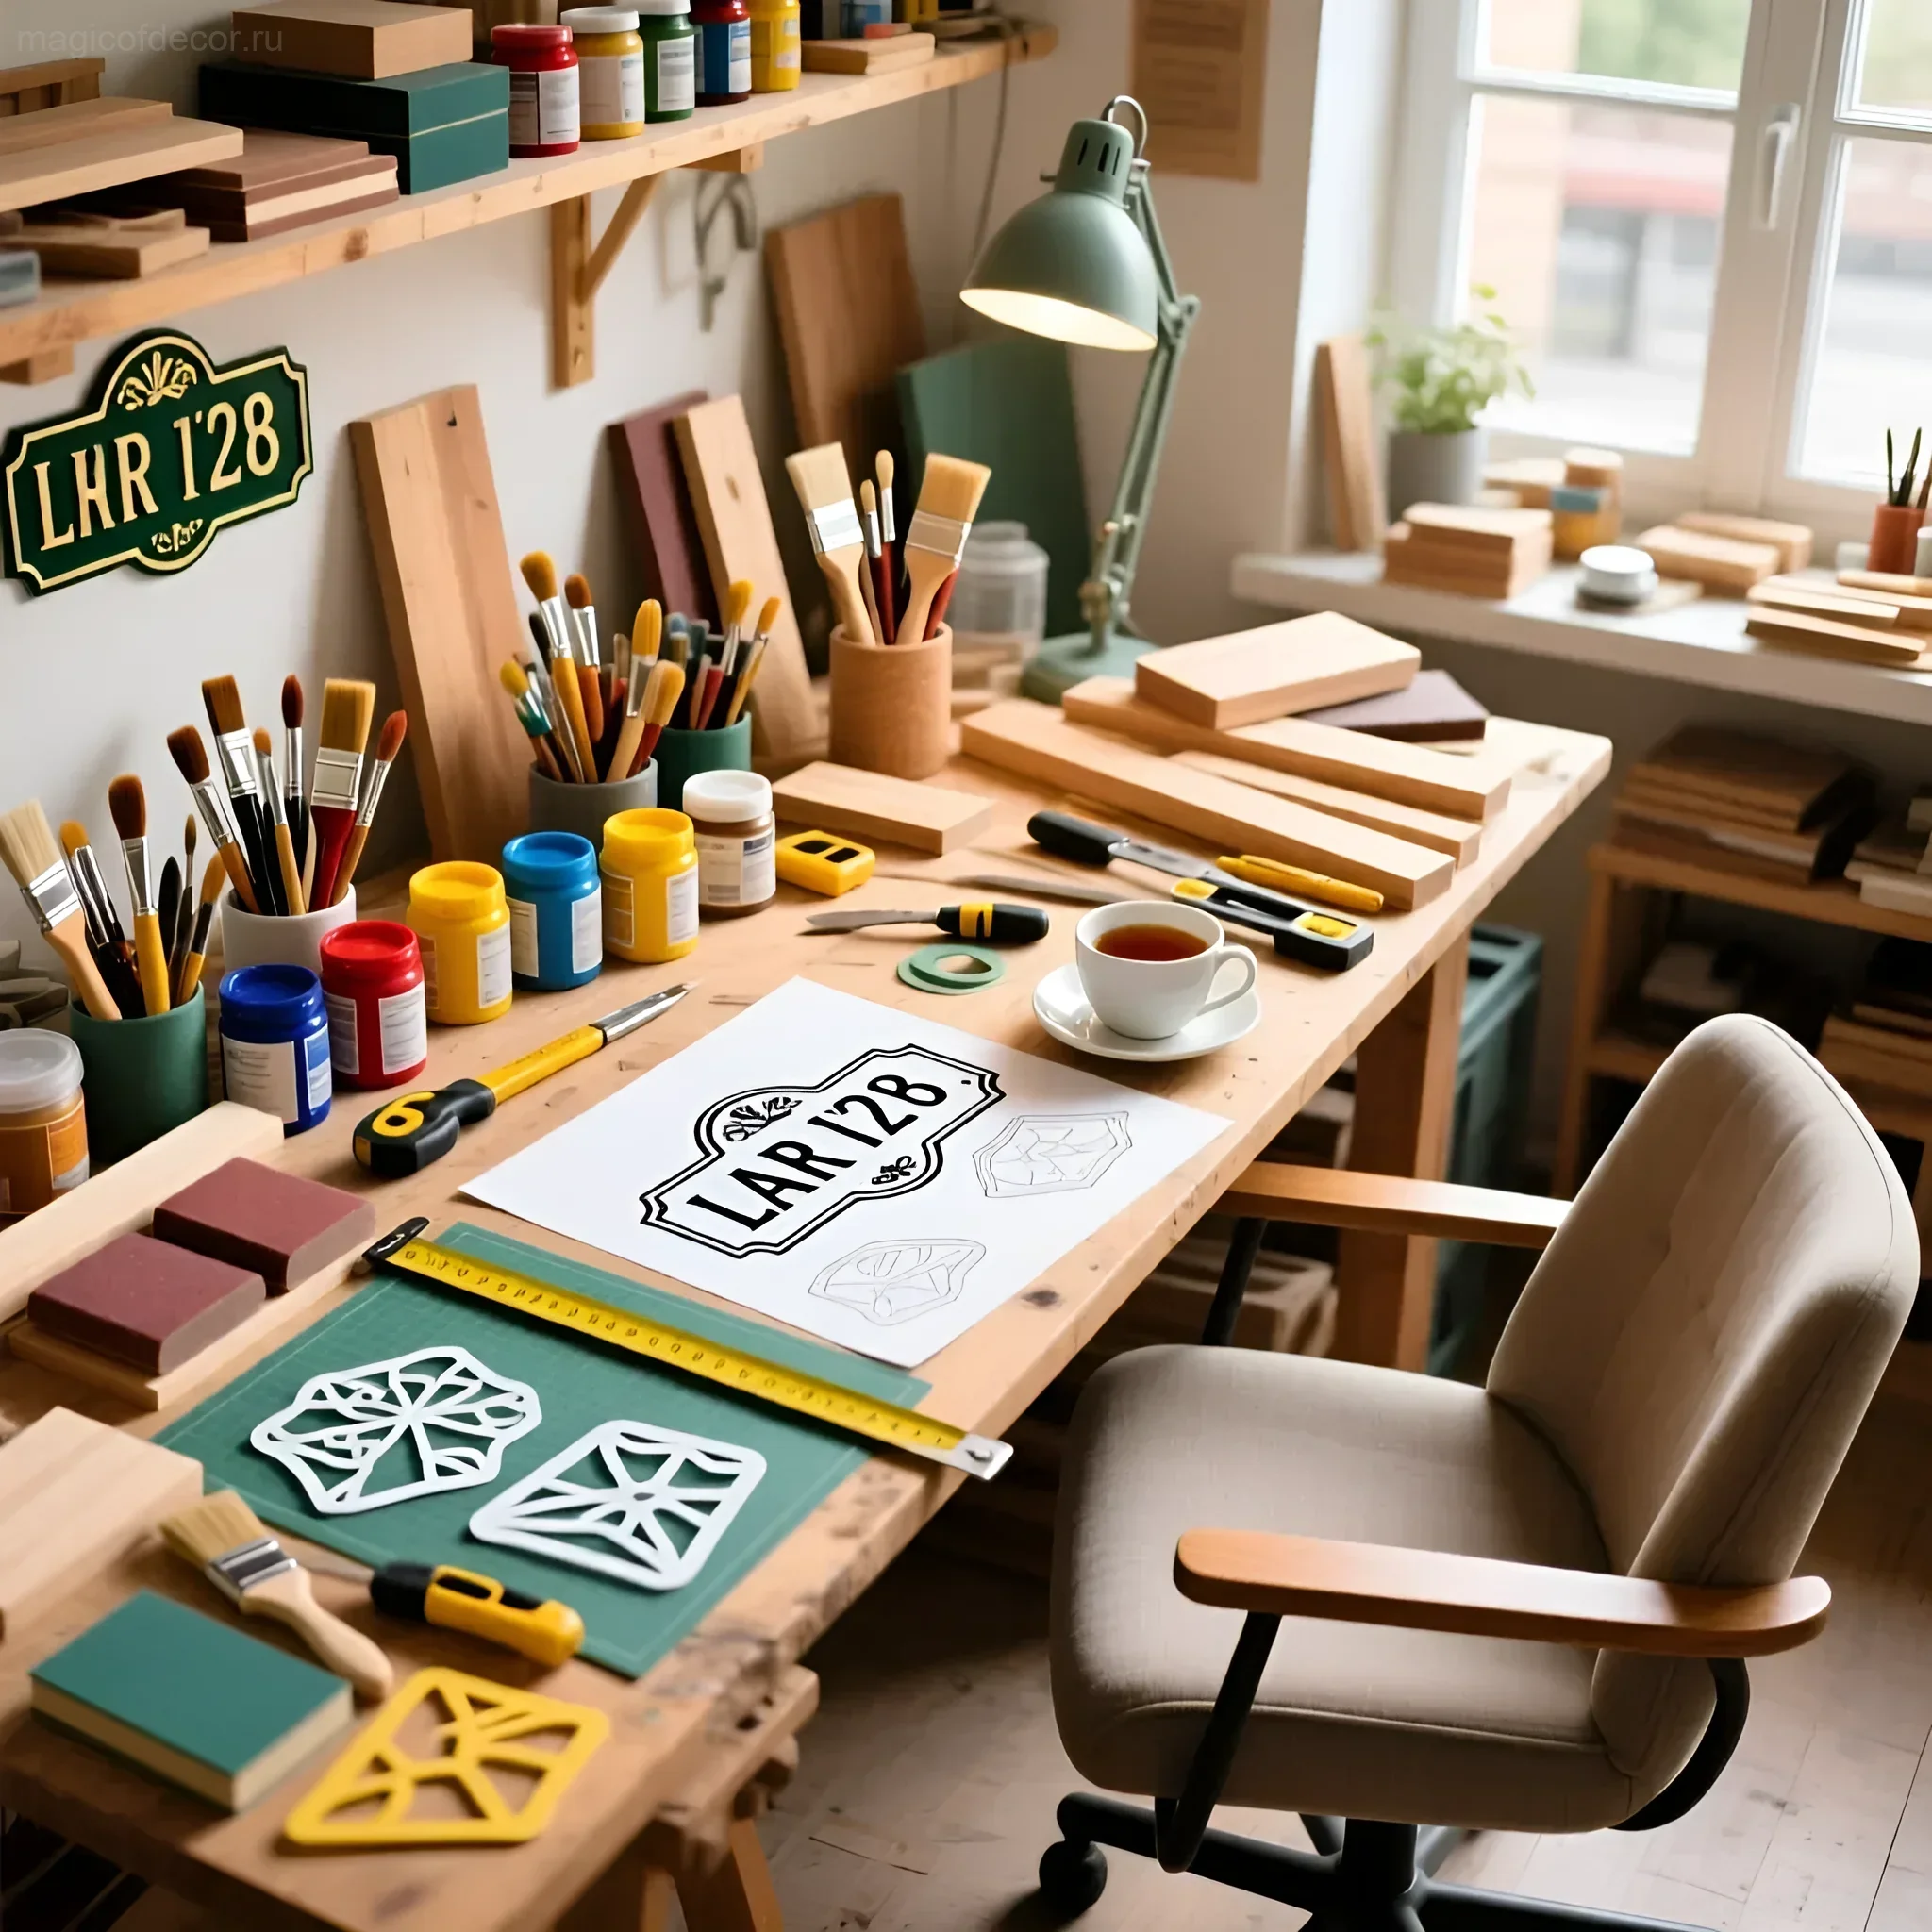
Materials and Tools: What We’ll Need to Create the Sign 🏡
Before we start creating, let’s gather everything we need. The good news is that you won’t need special skills or expensive materials to create a sign. Here’s a general list:
- Sign Base: This can be wood (plywood, boards, bars), metal (aluminum, steel), plastic, acrylic, or even ceramic tiles. The choice depends on your taste and style.
- Paints: Acrylic paints are an excellent choice because they dry quickly, adhere well to various surfaces, and come in a wide range of colors. You can also use enamels, but they require more drying time.
- Brushes: Various sizes, for applying paint and detailing.
- Stencils or Templates: If you’re not confident in your artistic abilities, stencils will help you neatly apply letters and numbers.
- Varnish: To protect the paint from fading and environmental exposure.
- Fasteners: Screws, nails, glue, chains, or ropes – depending on how you plan to attach the sign.
- Tools: Saw (if you need to cut the base), sandpaper (for sanding), pencil, eraser, ruler, drill (if you need to make holes for mounting).
Tip: Before buying materials, sketch out your sign design to know exactly how much paint and other materials you’ll need.
Step-by-Step Instructions: Creating Your Dream Sign with Your Own Hands 🎨
So, everything is ready for work! Let’s start creating our unique sign:
- Prepare the Base: If you’re using wood, sand it with sandpaper to make the surface smooth. If necessary, cut the base to the desired size.
- Marking: Use a pencil to mark the base where the letters and numbers will be placed. Make sure everything fits and looks harmonious.
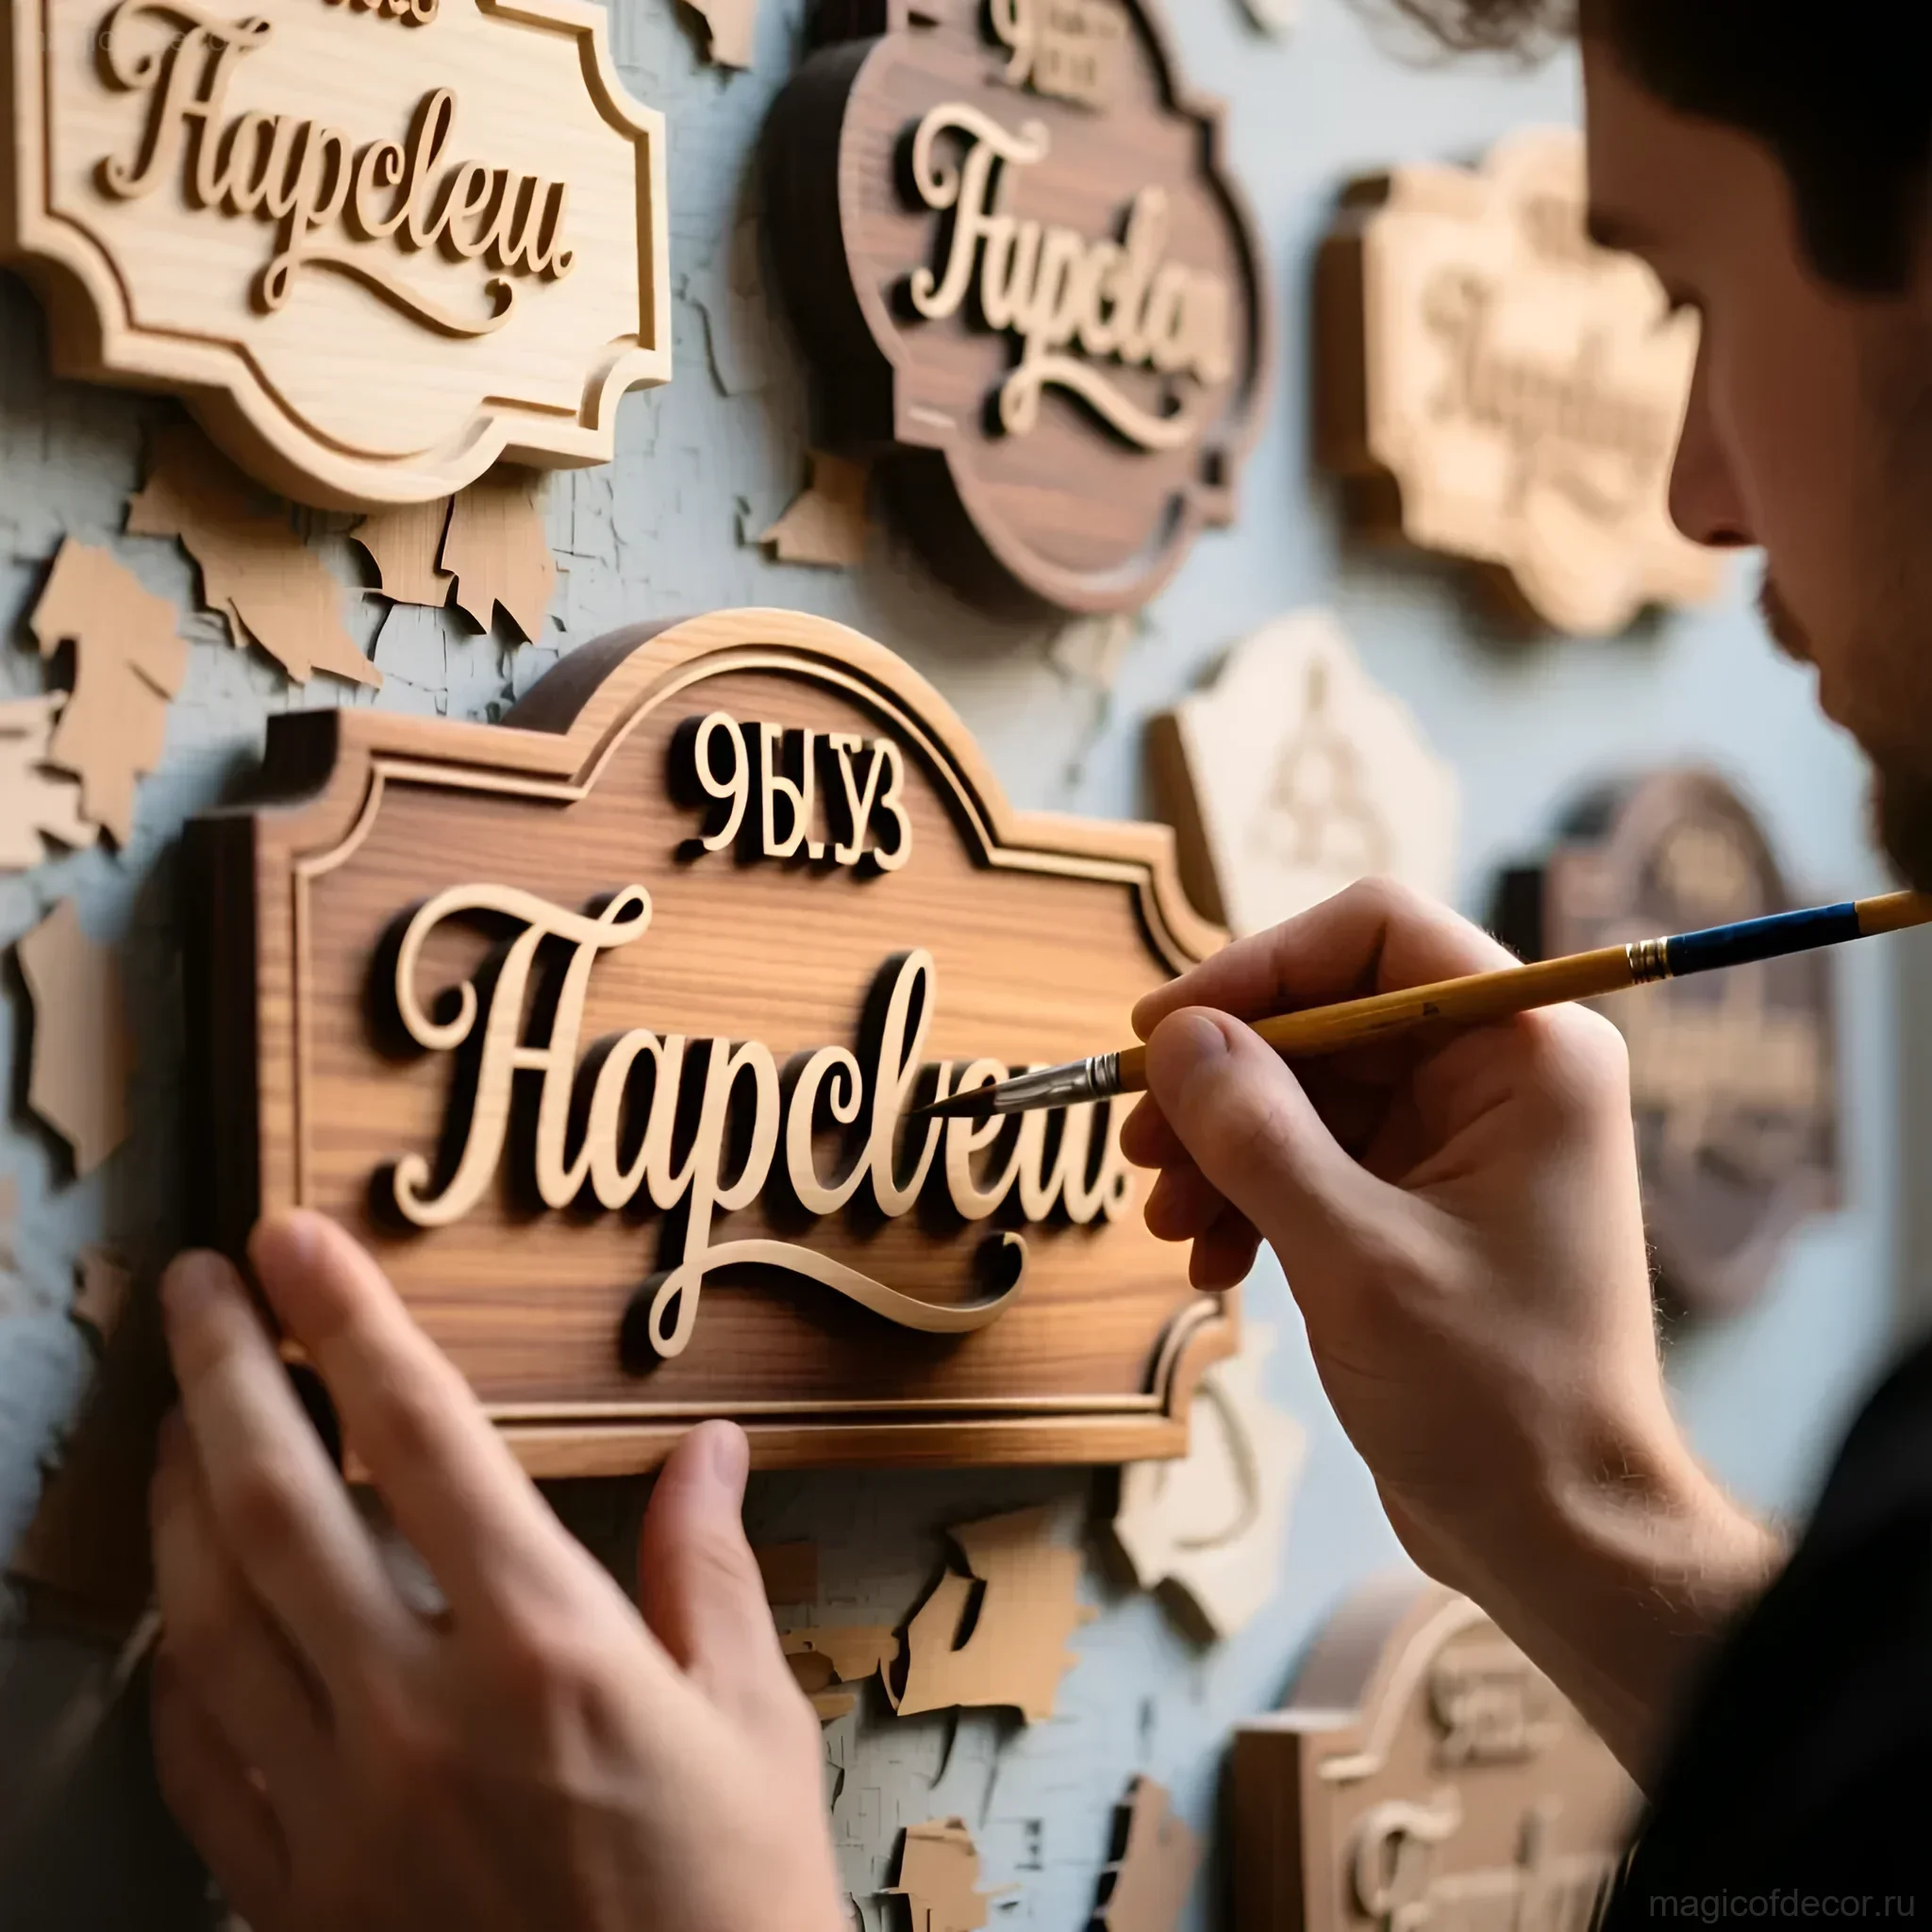
- Applying Paint: If you’re using a stencil, secure it to the base and carefully apply paint with a brush or sponge. If you’re drawing freehand, be careful and try not to go outside the lines. Let the paint dry completely.
- Decorating: Here you can let your imagination run wild! Decorate the sign with patterns, ornaments, flowers, or other decorative elements. Use different colors and techniques to create a unique design.
- Varnishing: After the paint has completely dried, apply varnish to the sign in several layers. This will protect the paint from fading and environmental exposure.
- Mounting: Attach the fasteners to the sign and install it in a visible place at your home.
Tip: If you’re using multiple layers of paint, let each layer dry completely before applying the next.
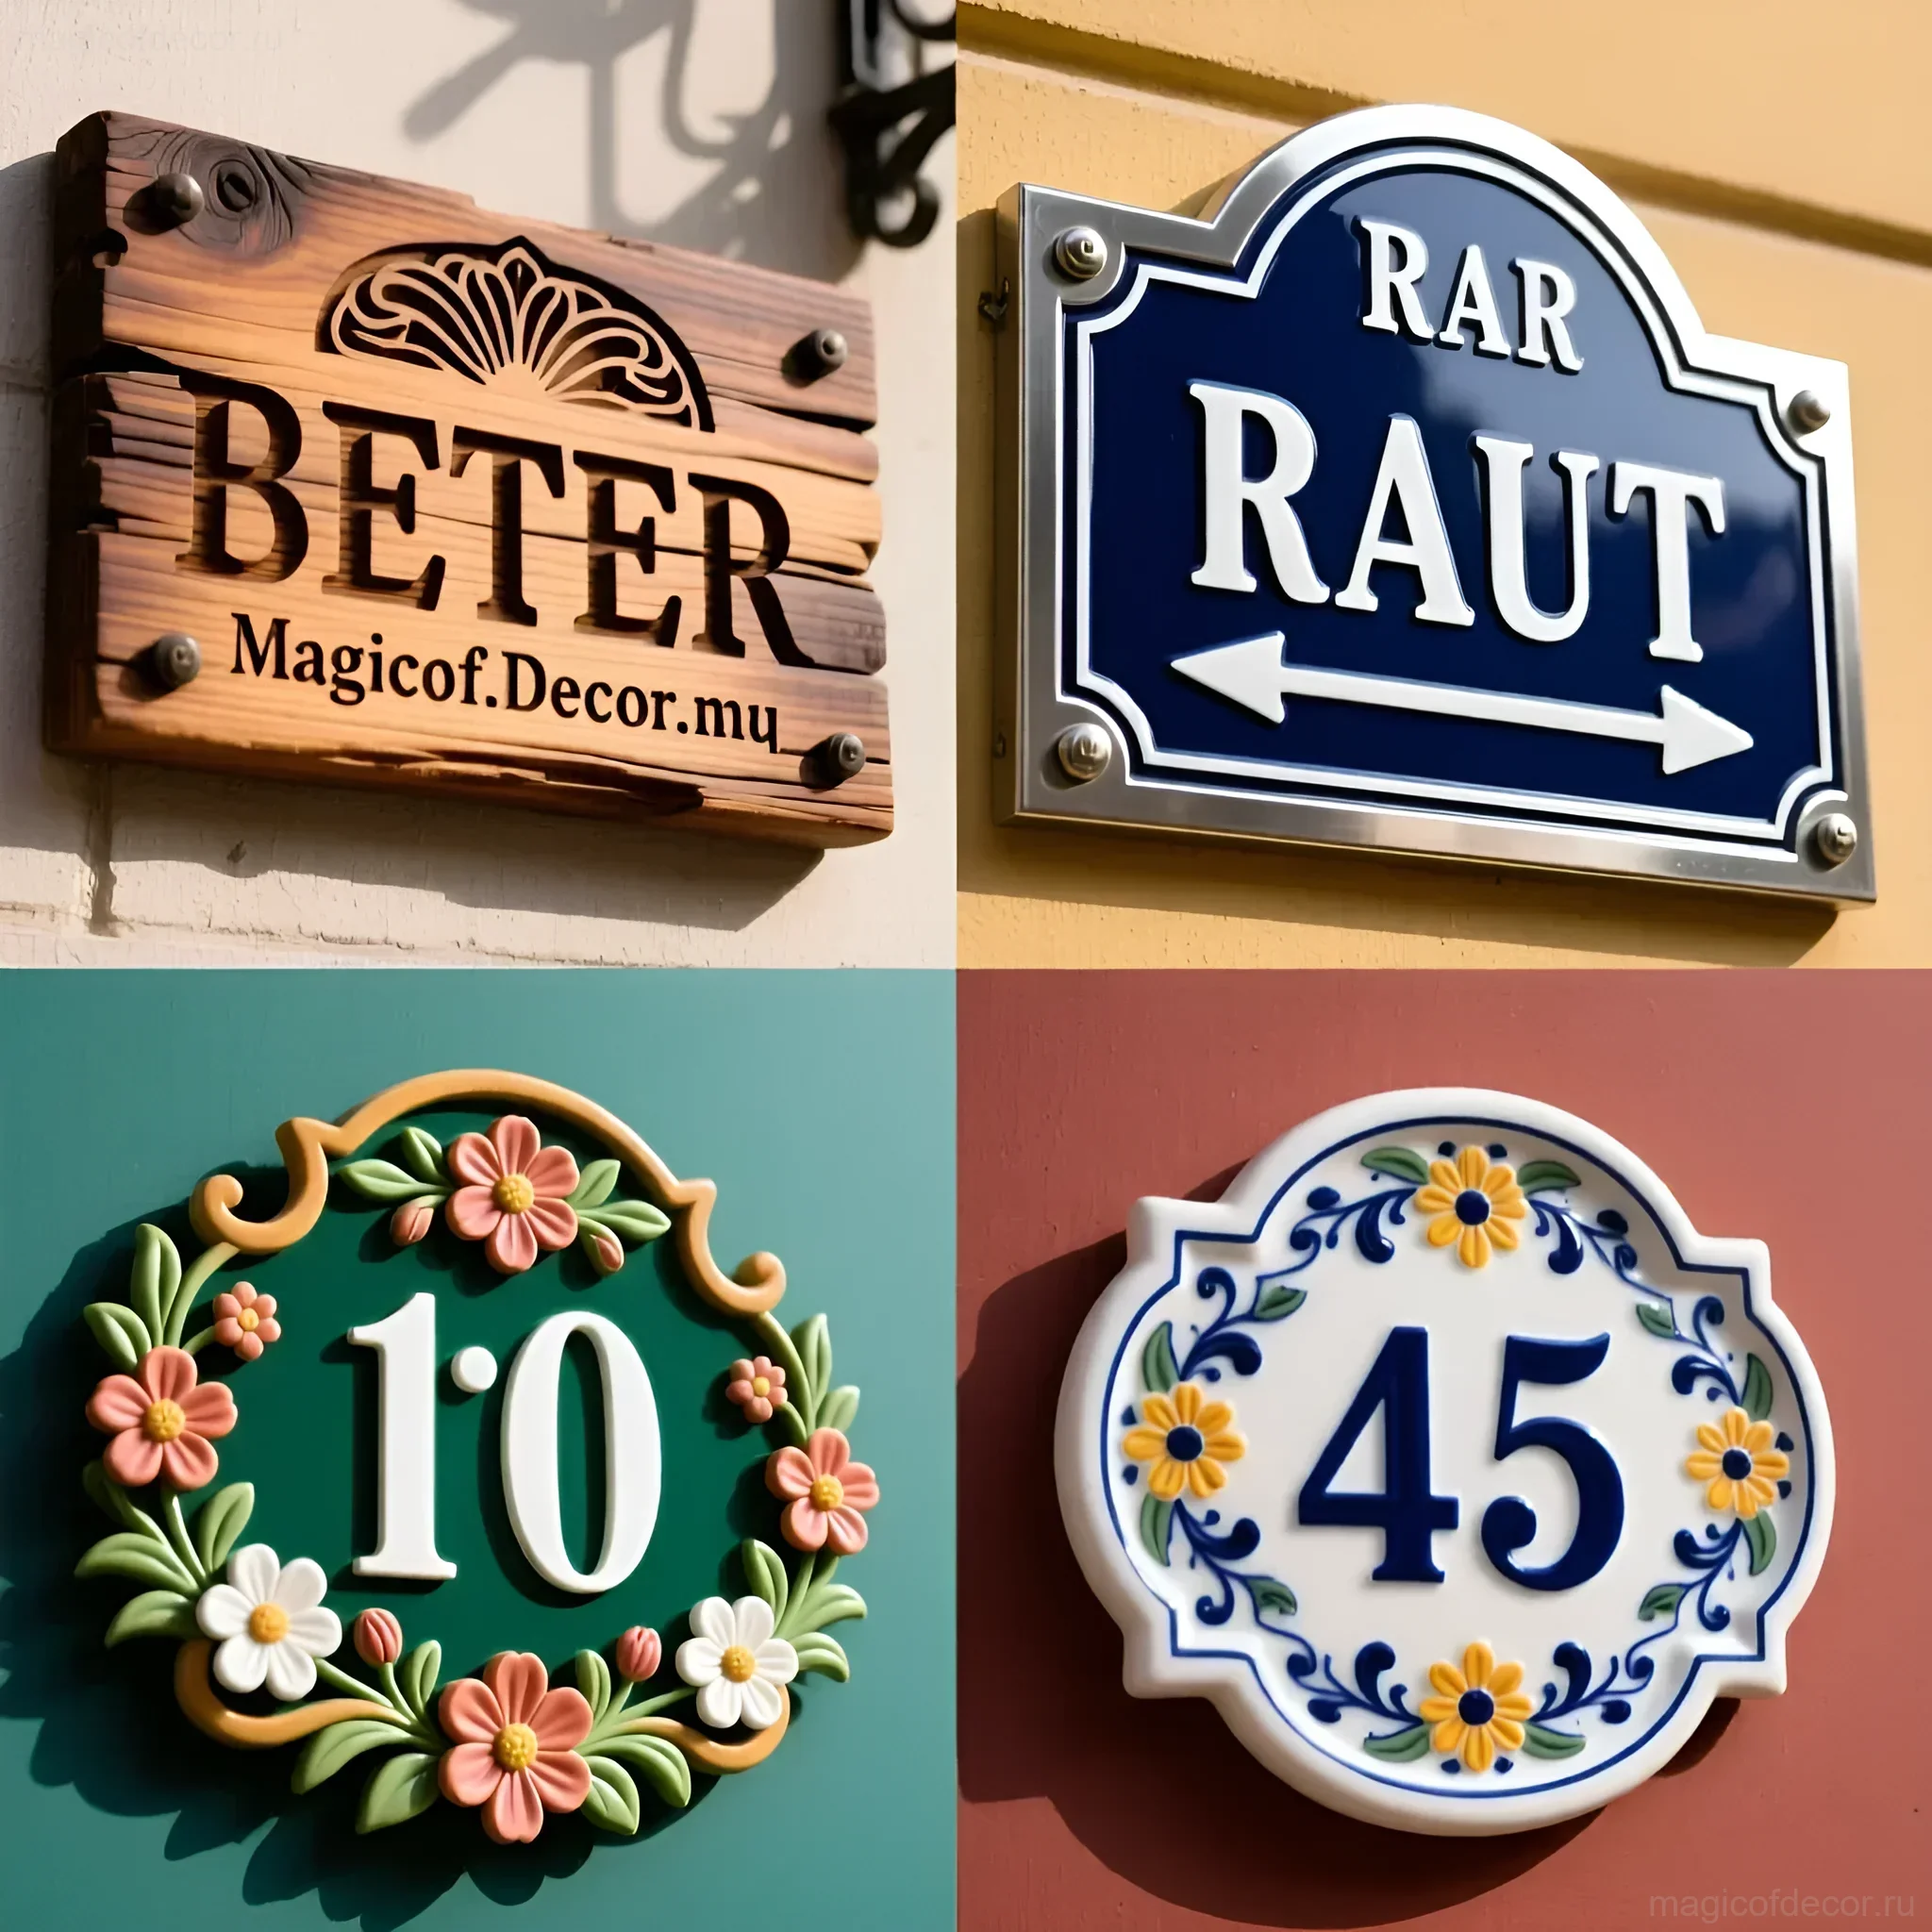
Design Options: From Classic to Modern 💡

There are a huge number of sign design options. Here are a few ideas that might inspire you:
- Classic Sign: Wooden base, clear letters and numbers, dark tones. Ideal for homes in a traditional style.
- Modern Sign: Metal or plastic base, minimalist design, bright colors. Suitable for modern homes.
- Vintage Sign: Wooden base, distressed paint, retro-style decorative elements. Creates an atmosphere of coziness and antiquity.
- Illuminated Sign: Use LED strips or lights to make the sign visible in the dark.
- 3D Sign: Use volumetric letters and numbers to create a striking 3D design.
- Sign with Image: Add an image to the sign that reflects your personality or the theme of your home (e.g., flowers, animals, architectural elements).
DIY Idea: Use old wooden crates or pallets to create a rustic-style sign. Simply sand the wood, paint it the desired color, and add the inscription.
Care Tips: Preserving Beauty for Years to Come ✨
To ensure your sign looks beautiful for years to come, proper care is essential:
- Regularly clean the sign of dust and dirt: Use a soft cloth and warm water.
- Protect the sign from direct sunlight: This will help prevent paint fading.
- Periodically refresh the varnish coating: This will protect the paint from damage and extend the sign’s lifespan.
- Touch up chips and scratches as needed: This will help keep the sign in perfect condition.
Tip: If the sign is made of wood, treat it with a special compound to protect it from moisture and rot.
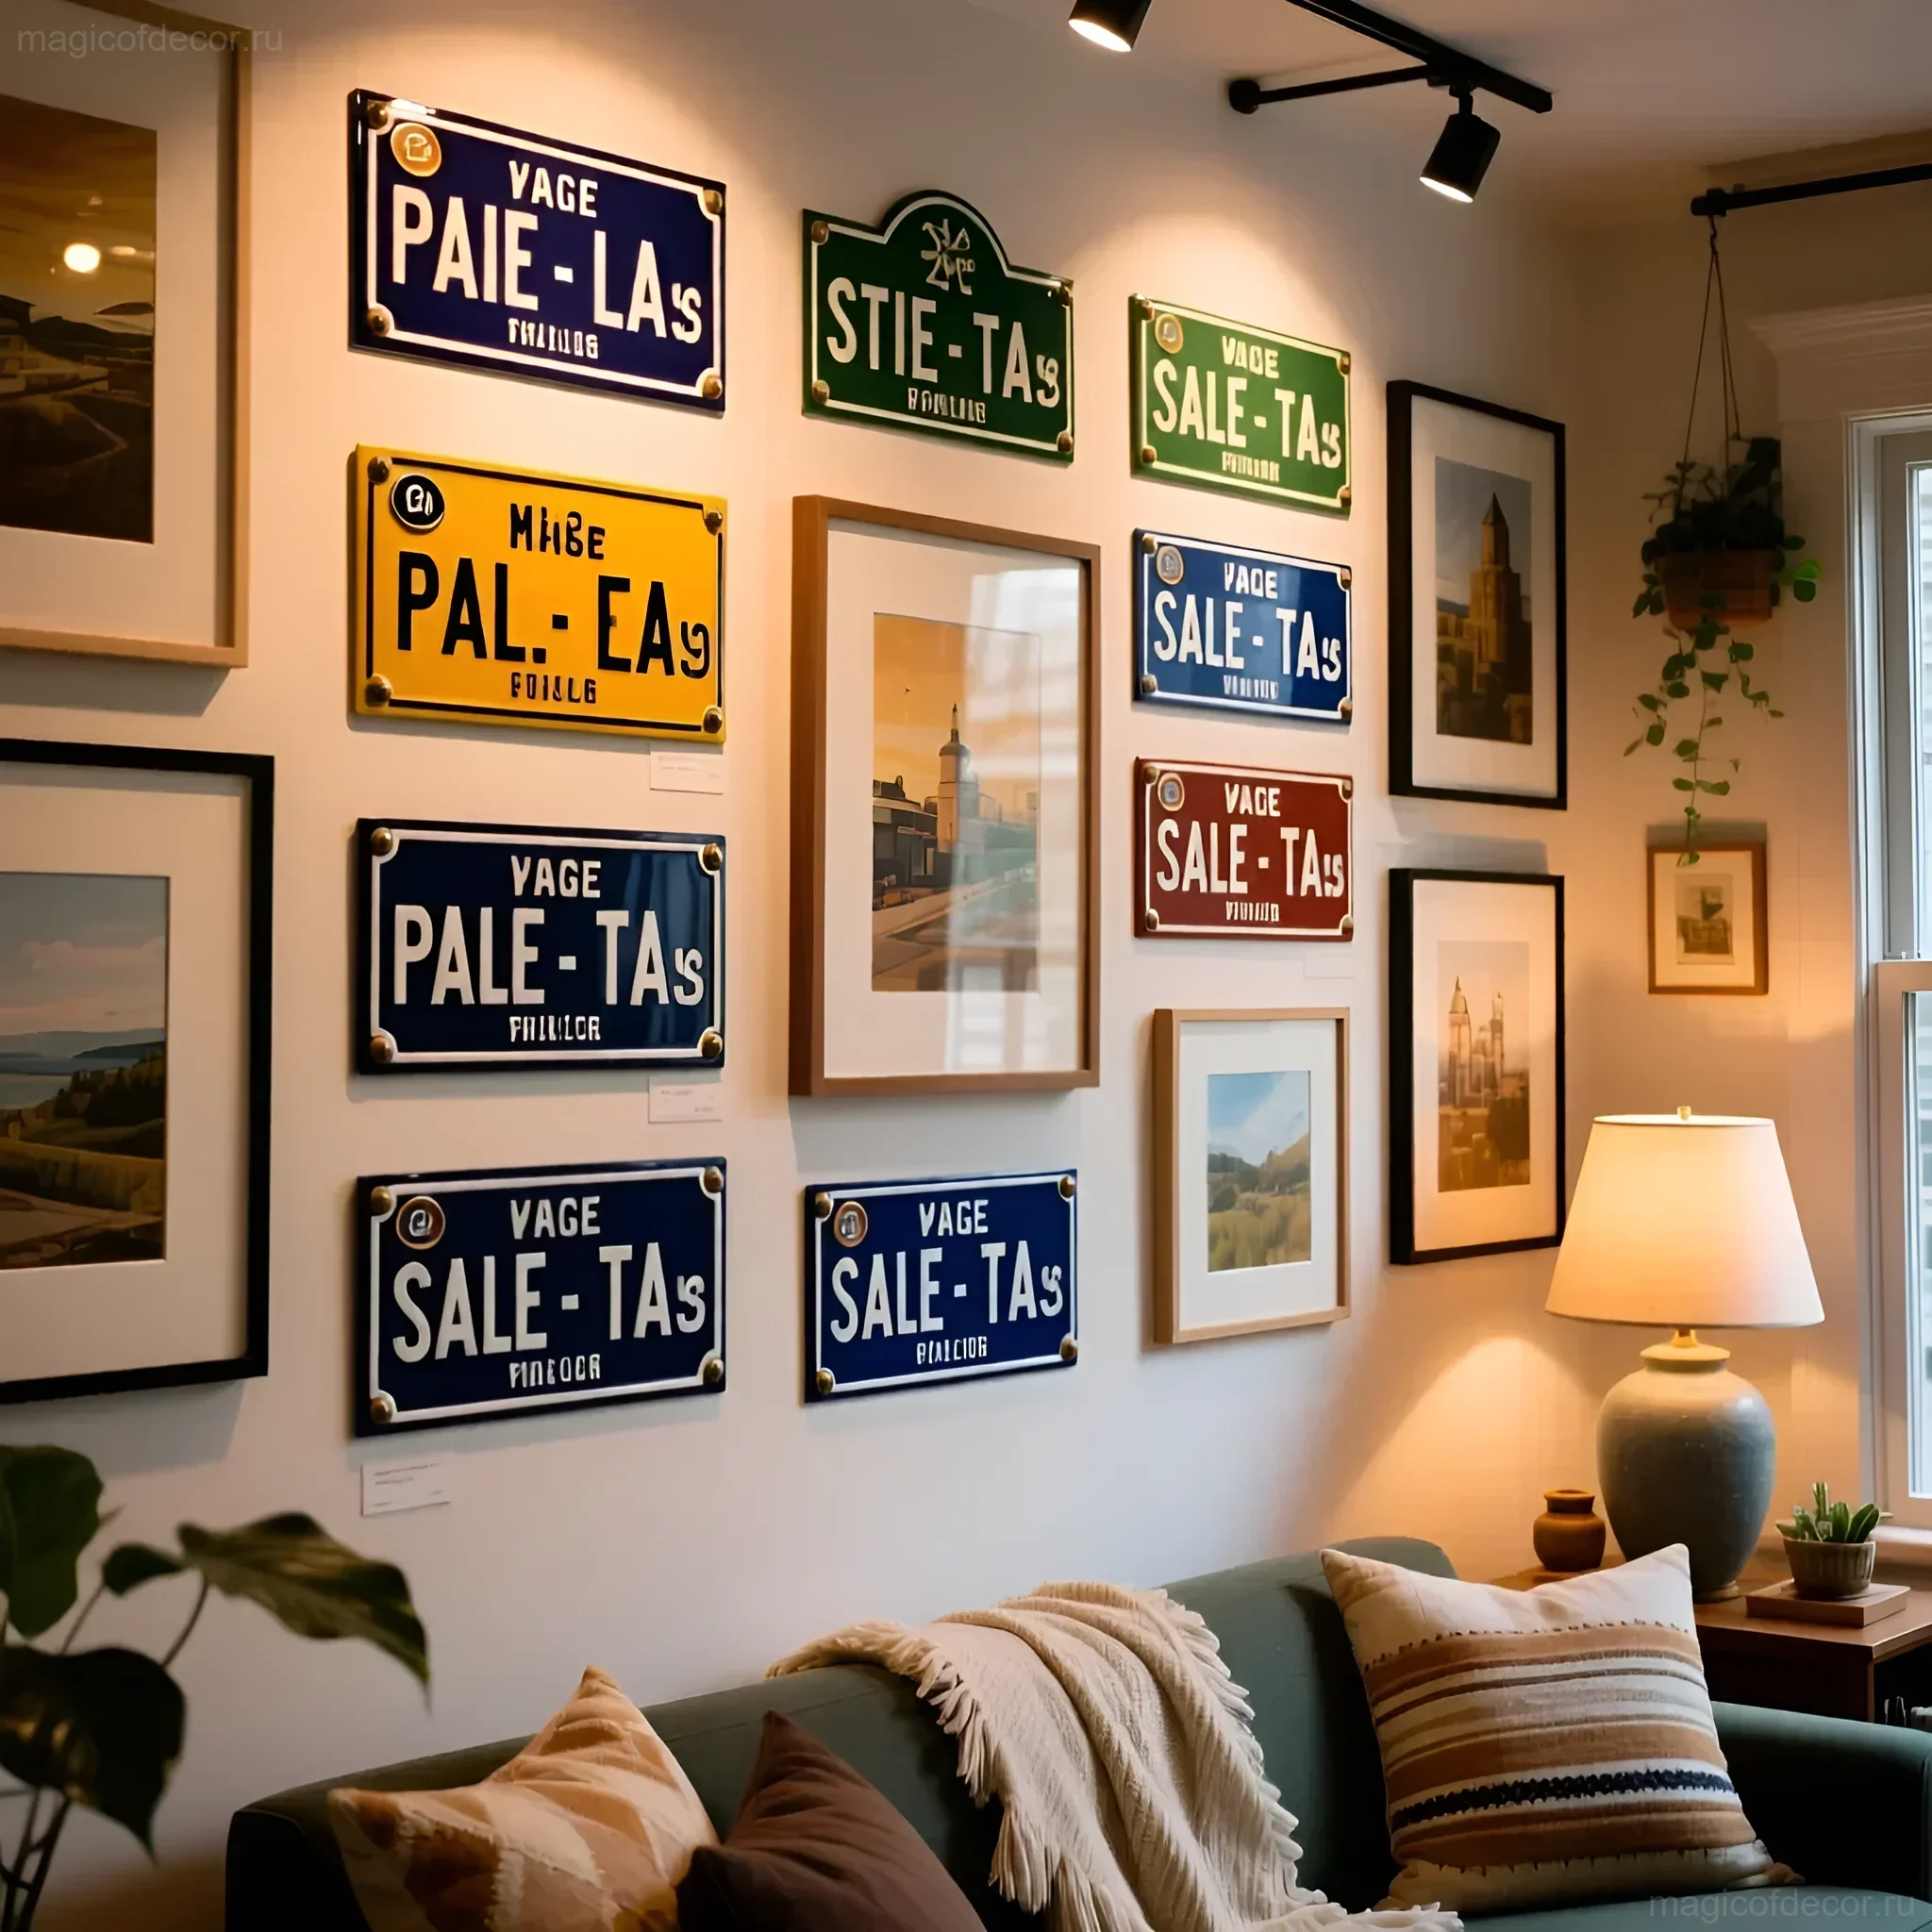
Inspiration: A Gallery of Beautiful Signs for Your Home 🌸

Take a look at these examples for inspiration to create your own unique sign:
__SHORTCODE__W0lNQUdFX0dBTExFUllfUExBQ0 ভিট0xERVJd__
FAQ: Answering Your Questions About Creating a Sign ❓
- Can I make a sign out of plastic? Yes, plastic is an excellent option for creating a sign, especially if you want it to be lightweight and moisture-resistant.
- How do I attach a sign to a brick wall? Use special anchors and screws for brick.
- What can I use instead of acrylic paints? You can use enamels, oil paints, or even gouache, but they may be less durable.
- How do I make a stencil myself? Print out the desired font or image, transfer it to thick cardboard or plastic, and cut it out along the contour.
- What should I do if the paint runs? Use thicker paint or apply it in several thin layers.
Interesting Facts: The History and Symbolism of Signs 📜
The history of signs dates back to ancient times. In Ancient Rome, signs with homeowners’ names were used to denote property and collect taxes. In the Middle Ages, signs became a symbol of status and prosperity. Today, signs serve not only a practical function but also an aesthetic one. They help create coziness and individuality in your home.
Interesting Fact: In some countries, there are strict regulations regarding the size and design of street name and house number signs.
I hope this article has inspired you to create your own unique sign! Don’t be afraid to experiment, express your creativity, and make something with your own hands. After all, the true soul of a home lies in the little things. Good luck with your creative endeavors!