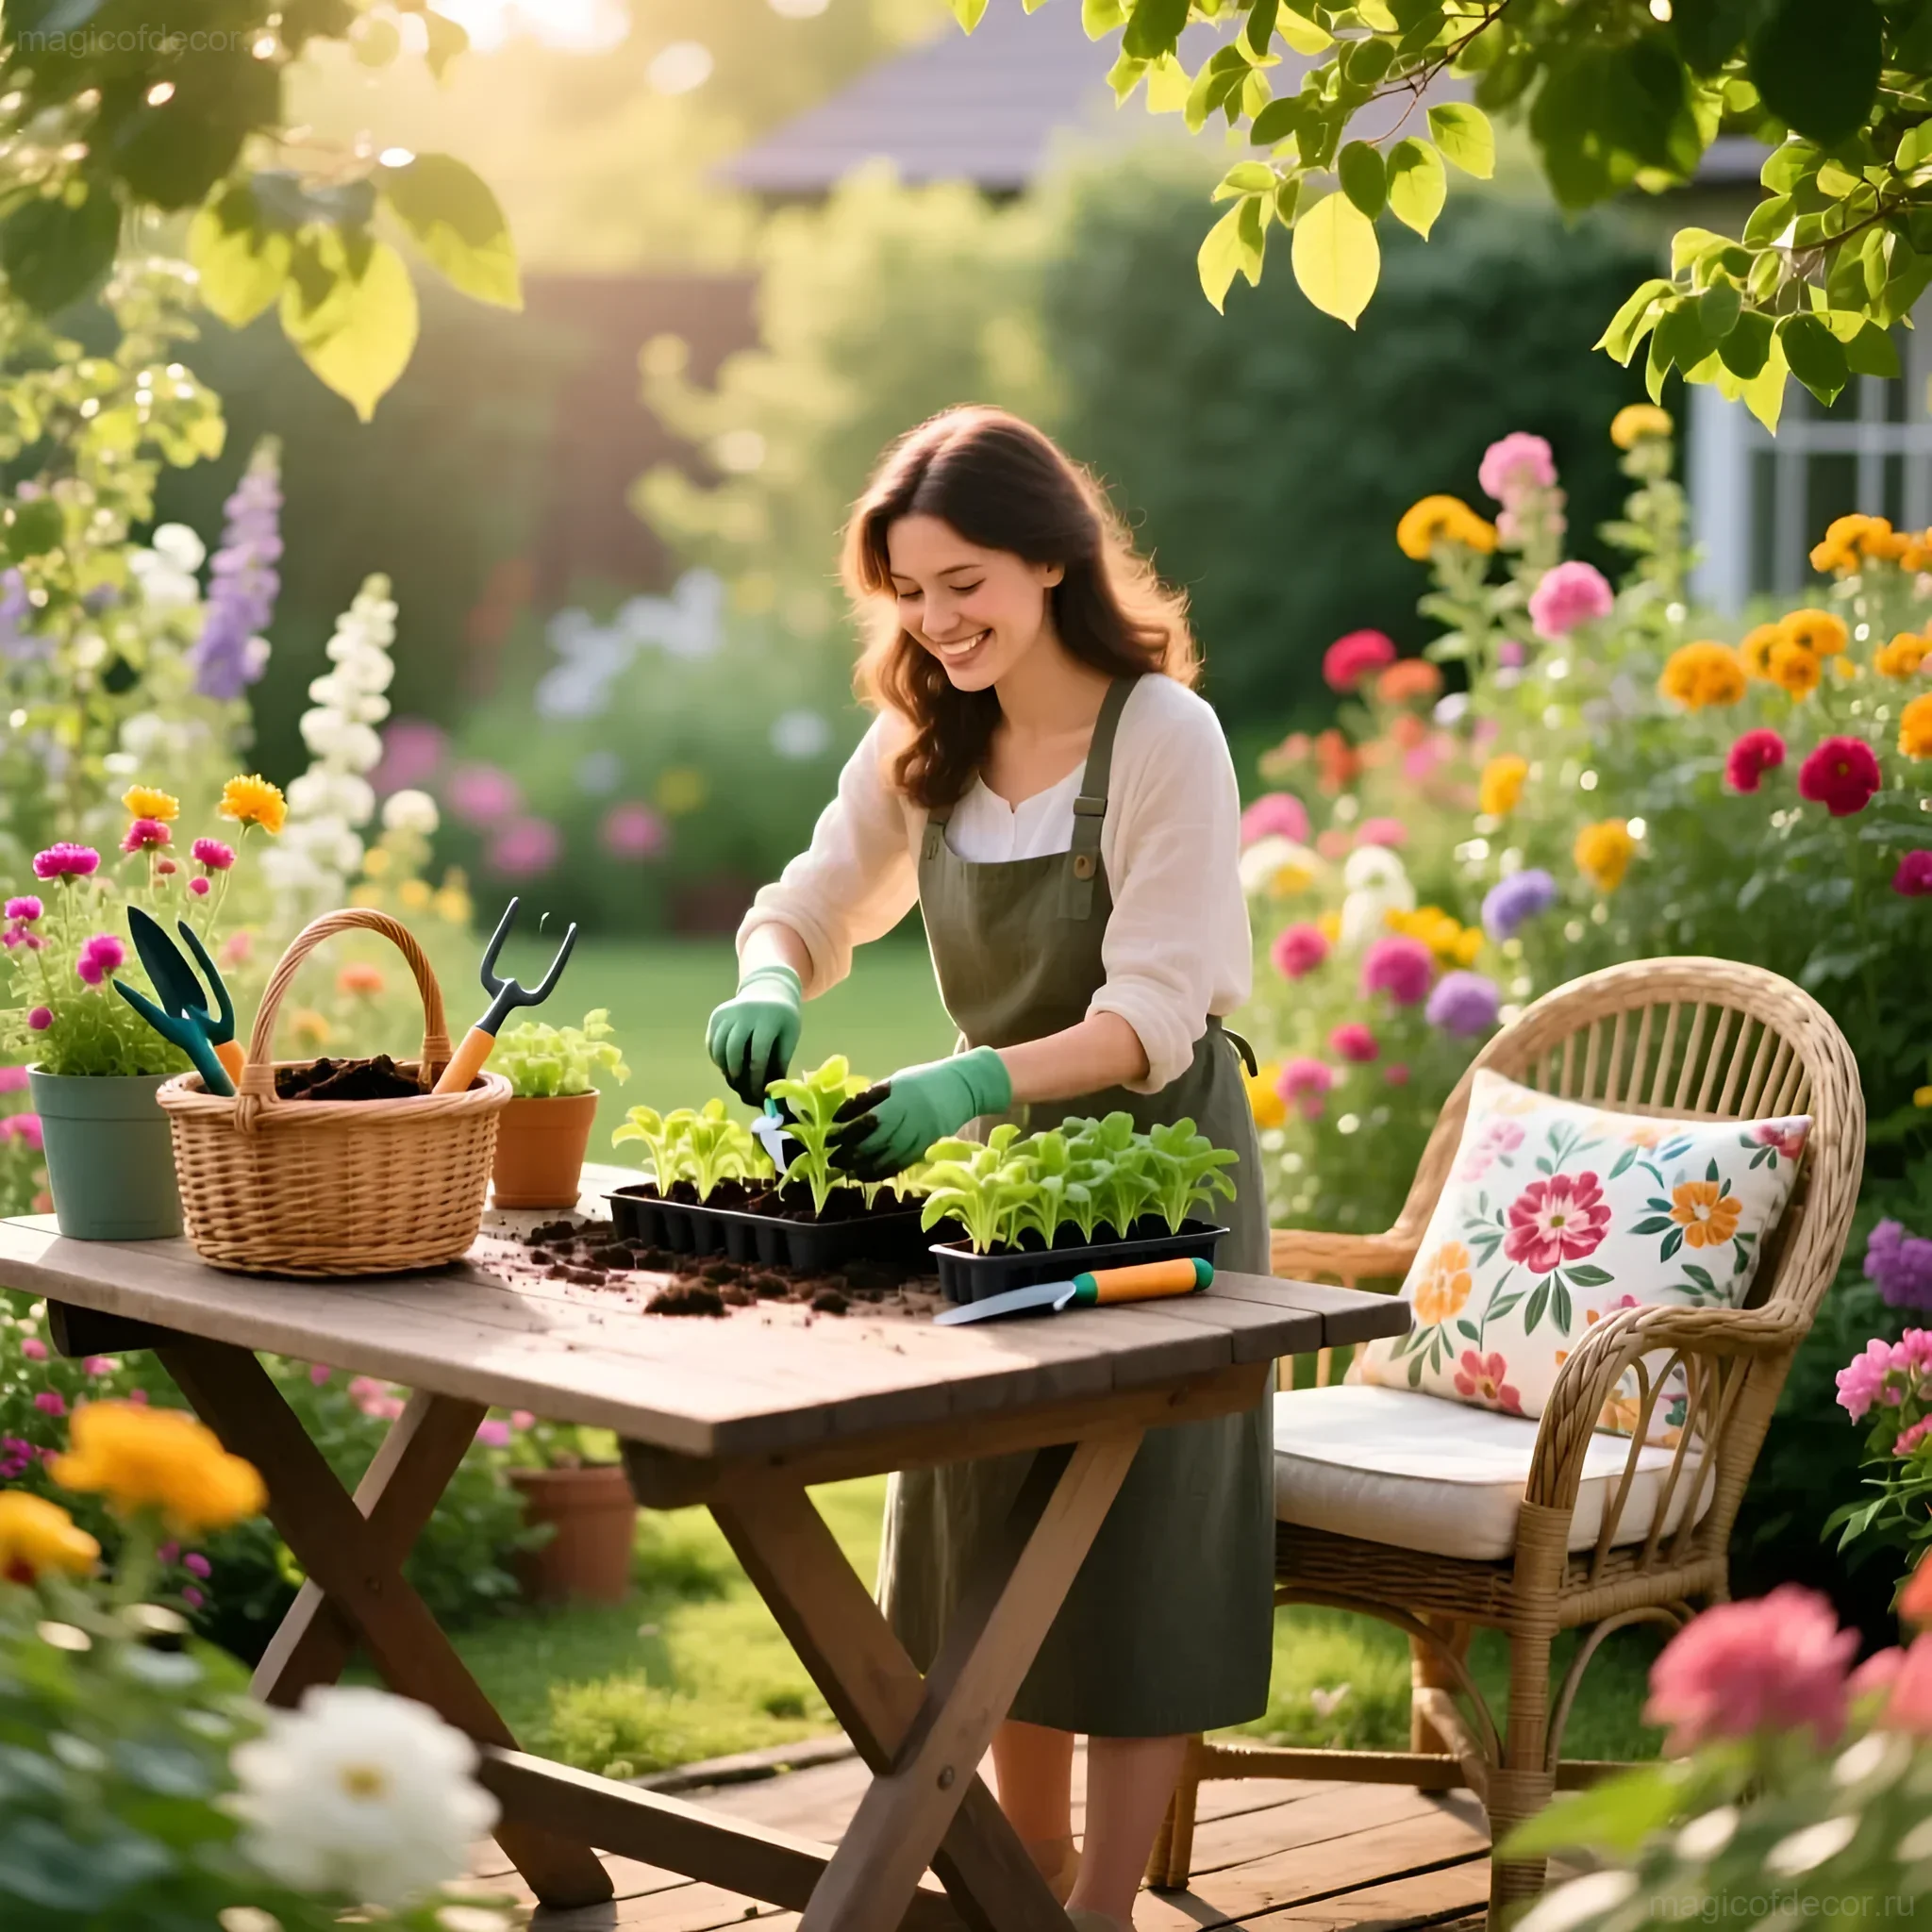
A dacha is a place where we rest our souls, enjoy nature, and, of course, grow our favorite plants. And to make this process only a pleasure, it is very important to take care of convenience. And one of the key elements of comfortable work with flowers and seedlings is a properly organized workspace. Today we will talk about how to create a convenient table for transplanting plants with your own hands, which will become your indispensable assistant at the dacha.
Transforming the Dacha into an Oasis: Why You Need a Convenient Table for Transplanting Plants?
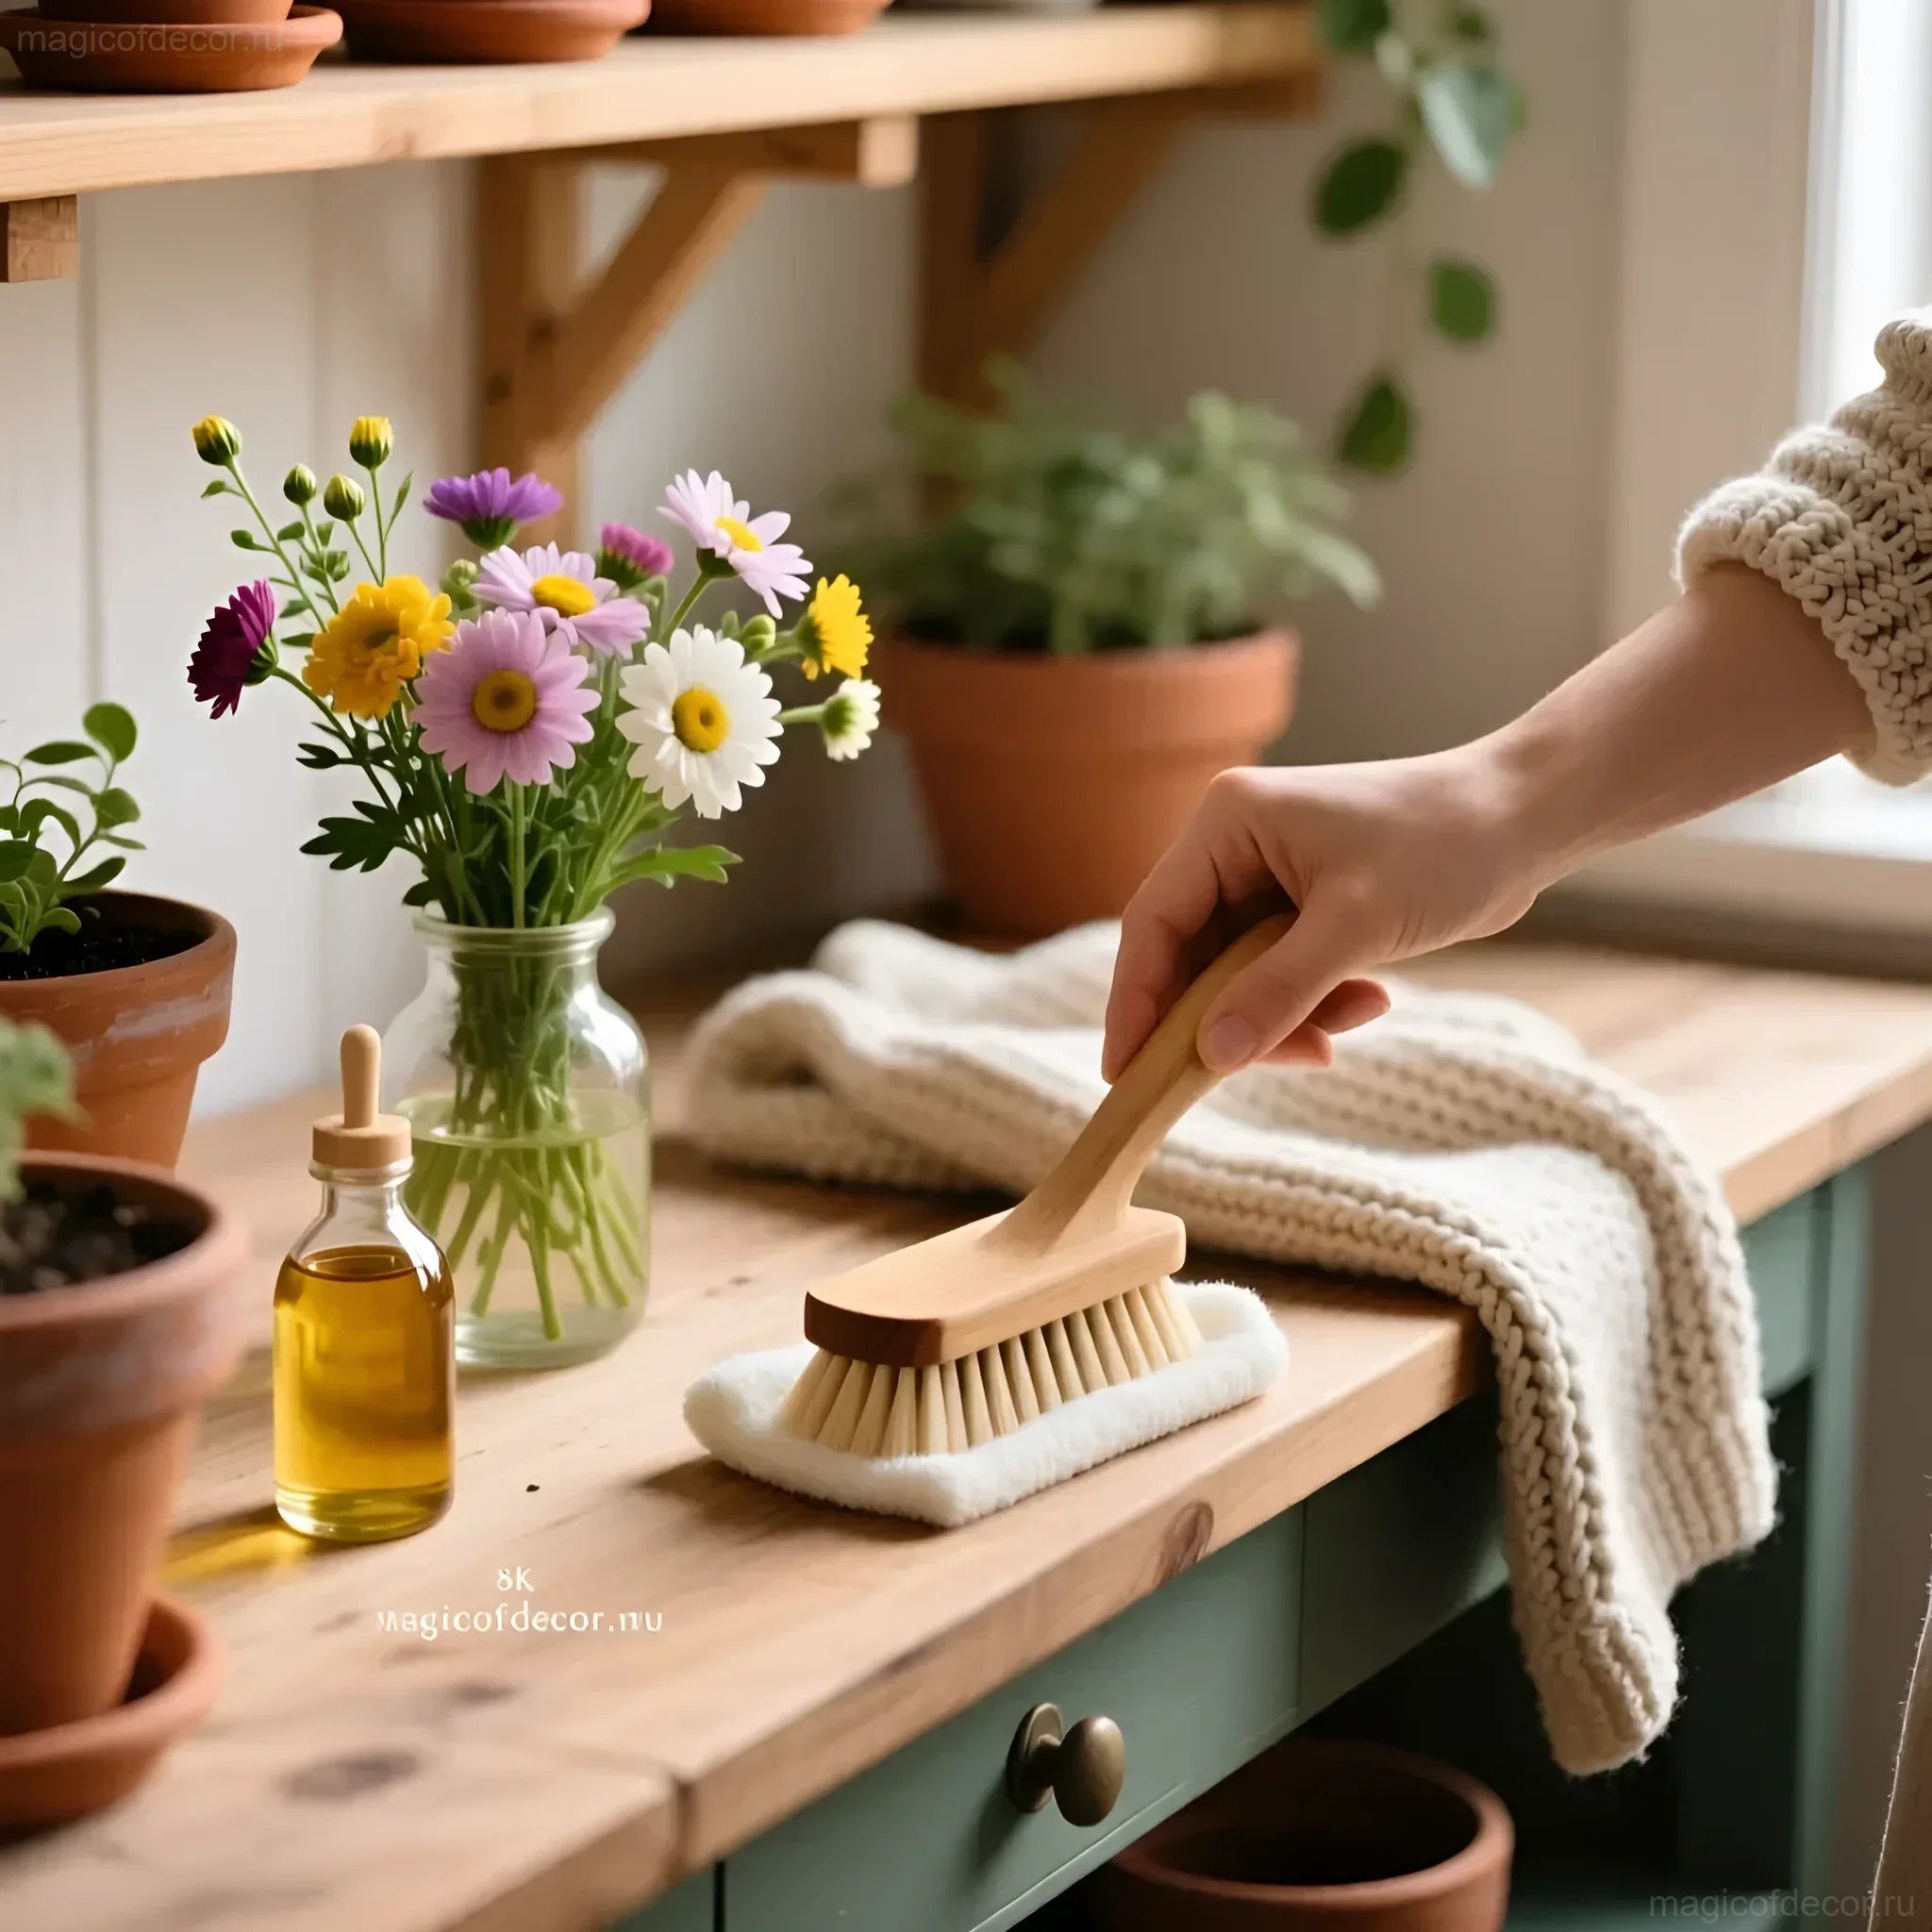
You might be thinking, “Can I get by without a special table?” Of course, you can. But imagine how much inconvenience you’ll have to endure, bending over garden beds or trying to transplant delicate seedlings on your knees. A convenient table for transplanting plants is not just a piece of furniture; it’s an investment in your health, time, and, consequently, in the beauty of your garden.
- Ergonomics: The correct table height allows you to work without straining your back.
- Space Organization: The table is convenient for placing all necessary tools, pots, soil, and fertilizers.
- Cleanliness: The tabletop protects the surrounding area from soil and dirt.
- Convenience: The transplanting process becomes more pleasant and efficient.
And if the table is made with your own hands, it will also become a reflection of your individuality and love for your dacha!
Choosing Materials: What You’ll Need to Create Your Dream Table?
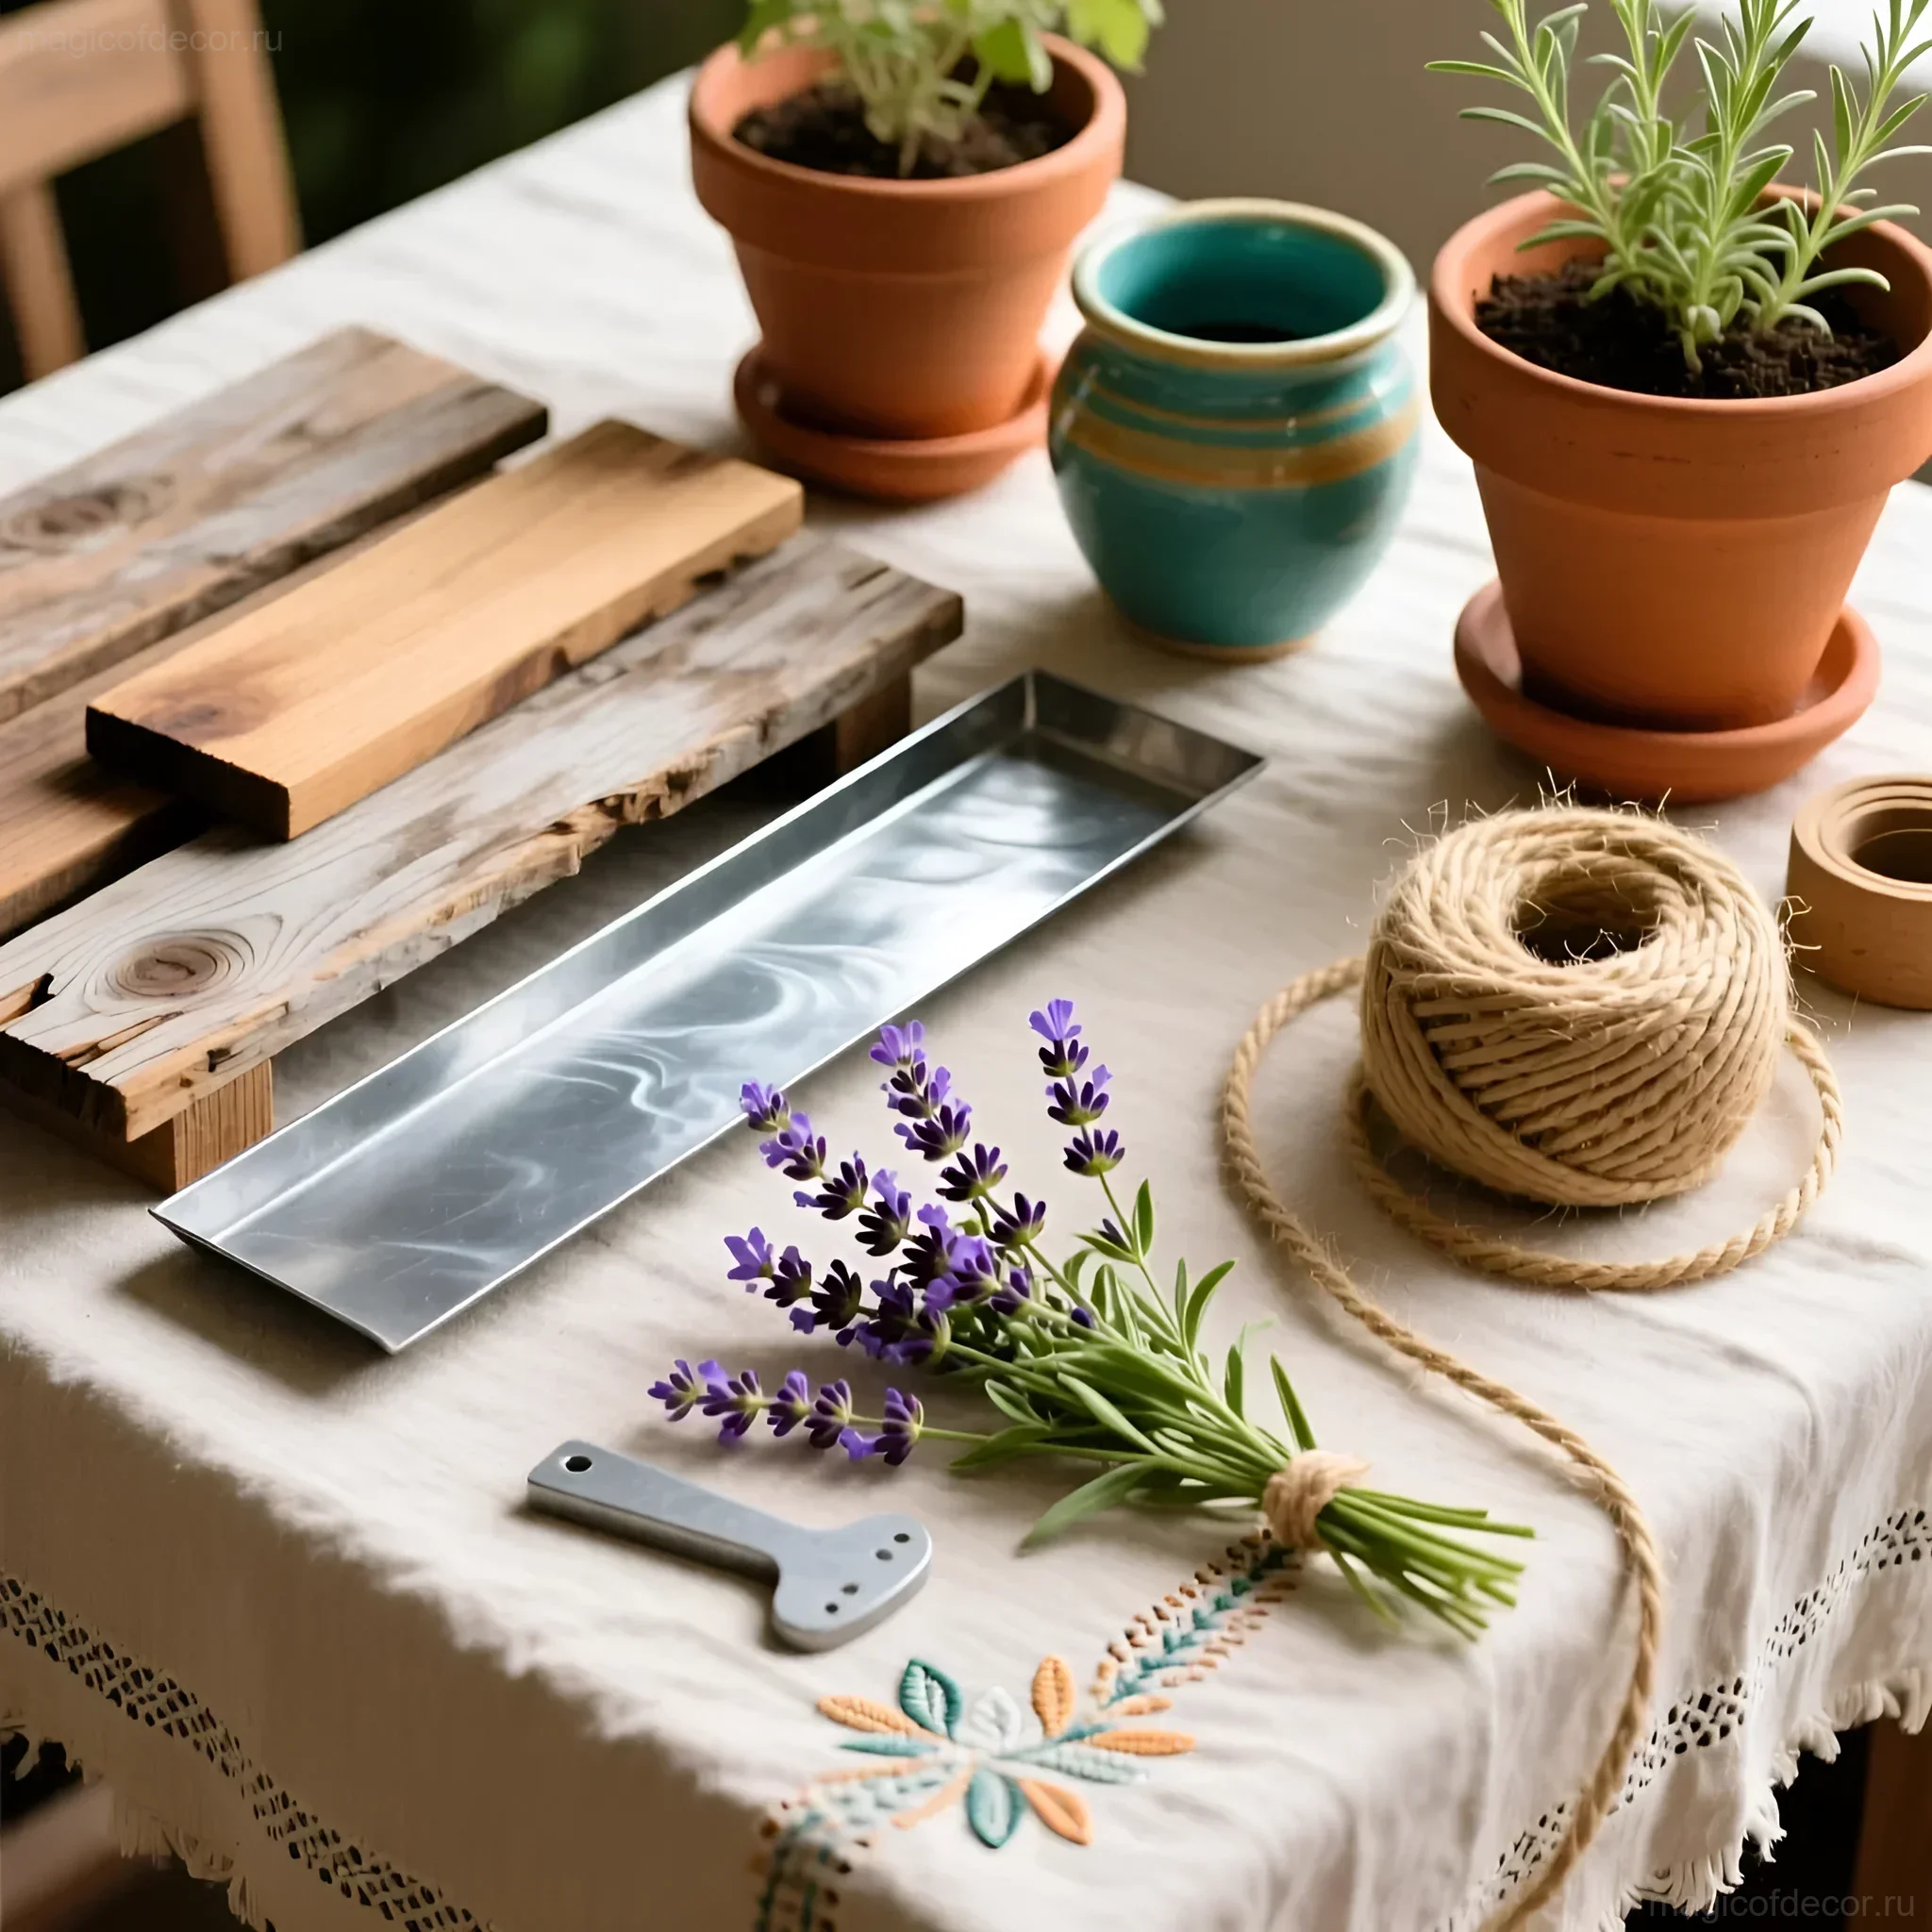
The choice of materials depends on your preferences, budget, and skills. Here are a few options:
- Wood: The most popular and environmentally friendly option. You can use boards, beams, or old pallets.
- Metal: A strong and durable material. Welding skills or ready-made metal supports will be required.
- Plastic: A lightweight and moisture-resistant material. Suitable for creating temporary or mobile tables.
- Stone: Durable and beautiful, but requires certain processing skills.
What else you’ll need:
- Screws or nails
- Wood glue (if working with wood)
- Varnish or paint for moisture protection
- Sandpaper
- Measuring tape, pencil, saw, drill, screwdriver
- Material for the tabletop (boards, plywood, plastic)
- Material for the legs (wooden beams, metal pipes, ready-made supports)
Budget-friendly option: Use old pallets! You can find them for free or buy them for a small price. They already have a ready-made structure that just needs a little refinement.
Step-by-Step Instructions: Creating a Convenient Table for Transplanting Plants Yourself
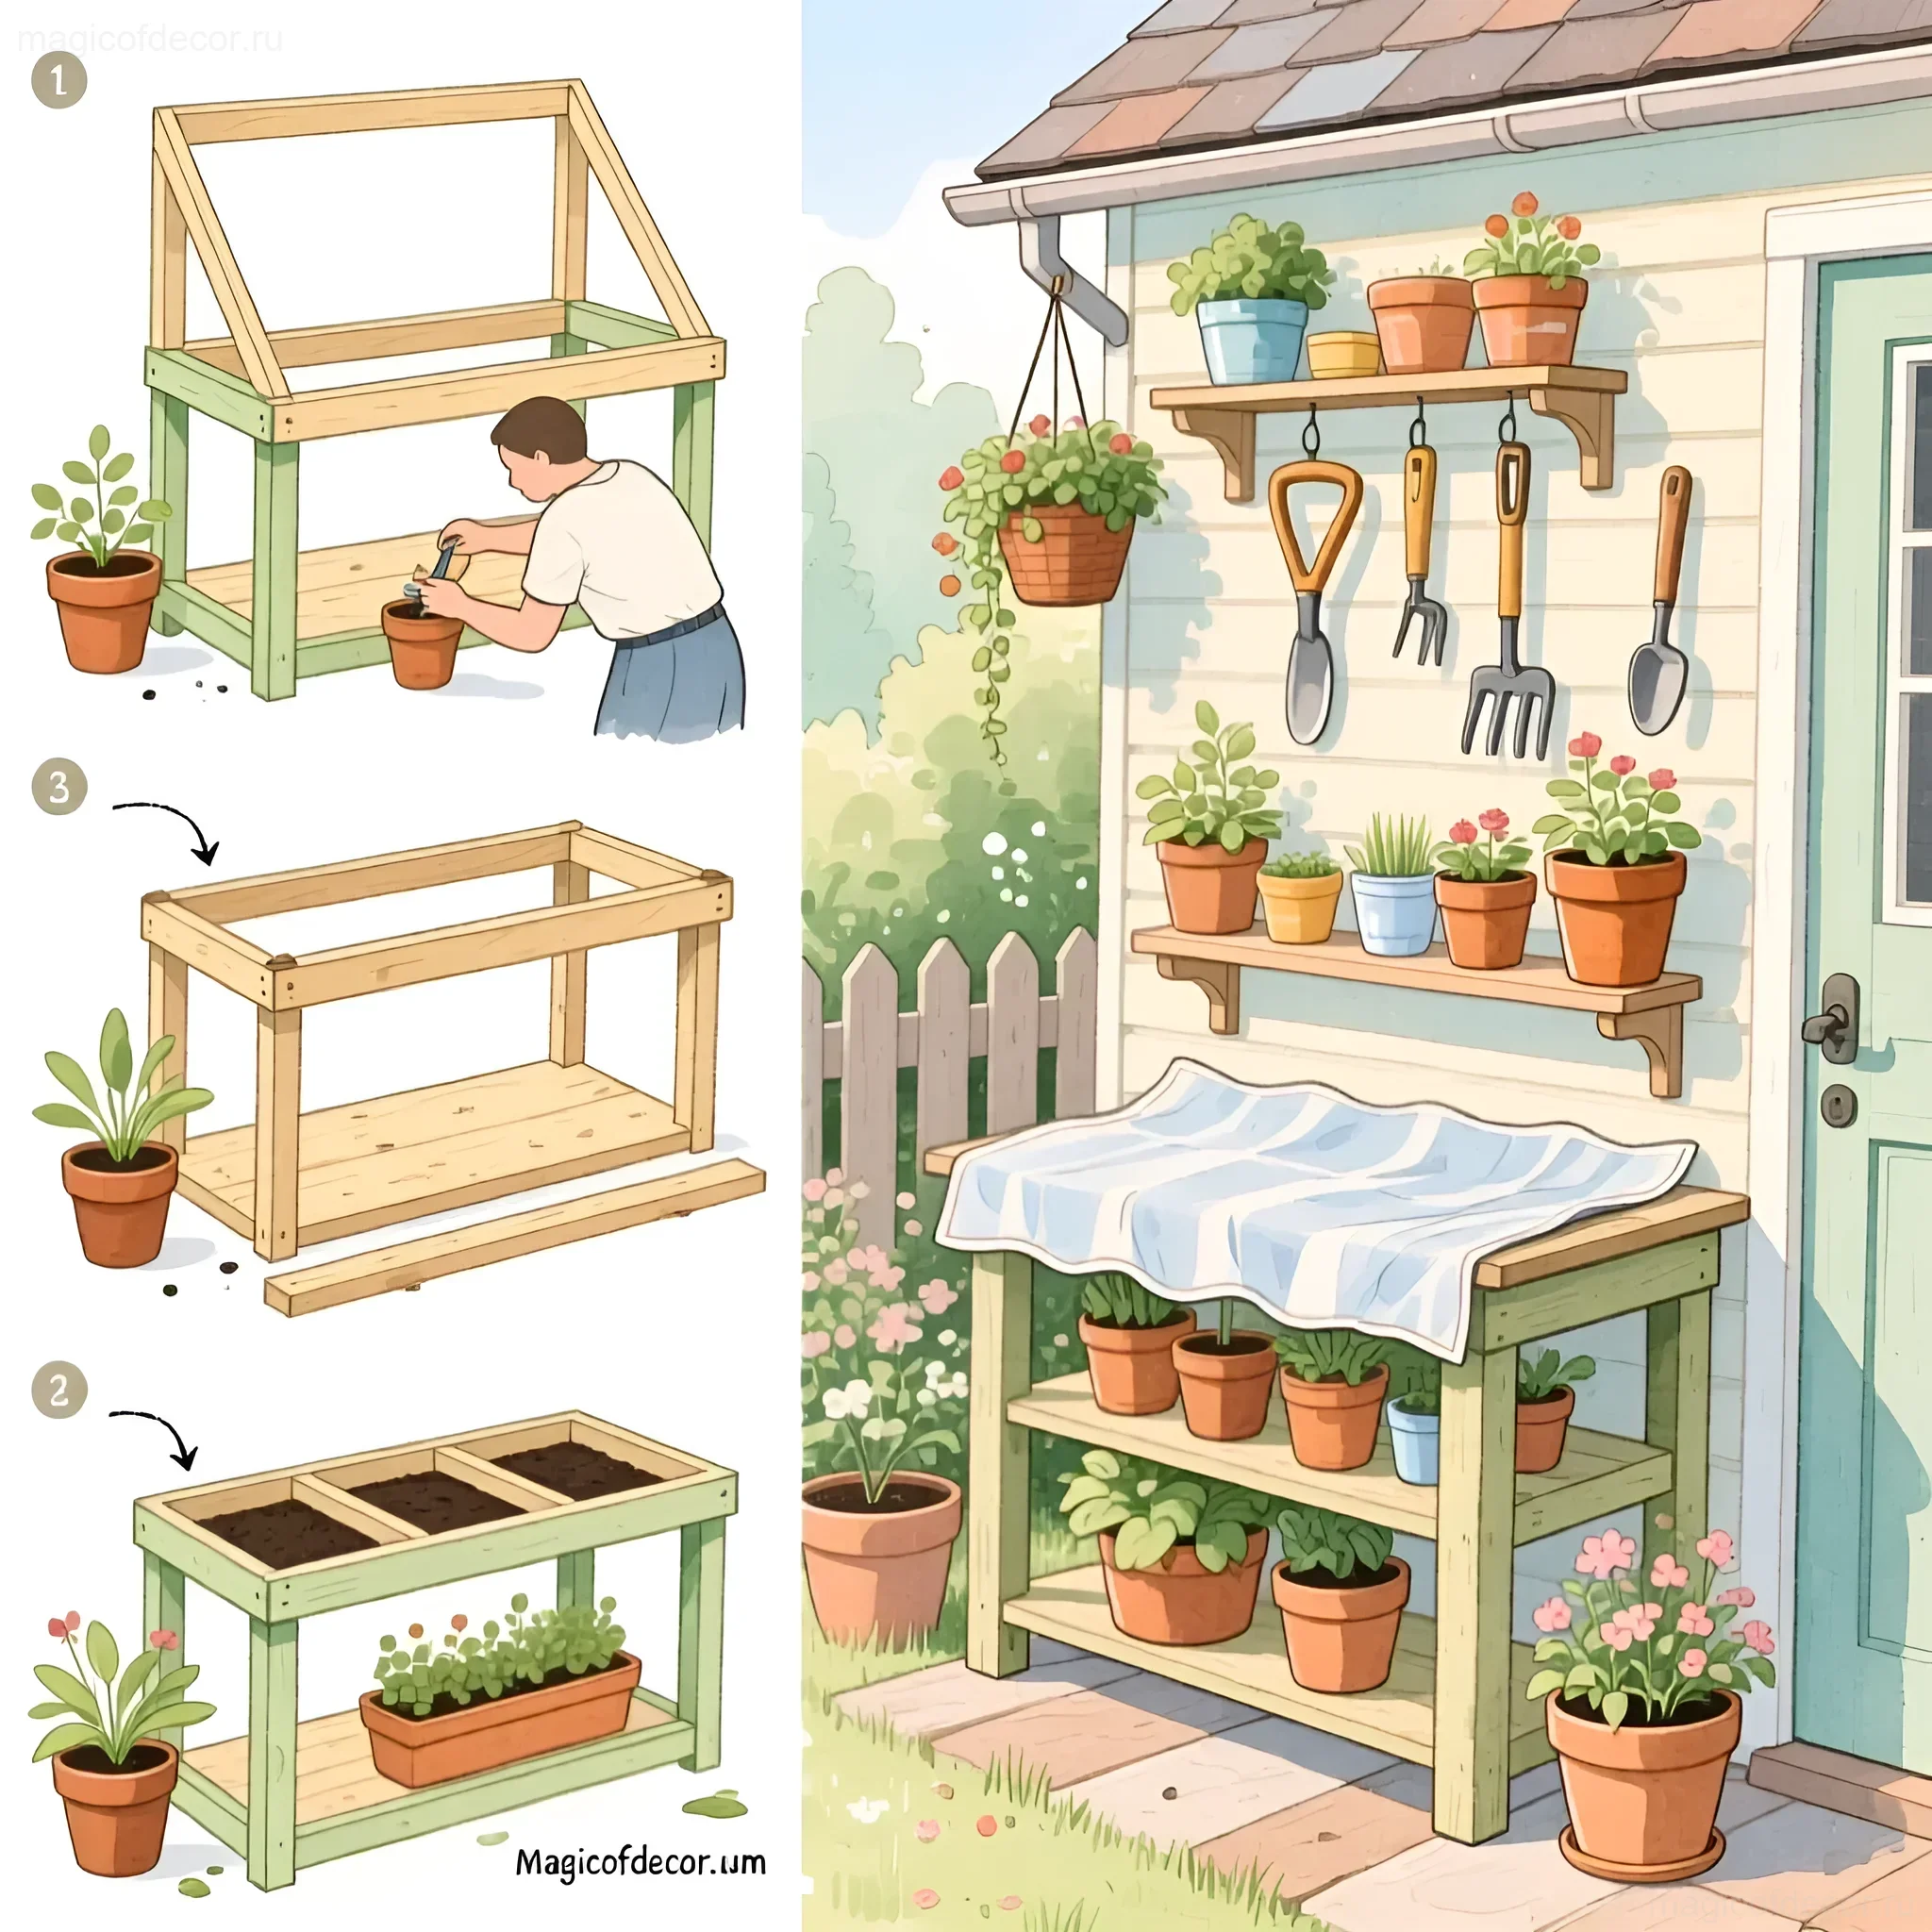
Let’s consider a simple wooden table option. This table is suitable for beginners and won’t require special skills.
- Material preparation: Cut the boards to the desired size. For the tabletop, you’ll need a rectangle approximately 80×60 cm. For the legs – 4 beams about 70-80 cm high.
- Sanding: Thoroughly sand all parts to avoid splinters.
- Tabletop assembly: Join the tabletop boards together using screws or glue.
- Attaching the legs: Attach the legs to the tabletop using screws. Ensure they are positioned straight and securely.
- Finishing: Cover the table with varnish or paint for moisture protection and an aesthetic look.
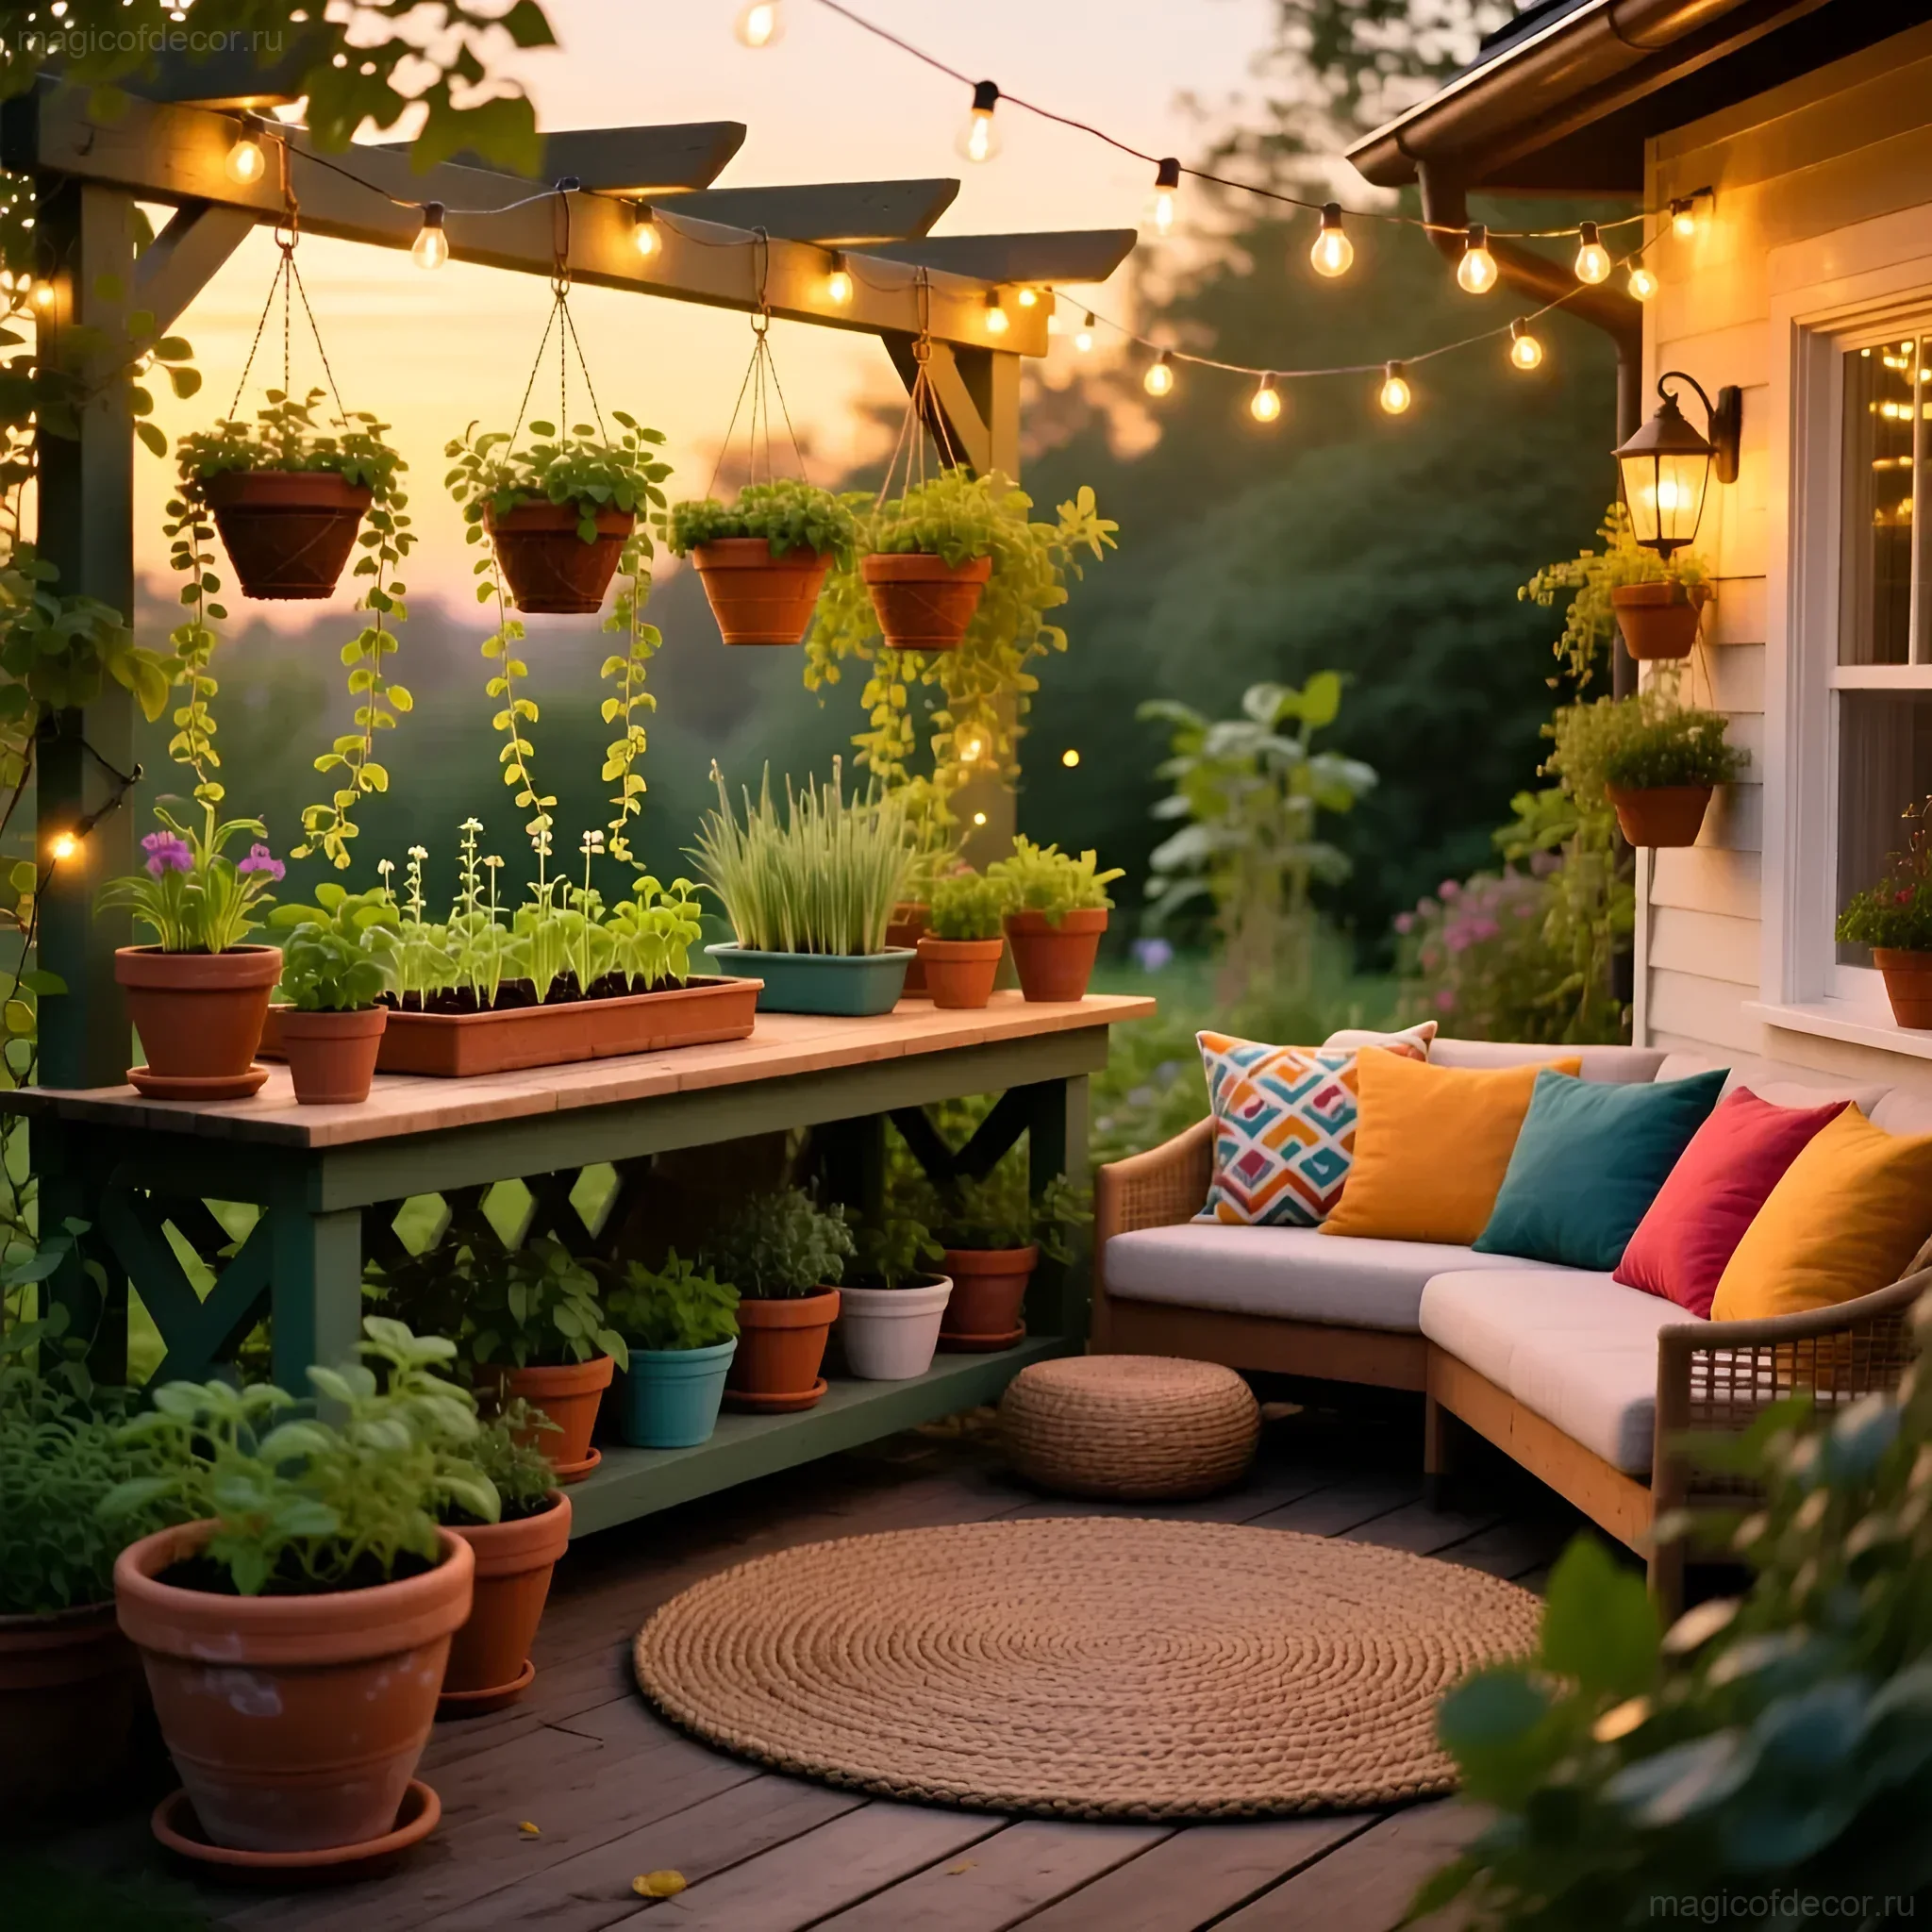
- Additional elements: If desired, you can add a shelf under the tabletop for storing tools and pots.
Tip: To make the table more stable, you can connect the legs with crossbars.
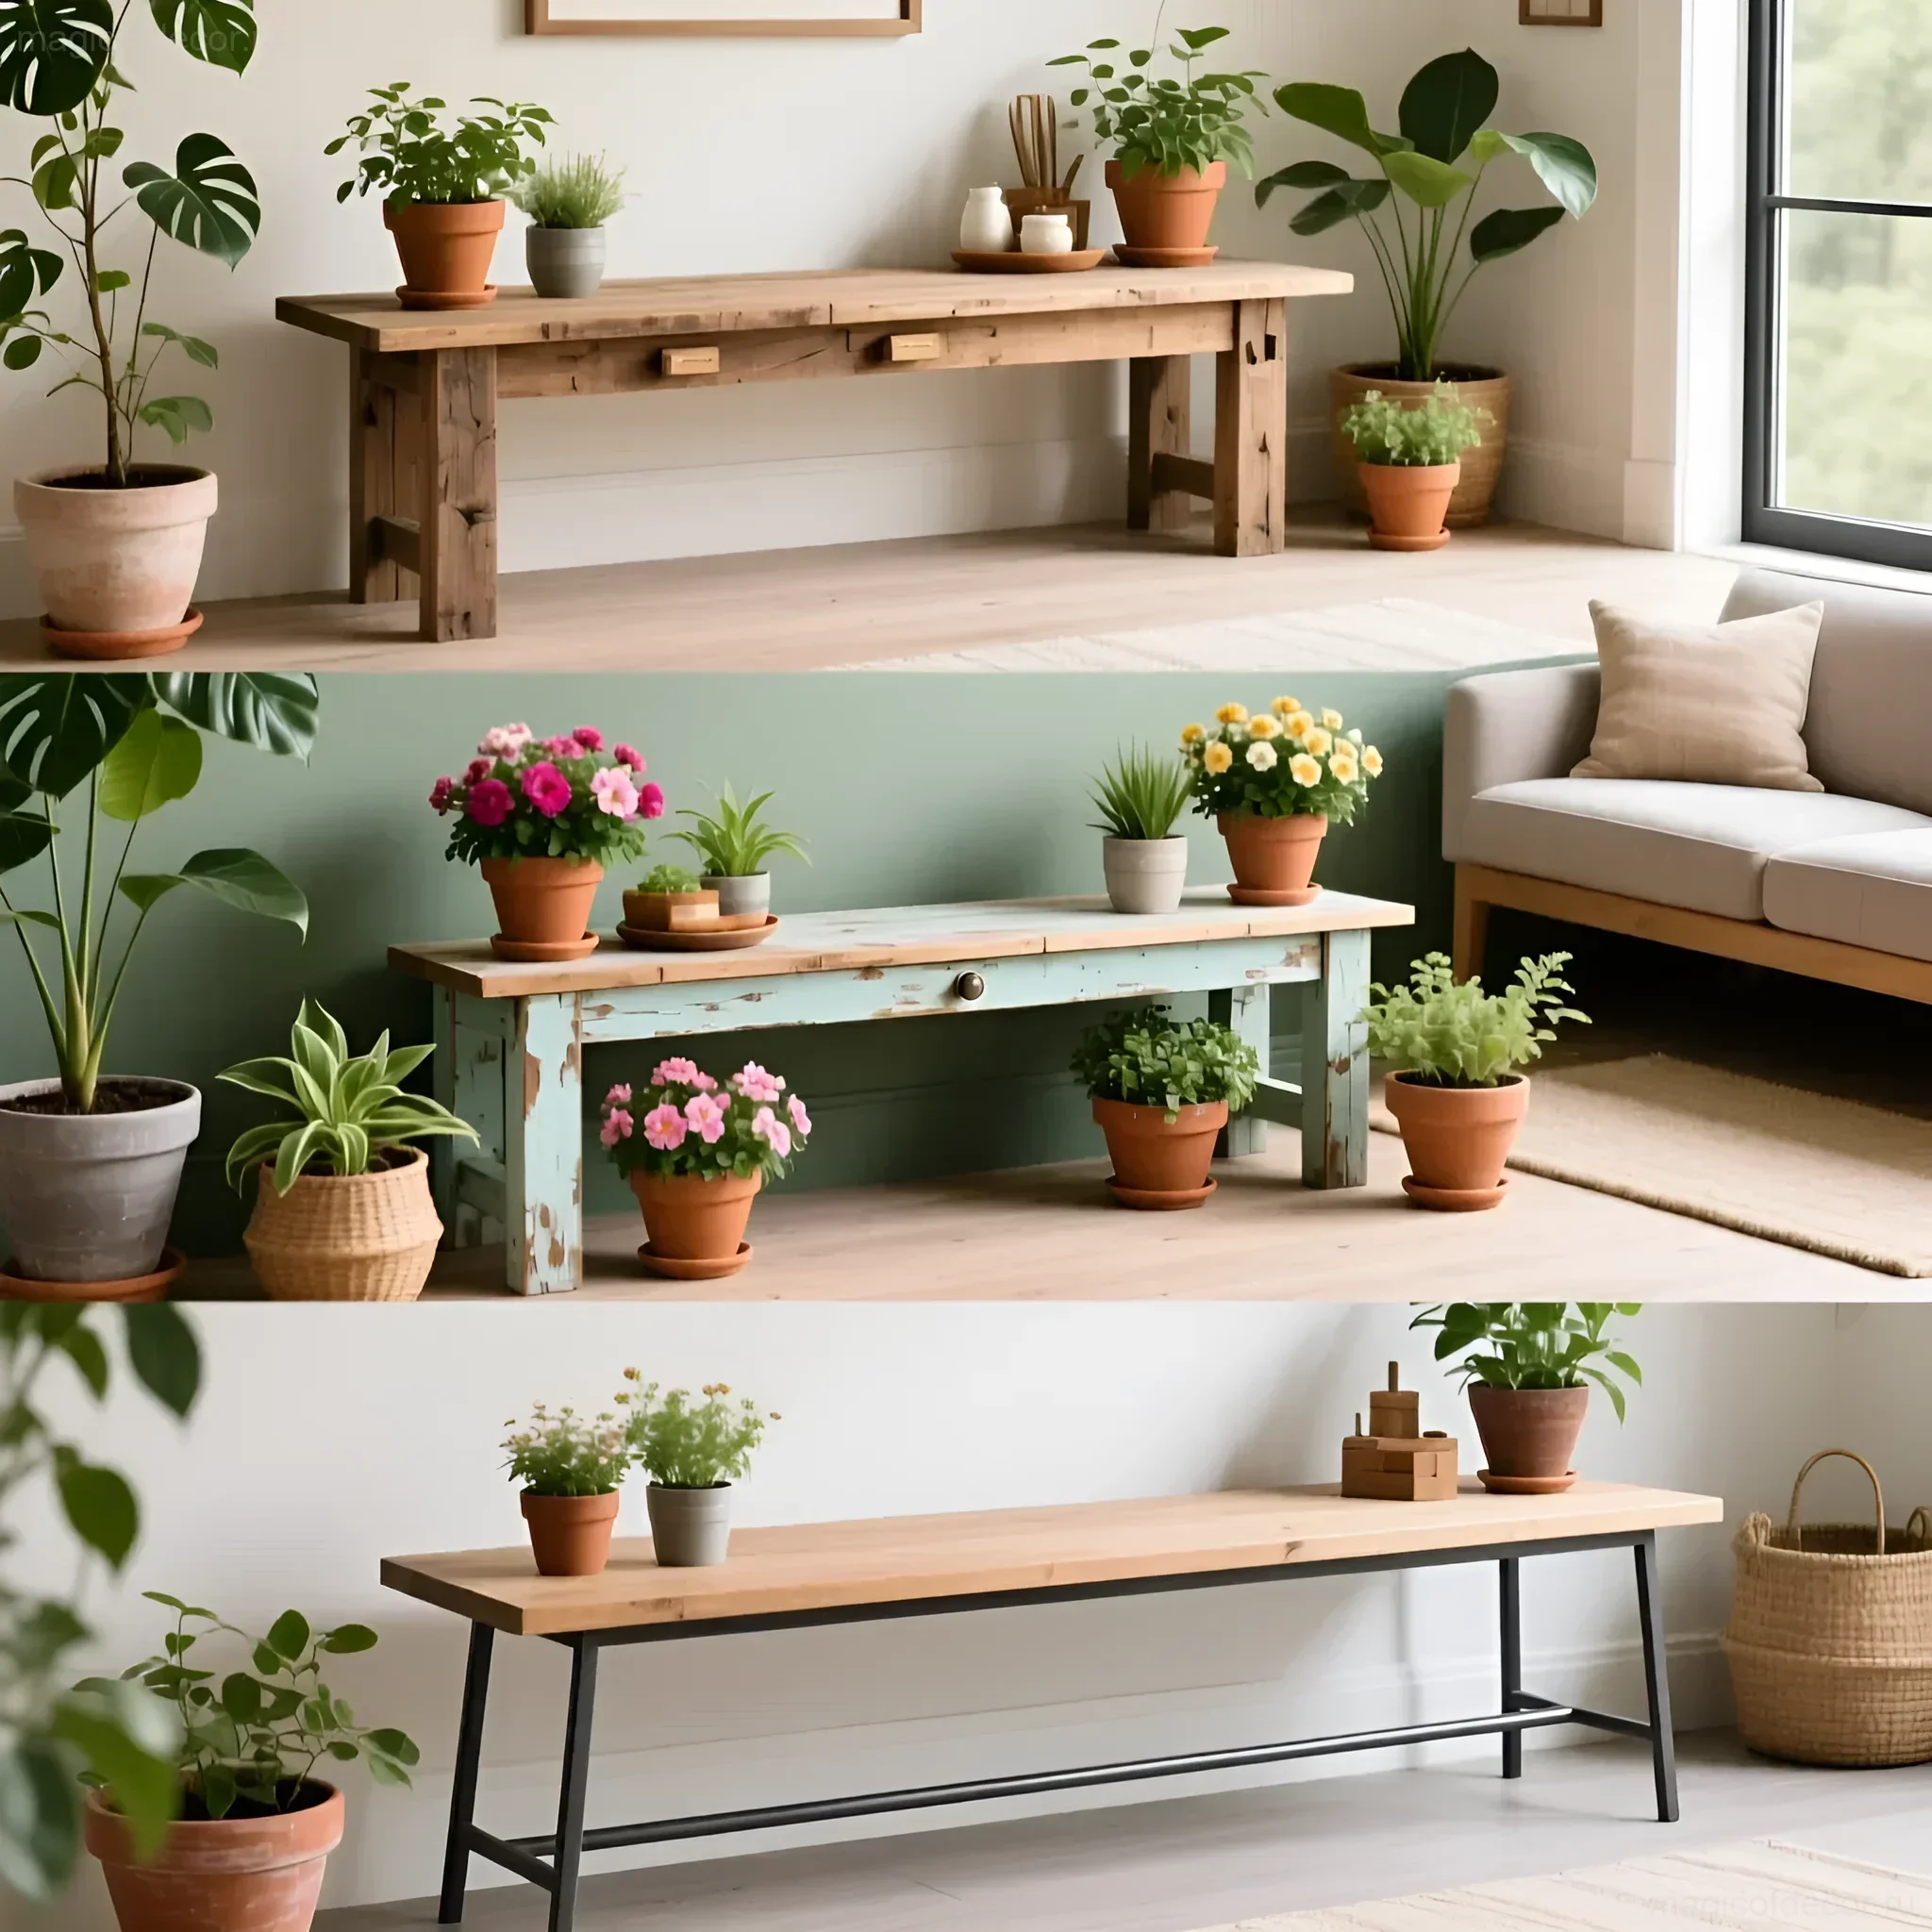
Design Options: From Simple to Exquisite – Choose Your Style!
There are a huge number of design options for transplanting tables. Here are a few ideas:
- Simple pallet table: A minimalist and budget-friendly option. Just sand and paint the pallet.
- Table with a shelf: A convenient option for storing tools and pots. The shelf can be made from boards or mesh.
- Table with drawers: A more functional option. Drawers can be used to store seeds, fertilizers, and other small items.
- Mosaic table: A bright and original option. The tabletop can be decorated with a mosaic of broken tiles or glass.
- Country-style table: Use aged wood, woven elements, and floral motifs.
Don’t be afraid to experiment! Add your own decorative elements to the table to make it harmoniously fit into your dacha’s landscape.
Table Care: How to Extend the Life of Your Assistant?
To ensure your table serves you for many years, proper care is essential:
- Regularly clean the tabletop from soil and dirt.
- Protect the table from direct sunlight and rain. If the table is outdoors, cover it with a film or a cover.
- Periodically refresh the paint or varnish coating.
- Check the reliability of the fastenings. Tighten screws as needed.
- In winter, store the table indoors or cover it with dense material.
Tip: Use special products to protect wood from moisture and rot.
Inspiration: Ideas for Organizing the Space Around the Table

A transplanting table is not just a workspace; it’s part of your dacha corner. Think about how to organize the space around it to make your work even more comfortable and enjoyable.
- Place the table in a shaded spot. This will protect you from the sun and overheating.
- Organize convenient access to water. There should be a tap or watering can near the table.
- Create a storage system for tools and pots. Use shelves, drawers, baskets, or racks.
- Plant flowers and herbs around the table. This will create a cozy and beautiful atmosphere.
- Place a comfortable chair or stool nearby.
Remember: Your workspace should be not only functional but also beautiful. Surround yourself with your favorite plants and decorative items to make your work bring you joy.
FAQ: Answering the Most Popular Questions

- What material is best for making the table? The choice of material depends on your preferences and budget. Wood is the most popular and environmentally friendly option.
- What should be the height of the table? The optimal height is 70-80 cm.
- Is a shelf under the tabletop necessary? A shelf is a convenient addition that allows for storing tools and pots.
- How to protect the table from moisture? Cover the table with varnish or paint.
- Can old pallets be used? Yes, old pallets are an excellent budget-friendly option.
Interesting Facts: A Little History and Useful Information
The idea of creating a special table for working with plants originated in ancient times. Aristocratic gardens always had separate areas for transplanting and caring for flowers. In the Middle Ages, monks in monastery gardens used wooden tables for growing medicinal herbs. Over time, transplanting tables became more convenient and functional. Today, there are many different table models that vary in design, materials, and purpose. And creating a table with your own hands is a great way to express your creativity and make your dacha even cozier and more beautiful.