My dear lovers of coziness and harmony! As a professional decorator, I always say: the beauty of a home begins with self-care. And what could be better than creating an island of absolute relaxation right at your favorite dacha? Today, we won’t be talking about heavy renovations or redevelopments. We will be creating magic underfoot – a health path, or as it’s also called, a sensory path. This is an amazing decorative element and a powerful therapeutic tool that will connect you with nature, give you a foot massage, and fill your dacha plot with special meaning. This is a project that you can easily implement with your own hands, without involving a construction crew, using only your inspiration and simple, often budget-friendly materials.
Health Path at the Dacha with Your Own Hands: Inspiration and Ideas for Harmony with Nature
A health path is not just a walkway. It is a sequence of sections with various fillers that stimulate the nerve endings in the feet. Walking barefoot on such a path improves blood circulation, relieves stress, and even strengthens immunity. And from a decorative point of view, it’s a stunning way to add texture and dynamism to your garden.
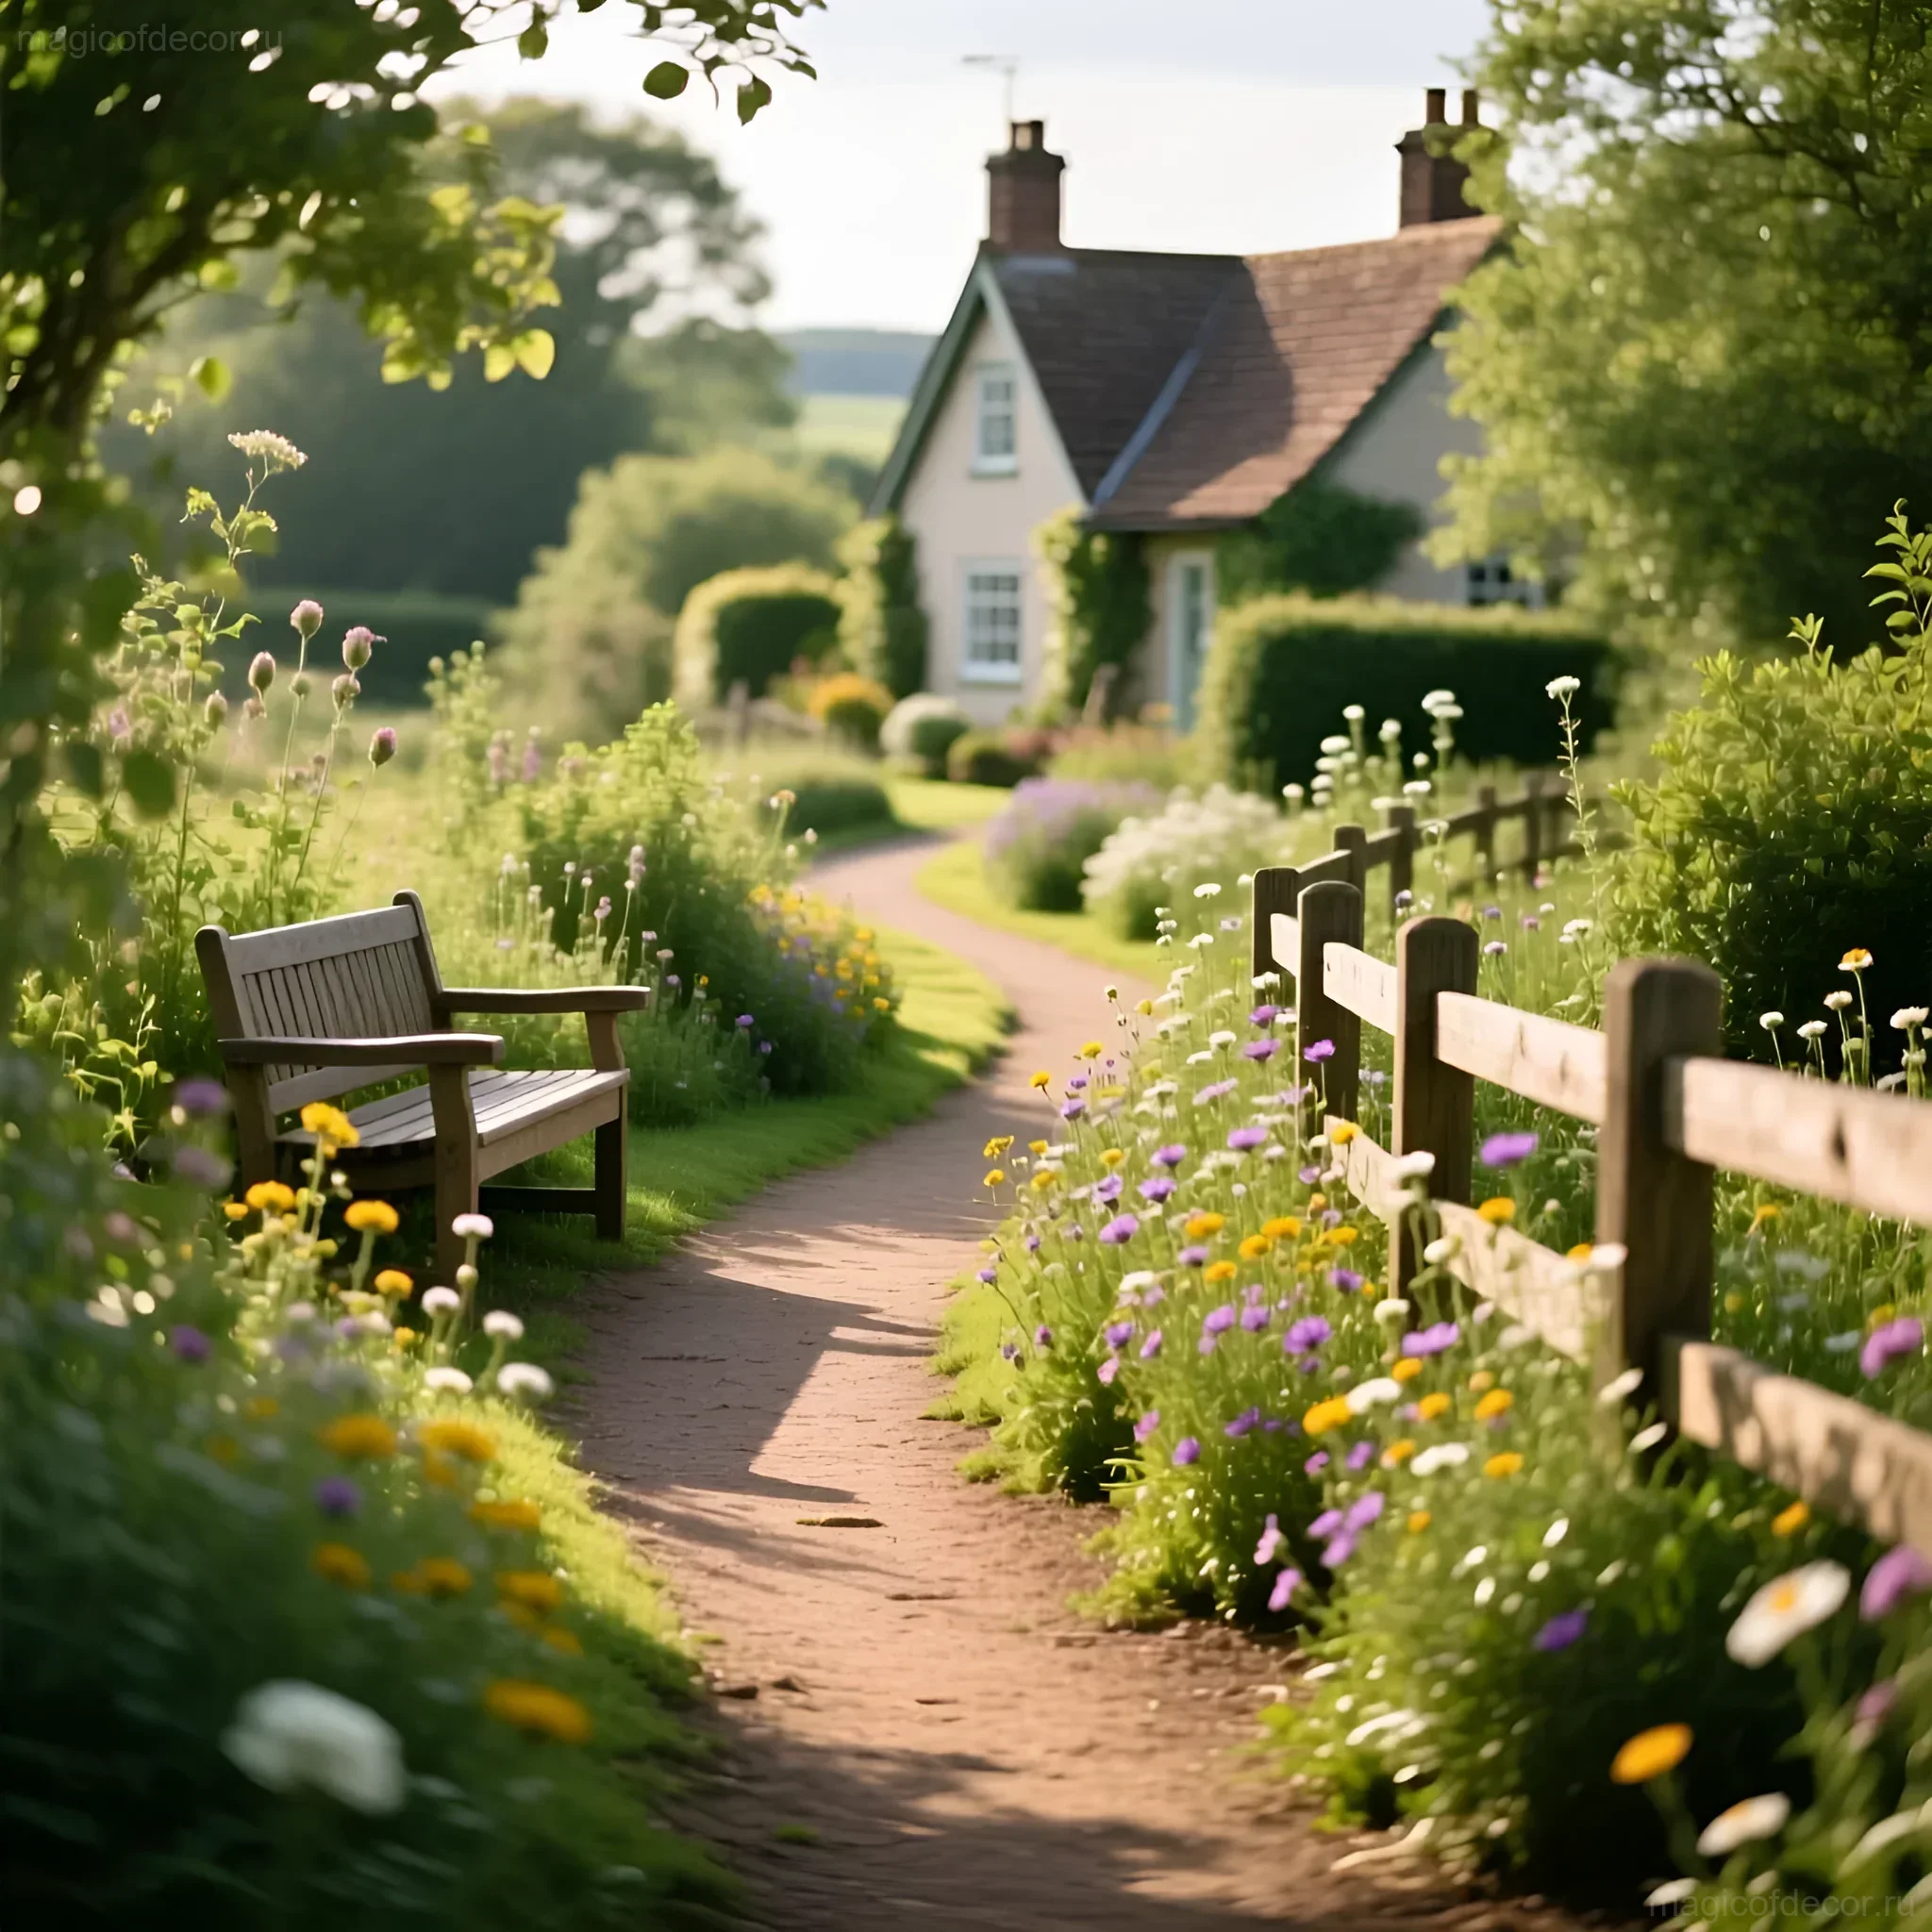
Before we start working, let’s get inspired and decide on a concept. The path should be integrated into the landscape, not look like an alien element. Here are a few ideas to help you get started:
- Meditation Path: Choose smooth, curved lines leading to a secluded spot (e.g., a bench under an old apple tree). Use natural, calm colors: gray gravel, beige sand, brown bark.
- Game Path (for children and adults): Make the sections contrasting. Add bright decorative elements along the edges: painted stones, low borders made of colored bottles.
- Fitness Path: Place small stations at the beginning and end of the path: a stretching area, a mini-pull-up bar, or just a decorative pole for support.
The decorator’s main rule: the path should be a continuation of your home. If the interior is in the Provence style, use light gravel and lavender along the borders. If you have Scandinavian minimalism, opt for wood and moss.
Materials for a Health Path: Choosing Eco-friendly and Accessible Options
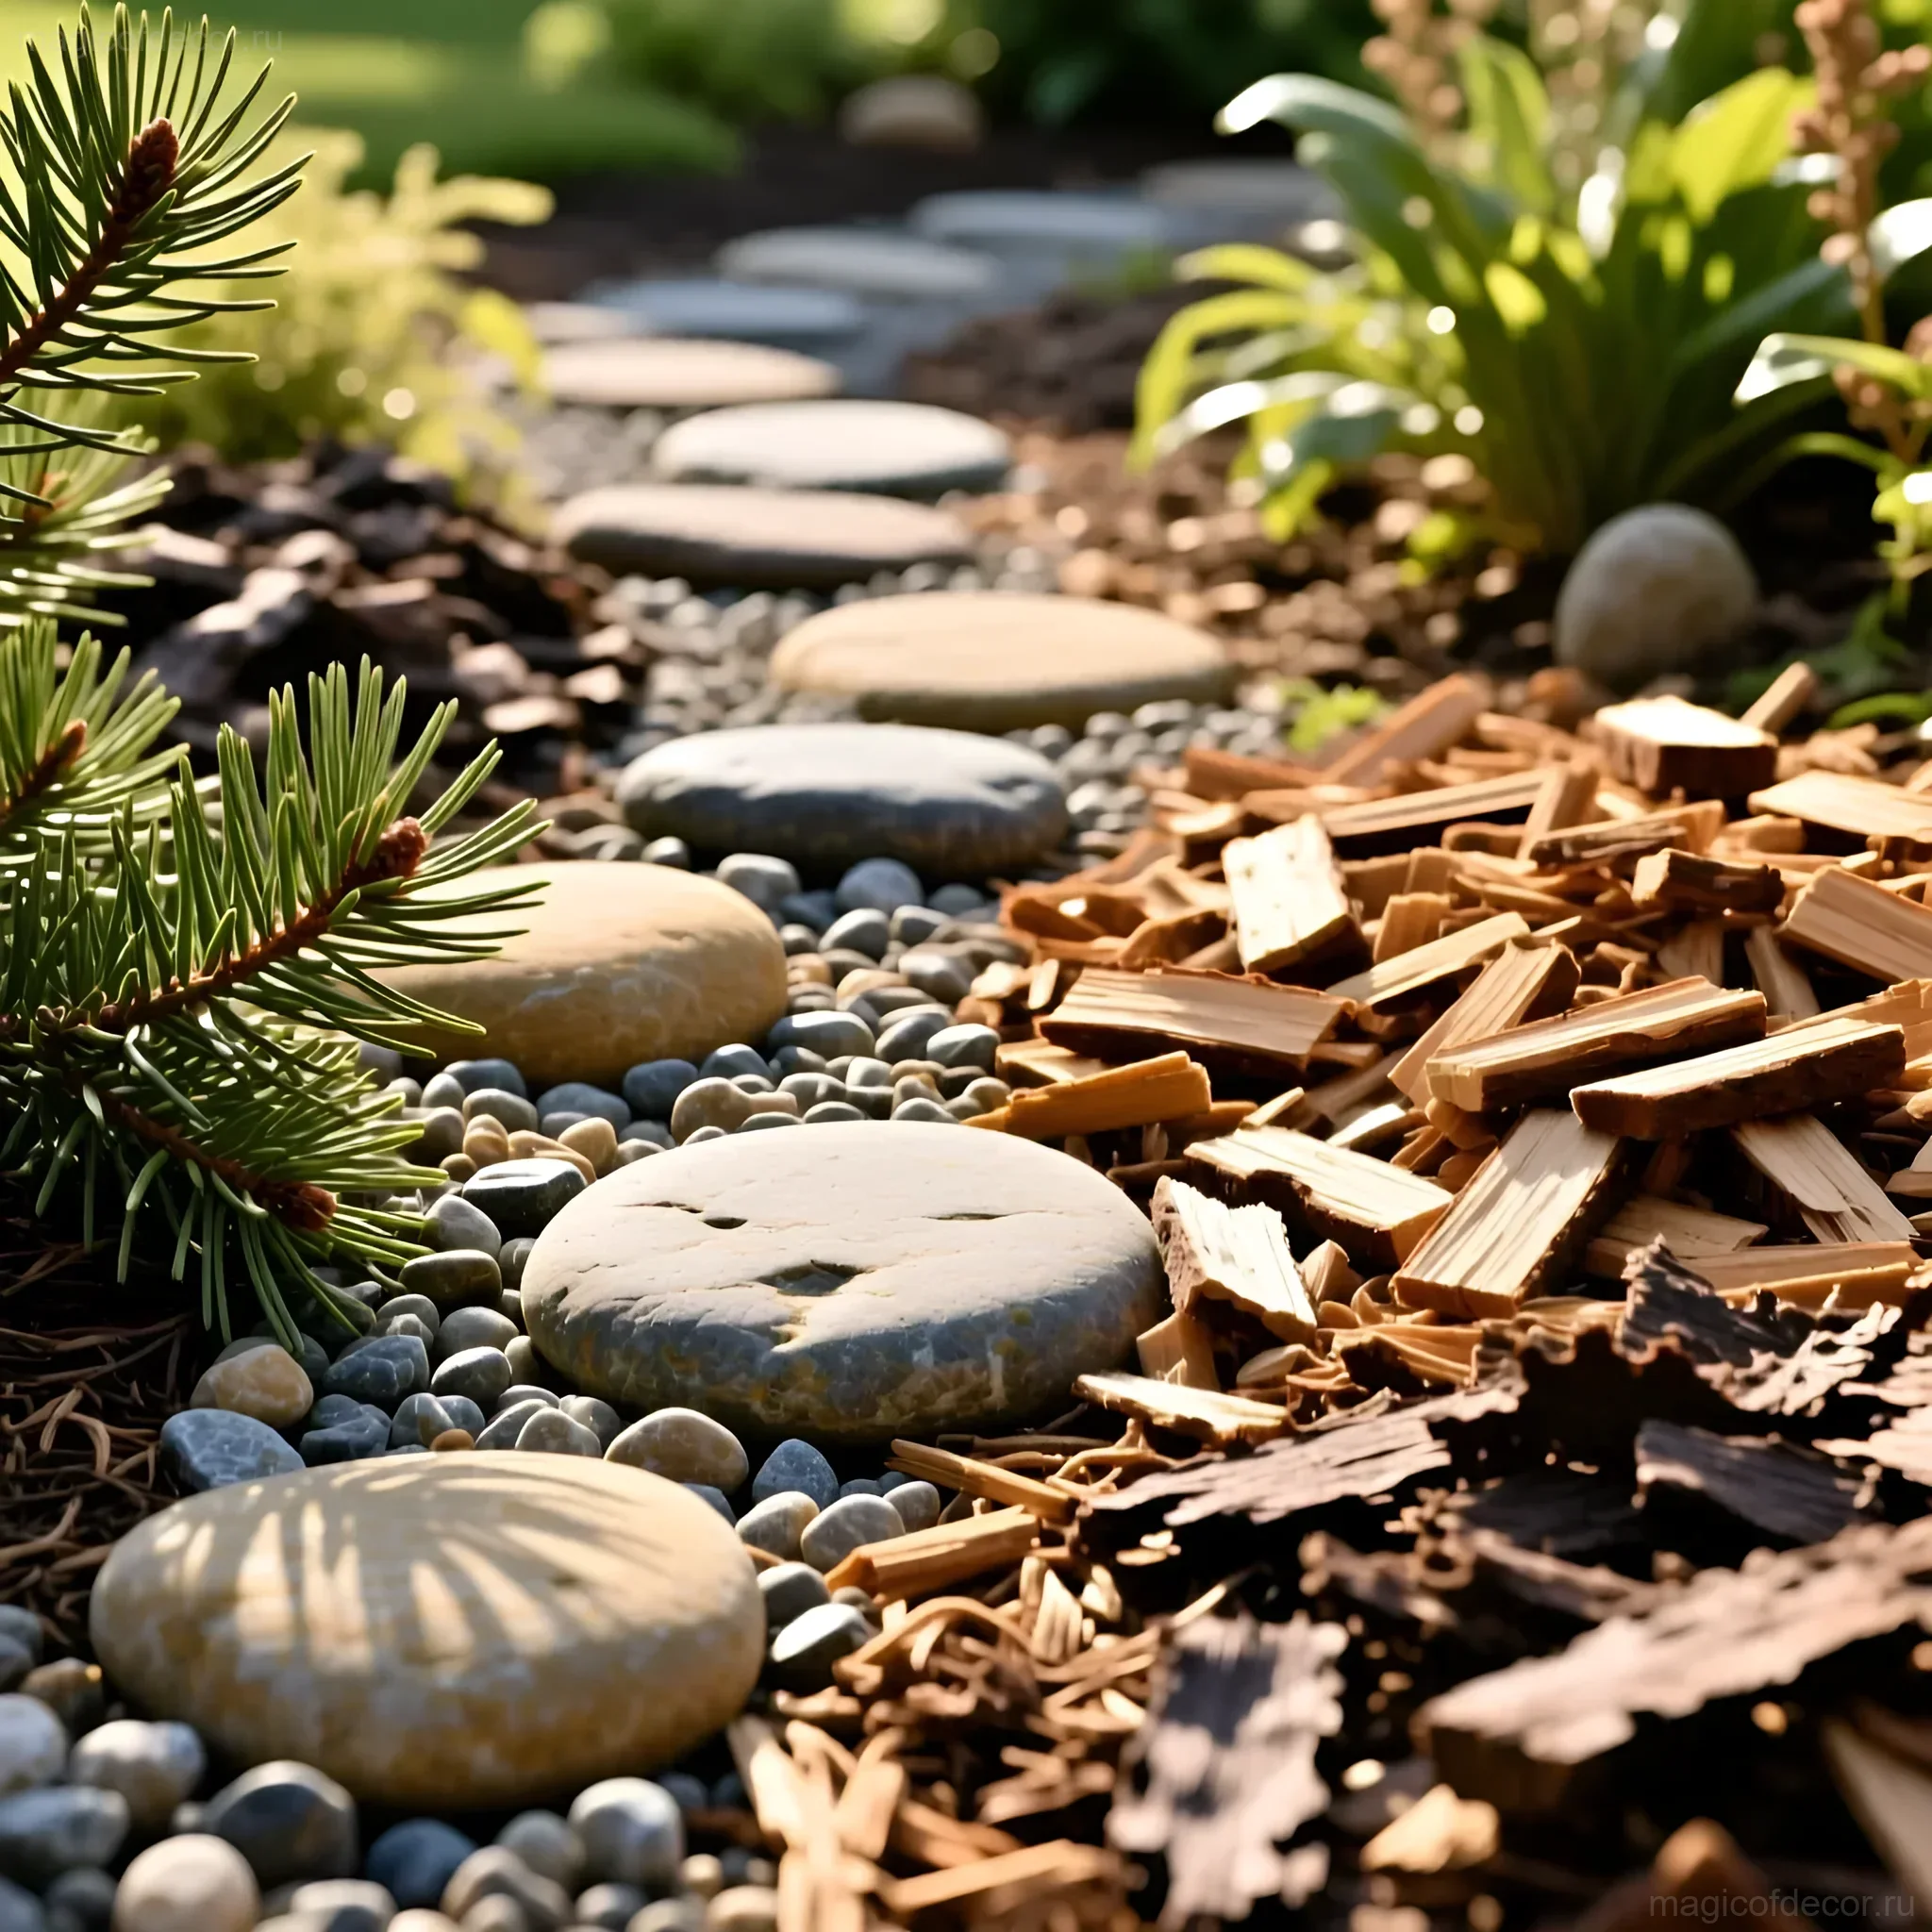
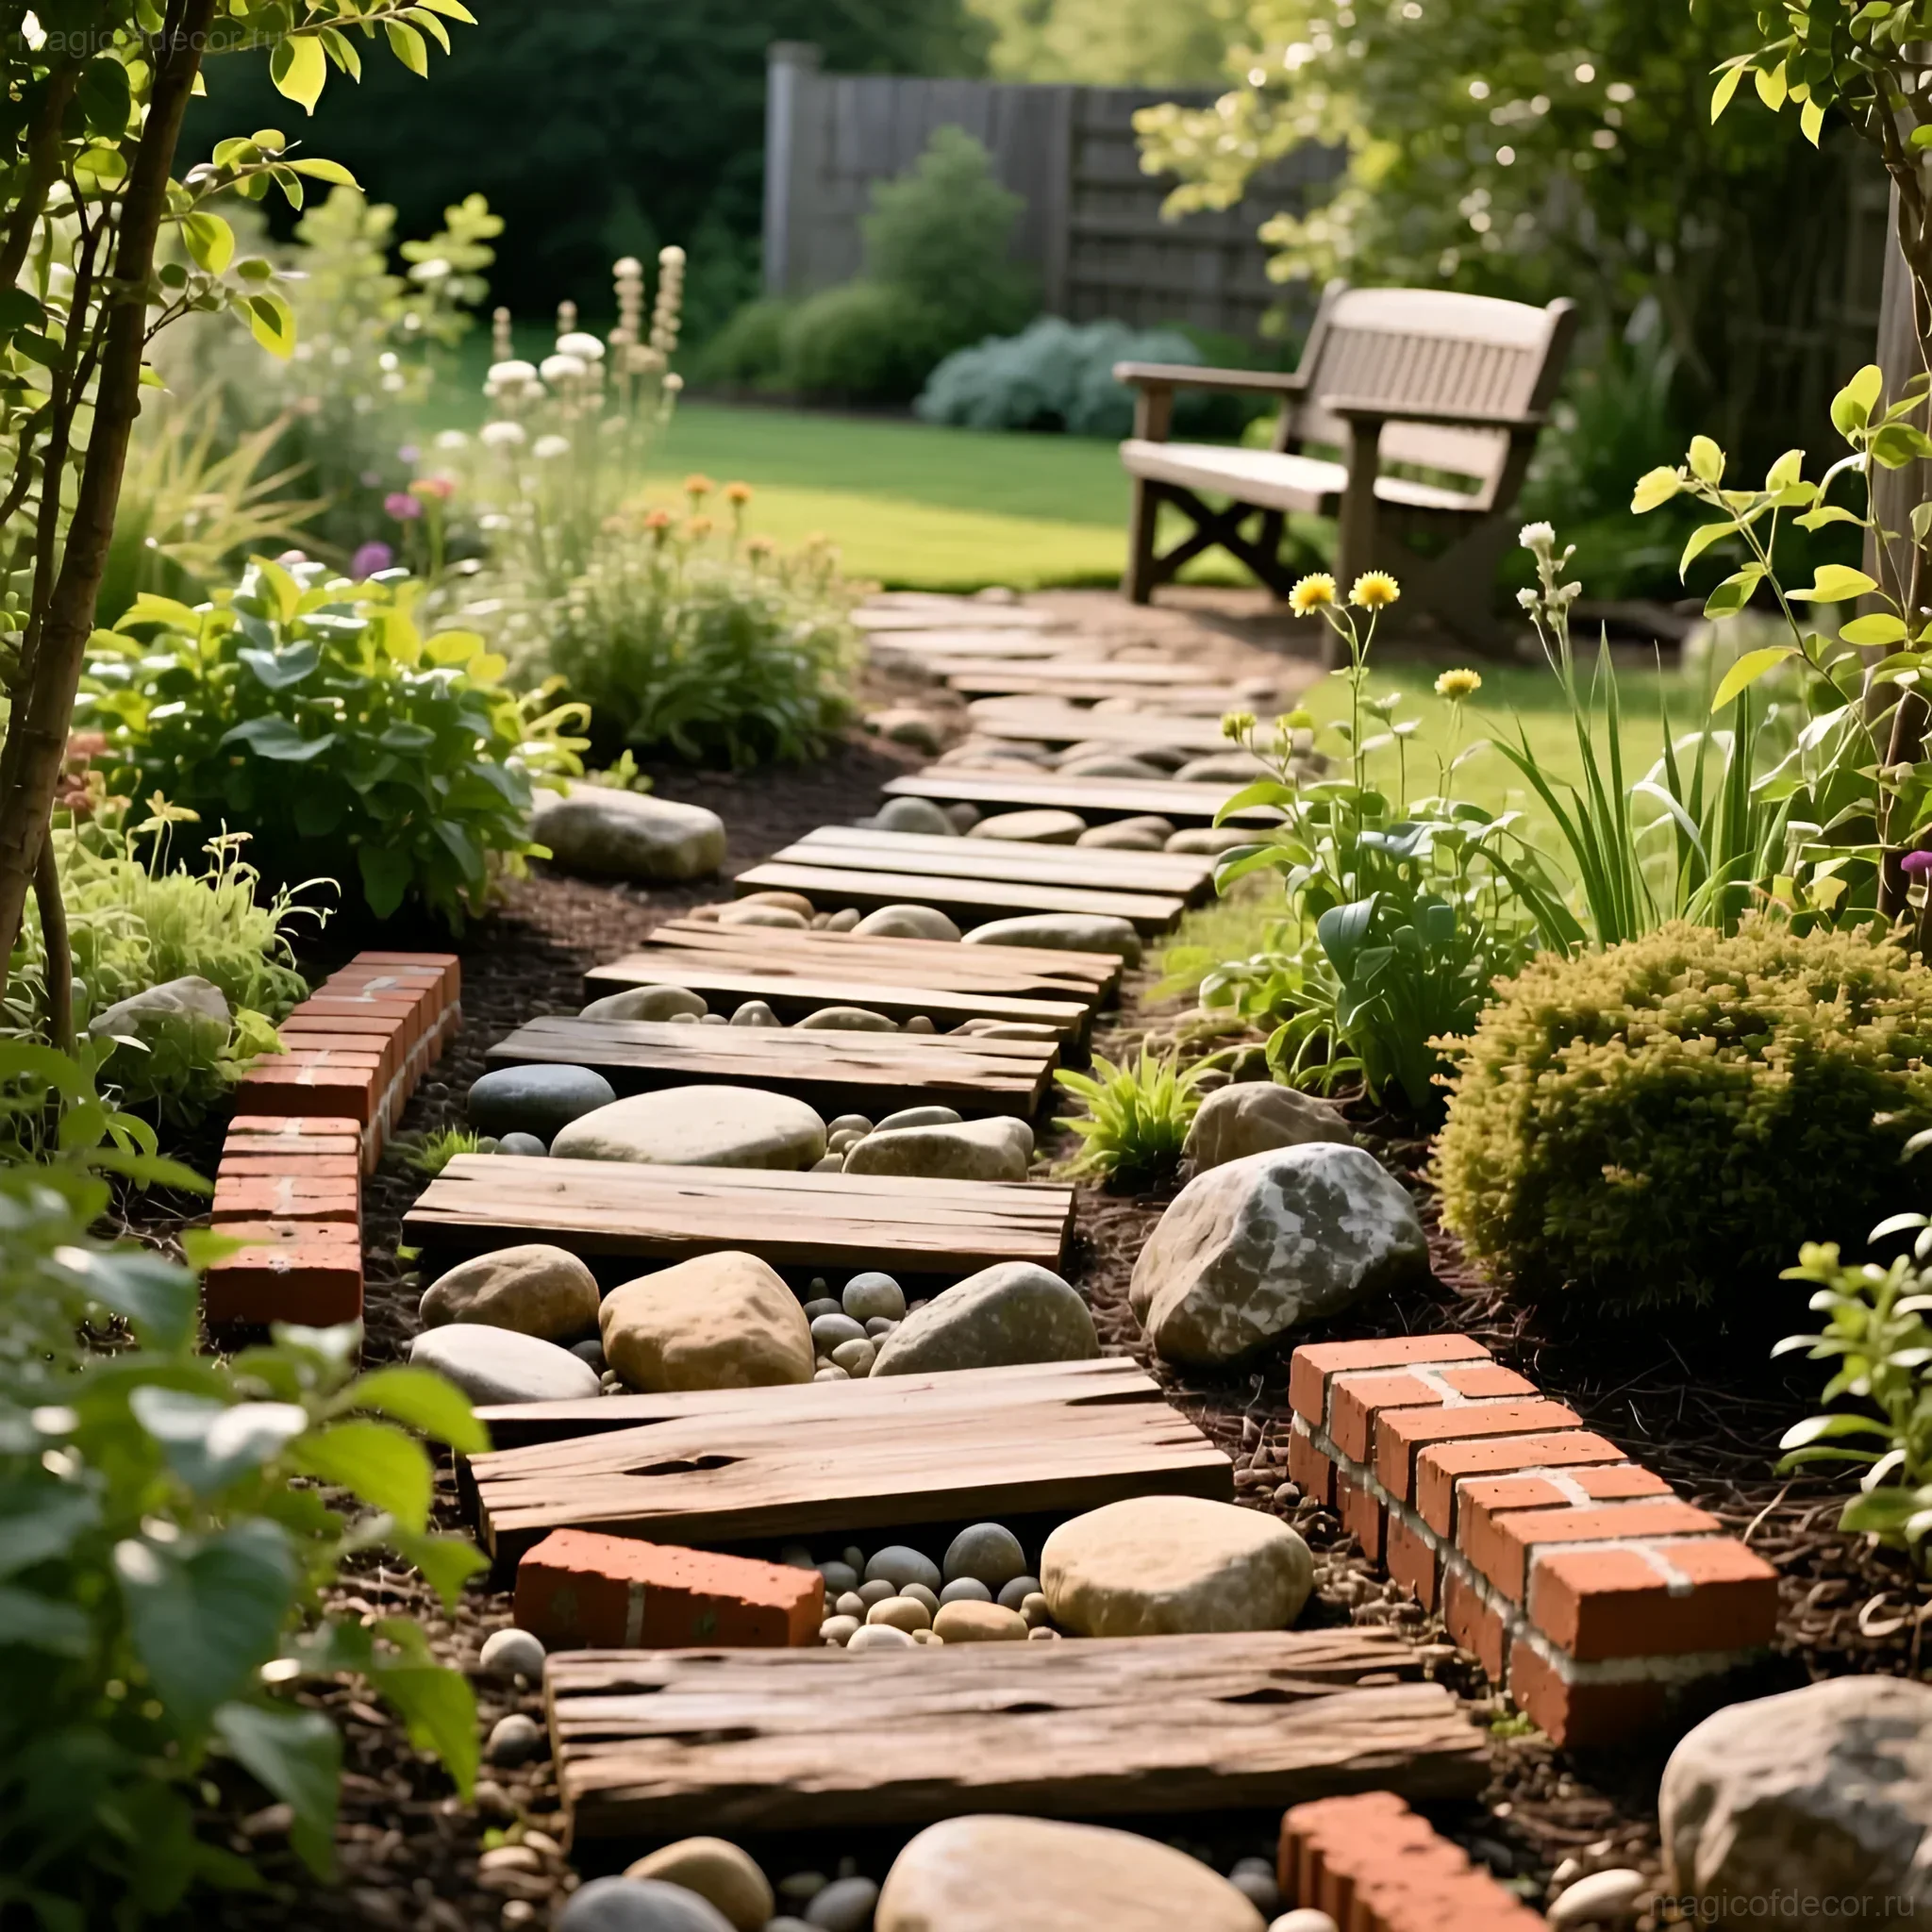
The secret to a successful health path is the variety of textures. We need 6 to 10 sections, each offering new sensations. Remember that the materials should be clean, have no sharp edges, and not get too hot in the sun.
Classification of Fillers by Sensation:
1. Soft and Warm (for starting and relaxing):
- River Sand: Ideal for the first section. Choose coarse-grained sand; it holds its shape better and provides a more pleasant massage.
- Wood Bark or Chips: An eco-friendly and very warm material. Excellent for decoration and does not injure the feet.
- Hay or Straw: Use only in dry weather and change regularly. Provides a very soft and specific massage.
2. Stimulating and Natural:
- Pine and Spruce Cones: Collect medium-sized ones. They provide a pinpoint massage. Decorator’s tip: before use, wash and dry the cones to prevent mold.
- Plastic Bottle Caps: A budget-friendly and bright DIY option. Lay them tightly, bottom side up. This is an excellent reflexology massage.
- Smooth Sea Pebbles: Only well-rounded stones! Ideal for massaging the arch of the foot.
3. Hard and Therapeutic (for the experienced):
- Large Gravel or Crushed Stone (fraction 20–40 mm): Use moderately. Adds an intense massage. Be sure there are no sharp edges.
- Wood Slices (end cuts): An excellent decorative element. The slices should be 3–5 cm thick and well treated with an antiseptic. They create the sensation of walking on stumps.
- Ceramic Tile (broken): Bold, but effective! Important: use only parts without sharp edges. Sand down the edges.
Step-by-Step Instructions: Creating a Health Path at the Dacha from Planning to Finishing Touches
Creating a path is an engaging project that will take only a couple of weekends. Let’s break down the process step by step.
Step 1: Planning and Marking
- Choosing a Location: The path should be in shade or partial shade so that the materials do not overheat. It’s ideal if it starts from the porch or a relaxation area.
- Determining Length and Width: The optimal width is 60–80 cm (for comfortable walking). The length of each segment is 50–100 cm.
- Marking: Use stakes and string to outline the contour. If the path is winding, use a garden hose to mimic smooth lines.
Step 2: Preparing the Base
A health path, like any decorative element, requires good drainage so that the fillers do not rot and weeds do not grow.
- Digging a Trench: Remove the top layer of soil to a depth of 15–20 cm.
- Laying Geotextile: This is critically important! Geotextile will prevent the fillers from mixing with the soil and stop weed growth.
- Drainage Layer (optional): If you have a very wet plot, lay 5 cm of coarse sand or fine gravel under the geotextile.
Step 3: Edging and Sections
Each section should be clearly separated from the next.
- Installing Edging: Use garden edging tapes, wooden planks, bricks, or even old tires cut in half. The edging should protrude 5–7 cm above the ground.
- Dividing Sections: Inside the trench, install transverse dividers (e.g., boards or plastic edging) every 50–100 cm, creating “cells” for different fillers.
Step 4: Filling
Pour in the chosen materials. The filler level should be 2–3 cm below the edge of the border. This will prevent spillage and make walking easier.
Important: Start with the softest material and gradually move to the harder ones (e.g., sand → bark → cones → pebbles). This will prepare your feet for more intense stimulation.
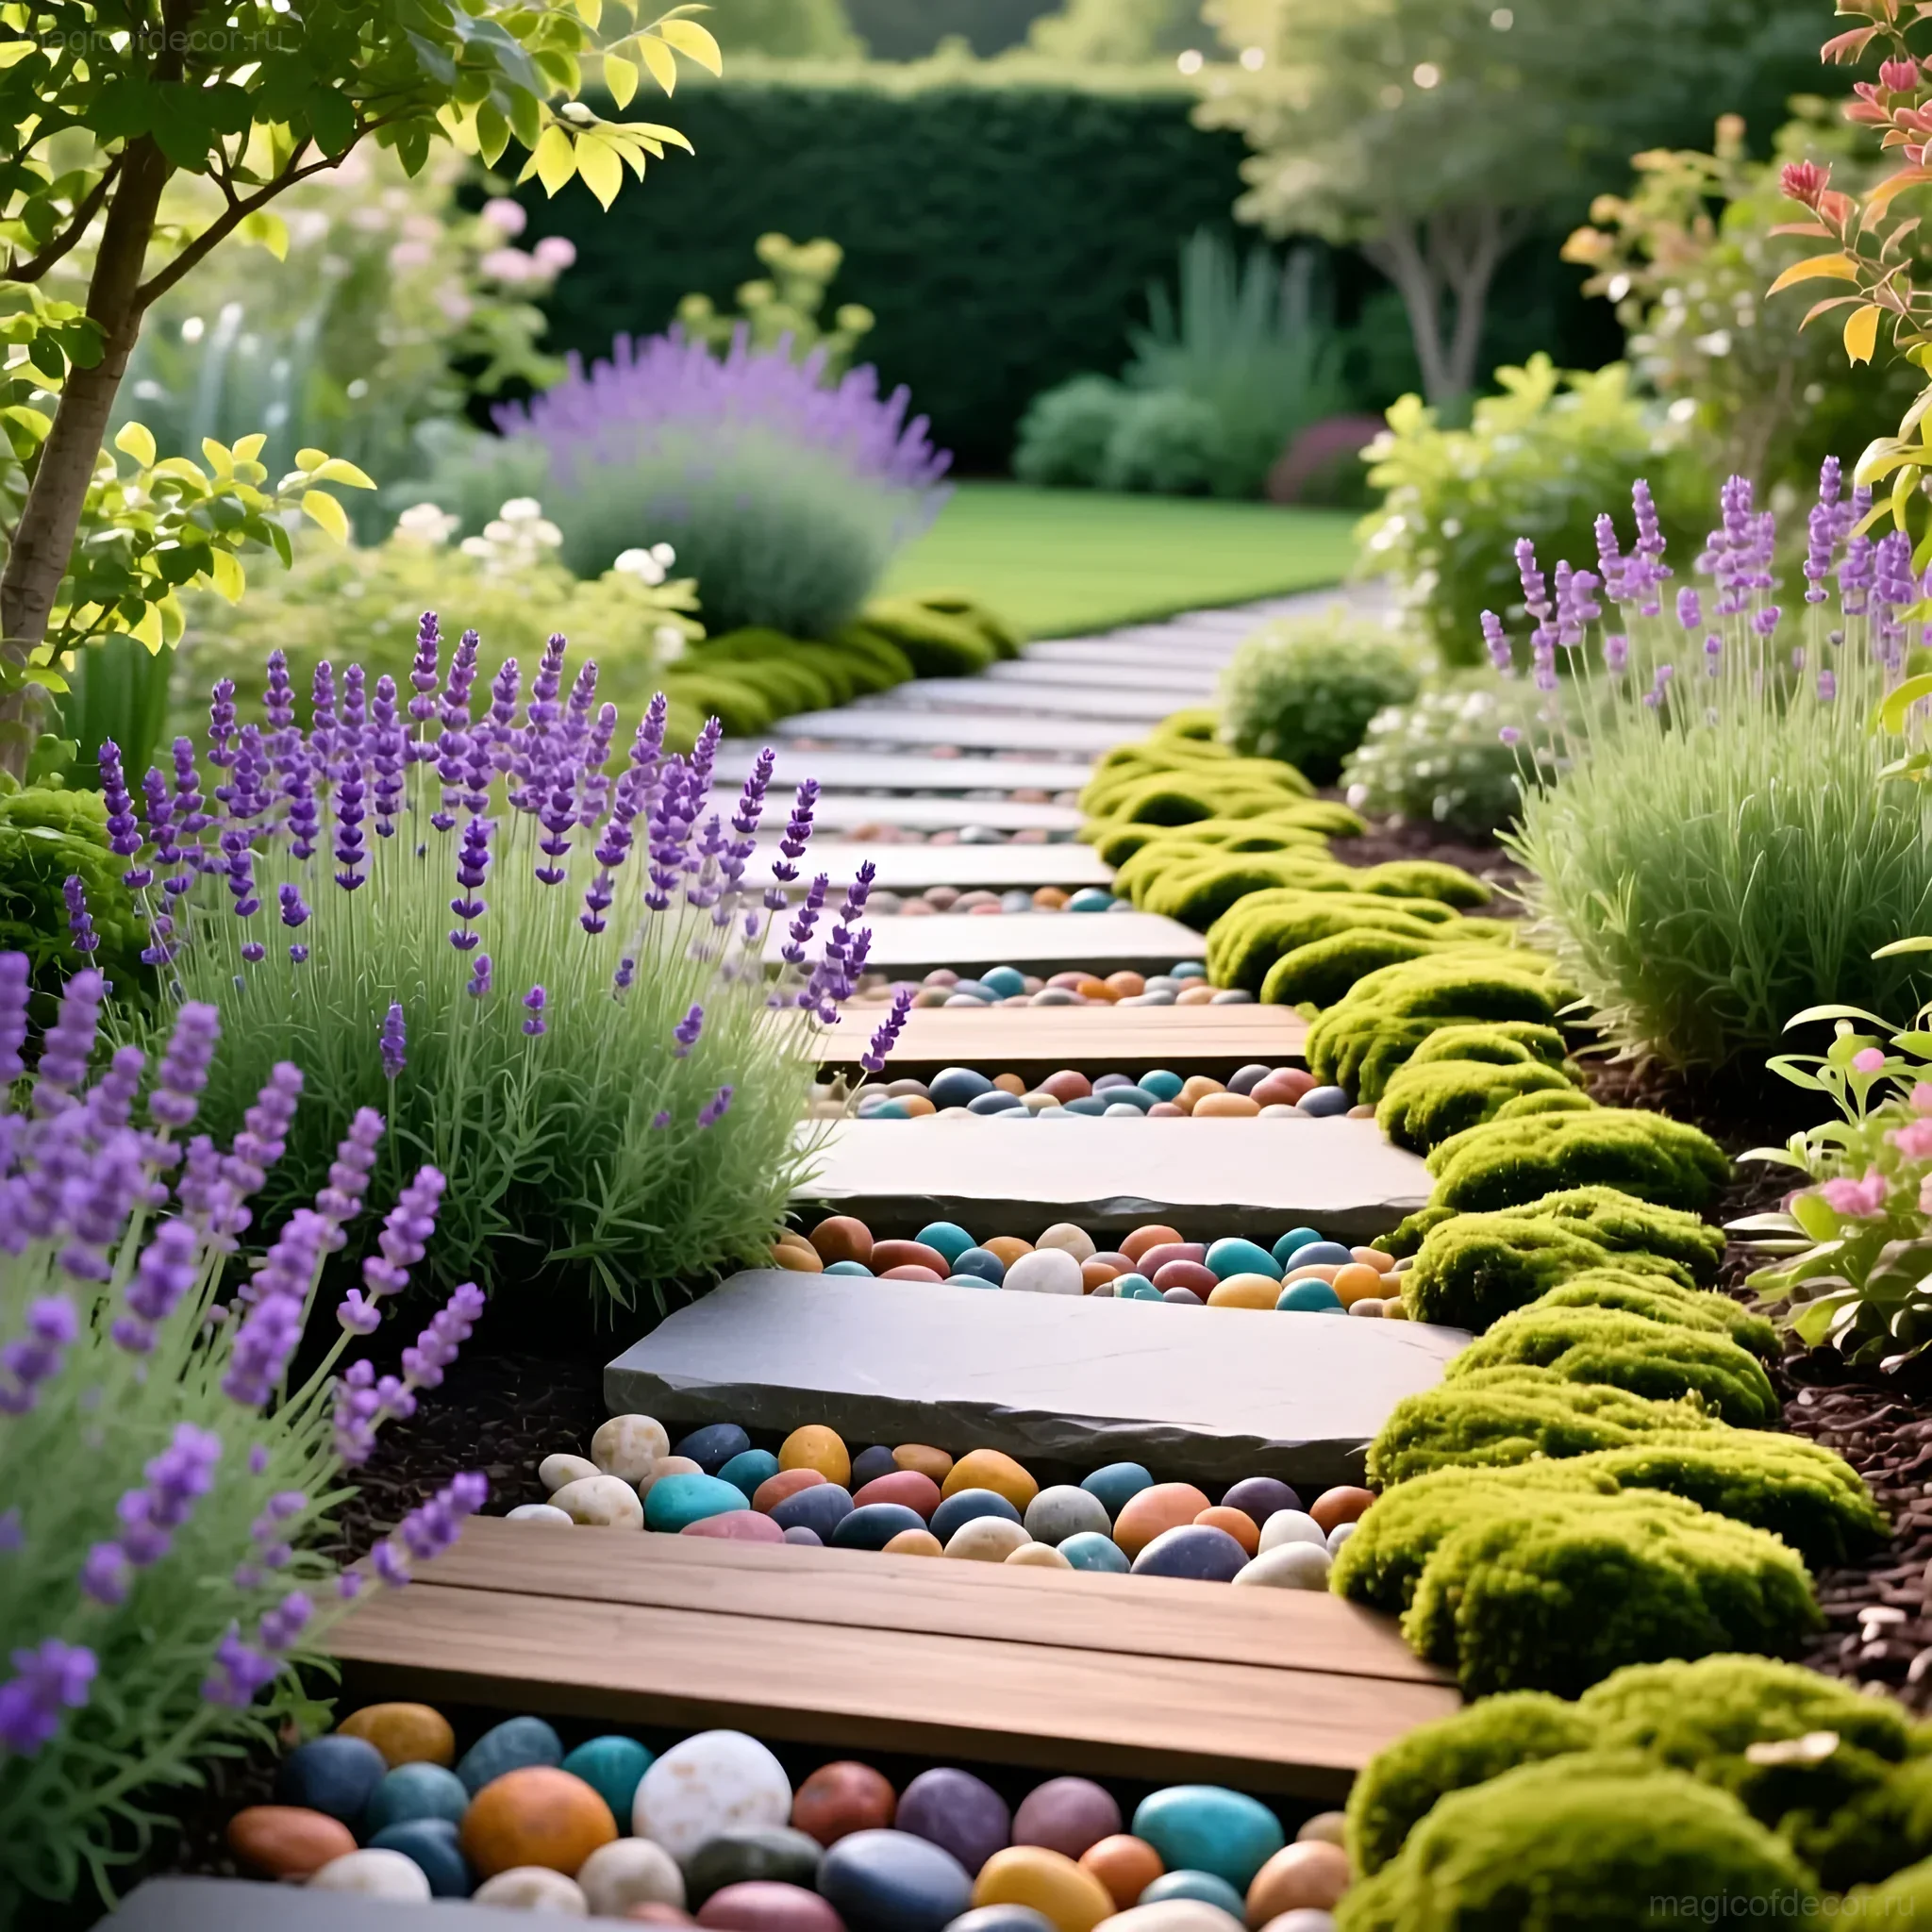
Color and Texture Solutions for a Health Path: Creating an Atmosphere of Serenity
Decorating a health path is a play of contrasts. It’s important that the path looks harmonious even when you’re not walking on it.
Visual Rhythm and Color
Create a visual rhythm by alternating light and dark textures. This is not only beautiful but also helps the brain adjust to changing sensations:
- Contrast: Alternate light sand (warmth) with dark bark (softness), and then with gray gravel (hardness).
- Accents: Use bright sections (e.g., gravel painted green or blue, or those bottle caps) in the middle of the path to stimulate attention.
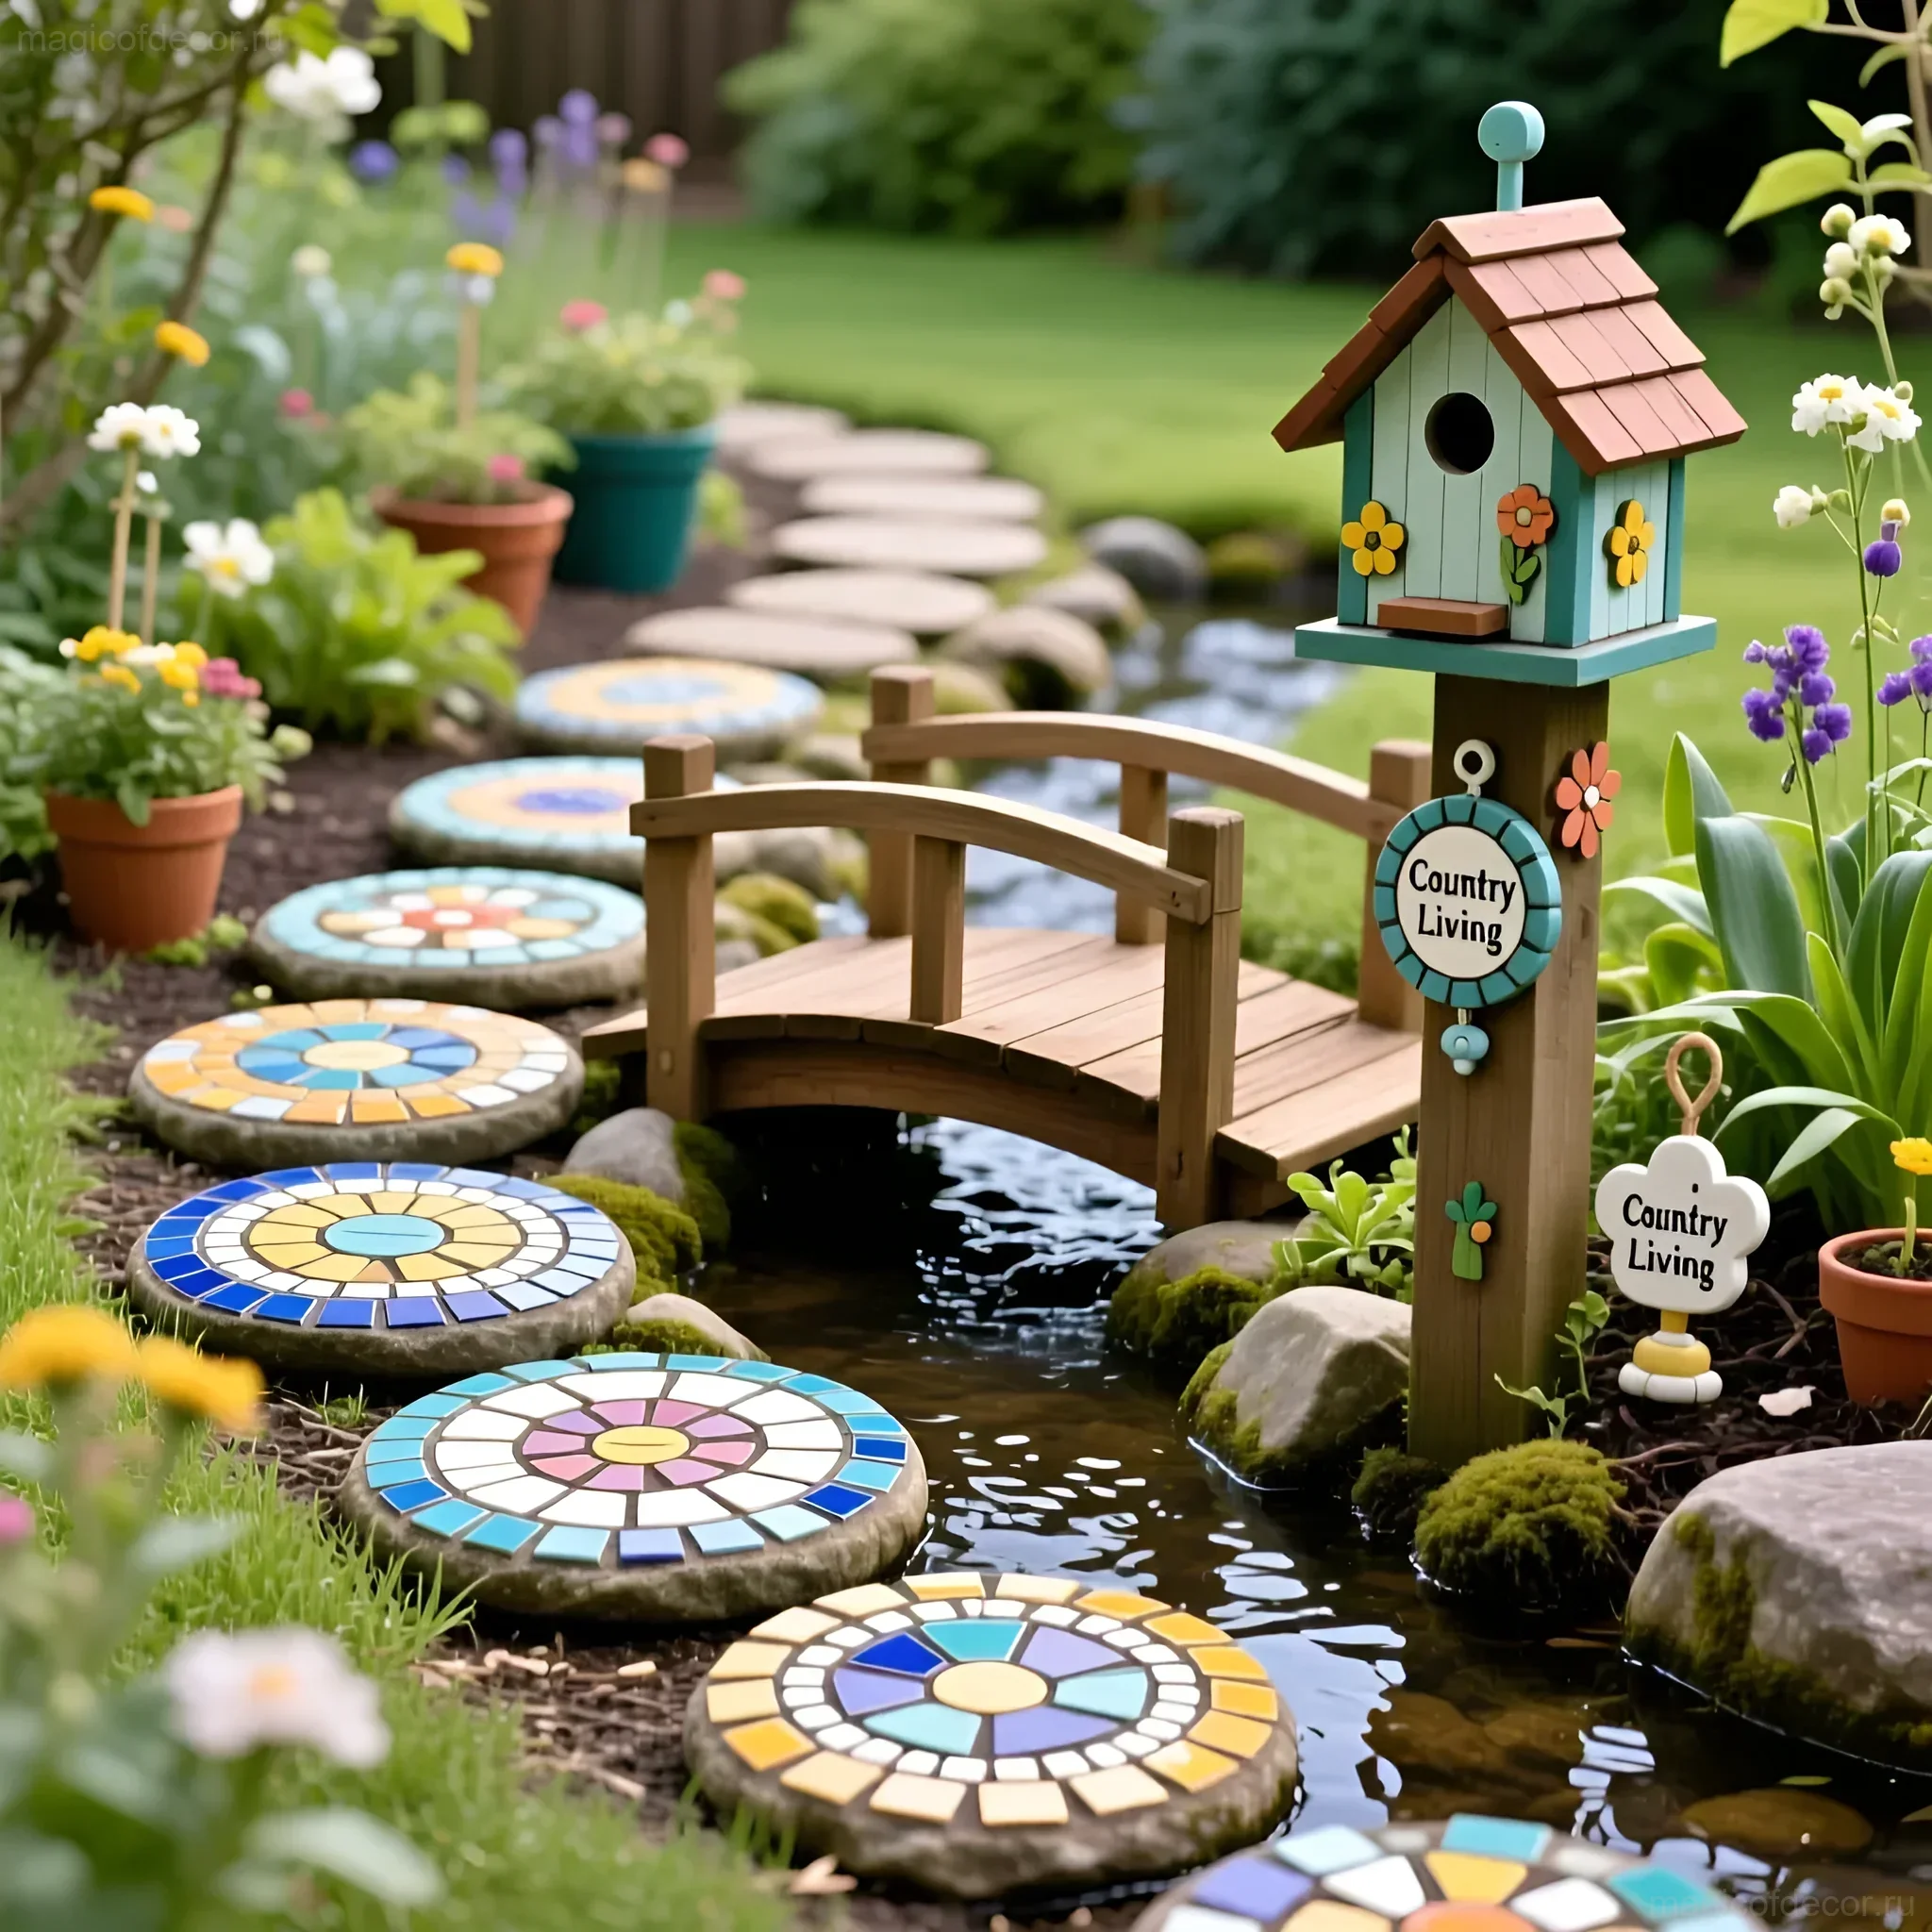
- Natural Colors: Plant low-growing plants with calming shades along the path: Irish moss, thyme, sedum. They will emphasize the natural beauty of the path.
Border Decor
Borders are the frame for your creation. They should be durable and decorative:
- Wood Slices: If you used them inside, use larger slices for the border, fixed vertically.
- Stones and Bricks: It’s ideal if they are the same color as the garden paths.
- Living Border: Plant fragrant herbs (mint, chamomile) along the edge of the path so that each step is accompanied by an aroma.
Health Path at the Dacha: Budget-Friendly Ideas and Savings Without Compromising Quality
A health path is one of the most rewarding DIY projects that allows you to use literally everything you have on hand. Savings here do not mean a decrease in quality, but rather add uniqueness and soulfulness.
Using What Nature and Old Stock Provide:
- Stones and Pebbles: If there’s a river or quarry nearby, you can collect most of the material for free. Important: wash thoroughly and check that the stones are smooth.
- Cones and Nuts: Collect in the nearest forest. Walnuts in their shells provide a very good massage.
- Glass Marbles: Left over from an old aquarium or vase? They look great and provide a cool, smooth sensation.
- Old Tires: Cut them into strips and use them as flexible, durable, and free borders.
- Sawdust and Shavings: Often available for free at the nearest sawmill. This is an excellent soft filler.
DIY Fillers for Maximum Savings:
1. Cork Section: Collect wine corks. Cut them crosswise and lay them cut side up. This is a soft, springy, and very pleasant material. It looks incredibly stylish!
2. Broken Brick Section: If you have red brick left over from construction, break it into pieces of 2–3 cm and sand the edges. Its warm hue will add coziness.
3. Gravel with a “Secret”: Buy the cheapest gravel and paint it with facade paint in bright colors (e.g., terracotta or blue). This will transform a dull material into a designer element.
DIY Projects for a Health Path: Adding Individuality and Coziness with Your Own Hands

A health path is not just what’s underfoot. It’s the whole atmosphere around! Let’s add some decor to make this corner truly magical.
1. Signs and Motivational Plaques
Make small wooden or stone plaques that mark the beginning and end of each segment. Write not just the material name, but motivational phrases on them:
- “Energy Section” (cones)
- “Calm Section” (sand)
- “Relaxation” (bark)
DIY Idea: Use smooth flat stones and acrylic paints to create such signs. Cover them with outdoor varnish.
2. “Finish” Relaxation Zone
At the end of the path, there must be a place for rest and relaxation. This can be:
- Rocking Bench: Make it from pallets or old boards. Paint it a bright color.
- Decorative Cushions: Sew waterproof covers for seats from old curtains or tarpaulin.
- Mini-Fountain or Bird Bath: The sound of water is calming and completes the therapeutic effect.
3. Wind Chimes and Lighting
Hang homemade wind chimes (from old keys, bamboo sticks, or shells) along the path. And for evening use, install solar lanterns. They are completely safe, require no wires, and add incredible coziness at dusk, illuminating the path’s texture.
Health Path: Seasonal Decor and Maintenance in Perfect Condition

Like any decorative element, a health path requires care. But these are pleasant chores that will help you maintain its beauty and functionality.
Seasonal Decor
Change the decor so the path never gets boring:
- Spring: Add bright spring flowers in pots along the edges. Replace some of the old bark with fresh, fragrant bark.
- Summer: Use more soft fillers (freshly cut grass, which needs to be changed every 2 days, or sand). Install containers with water for rinsing feet before starting the path.
- Autumn: Add a section with fallen but dry maple leaves (incredible sensations!). Collect chestnuts and acorns, use them as temporary fillers.
- Winter: The path will freeze, of course, but you can decorate the borders with spruce branches and New Year’s lanterns, turning it into a winter alley.
Care and Maintenance
Keep it clean so the path remains hygienic and safe:
- Weeding: Regularly remove weeds that may grow through the fillers. Geotextile will greatly simplify this task.
- Replenishment: Once a season, add sand, bark, and chips, as they tend to compact and wash away.
- Washing: Stones and pebbles can be washed with a hose to remove dust and dirt.
- Wood Protection: If you used wood slices, treat them annually with oil or antiseptic.
Expert Tips: How to Make a Health Path Safe, Durable, and Maximally Beneficial
To ensure your path lasts long and brings only joy, consider a few professional tips on safety and construction.
1. Safety First
- Material Check: Before filling, carefully inspect the materials. All stones should be rounded. Do not use broken glass or materials with sharp edges.
- Filler Depth: The optimal depth for most materials (except very large stones) is 5–7 cm. This is enough for the material not to sink to the ground, but not too much to make walking difficult.
- Foot Cleaning Area: Be sure to provide a section for washing or wiping your feet at the end of the path. This could be a bucket of water, a garden tap, or simply an area with a soft towel.
2. Durability of Construction
Drainage is your best friend. If water stagnates, wooden elements will rot, and sand will turn into mud. Ensure the path has a slight slope for water runoff.
Proper geotextile installation. It should go up the borders to completely isolate the fillers from the soil on the sides.
3. Maximum Benefit: Walking Rules
Share simple rules with guests and family members so they get the maximum therapeutic effect from the path:
- Start Slowly: For the first time, walk on the path for 5–10 minutes, gradually increasing the time.
- Listen to Your Body: If a particular material causes significant discomfort, move to the next one.
- Concentration: Walk mindfully, focusing on the sensations in your feet. This is true meditation!
Creating a health path with your own hands is not just about decorating your dacha. It’s an investment in your health, the beauty of your plot, and an incredibly pleasant creative process. I am sure that your path will become a favorite spot for the whole family, a place where you can take off your shoes, forget your worries, and feel true harmony with nature. Good luck with this cozy project!