Dear friends, honestly admit: even in the coziest and most beloved dacha, there is a place that we often try to ignore or postpone its arrangement “for later.” We are, of course, talking about the dacha toilet. But what if I told you that this essential element can become not only functional but also absolutely aesthetic, ecological, and, most importantly, built with love with your own hands? Today, we will forget about old, creaky booths and create a truly cozy private retreat – a modern composting toilet that does not require complex connection to the sewage system and, at the same time, saves your budget.
DIY Composting Toilet at the Dacha: Eliminating Inconveniences with Comfort
When we talk about dacha comfort, we mean not only a soft blanket and a cup of tea on the veranda. Comfort also means solving everyday issues without unnecessary hassle. A standard outdoor toilet is often associated with odor and inconvenience. A composting toilet, or as it’s often called, a dry composting toilet, solves these problems radically.
Why choose a DIY composting toilet:
- Eco-friendliness: You get valuable fertilizer (compost), not waste.
- Odor-free: With the correct use of fillers (peat, sawdust) and good ventilation, odors simply disappear.
- Savings: You don’t spend money on purchasing expensive chemical models or on calling a septic service.
- Complete design control: You decide how your little dacha house will look, integrating it into the overall style of the plot.
Our goal is to create not just a booth, but a harmonious part of the landscape that will please the eye and bring a sense of coziness even on the cloudiest day.
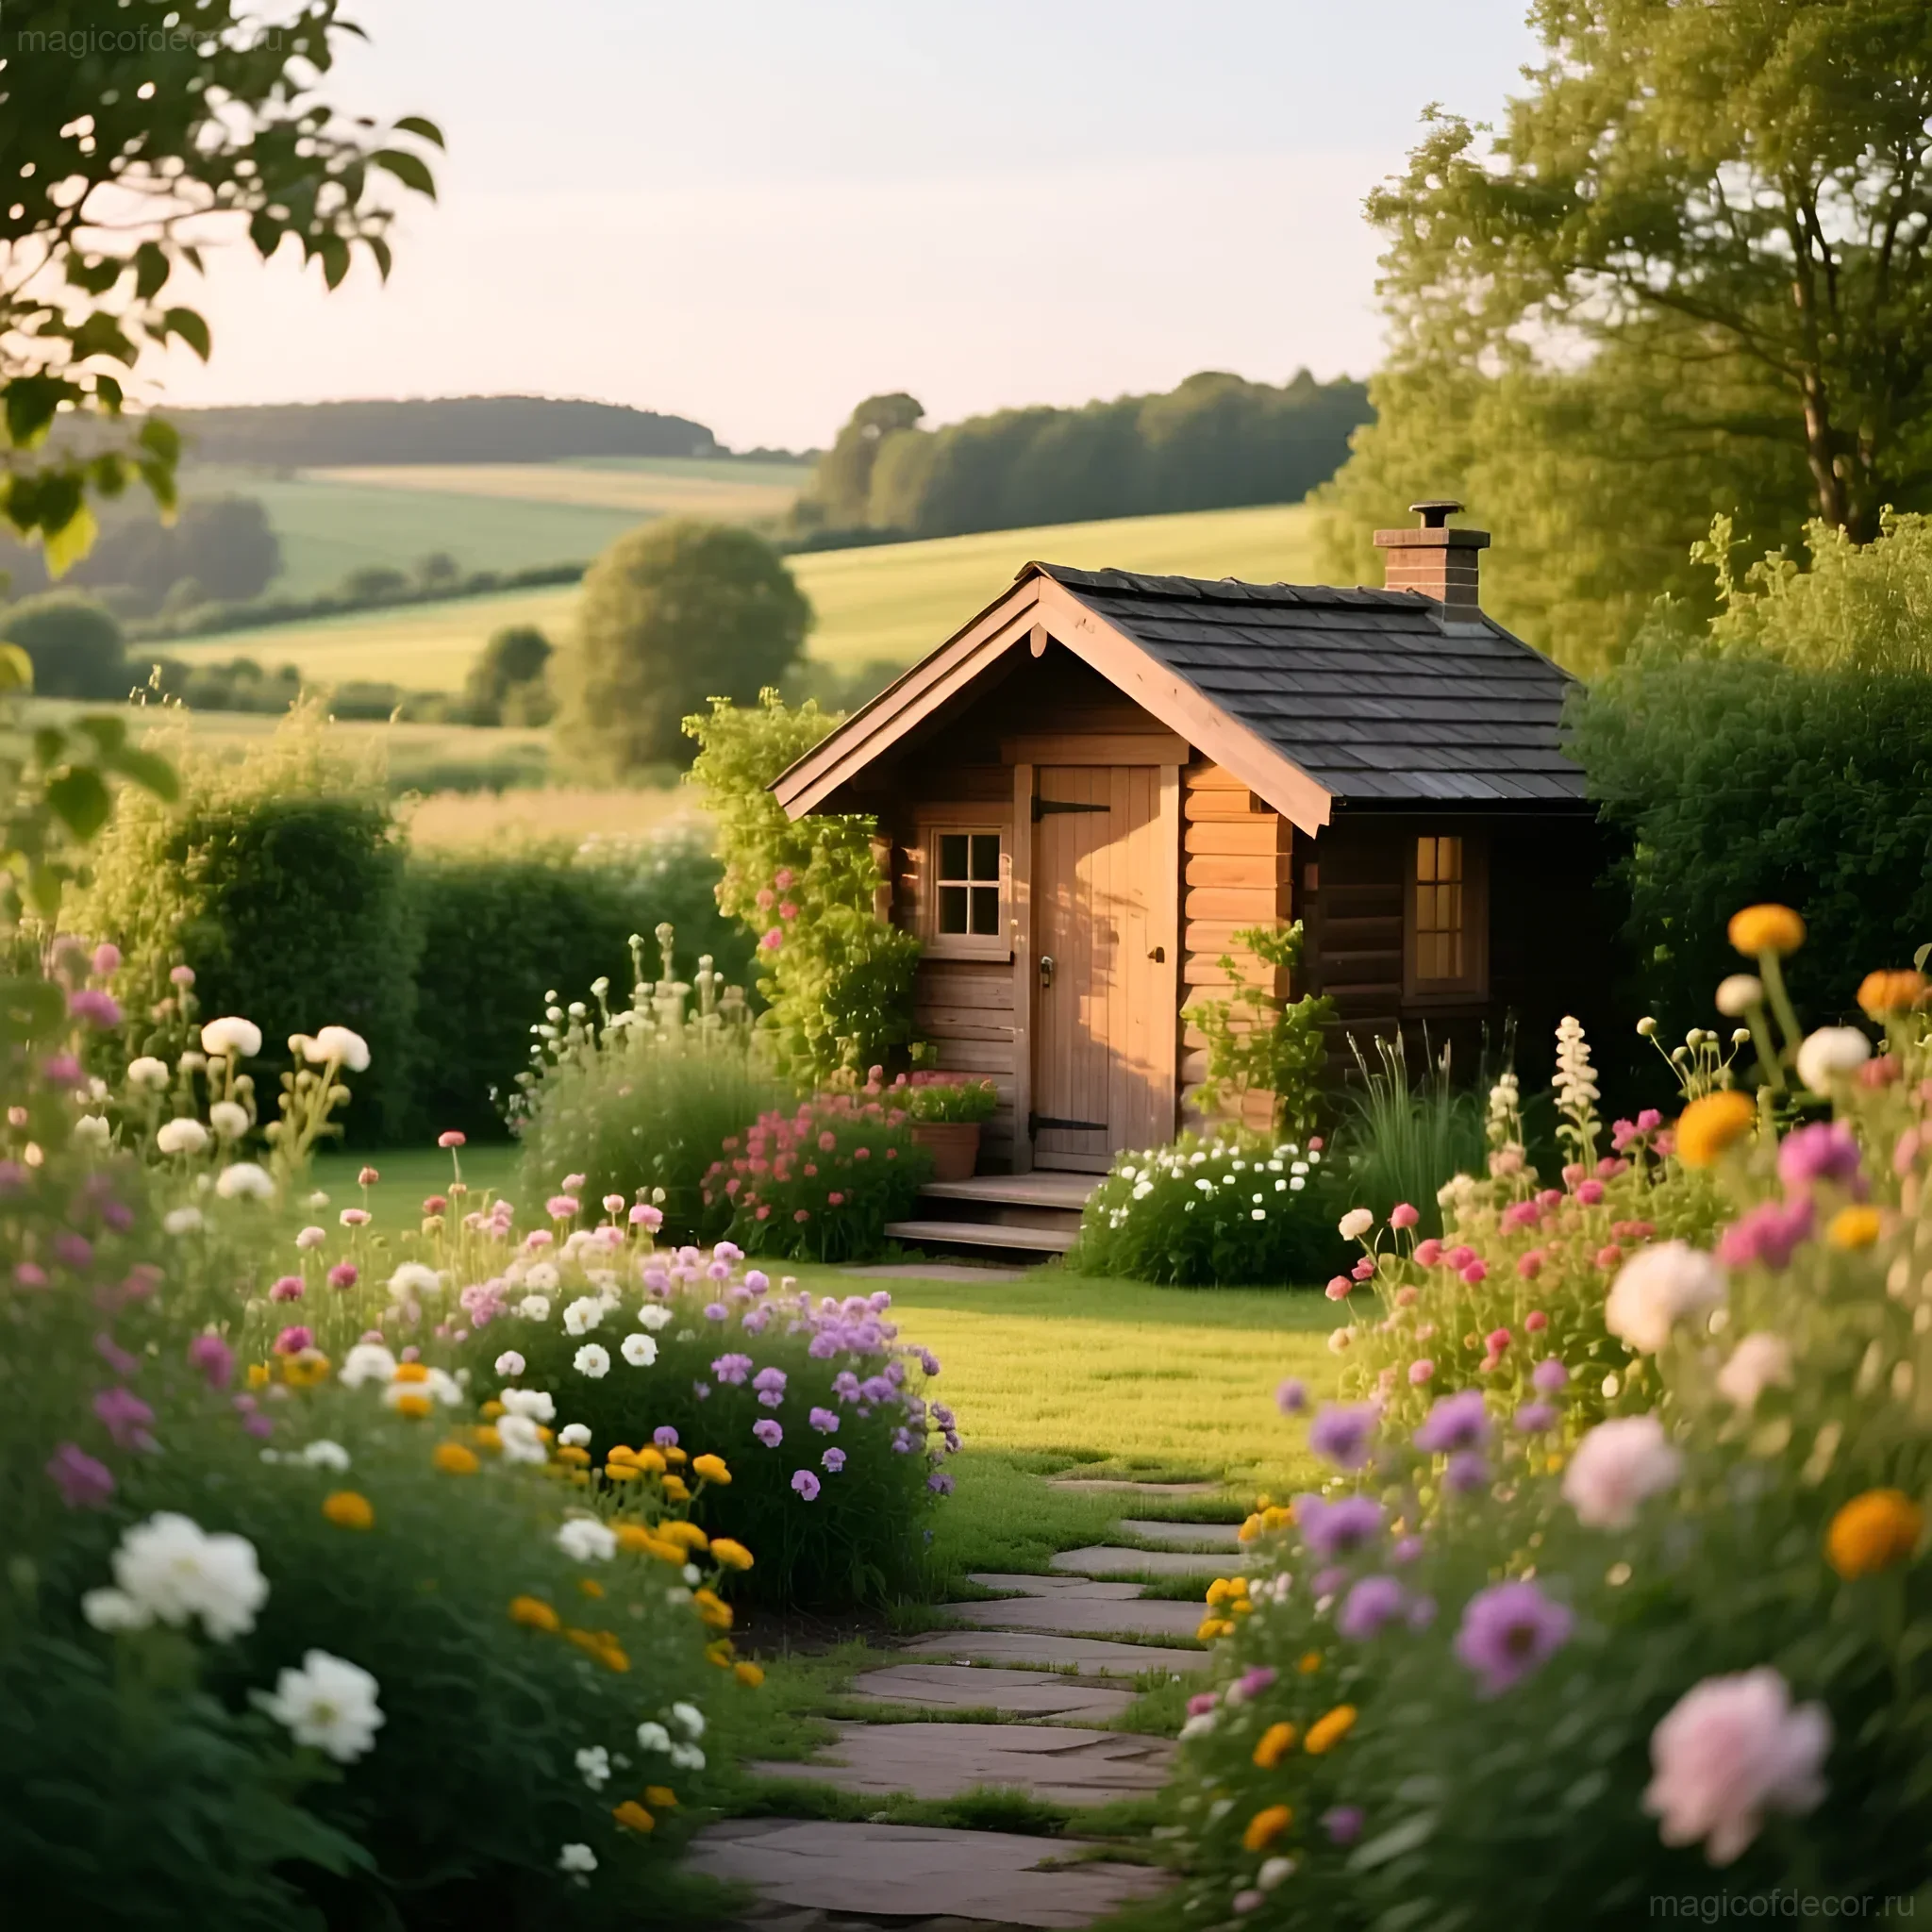
Inspiration and Ideas: Why a Composting Toilet is Practical and Aesthetic

Forget stereotypes. A modern composting toilet is not a dark and gloomy place, but a bright, clean, and even stylish space. We draw inspiration from Scandinavian and eco-styles, where functionality always goes hand in hand with natural beauty.
Aesthetic solutions for your composting toilet:
- “Hobbit House”: Use rounded roof shapes, cover it with turf or moss for maximum integration with nature.
- “Provence Shed”: Paint the walls in light colors (lavender, mint, cream) and add lacy shutters to the small window.
- “Minimalist Cube”: Strict lines, dark wood cladding or imitation timber, hidden lighting. Ideal for modern plots.
Practicality lies in the details: provide a place to store peat, a hook for a towel, and a small shelf for scented candles or a diffuser. This will instantly increase the comfort level.
Materials and Tools: What You’ll Need to Build a Composting Toilet
To create a sturdy and beautiful “house,” we won’t need complex building materials. We will use accessible and easy-to-work-with components. Remember that the key difference of our composting toilet is a sealed waste container and a ventilation system.
Main Materials:
- Frame: Timber 50×50 mm or 100×100 mm (depending on desired strength and size).
- Cladding: Tongue and groove boards, imitation timber, OSB boards (with subsequent exterior finishing). For a budget option – old pallets.
- Roof: Roofing felt, flexible shingles, or corrugated metal sheets (the simplest option).
- Collection System: Two plastic containers or buckets (20–30 L) with tight lids. Use two so that one can compost while the other is in use.
- Ventilation: Plastic sewer pipe (100 mm diameter) and a deflector to enhance draft.
- Filler: Peat mixture or dry sawdust.
Tools:
- Measuring tape, level, square.
- Jigsaw or circular saw.
- Screwdriver and screws.
- Hammer and nails.
- Brushes and paint/antiseptic.
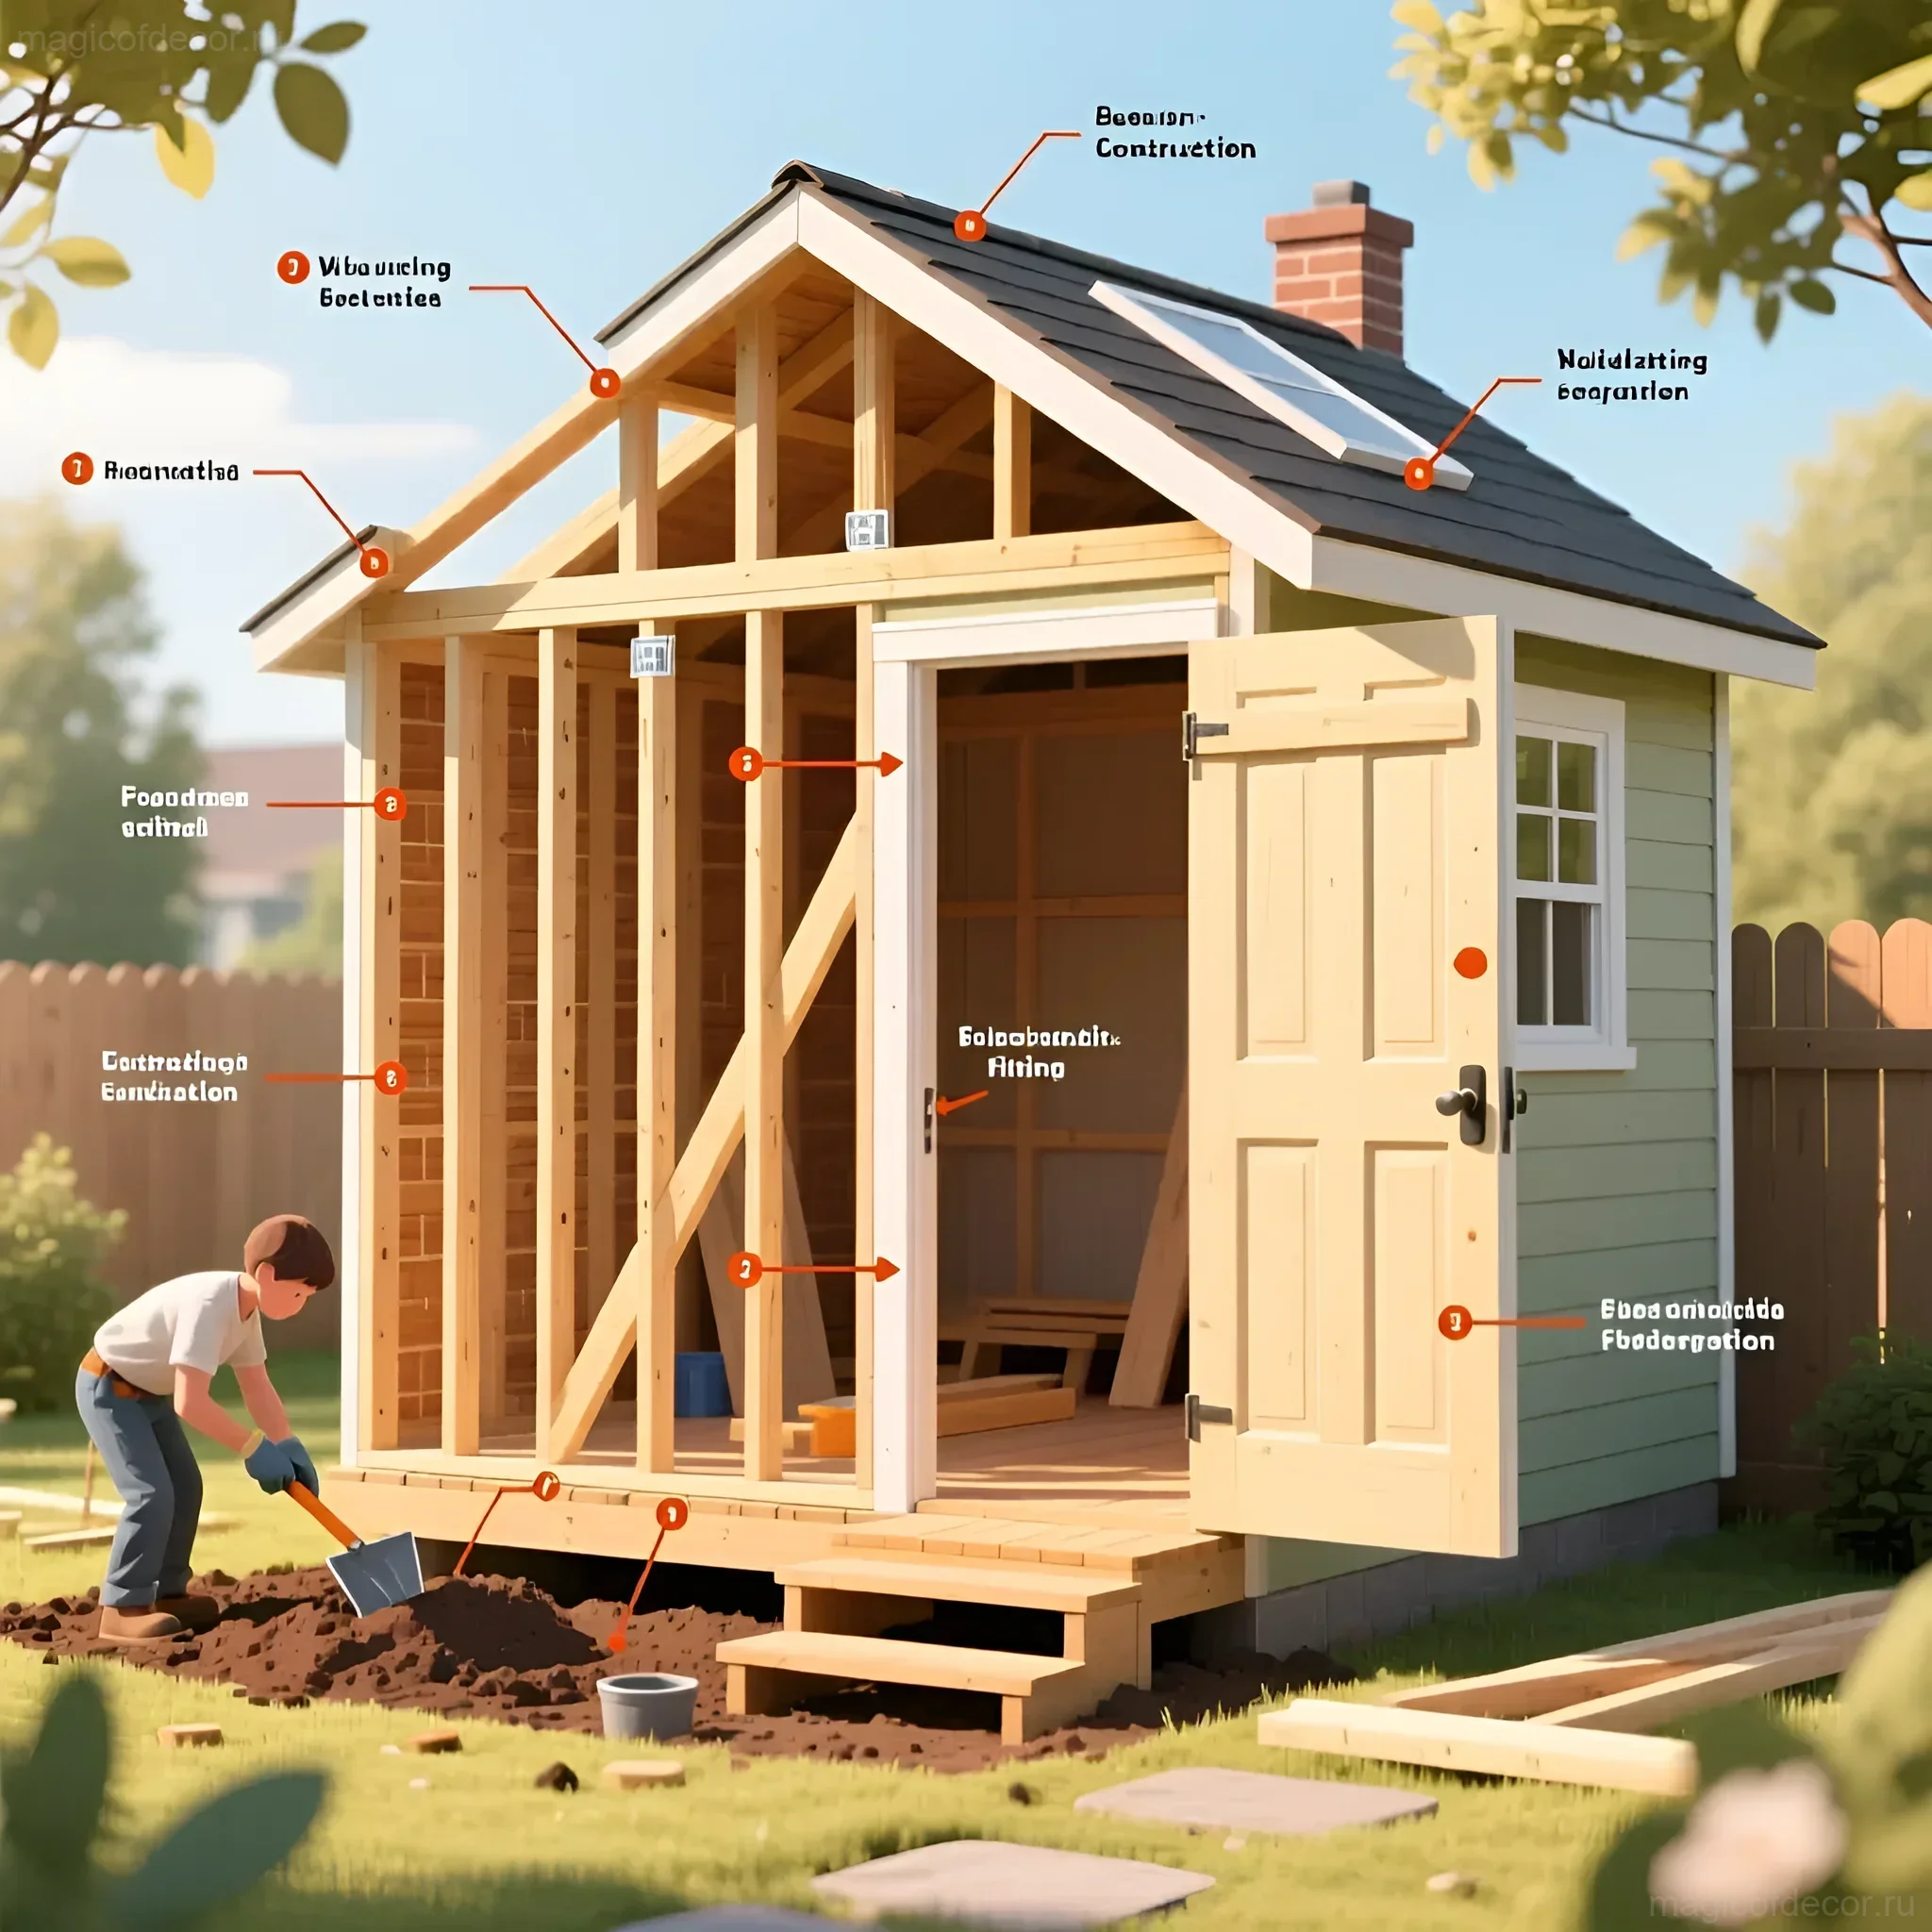
Step-by-Step Instructions: Building a DIY Composting Toilet – From Foundation to Roof
Building our cozy house can be divided into several simple stages. We will focus on creating a sturdy yet lightweight structure that even a DIY novice can assemble.
Stage 1: Site Preparation and Foundation
We don’t need a deep foundation. It’s enough to place the toilet on a level surface. Use a post foundation made of concrete blocks or bricks to raise the frame above the ground and protect the wood from moisture. Ensure the base is perfectly horizontal.
Important: There should be no floor where the container will be placed. There should be free access from below for replacing the collection tanks.
Stage 2: Frame Assembly
Assemble four vertical posts (rear ones slightly lower than the front ones for roof slope). Connect them with horizontal bracing at the top and bottom. Use metal brackets for added strength. A standard toilet size: 1.2 x 1.2 meters – this is quite spacious and comfortable.
Stage 3: Floor and Seat Platform
Lay the floor (if provided, for example, in the entryway area), but leave a large opening for the platform. The seat platform is usually 40–50 cm high. Assemble an internal box where our containers will stand. Cut an opening in the lid of the box for the toilet seat (you can use a ready-made plastic or wooden seat).
Stage 4: Ventilation – The Key to Freshness
This is the most crucial part for a composting toilet. The ventilation pipe (100 mm) should exit from the rear of the platform (the box with containers) and rise 50–70 cm above the roof ridge. This ensures exhaust of vapors directly from the collection tank, preventing odor spread. Install a deflector on top.
Stage 5: Cladding and Roof
Clad the frame with your chosen material. For the roof, create a battens and cover it with a waterproofing material, then with a finishing layer (e.g., flexible shingles, which look very neat).
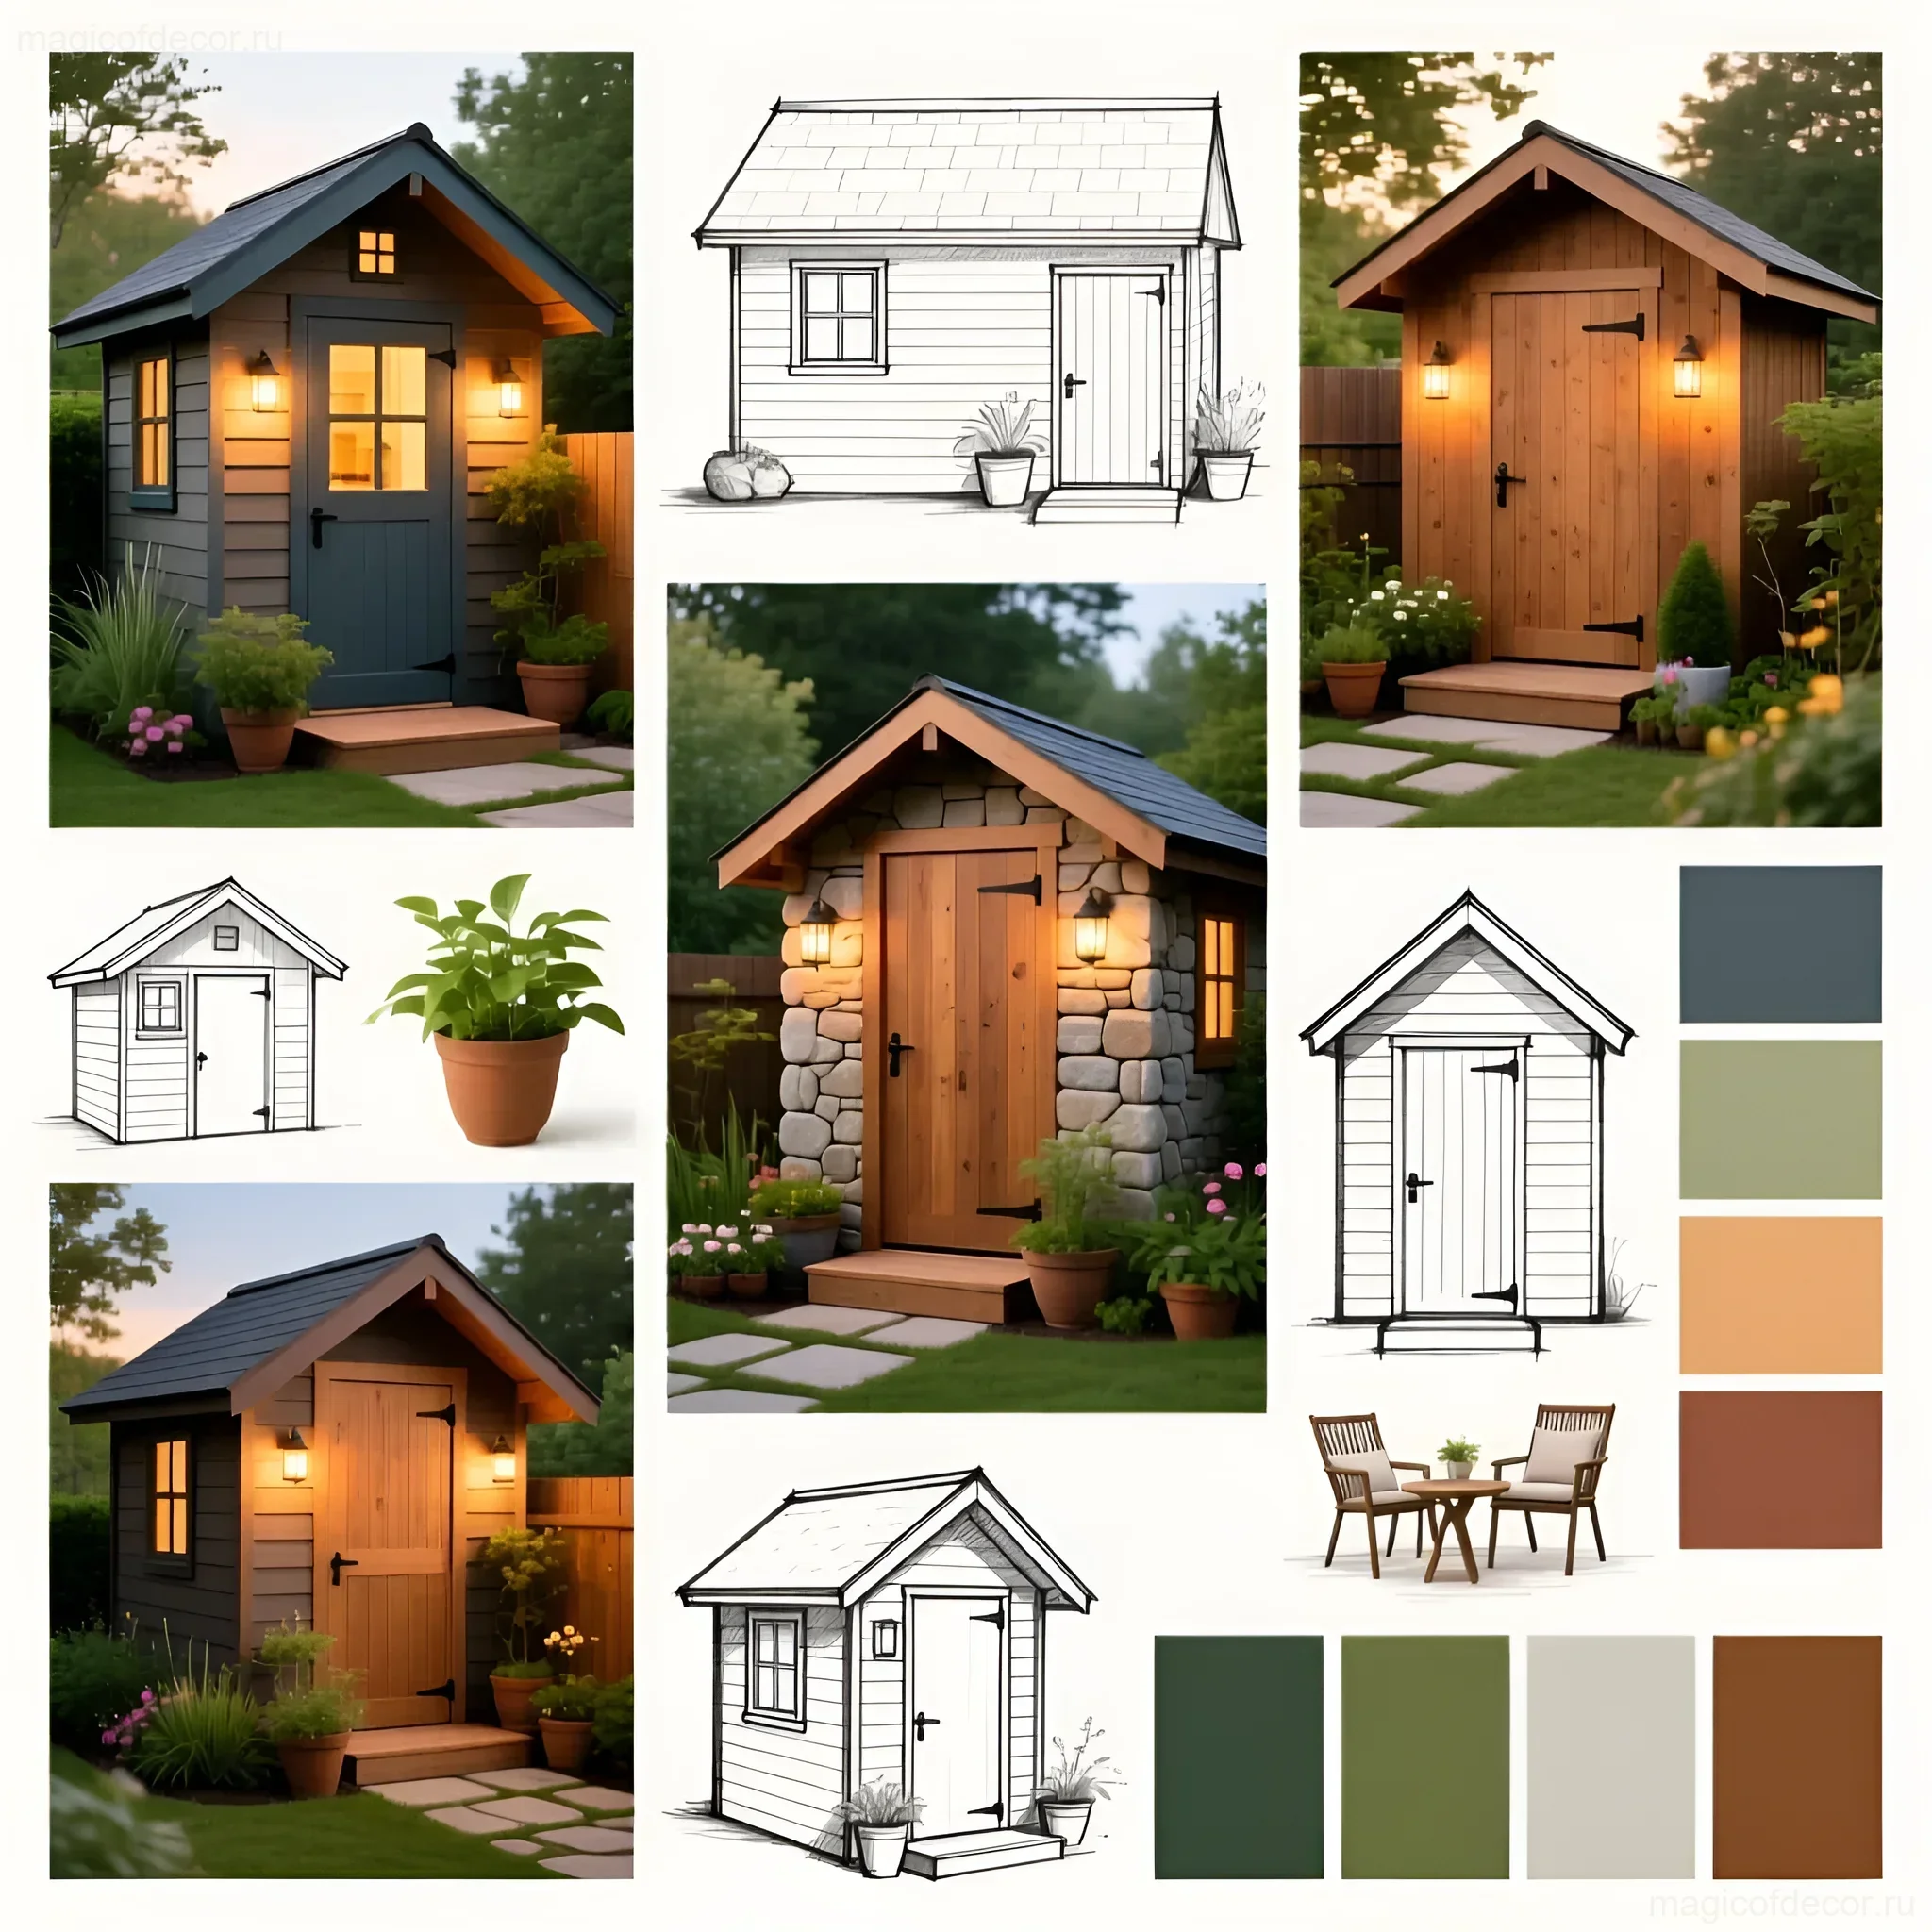
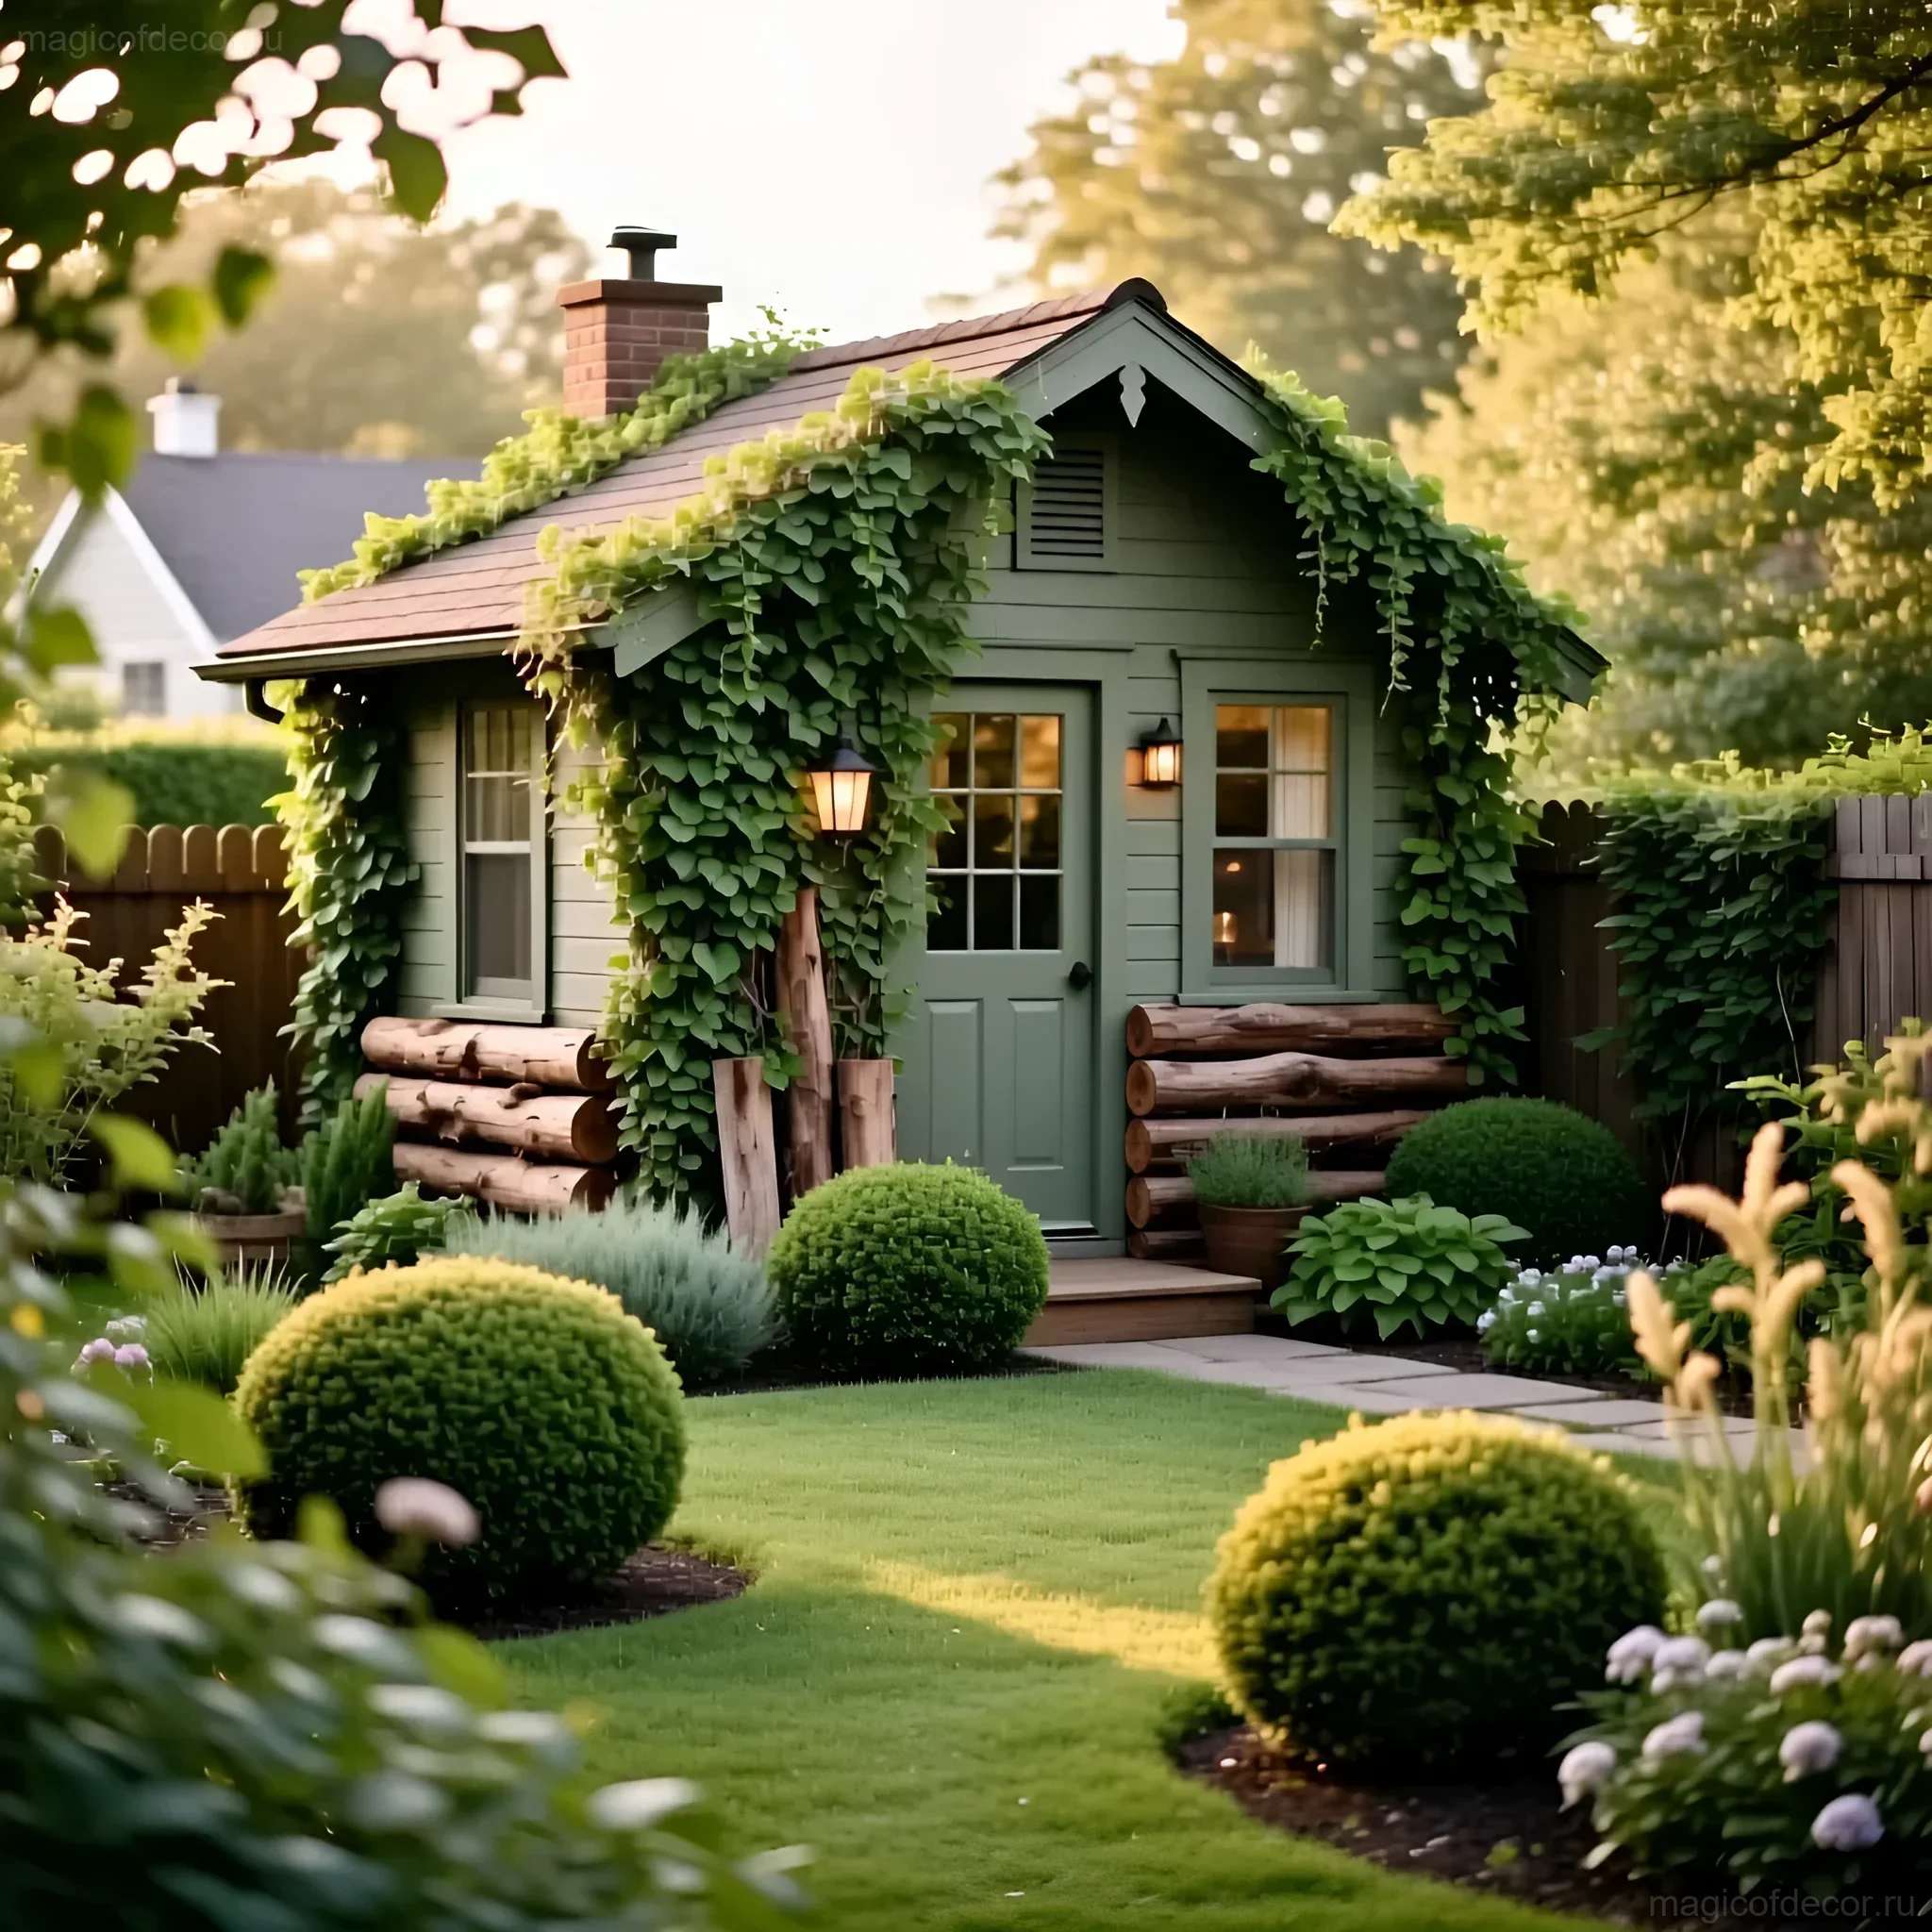
Color Combinations and Camouflage: How to Harmoniously Integrate the Composting Toilet into the Landscape
Our “house” should become part of the garden ensemble, not an alien element. The right color and camouflage can work wonders!
Choosing a Color
If your main house is in light colors, paint the toilet in a contrasting, yet natural shade: deep olive, terracotta, or sky blue. If you want it to be as inconspicuous as possible, choose shades of green or gray-brown that blend with the foliage and soil.
- Light colors: Visually enlarge the space, look clean and fresh (cream, light gray).
- Dark colors: Create a sense of solidity and mask better (graphite, dark green).
The Art of Camouflage
Use plants to soften the strict lines of the structure:
- Vertical Gardening: Plant maidenhair vine, honeysuckle, or climbing roses nearby. They will quickly cover the walls, turning the toilet into a picturesque grotto.
- Hanging Baskets: Hang bright hanging baskets with petunias or geraniums on the exterior walls.
- Trellises: Attach a wooden trellis to one of the walls and grow clematis or morning glory on it.
Decorator’s tip: If the toilet stands separately, create a small decorative fence or stone border around it to designate it as a separate relaxation area.
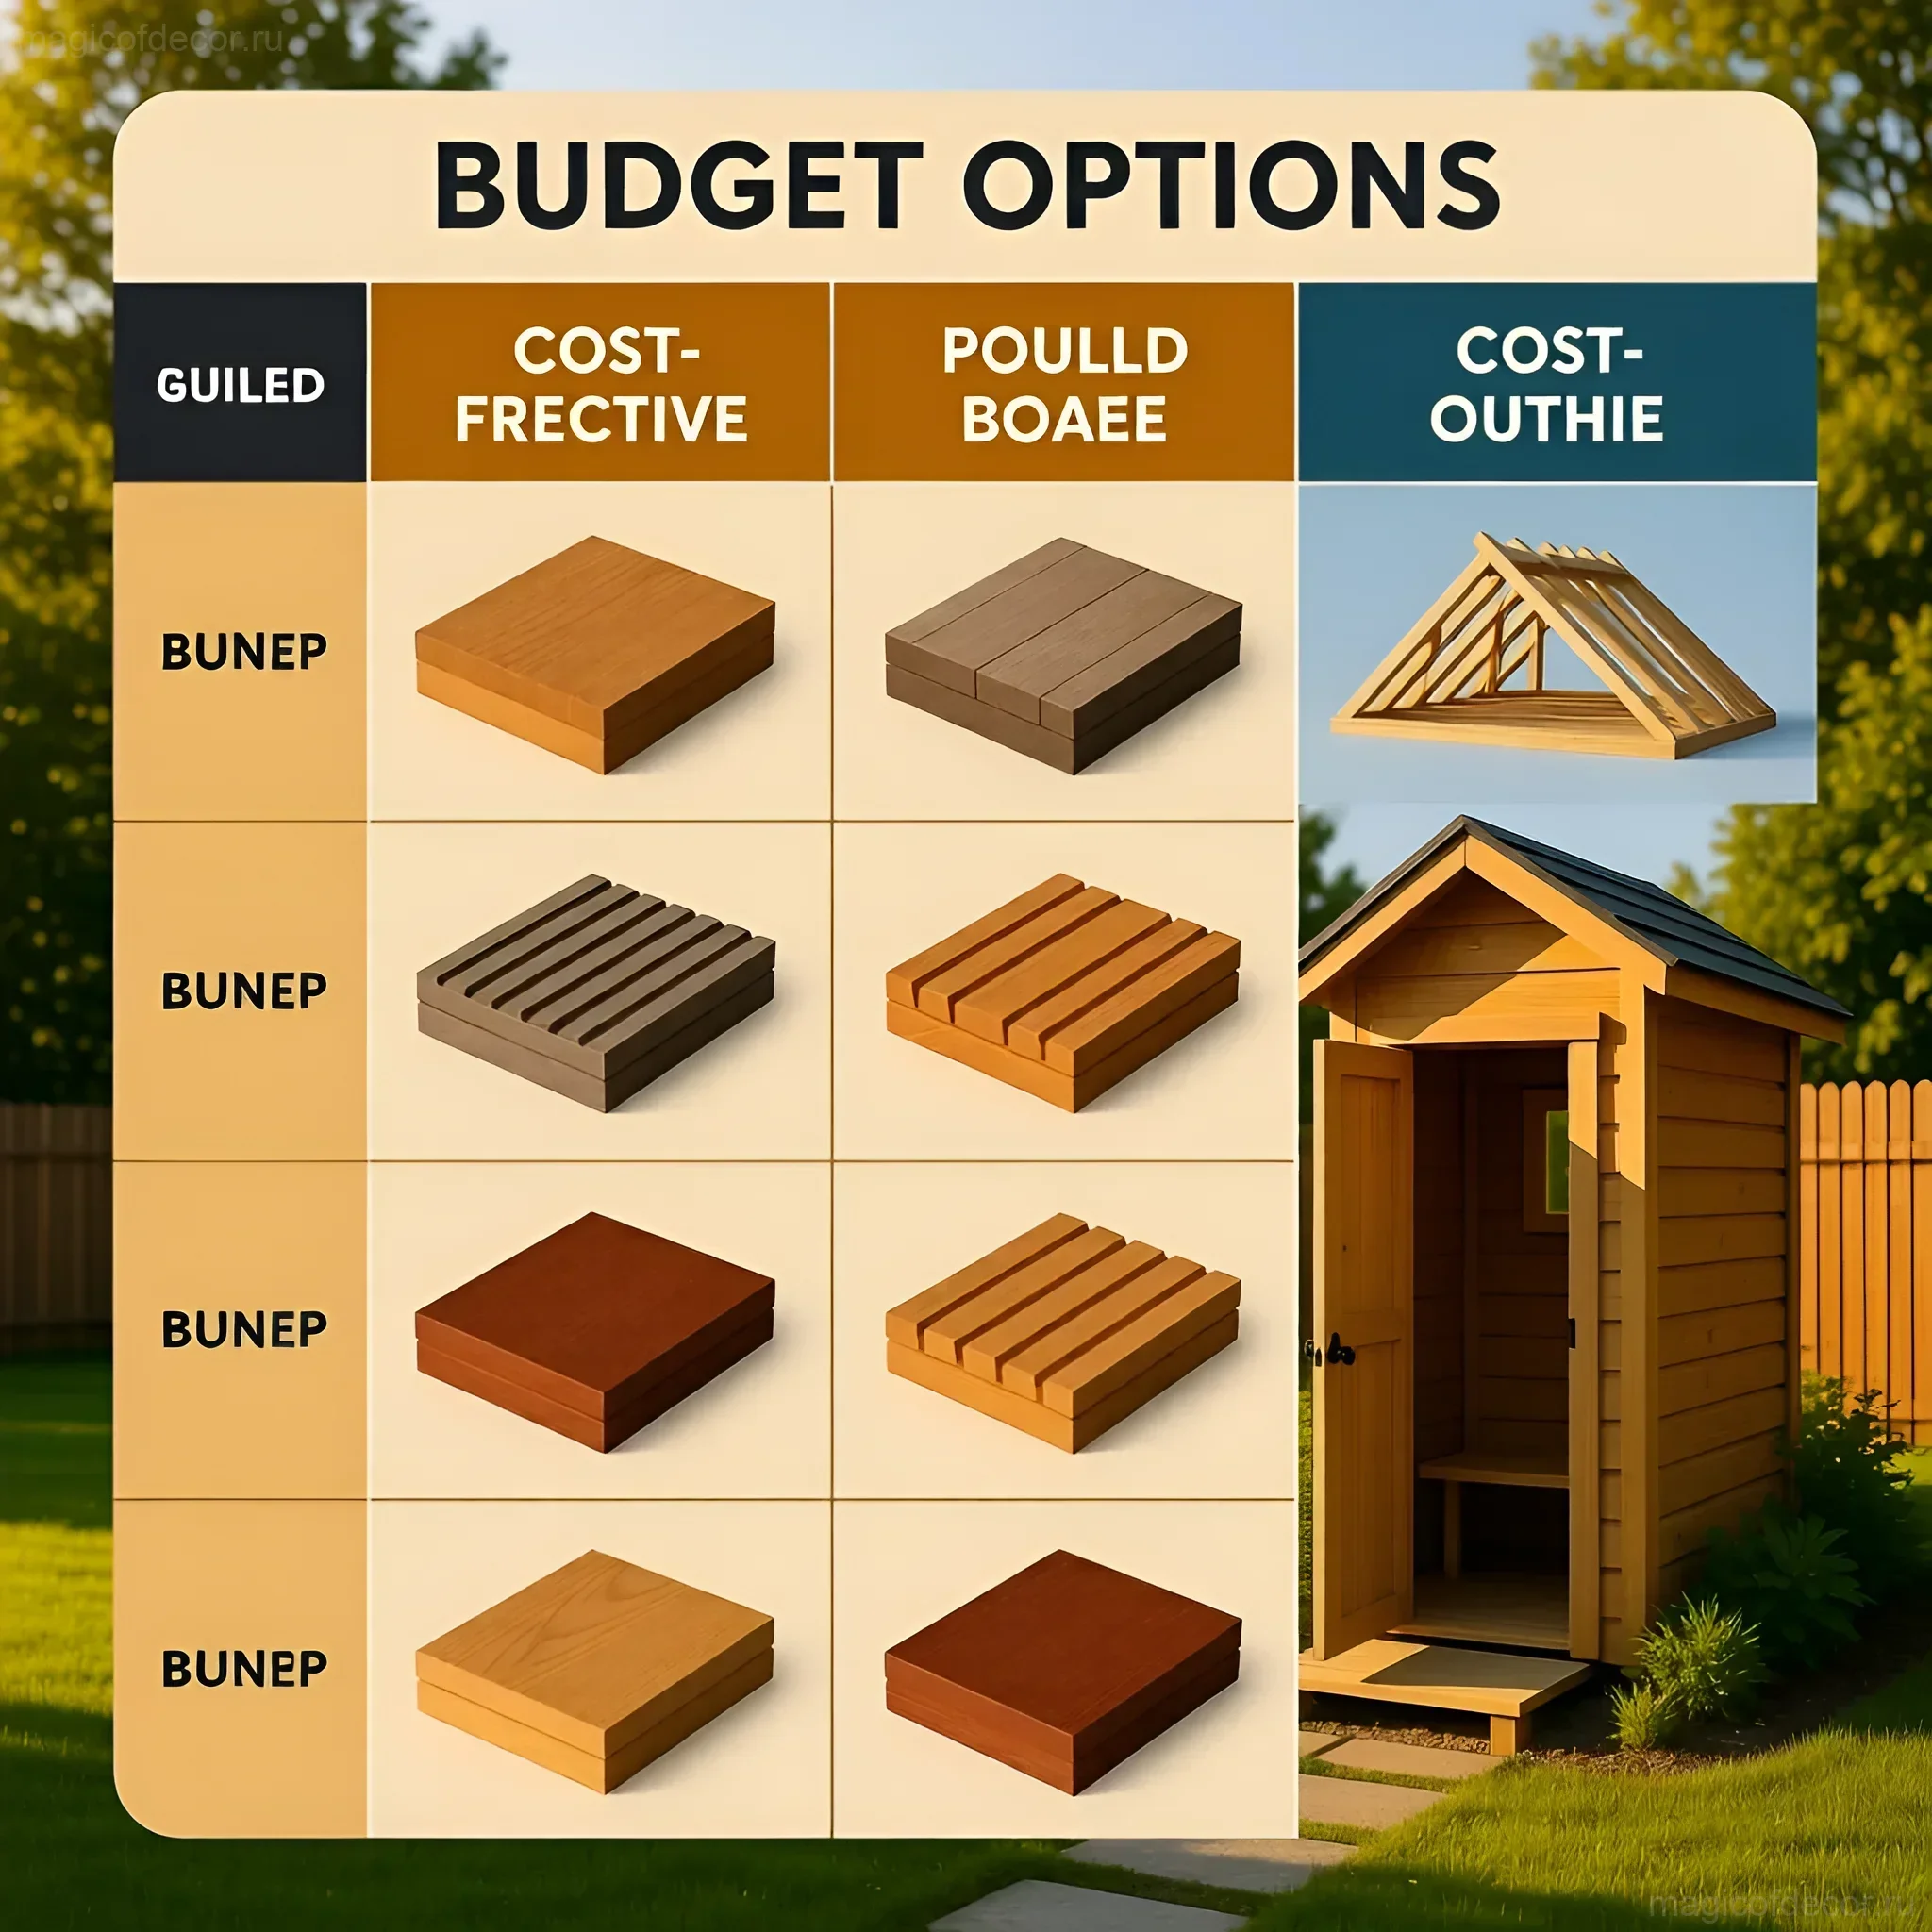
Budget-Friendly Options: Saving on Composting Toilet Construction

Creating a cozy and functional composting toilet shouldn’t empty your wallet. Many materials can be found or reused.
1. Pallet Frame
If you have access to old wooden pallets, this is an ideal material for the frame and cladding. Pallets are disassembled, the boards are treated with an antiseptic, and then used for the walls. This is practically a free material!
2. Roof from Scraps
Instead of expensive shingles, use scraps of old roofing felt or corrugated metal sheets left over from repairs. If you’ve chosen a flat roof, you can cover it with a layer of waterproofing and then pour gravel or plant sedum on top (a living green roof).
3. Interior Setup
Instead of buying a specialized peat toilet (which can be expensive), we use two regular plastic buckets with tight lids. For the seat, use an old chair, cut a hole in it, or simply make a plywood platform. The key is the container’s seal and a tight-fitting toilet seat.
4. Lighting
Don’t run electricity – it’s expensive and complicated. Use solar-powered battery lights. They store energy during the day and turn on automatically in the evening. Hang one inside and one outside by the entrance.
DIY Projects: Decorating Your Composting Toilet – Decor Ideas
This is where we can truly show off our decorator’s talent! The interior and exterior of this little house should be as cozy as possible.
Cozy Interior
- Shelf for small items: Make a tiny shelf from wood scraps. It can hold an air freshener (preferably natural – a sachet of herbs), matches, and a small book.
- Textiles: Hang small linen or cotton curtains on the window. They will add coziness and protect from prying eyes. Choose light, natural fabrics in plaid or with a floral print.
- Peat Organizer: Create a stylish wooden box for storing peat mixture. A small shovel or scoop should be placed next to it.
- Mirror: A small round mirror in a frame made of twigs or twine – both functional and beautiful.
Exterior Touches
Decorate the door. Paint it in a contrasting color (e.g., red or blue) and attach a wrought-iron or vintage handle. You can use a sign with a fun inscription or house number, made using the decoupage technique.
DIY Idea: “Porthole Window.” Instead of a standard rectangular window, cut a round opening and cover it with transparent plastic. This will immediately add originality to the structure.
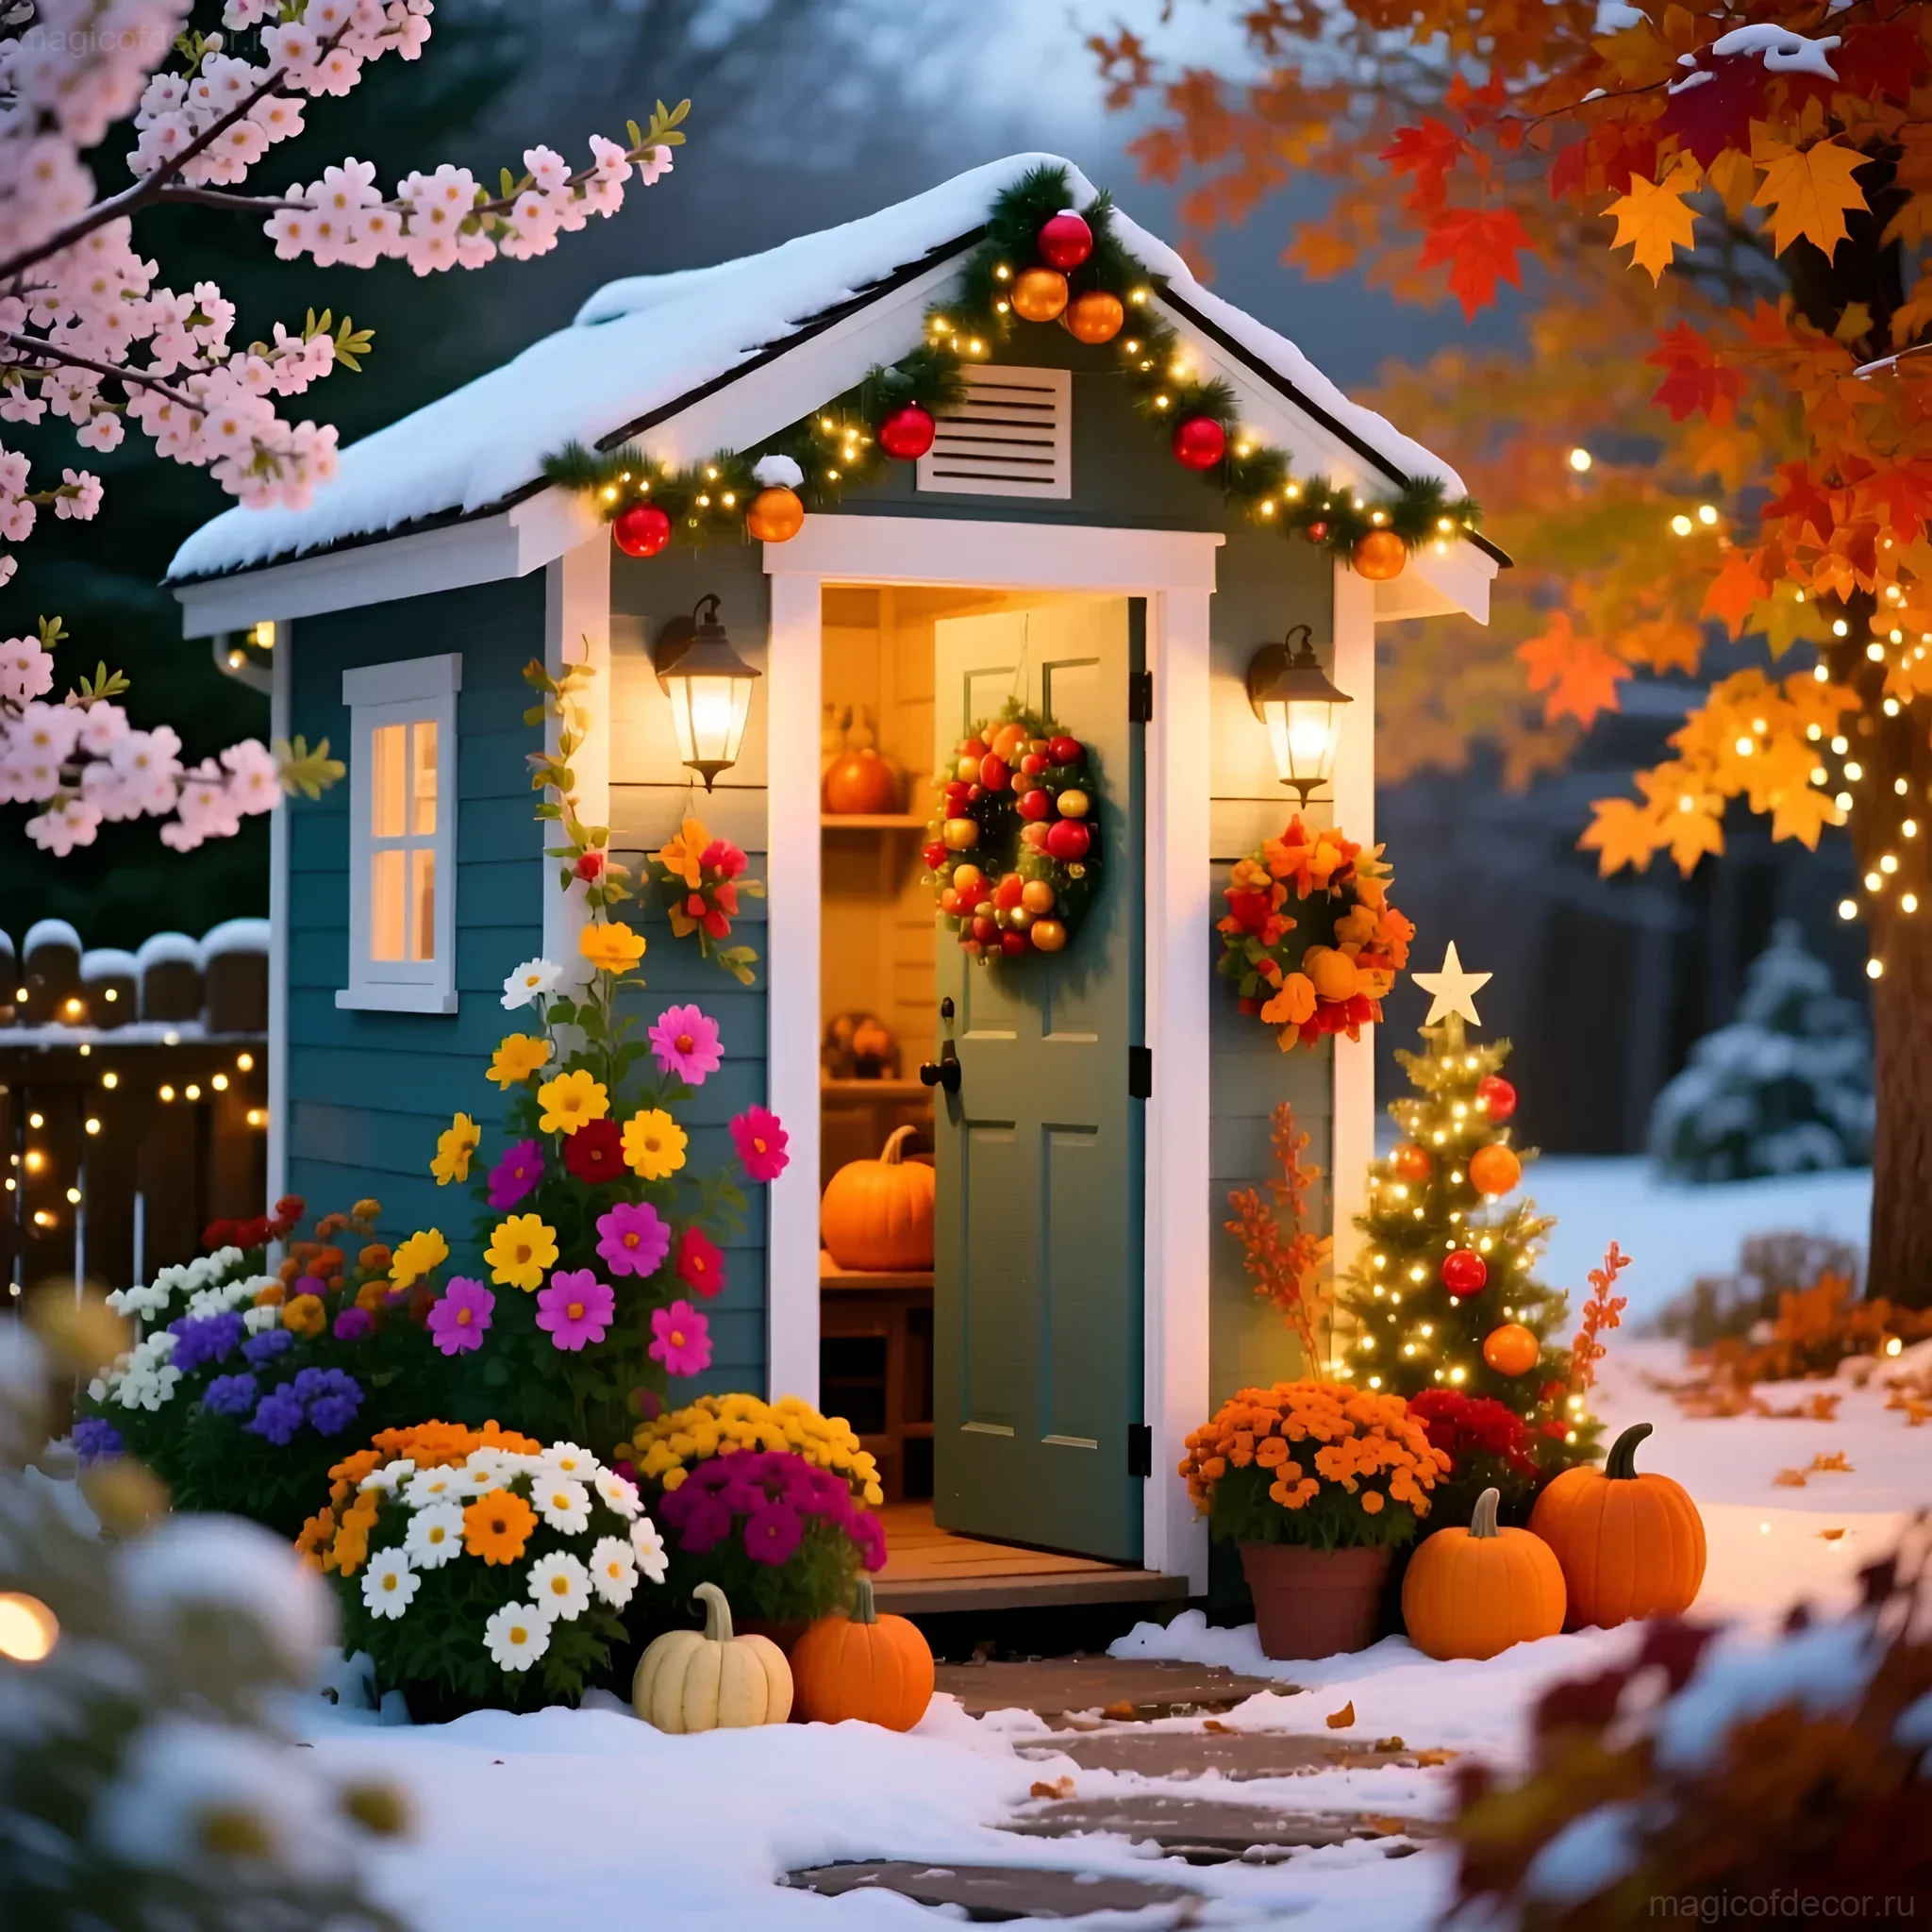
Seasonal Composting Toilet Decor: Creating Coziness All Year Round

Like any other structure on the plot, our composting toilet can transform depending on the season. This is a great way to add a festive mood.
| Season | Exterior Decor | Interior Decor and Aromas |
|---|---|---|
| Spring | Pots with early flowers (crocuses, daffodils), a willow wreath on the door. | Scent of freshly cut grass or citrus. Light, sheer curtains. |
| Summer | Lush petunias in hanging baskets, bright garden gnomes or bird figurines. | Nautical theme (if the dacha is near water), fresh herbs in bouquets (mint, lavender). |
| Autumn | Compositions of pumpkins and squash at the entrance, garlands of autumn leaves, sheaves of hay. | Scent of cinnamon, cloves, pine cones on the shelf. Warm, heavy curtains. |
| Winter | LED garlands (solar-powered), fir branches, a red bow on the door. | If used in winter: scents of fir and tangerines. |
Remember: Even the most utilitarian object can become part of a decorative composition if approached with soul.
Expert Tips: Composting Toilet Care and Extending Its Lifespan

To ensure your DIY composting toilet serves for a long time and remains a source of comfort, not problems, it’s important to follow simple care rules.
1. Proper Filler
Peat or sawdust is your best friend. After each use, sprinkle the waste with a layer of filler. This instantly absorbs moisture, neutralizes odors, and initiates the composting process. Use clean, dry material.
2. Moisture Control
A composting toilet works effectively when there is no excess moisture. Ensure rainwater does not get into the container. If the mixture seems too wet, add more dry sawdust or straw.
3. Container Maintenance
Approximately every 1–2 weeks (depending on frequency of use), the container needs to be replaced. A full container is taken to a compost pit or a special composter. The composting process takes from 6 months to a year, after which you get safe and rich fertilizer.
4. Wood Protection
Since our house is outdoors, be sure to treat all wooden parts with an antiseptic and coat them with exterior paint or varnish. Repeat the treatment every 2–3 years to prevent rot and maintain an aesthetic appearance.
FAQ: Answering the Most Popular Questions About Composting Toilets

We have gathered the most frequent questions that arise when planning to build a dry toilet.
- Does it need to be connected to water?
No, that’s the beauty of a composting toilet. It does not require water for flushing, which is ideal for dachas without central water supply. - Where do the waste products go?
Peat-processed waste turns into compost. It can be used to fertilize ornamental shrubs and trees. If you doubt the quality of the compost, do not use it for edible crops. - Is ventilation mandatory?
Yes, it is critically important! Ventilation removes moisture and gases, preventing odor. Without good ventilation, even peat won’t cope. - Can a composting toilet be built indoors?
Yes, there are special models for indoor installation (e.g., separation toilets). But even for a home version, forced ventilation is needed.
Interesting Facts: Everything You Wanted to Know About Composting Toilets
We will conclude our inspiring article with a few interesting facts proving that even such a utilitarian object has a rich history and great prospects.
- History of the Matter: The concept of a dry toilet is not new. In Scandinavia and North America, composting toilets were actively used in the 19th century as an environmentally friendly alternative to cesspools.
- “Golden” Fertilizer: Compost obtained from peat-processed waste contains 10 times more nutrients than regular manure. It’s a real golden reserve for your garden!
- Water Savings: One person using a traditional toilet consumes an average of 15,000 liters of water per year just for flushing. A composting toilet helps conserve this precious resource.
- Global Trends: In Sweden and Finland, composting toilets are often installed in country houses and are part of green building standards, emphasizing environmental care.
Building a composting toilet yourself is not just construction; it’s an investment in the comfort, cleanliness, and aesthetics of your dacha plot. I wish you inspiration in this useful DIY project!