
Dear friends, you often ask how to breathe new life into your garden without spending a fortune or undertaking a major renovation. The answer is simple and incredibly soulful: use what you already have! Today, we’ll talk about how old, forgotten tools – those very rakes, shovels, and pitchforks gathering dust in the back of the shed – can become the true stars of your landscape design. This isn’t just about recycling; it’s about creating unique art objects with history and character.
Inspiration: Old Tools – New Life for Your Garden
When we talk about decor, we often imagine something new and shiny. But in the garden, where nature reigns, it’s precisely the patina of time and a touch of rust that give objects a special charm. Old tools are the ideal material for rustic, Provence, or even boho-chic styles. They carry the spirit of hard work and naturalness, which harmonizes beautifully with greenery and flowers.
The idea of tool decor is wonderful because it’s absolutely budget-friendly and allows for imagination. We don’t need to break or rebuild anything – we simply give the objects a new function. For example, rakes stop being tools for gathering leaves and become elegant holders for candles or flower pots. A shovel that can no longer be sharpened transforms into a sign with your garden’s name.
- Character and History: Every tool that has passed through hands has its own story, which can be emphasized, not hidden.
- Uniqueness: Your decor will be absolutely exclusive, as no two “aged” rakes are alike.
- Eco-friendliness: We practice conscious consumption, giving things a second life.
Don’t be afraid to experiment with form and function. The main rule is enjoyment of the process and harmony with the surrounding nature.
What Tools Are Suitable for Decor and How to Prepare Them
Almost any garden tool can be used for our decorative purposes, especially those with interesting shapes or textures on their metal parts. We will focus on our main “heroes”:
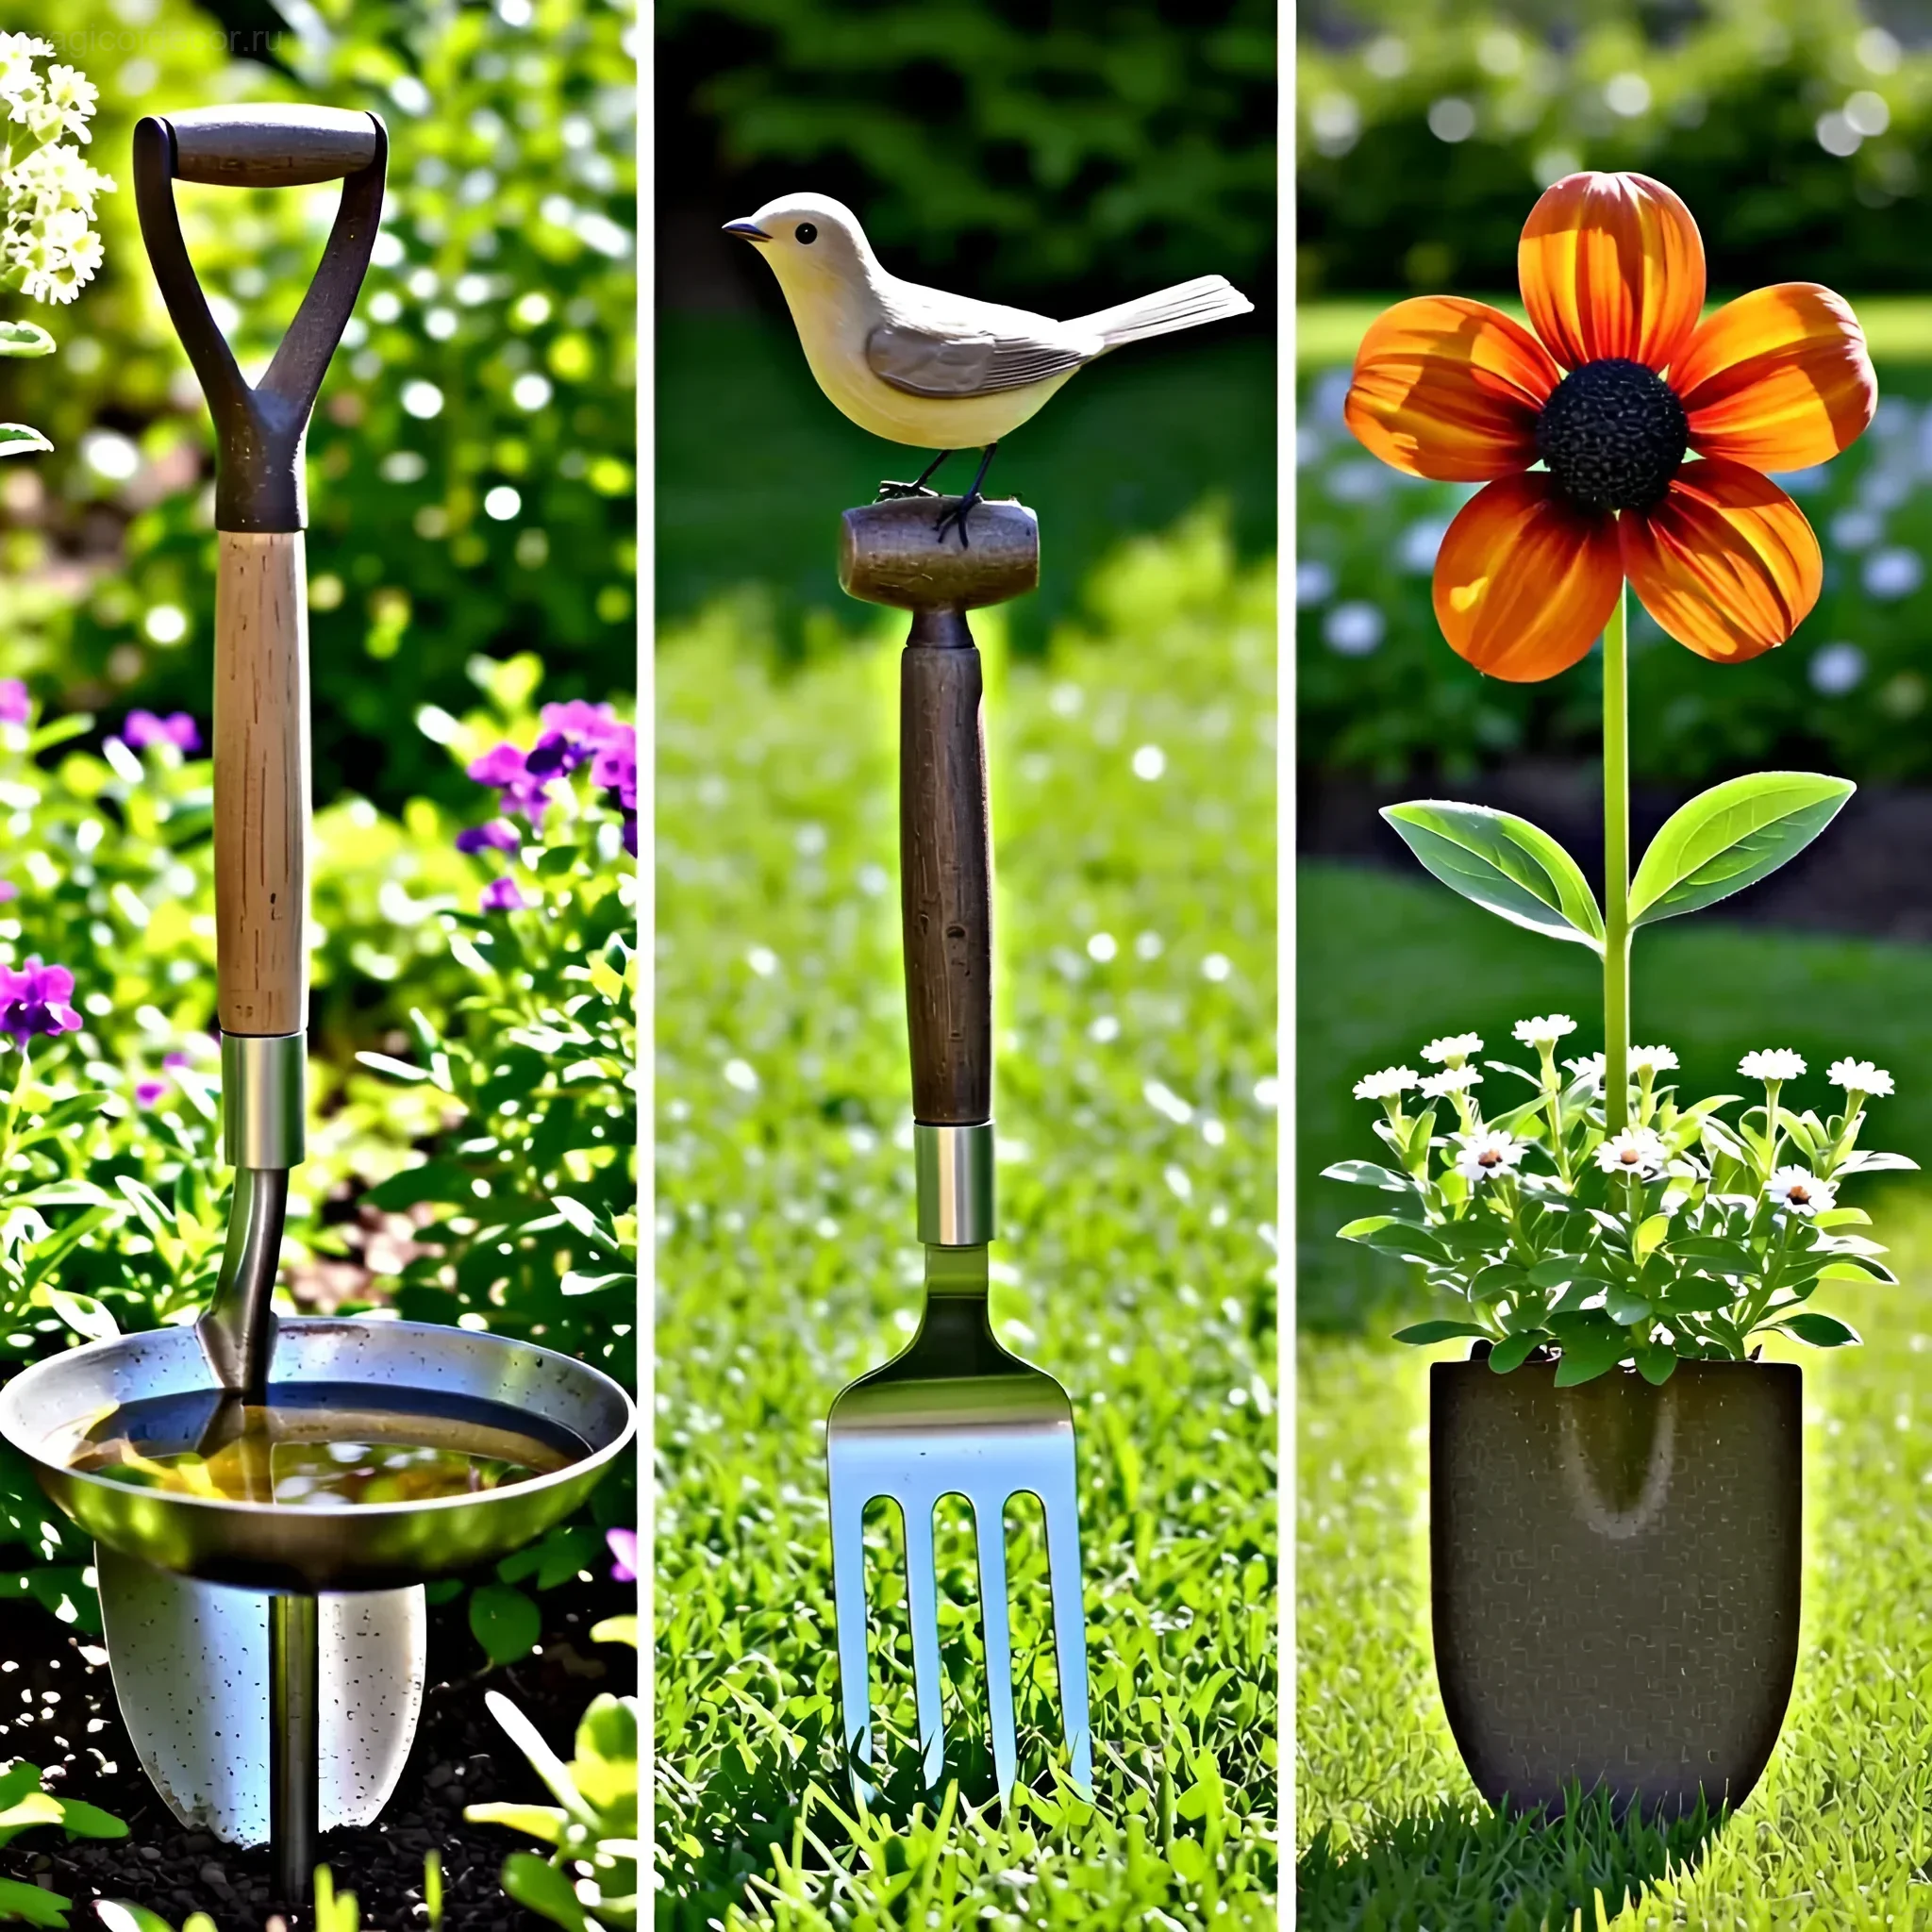
Rakes: The Universal Decor Soldier
Ideal both with a long handle (for vertical compositions) and without it (for hanging decor). The teeth of rakes are ready-made hooks for anything that can be hung: from lanterns to miniature planters.
Shovels: The Perfect Canvas
The wide blade of a shovel is a great place for painting. Both spade and scoop shovels are suitable. They can be used as signs, stands, or even bird baths.
Pitchforks (Tridents): For Vertical Accents
Their long tines work excellently as supports for climbing plants or as holders for large decorative elements (e.g., glass spheres or lanterns).
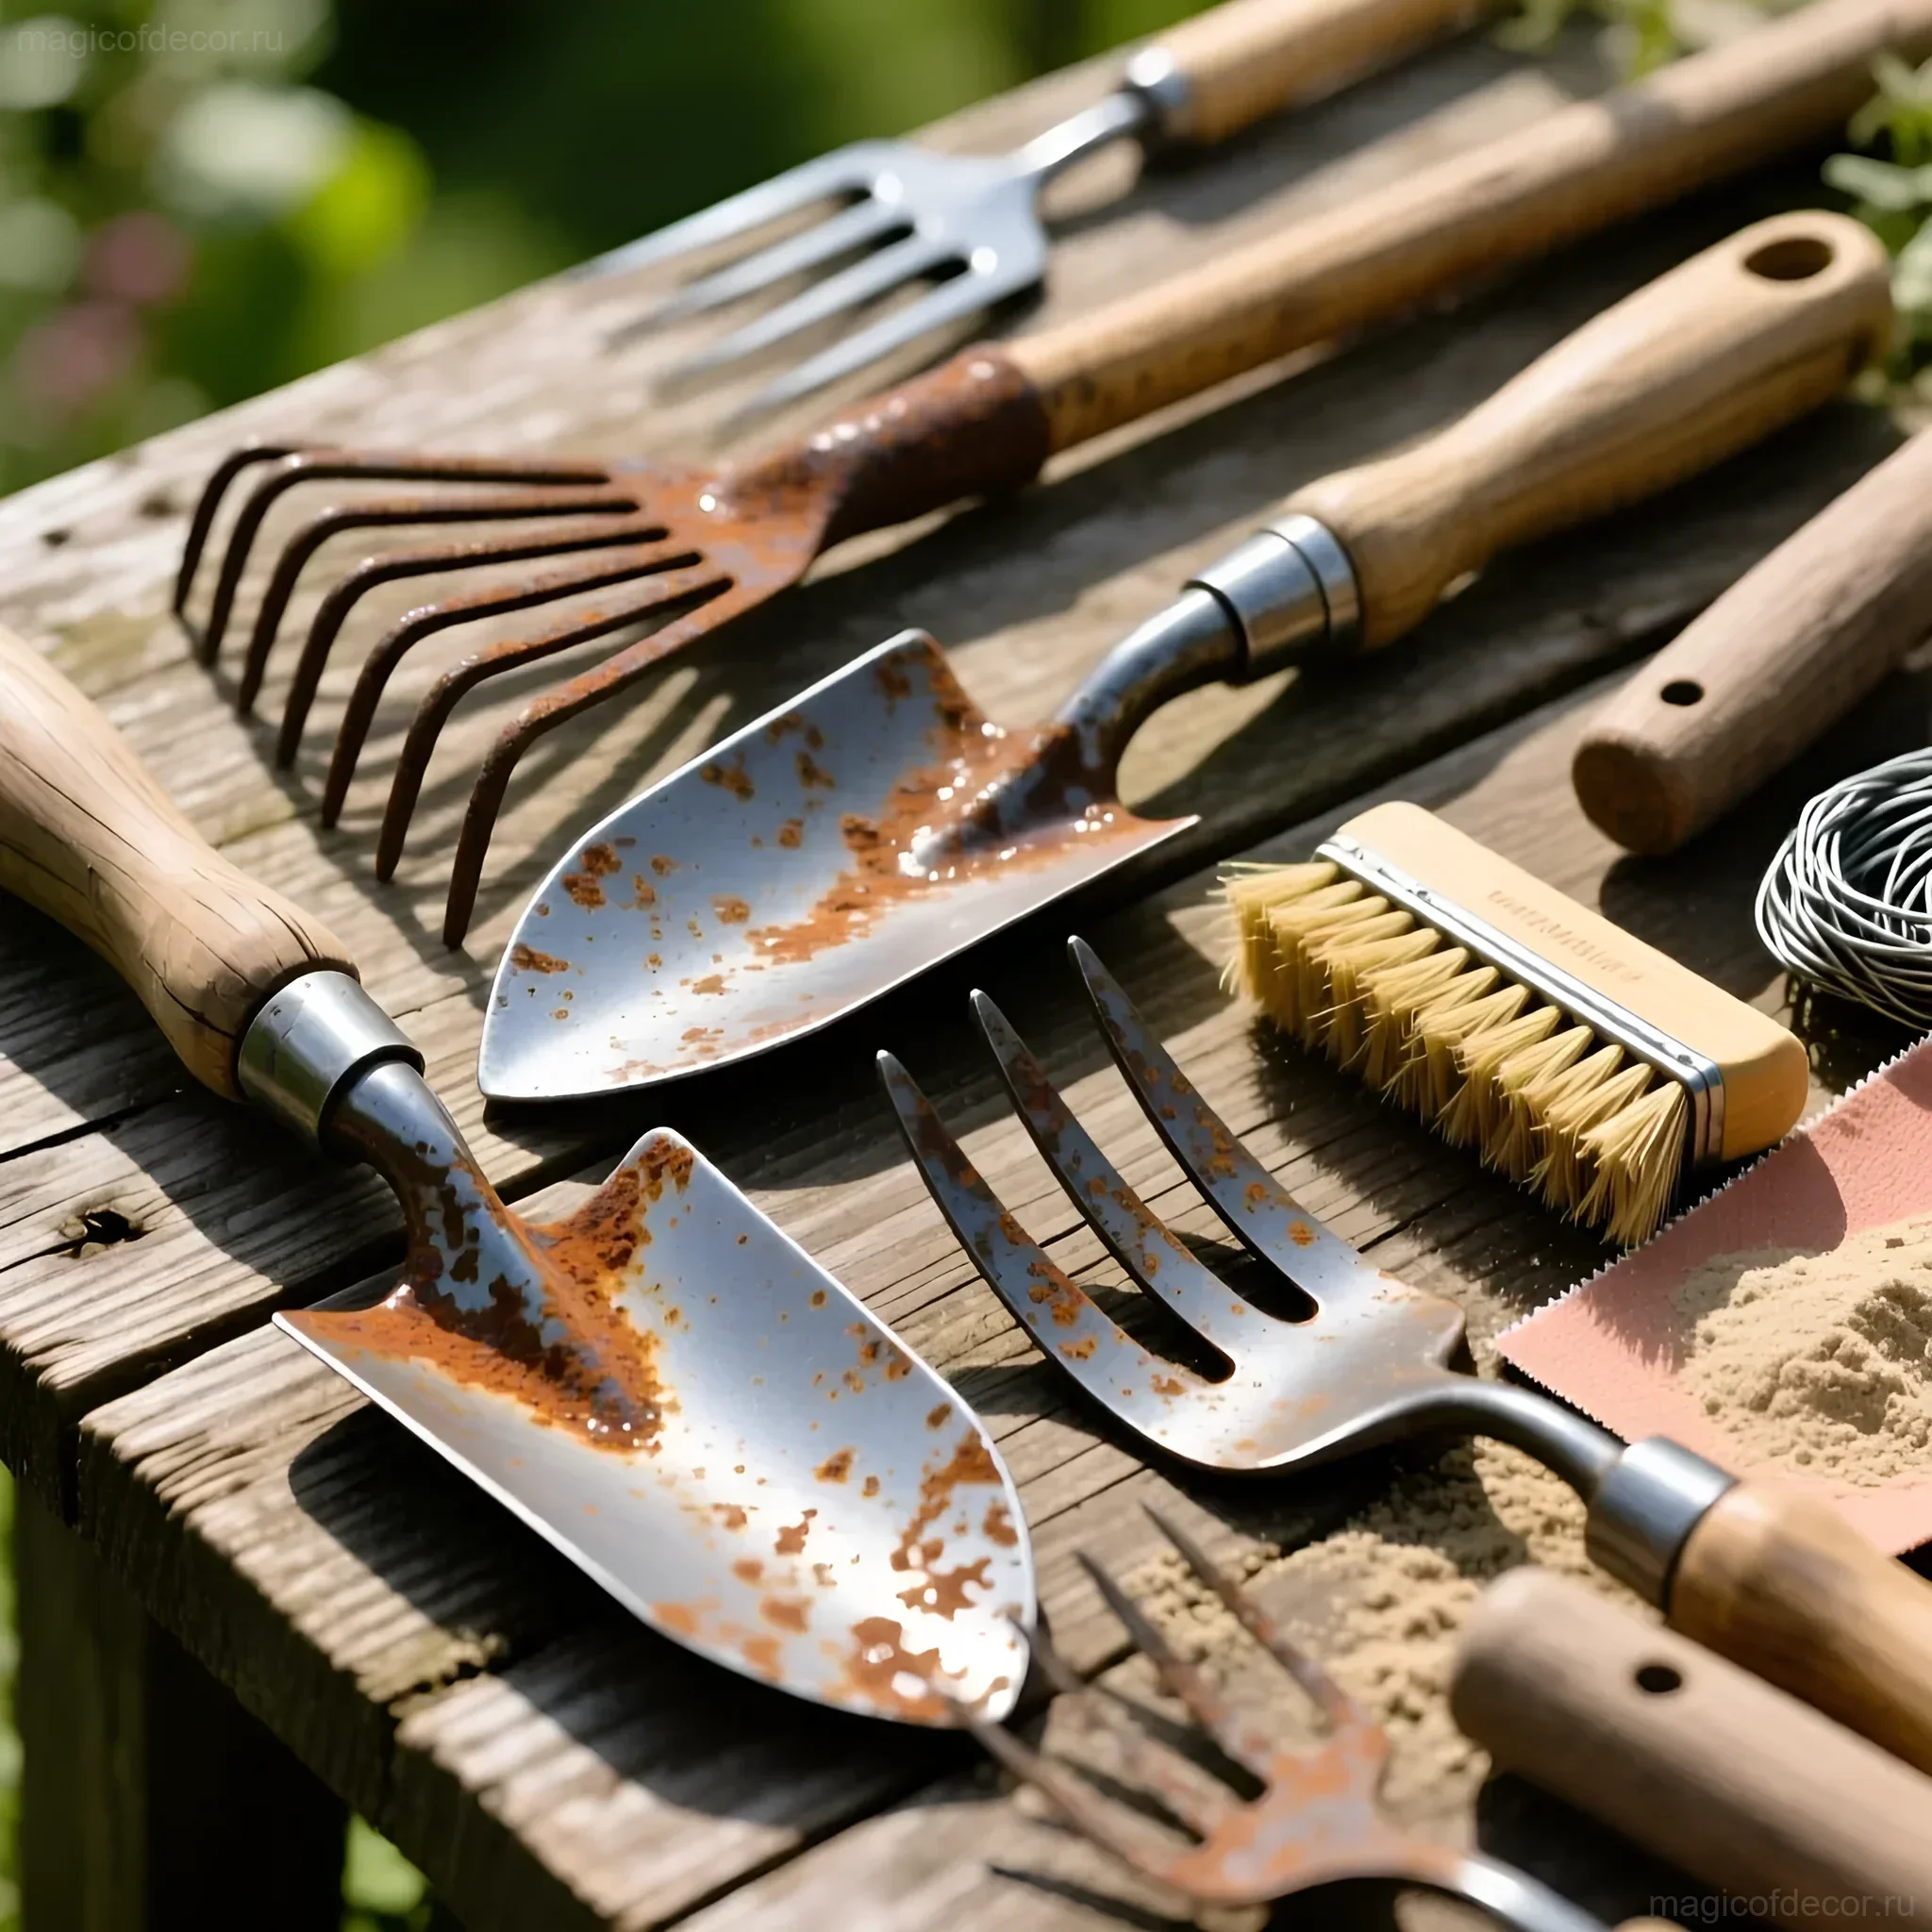
Preparing Tools: The First Step to Beauty
Before a tool becomes an ornament, it needs to be prepared. This is not difficult but is important for durability and safety:
- Cleaning off dirt: Remove any remaining soil, dust, and old leaves with a stiff brush and water.
- Removing loose rust: If the rust is flaking, it’s best to remove it with a wire brush or sandpaper. If the rust is dense and looks decorative (patina), you can leave it and simply cover it with a protective varnish.
- Wood treatment: Wooden handles often require sanding. Remove splinters and cover the wood with stain or exterior varnish.
- Safety check: Ensure there are no sharp edges that could be dangerous for children or pets. If necessary, blunt them with a file.
Step-by-Step Guide: Creating Plant Stands from Old Rakes
One of the most popular and simple projects is transforming old fan or straight rakes into stylish hanging stands for pots or garden tools. Let’s make a stylish rake organizer.
You will need:
- An old rake head (without the handle).
- Paint (acrylic or metal enamel is best).
- Sandpaper.
- Protective varnish or metal primer.
- Two sturdy hinges or hooks for wall/fence mounting.
- Miniature pots with herbs or succulents.
Step-by-Step DIY Process:
Step 1: Surface preparation. Thoroughly clean the metal, remove loose rust. If you want to create a “shabby chic” effect, lightly sand some areas so the paint applies unevenly.
Step 2: Priming and painting. Apply anti-corrosion primer. After drying, cover the rake with your chosen color. Decorator’s tip: use pastel shades (mint, lavender, dusty rose) – they look perfect against a backdrop of greenery.
Step 3: Decorative aging (optional). After the paint has dried, go over the protruding parts and corners with sandpaper to imitate natural wear. This will add a vintage touch.
Step 4: Installation. Attach the rake head horizontally to a garden fence or shed wall. Ensure the mounting is secure.
Step 5: Usage. The rake teeth now serve as hooks. You can:
- Hang pots from them with S-hooks.
- Place small tools (pruners, trowels).
- Use them for a garland of LED fairy lights.
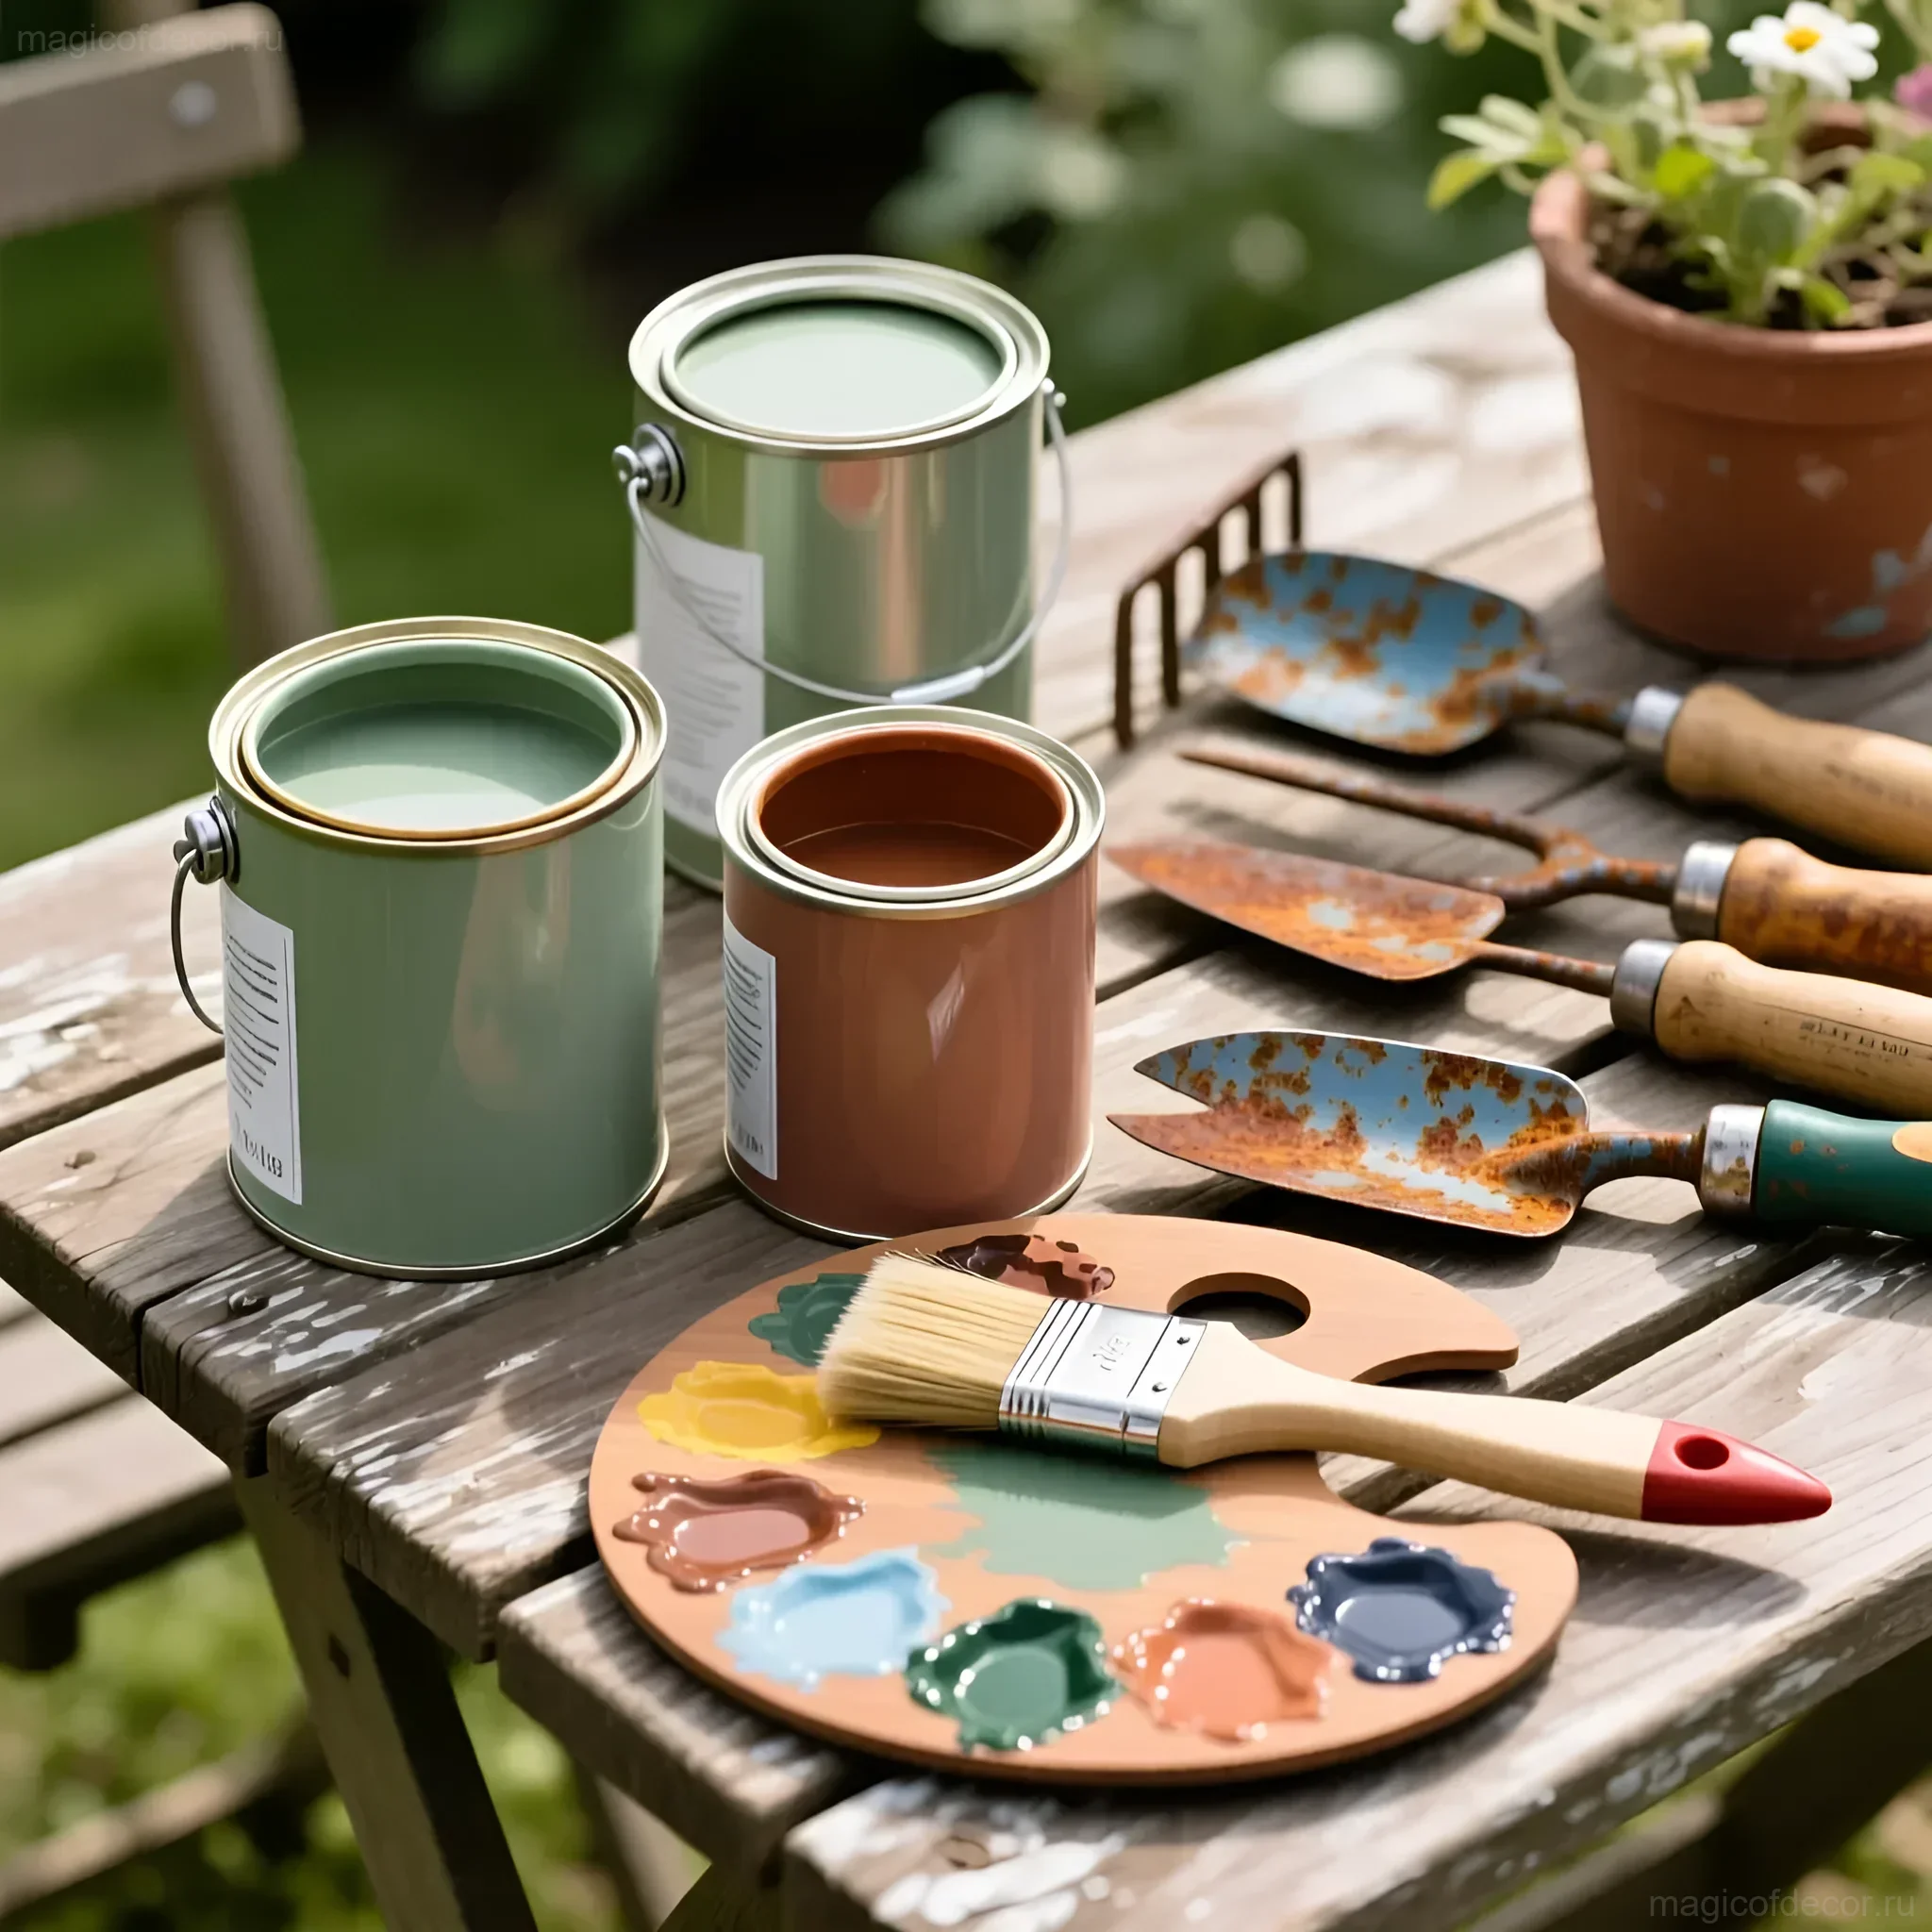
Color Solutions: How to Paint Tools to Harmonize with the Garden
Color is 80% of decor success. The right palette can turn a rusty piece of iron into a stylish accent. Three main strategies work best for painting old tools in the garden:
1. “Bright Accent” Strategy
If your garden is drowning in greenery, use bold, saturated colors so the decor doesn’t get lost. Bright turquoise, tangerine, or lemon yellow are ideal. These colors look magnificent against dark wood or green foliage. Paint only the metal parts, leaving the wooden handle natural, or vice versa – paint the handle to make it stand out.
2. “Vintage Provence” Strategy
To create a French countryside or “shabby chic” atmosphere, choose muted, pastel tones: ivory, pale blue, mint green. Use the “dry brush” technique or multi-layer painting with subsequent rubbing to create the effect of a sun-faded surface.
3. “Natural Patina” Strategy
If the tool has beautiful, non-deteriorating rust, preserve it! Simply cover the entire metal part with matte or glossy metal varnish. This will stop further corrosion but preserve the noble look of age. In this case, it’s best to treat the wooden parts with a dark walnut stain.
Important: Always use paints intended for outdoor use. Metal enamels or acrylic paints with UV protection are your best choice.
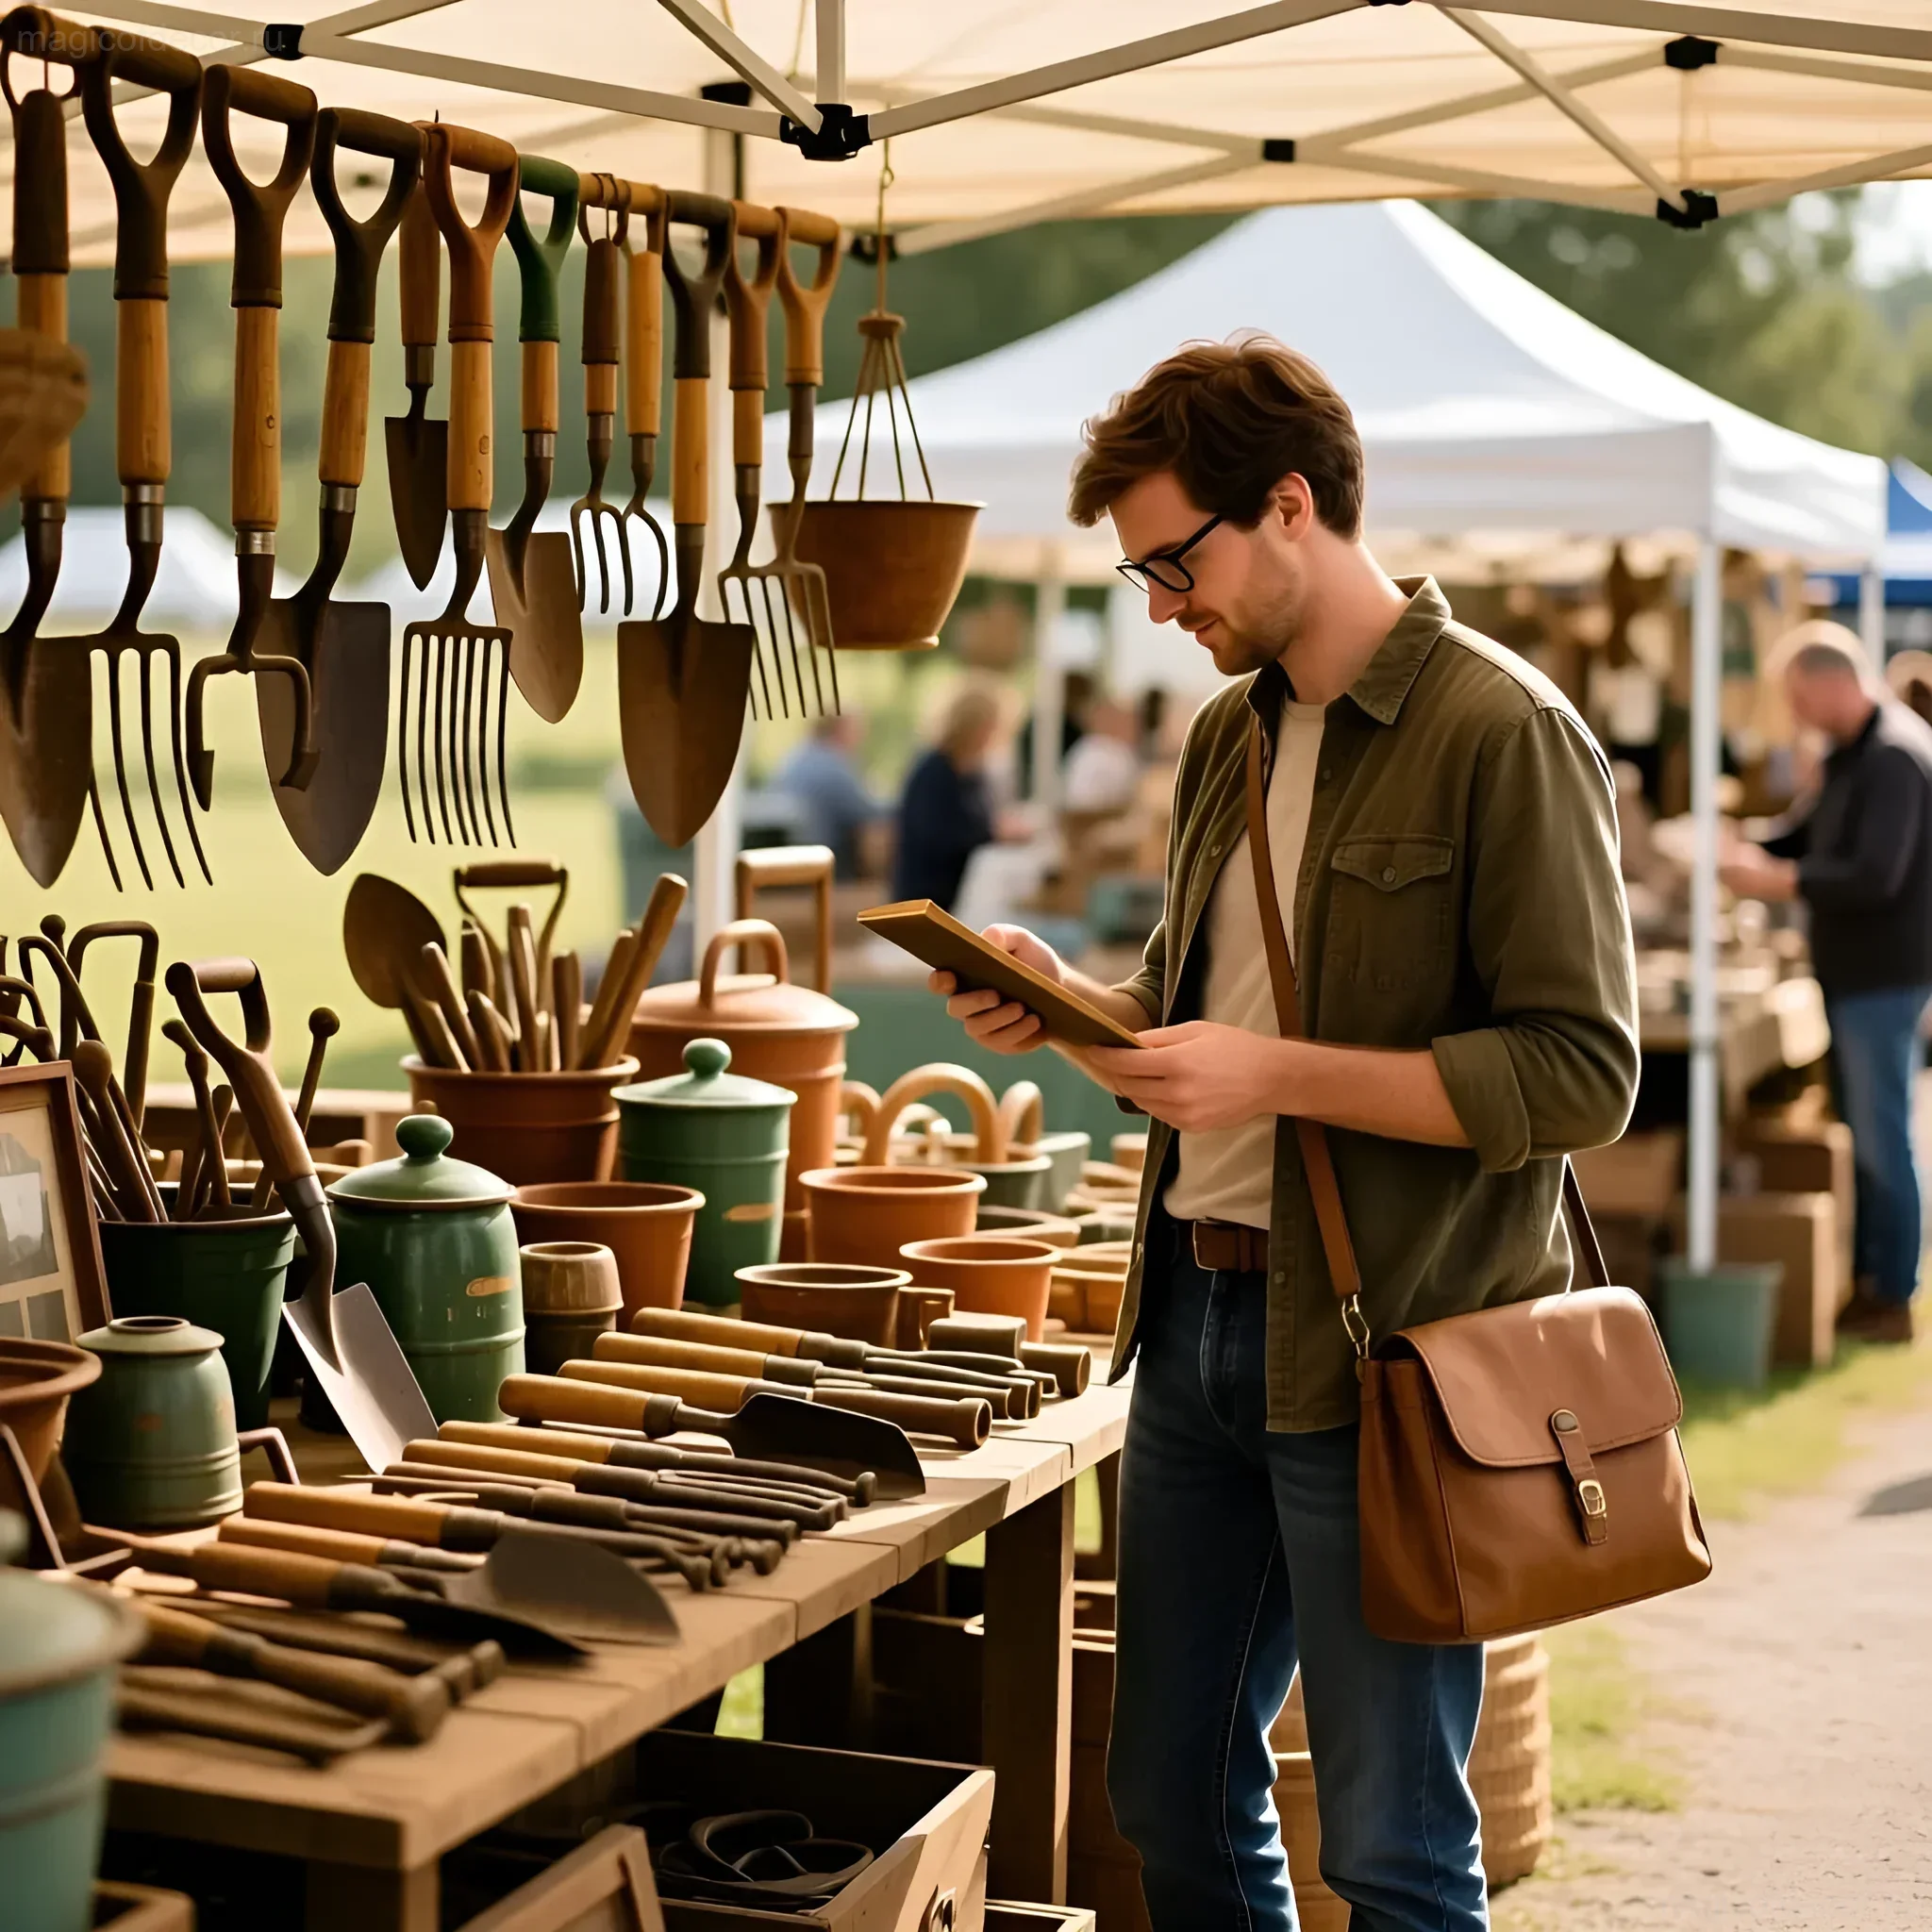
Budget Decor: Where to Find Old Tools and How to Save on Materials
The most pleasant aspect of this type of decor is its incredible economy. Our task is not to buy, but to find and repurpose. Here are a few tried-and-true places and ways to save:
Where to Find “Treasures”:
- Grandma’s attic or shed: Start by auditing your own supplies. Old tools are often kept “just in case” and await their moment.
- Flea markets and car boot sales: Here you can find tools with incredible character for a symbolic price. Sellers are often willing to give away broken or incomplete items almost for free.
- Neighbors and friends: Ask acquaintances if they have any unused garden tools left after a spring cleaning.
- Online platforms (free classifieds): People often give away old items just to free up space. Look in the “Giving Away for Free” or “For Garden and Vegetable Patch” sections.
How to Save on Consumables:
If you’re making decor, you don’t need to buy large cans of paint:
- Paint leftovers: Use leftover facade paint or enamel from renovations. Even a small amount is enough to paint a couple of shovels.
- Test samples: Some hardware stores sell small (sample) cans of paint for tinting. This is the ideal amount for small decorative projects and costs significantly less.
- Natural materials: For decorative fastening, use twine, jute rope, or old leather belts found in the attic. They look much warmer and more natural than plastic zip ties.
DIY Projects: Ideas for Garden Decor from Shovels and Pitchforks
We’ve already mastered rakes. Now it’s time for shovels and pitchforks. These tools have a more pronounced shape and offer scope for monumental and functional projects.
1. Shovel as a Sign or Plaque
This is the simplest and most effective project. You’ll need a spade with a long handle.
- “Welcome” Idea: Clean and paint the shovel a dark color (e.g., graphite). Use white or gold paint to write “The Ivanovs’ Family” or “Welcome to Our Garden.” Secure the shovel in a visible spot by sticking its handle into the ground.
- “Planting Calendar” Idea: On a scoop shovel, you can write important planting dates or reminders with chalk (if you cover it with chalkboard paint) or a permanent marker.
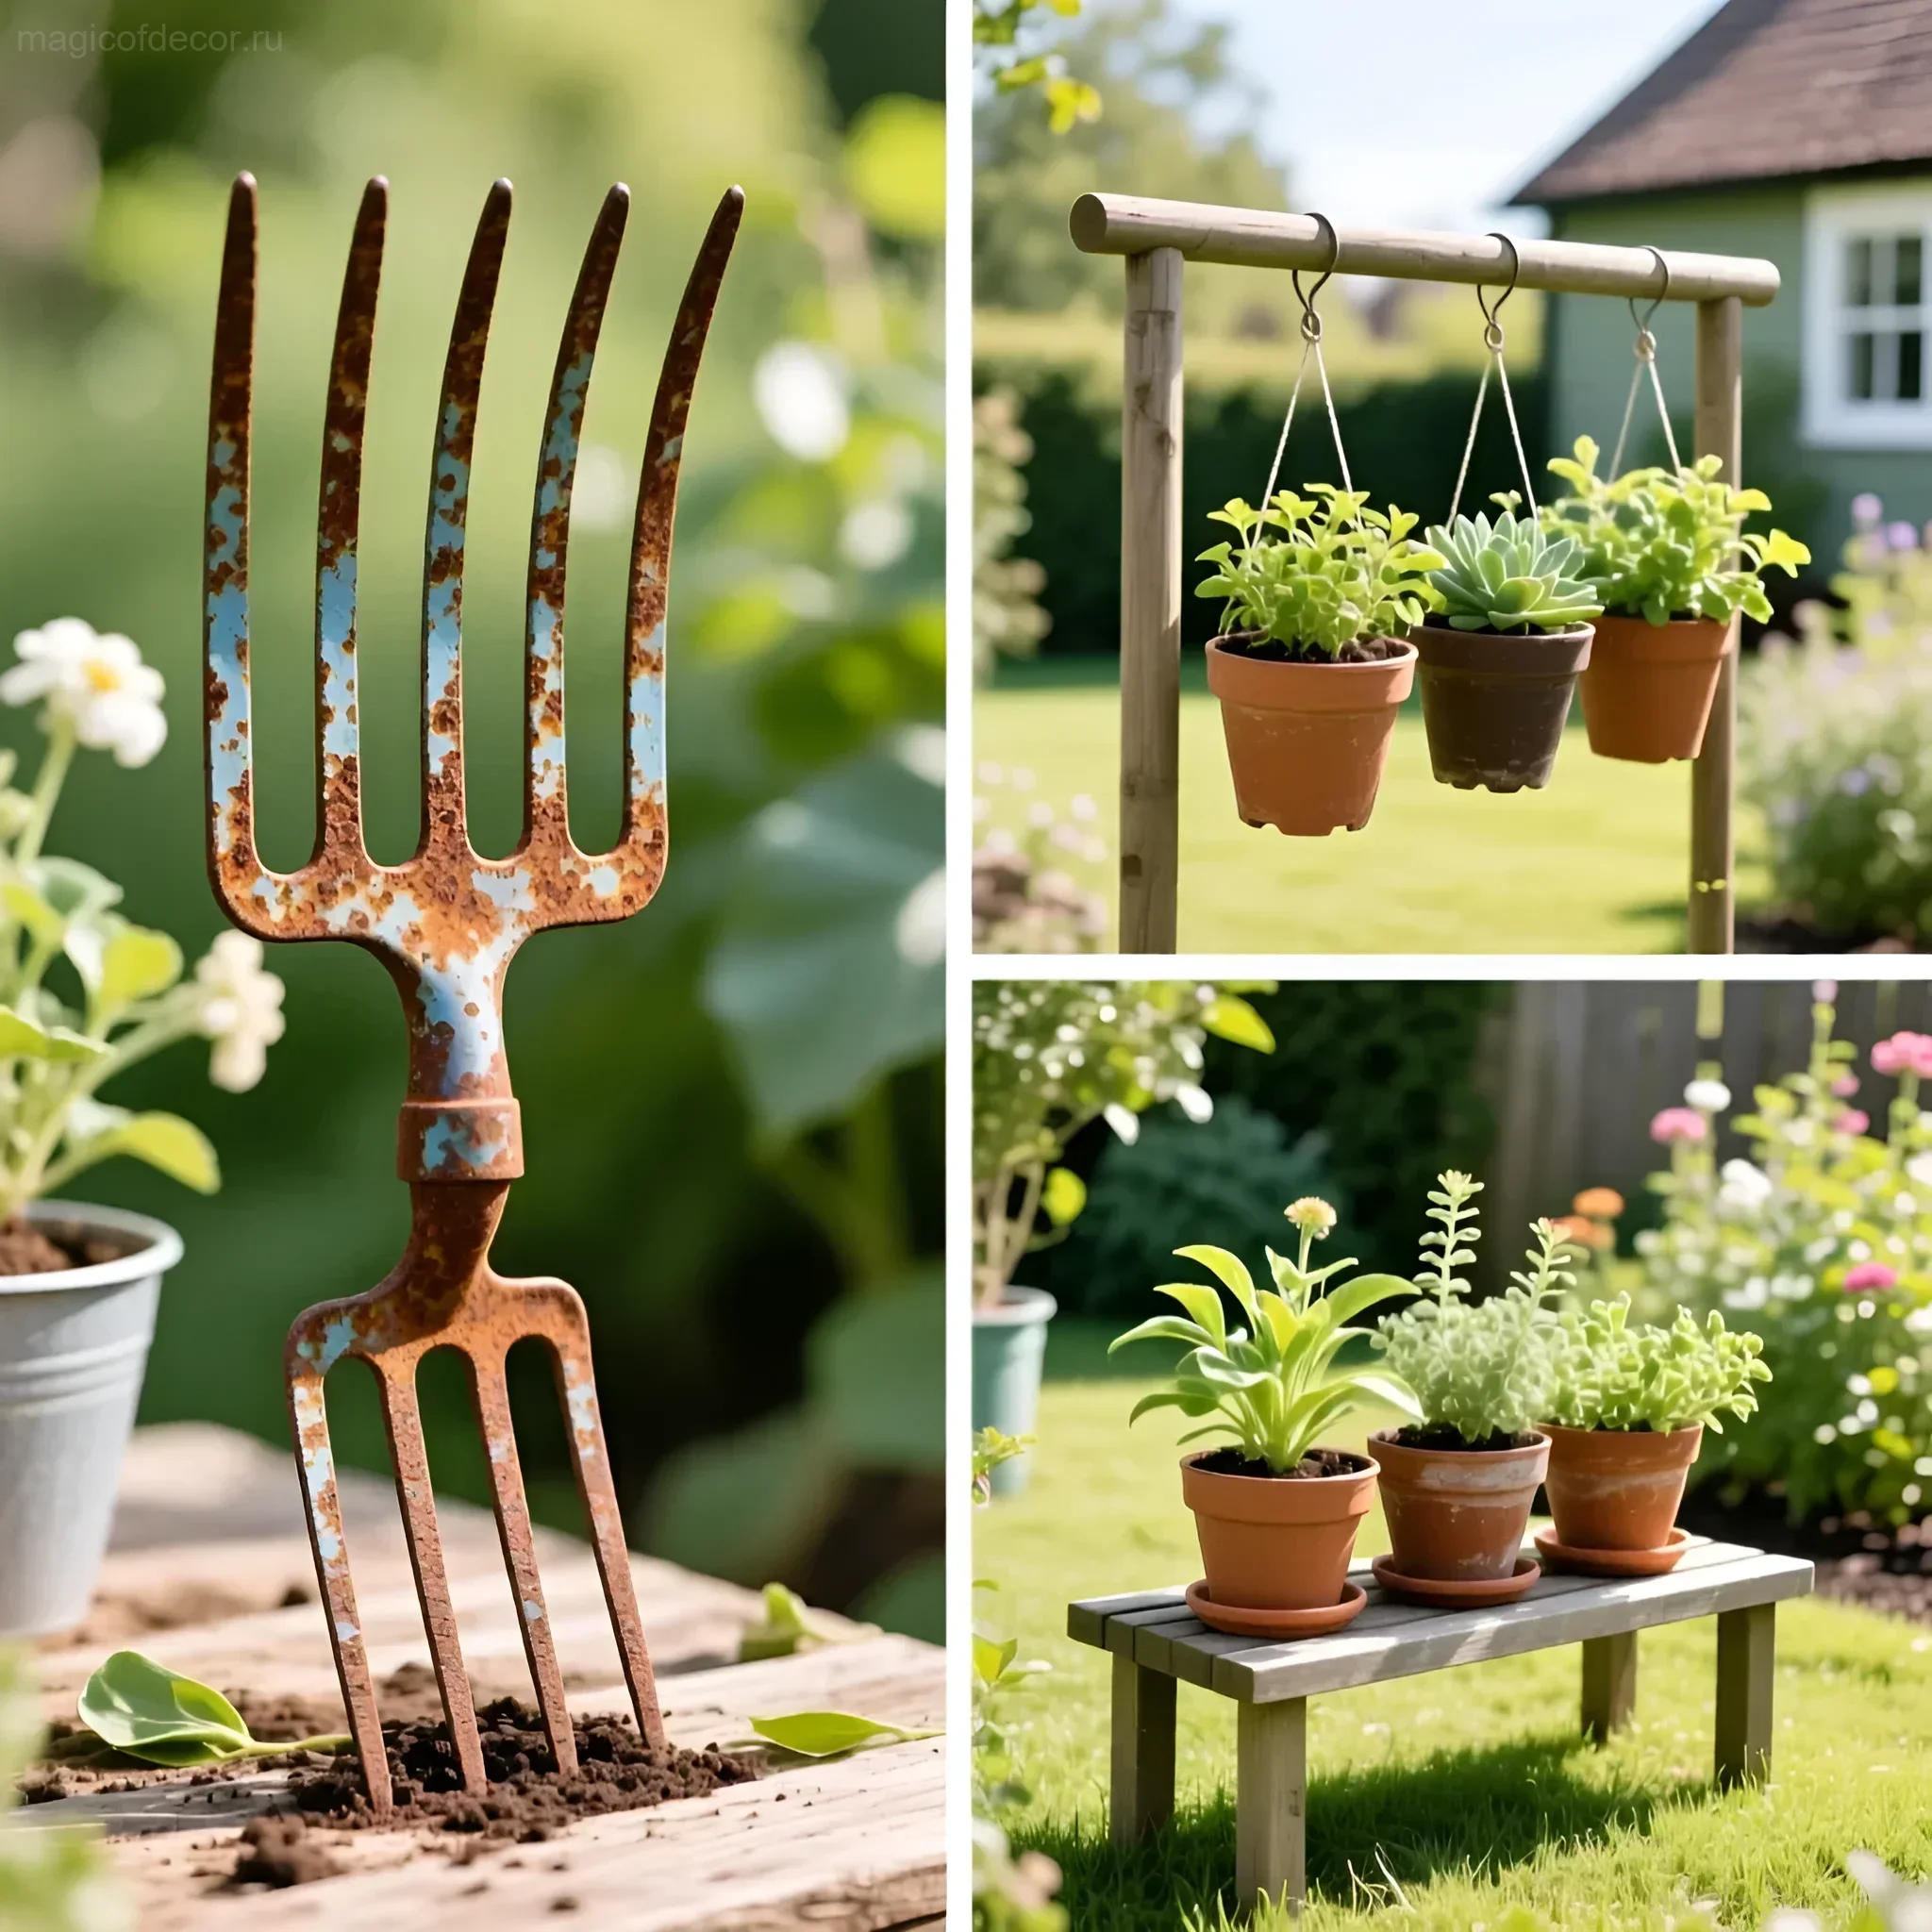
2. Pitchforks as Supports for Climbing Plants
Old pitchforks with long tines are ideal mini-supports for small climbing flowers or peas. This gives the garden bed a charming, slightly rustic look.
- How to do it: Simply stick the pitchfork into the ground next to a young plant (e.g., clematis or sweet peas). The tines will serve as support, and the tool itself will become a vertical accent.
- Decoration: You can wrap the pitchfork handle with solar-powered LED fairy lights – in the evening, it will create a magical glowing element.
3. Shovel as a Bird Feeder
A slightly more complex, but very cute project.
- Project: Take a scoop shovel. Its concave shape is ideal for a feeder.
- Implementation: Secure the shovel horizontally to a post or stump (you can use L-brackets). You can slightly bend the edges of the shovel upwards to prevent the feed from spilling out. Fill the hollow with grain.
- Additional: Paint the shovel a bright color to attract feathered guests.
Seasonal Decor: Decorating the Garden with Tools for Holidays
Tool decor is great because it’s easily adaptable to any season or holiday. We simply add temporary elements without changing the main structure.
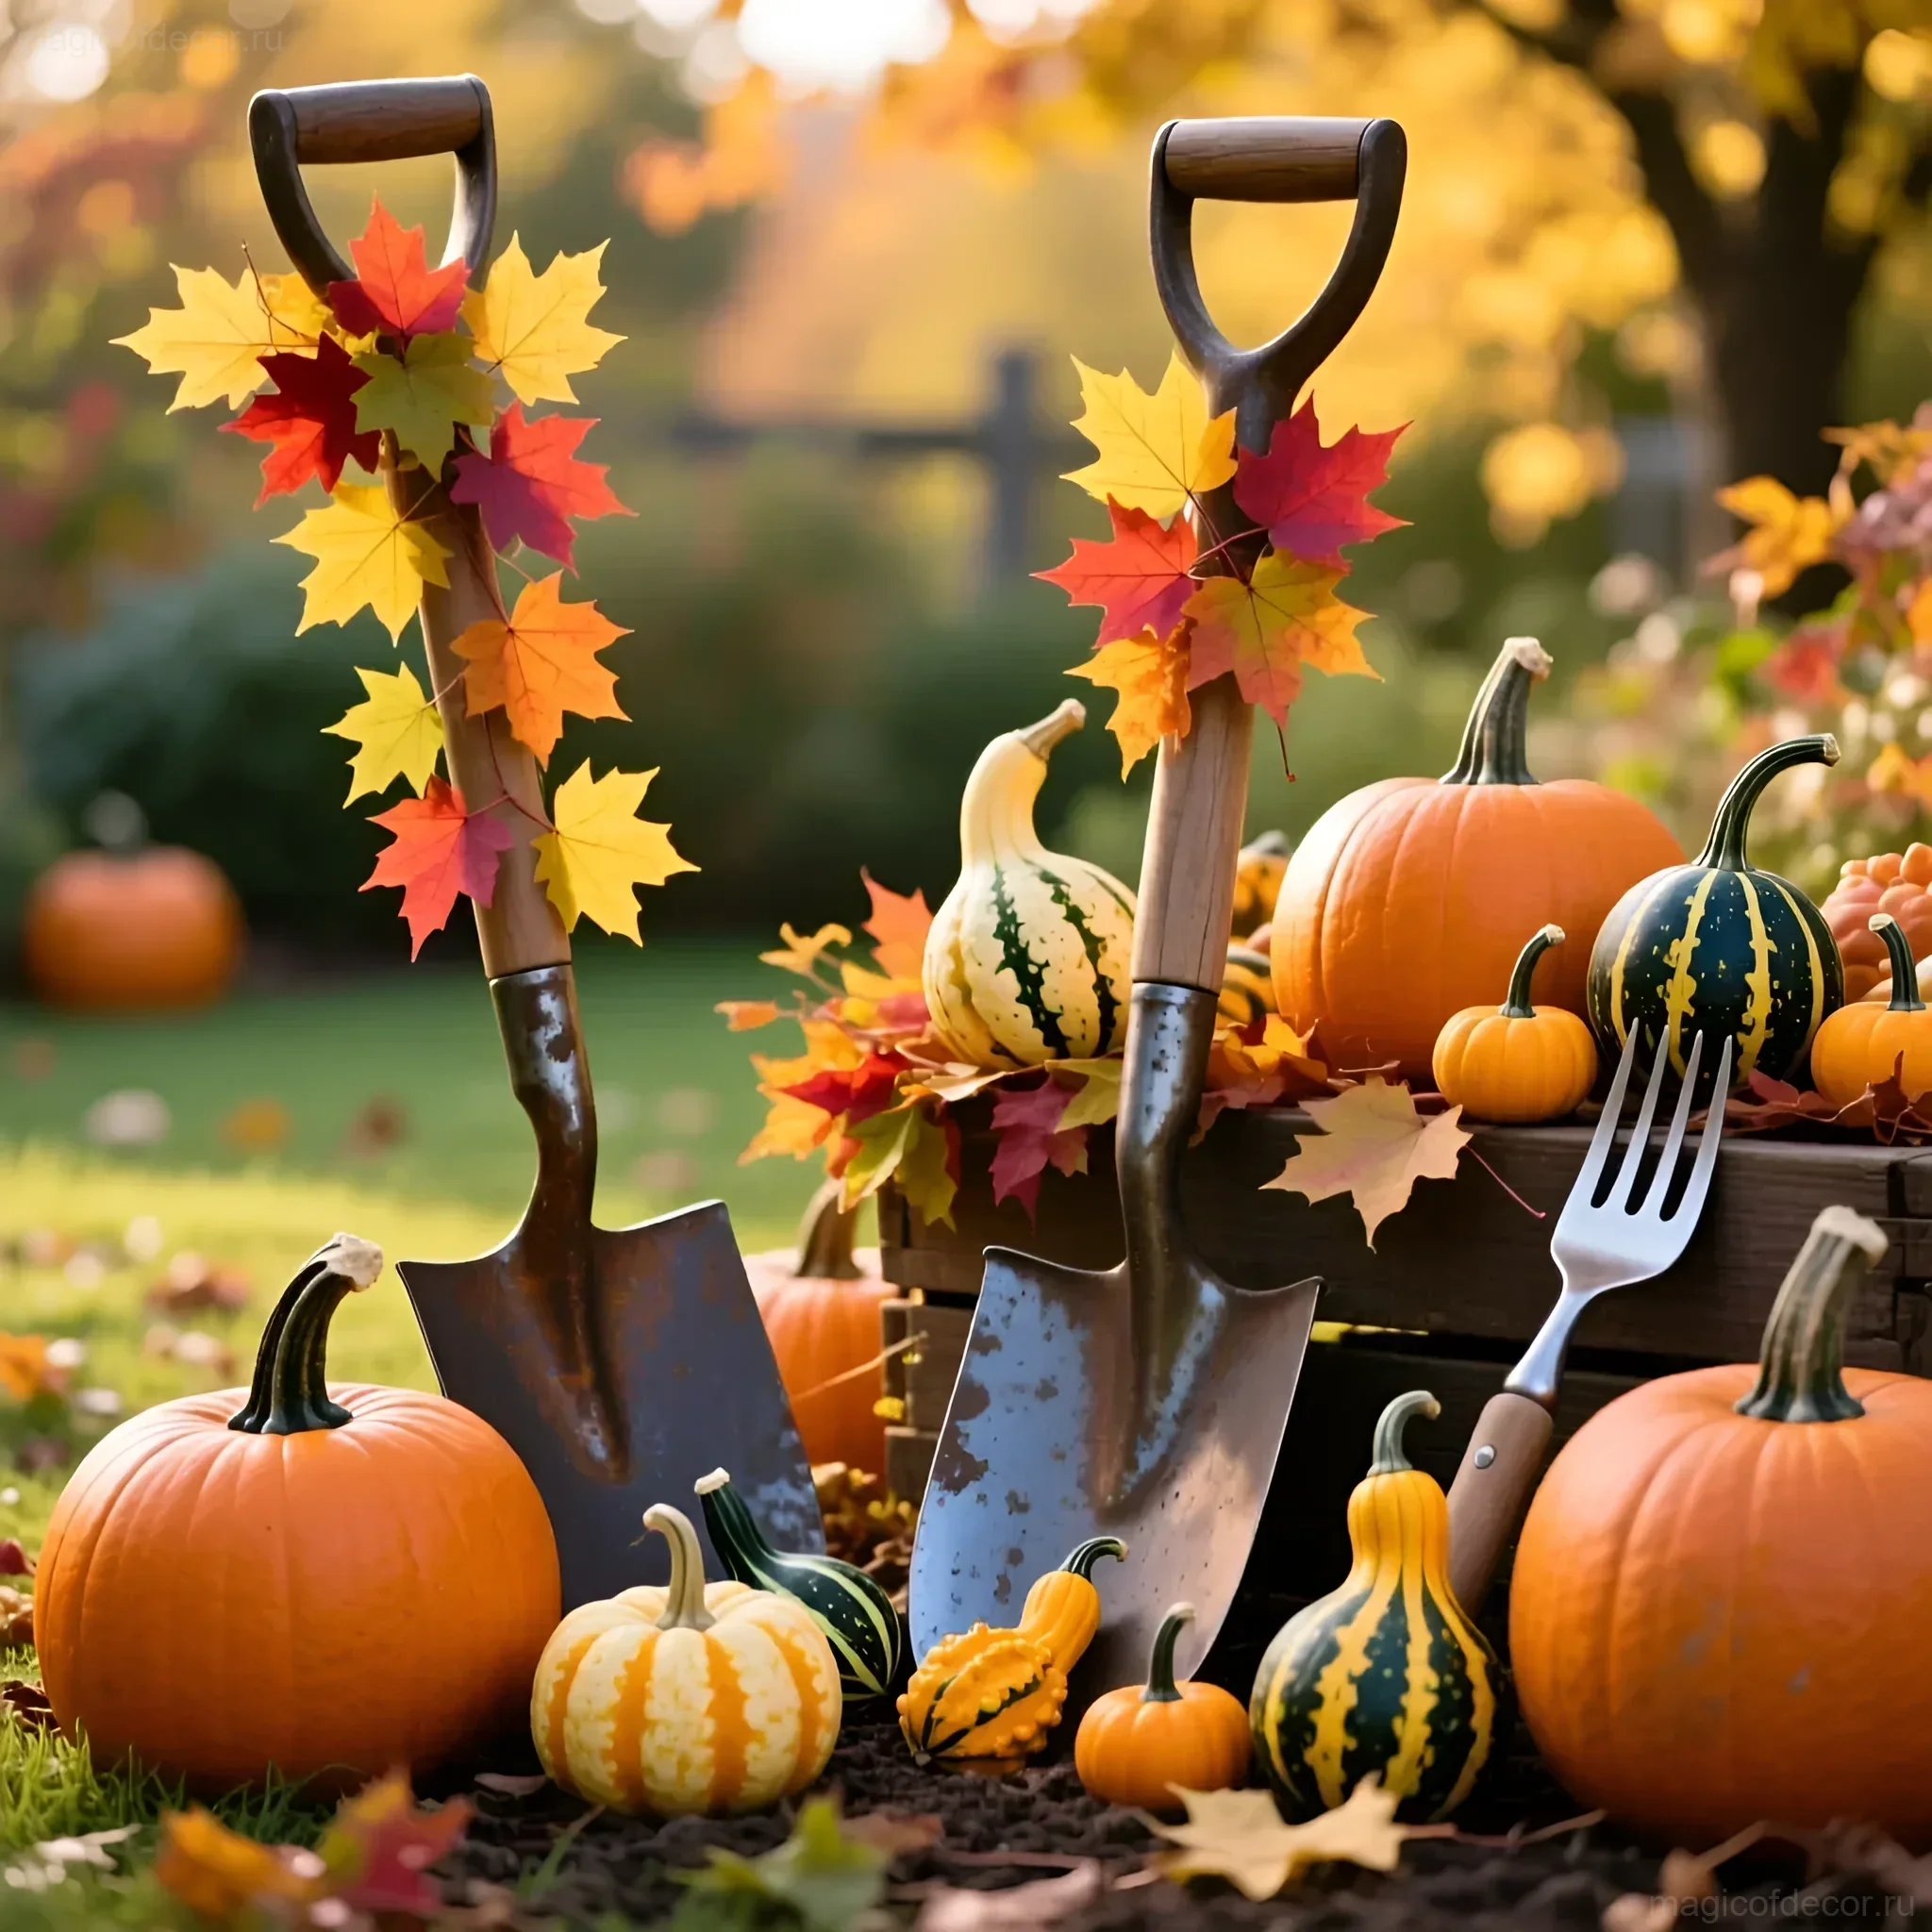
Autumn Harvest Decor (September-October)
- Rake Wreath: Use a rake head (preferably fan-shaped) as a base for an autumn wreath. Weave dried leaves, rowan branches, pinecones, and miniature decorative pumpkins between the tines.
- Shovel Scarecrow: Paint the shovel blade orange, draw a jack-o’-lantern face. Attach some straw to the handle and put on an old hat. You’ll get a charming scarecrow.
Christmas and Winter Decor
- Pitchfork Tree: Paint the pitchfork green or white. Wrap the tines with an outdoor Christmas garland and attach a few shiny Christmas balls. Place them in a snowdrift or a pot.
- Rake Sock Holder: If you live in a country house, the rake head can be used on the porch to hang Christmas stockings or mittens.
Spring Awakening
- Shovel Planter: Attach a small pot with spring flowers (crocuses, muscari) to a scoop shovel. This will create the impression that the shovel is “digging up” spring.
Expert Advice: How to Protect Tools from Corrosion and Extend Decor Lifespan
Even if we love patina, we don’t want our decor to fall apart in a year. Protection from moisture and sun is key for garden decor.
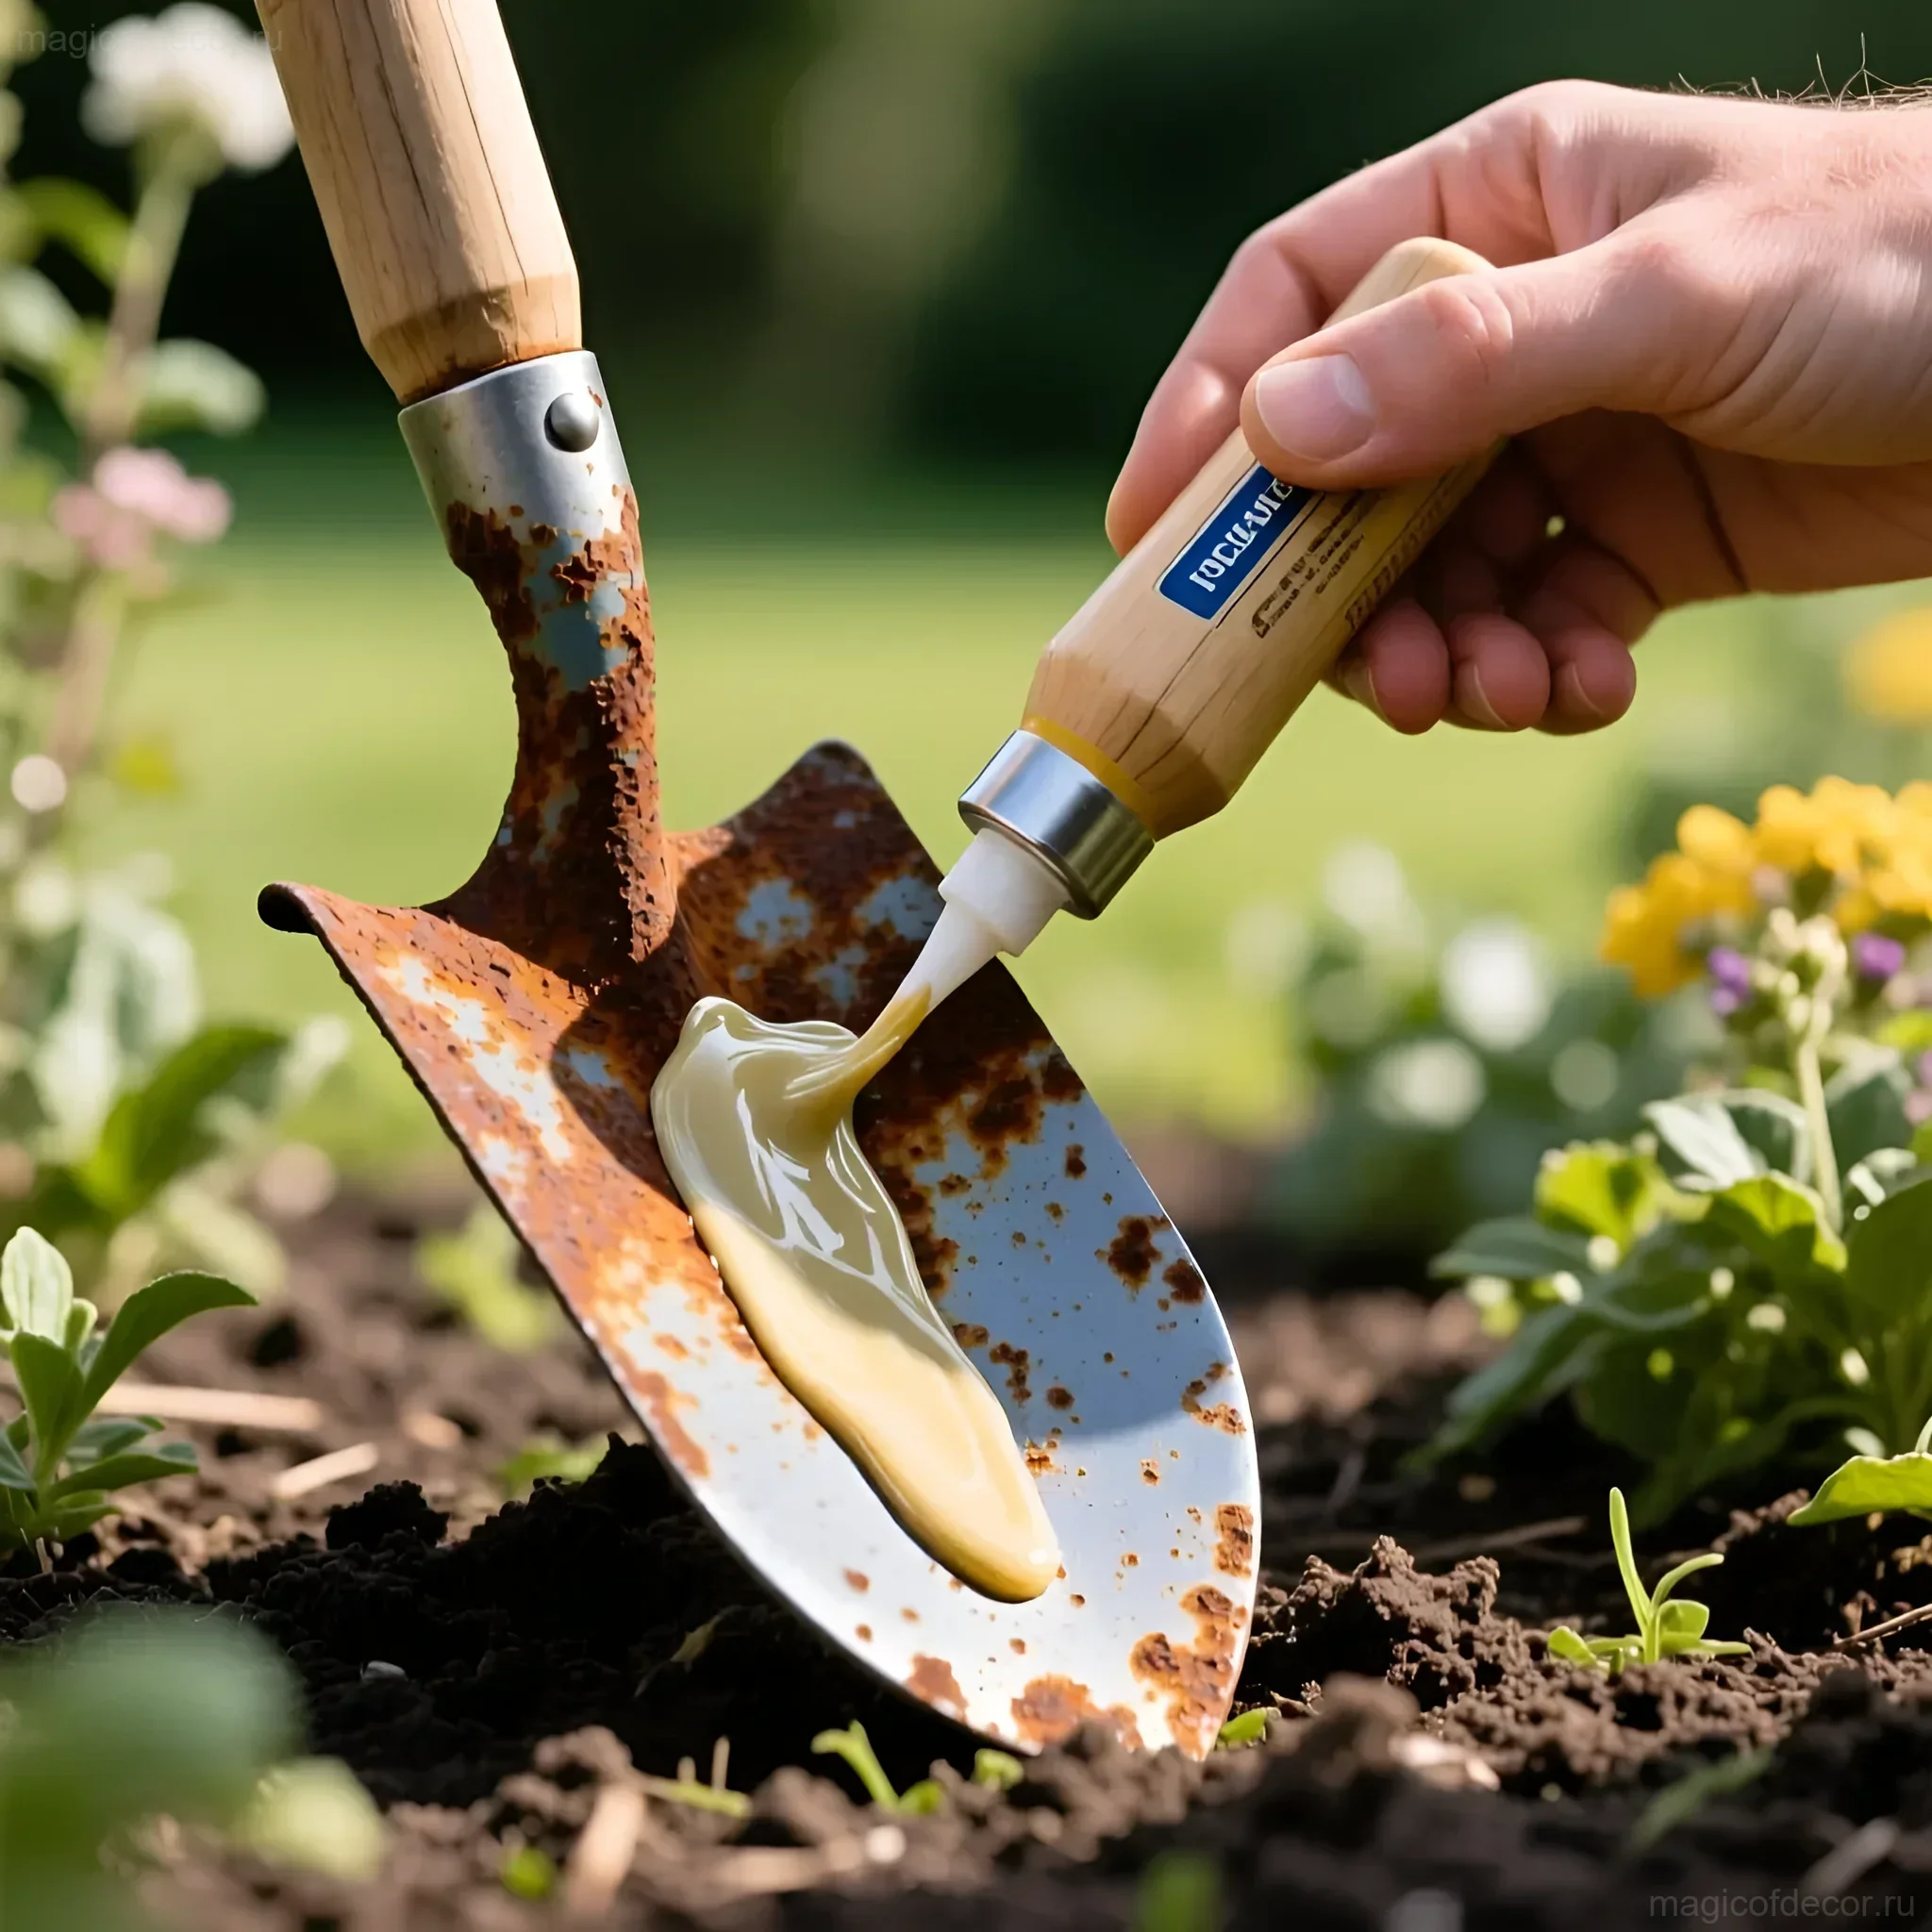
1. Anti-Corrosion Treatment for Metal
If you decide to paint a tool, always use rust primer. This is a special compound that neutralizes corrosion and creates ideal adhesion for the topcoat. After painting, it’s advisable to apply two coats of weather-resistant varnish.
2. Protecting Wooden Handles
Wood in the garden suffers from moisture and fungus. Use:
- Antiseptics and impregnations: They protect wood from rot and insects.
- Exterior varnishes or oils: They create a water-repellent barrier. Apply them in two to three coats, allowing each coat to dry thoroughly.
3. Placement Rules
If possible, place tool decor so that it doesn’t constantly stand in damp soil or puddles. If a shovel or pitchfork is stuck in the ground, ensure drainage around the handle. If rakes are used as planters, make sure water from the pots doesn’t accumulate on the metal.
4. Seasonal Storage
Although our tools are made for the outdoors, if you want them to last for decades, it’s best to store them in a dry place during harsh winter frosts and heavy snowfalls. A simple shed or garage is sufficient.
***
Decor from old tools is not just decoration; it’s a philosophy of caring for things and creating coziness that tells a story. Let your garden become a gallery where every object has a soul, and old rakes and shovels proudly bear the title of true art objects! We wish you success in your creative endeavors and see you soon on magicofdecor.ru!