Dear friends, your professional decorator and faithful assistant in creating coziness is back with you! Today, we will move away from the usual walls and bring the magic of decor to the most inspiring corner – the dacha. More precisely, we will create something truly special there: a children’s garden. This is not just a garden bed, it’s a whole world where little hands learn to create, and a real miracle grows from a tiny seed.
Creating a children’s garden is pure decor, pure magic of space design! We won’t be doing heavy renovations or digging up virgin soil. Our task is to highlight and decorate a small, but incredibly important area, making it as attractive, safe, and, of course, magical as possible. Ready to give your children their own personal green kingdom?
Children’s Garden at the Dacha: Inspiration and Ideas for a Magical Corner
Why should a children’s garden be magical? Because this project is the perfect way to combine practical benefits with aesthetic pleasure. We’re not just planting carrots; we’re building a stage for play that happens to be useful. Think about how this corner looks through a child’s eyes: it should be proportional to them, bright, and full of secrets.
Key Principles of Inspiration:
- Scaling: Everything should be small and convenient. Miniature beds, low fences, tools that are easy for a child’s hand to hold.
- Theme: A children’s garden can be decorated in a fairy-tale style. For example, a “Fairy Garden” (lots of flowers and glitter), “Pirate Treasures” (chest-shaped beds and flags), or “Uncle McDonald’s Farm” (animal figurines).
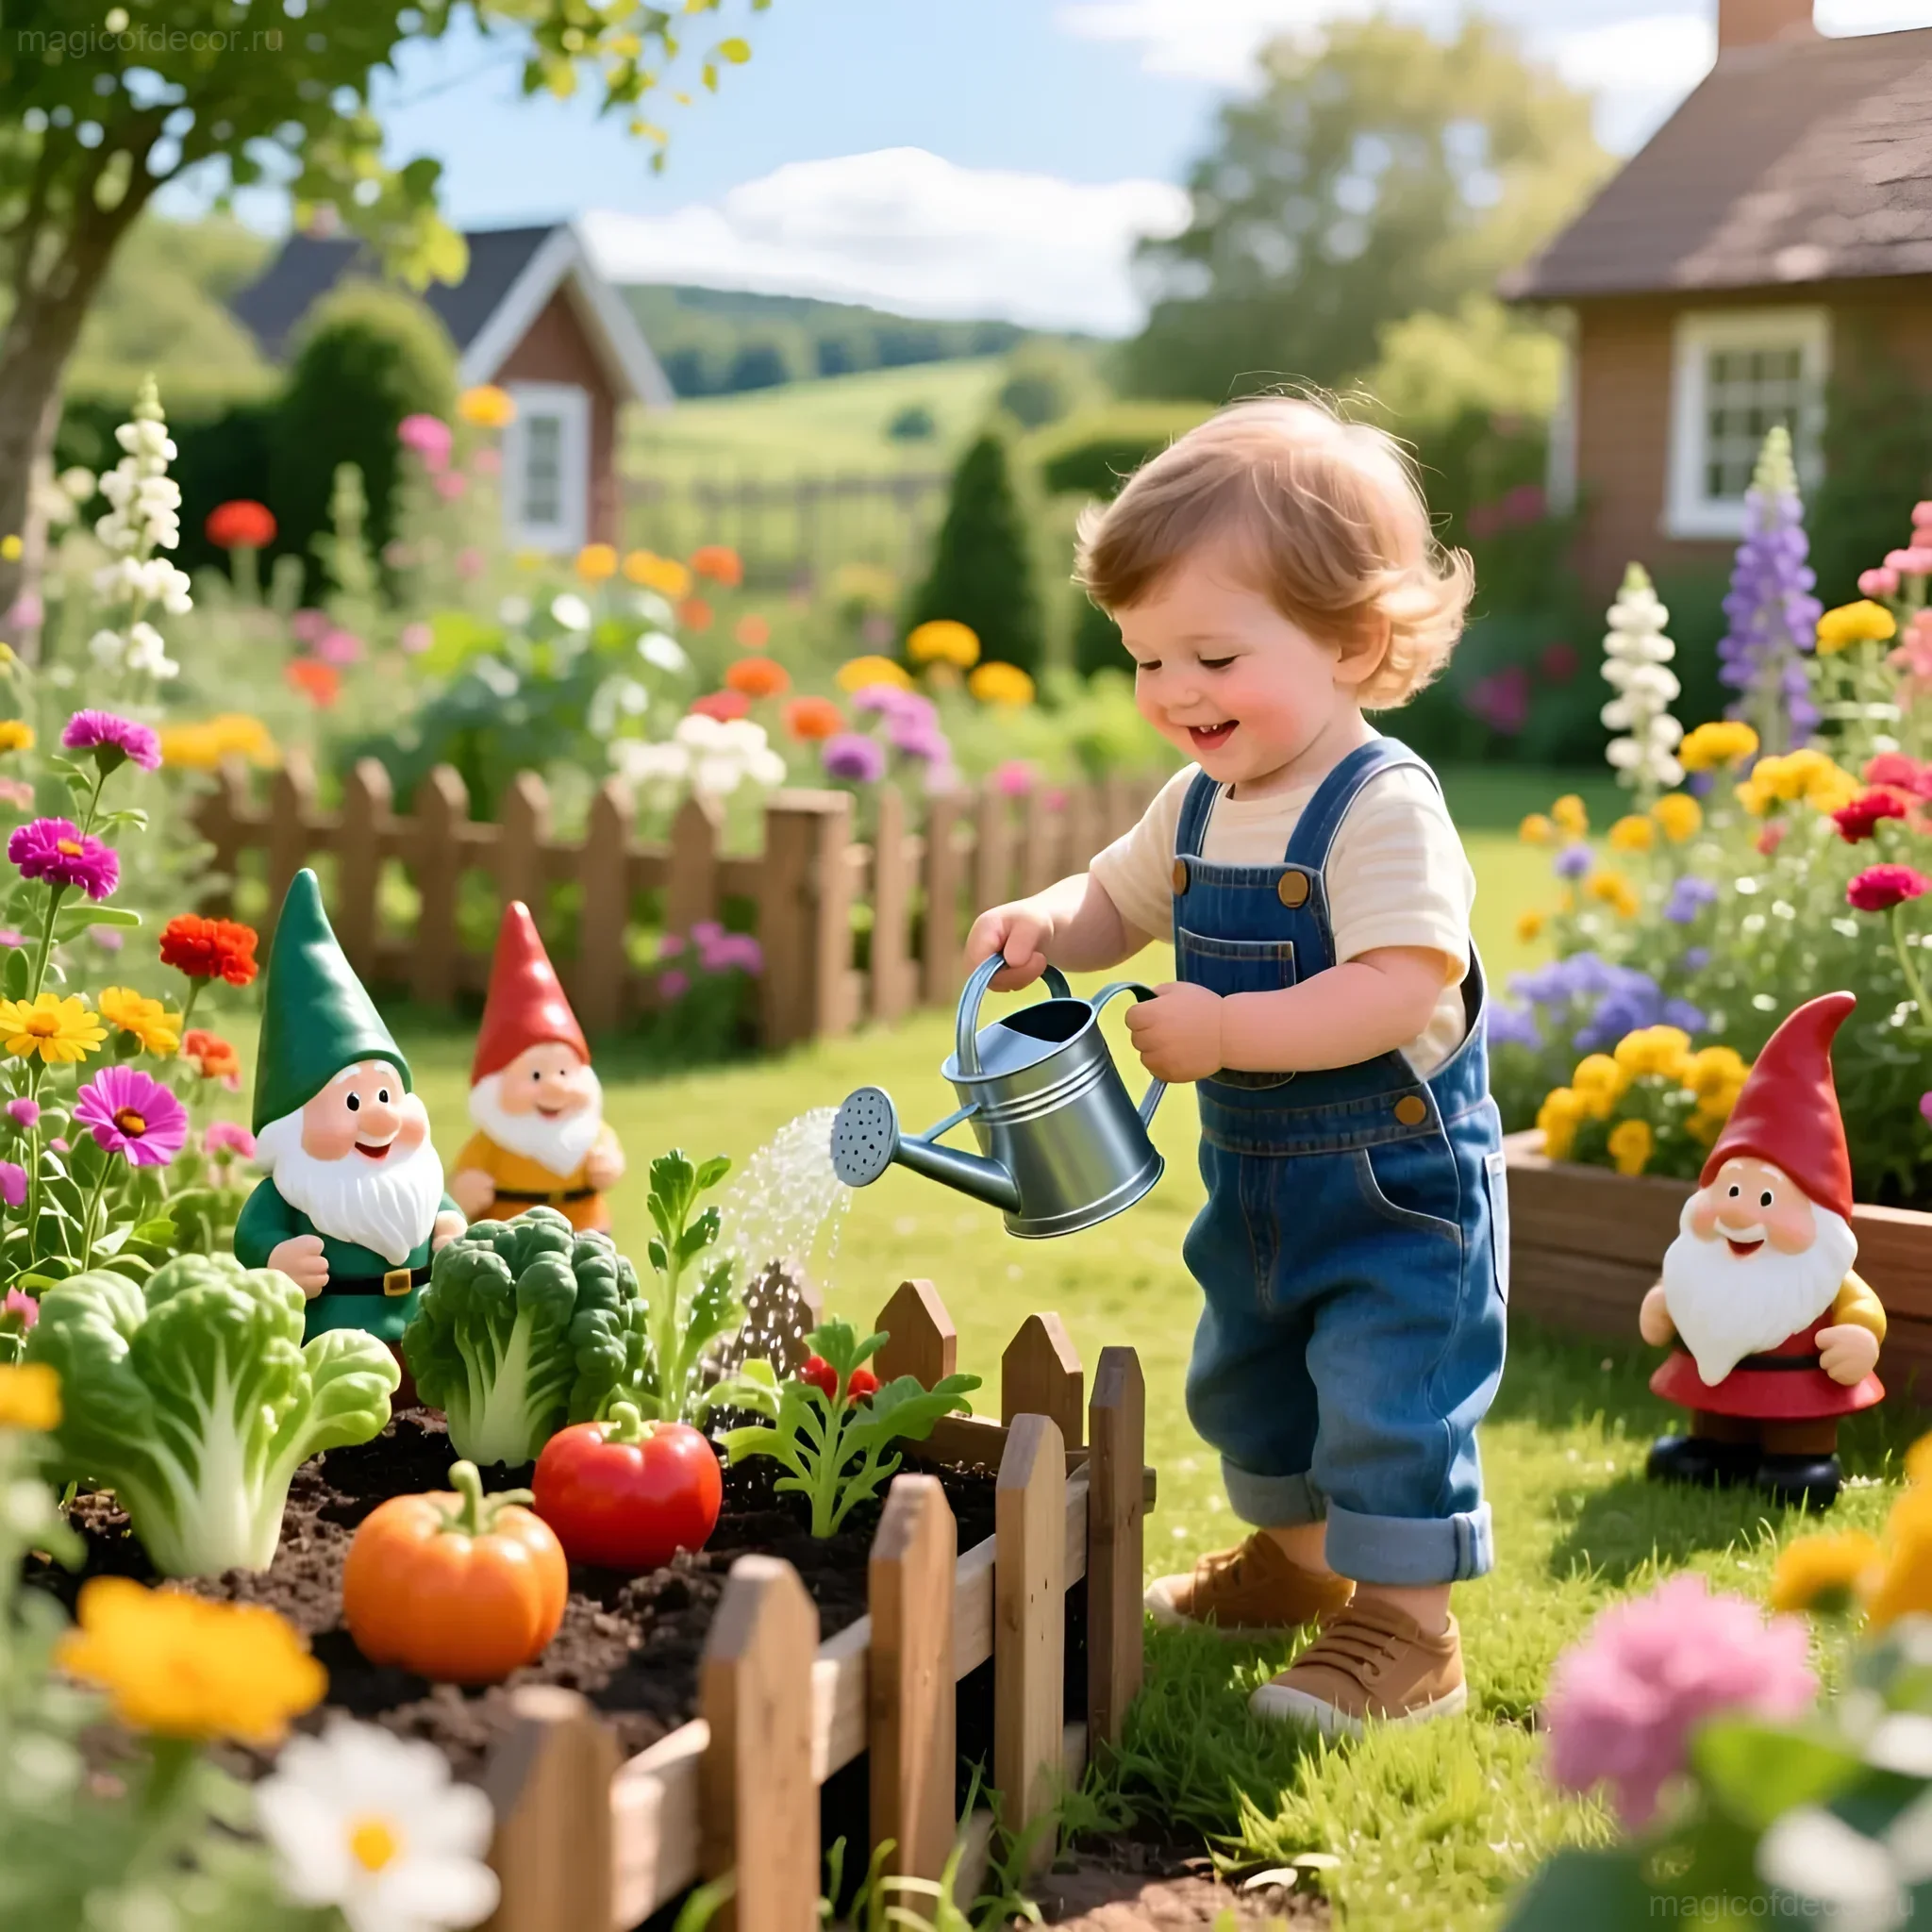
- Accessibility: The corner should be easily accessible so that a child can run there at any moment to check on their “treasures” and water them.
Decorator’s Tip: Focus not on the harvest, but on the process and beauty. Choose plants with bright colors or unusual leaf shapes to make the garden picturesque even before the harvest.
What You Need for a Children’s Garden: Materials and Tools
Our approach is minimal cost and maximum safety. We will need materials that are easy to find and can be transformed with bright paints and imagination.
Materials for Bed Decoration
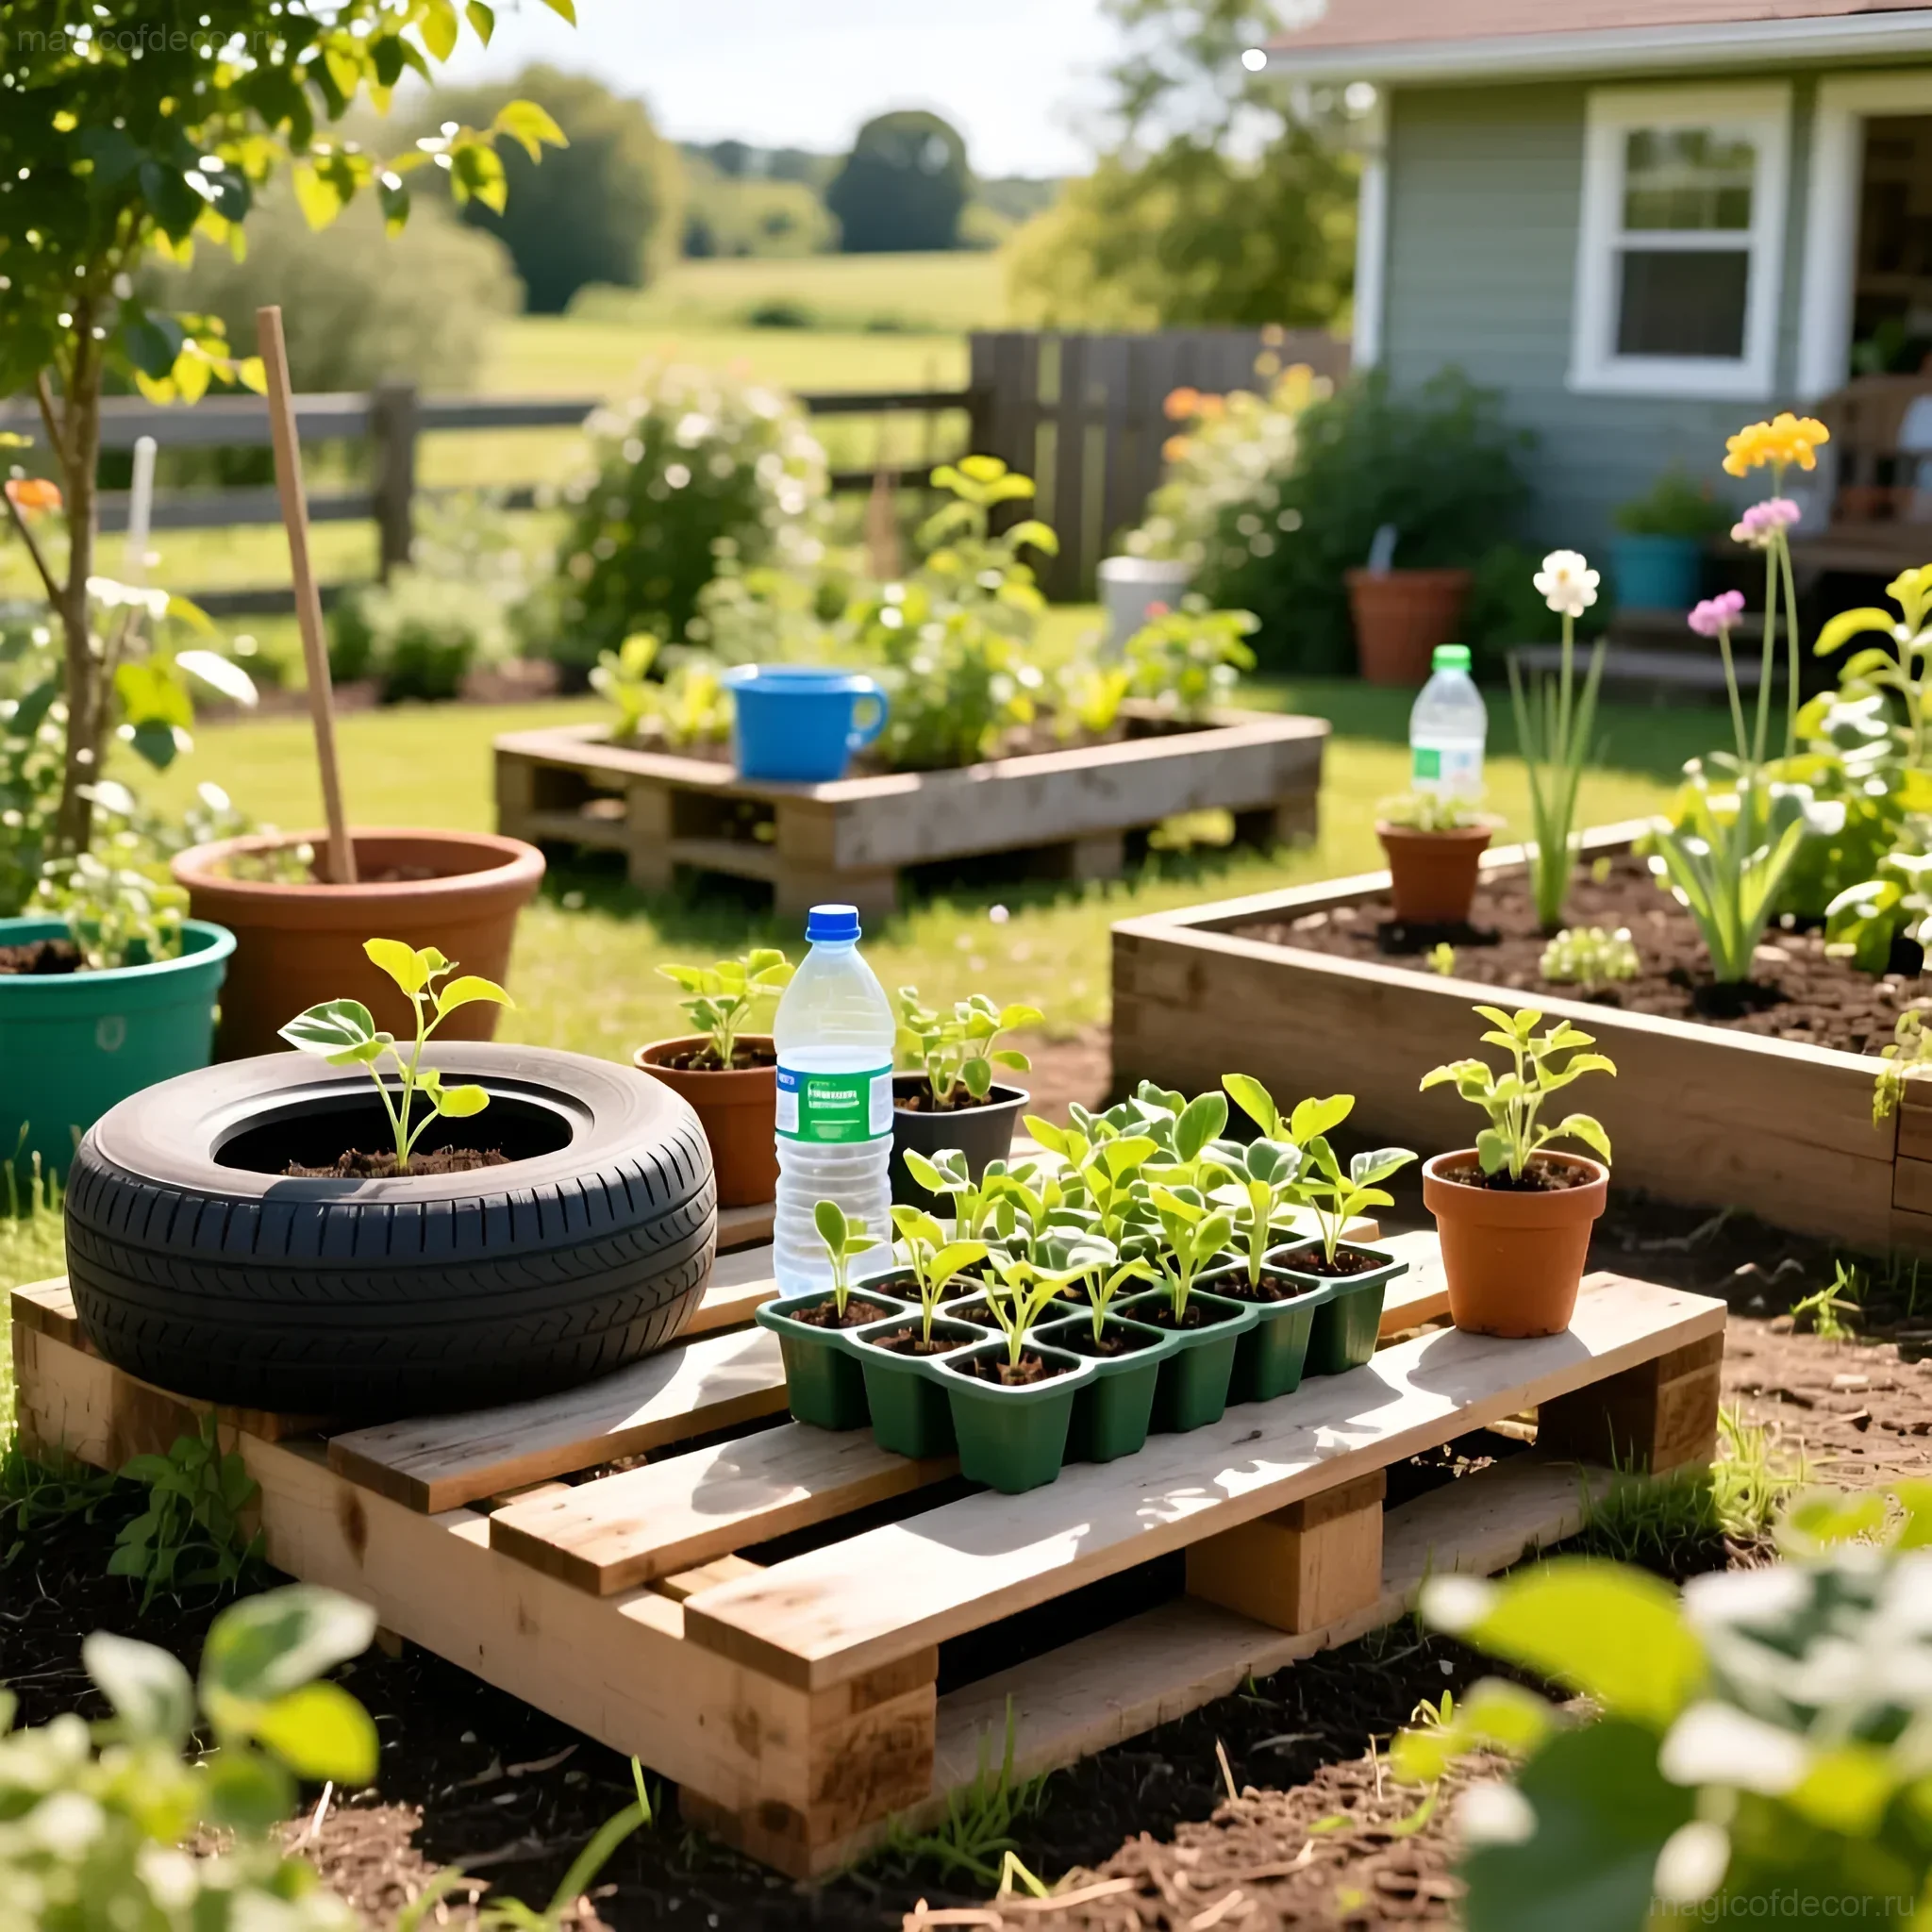
- Edging: Use old tires (painted!), wooden pallets (disassembled into boards), or even large plastic containers. The main thing is to clearly define the boundaries.
- Soil: Be sure to mix regular garden soil with purchased, enriched soil. This will help plants grow faster and prevent the child from being disappointed.
- Mulch: For a decorative effect and to retain moisture, use pine bark or decorative wood chips. This looks neat and festive in a children’s garden.
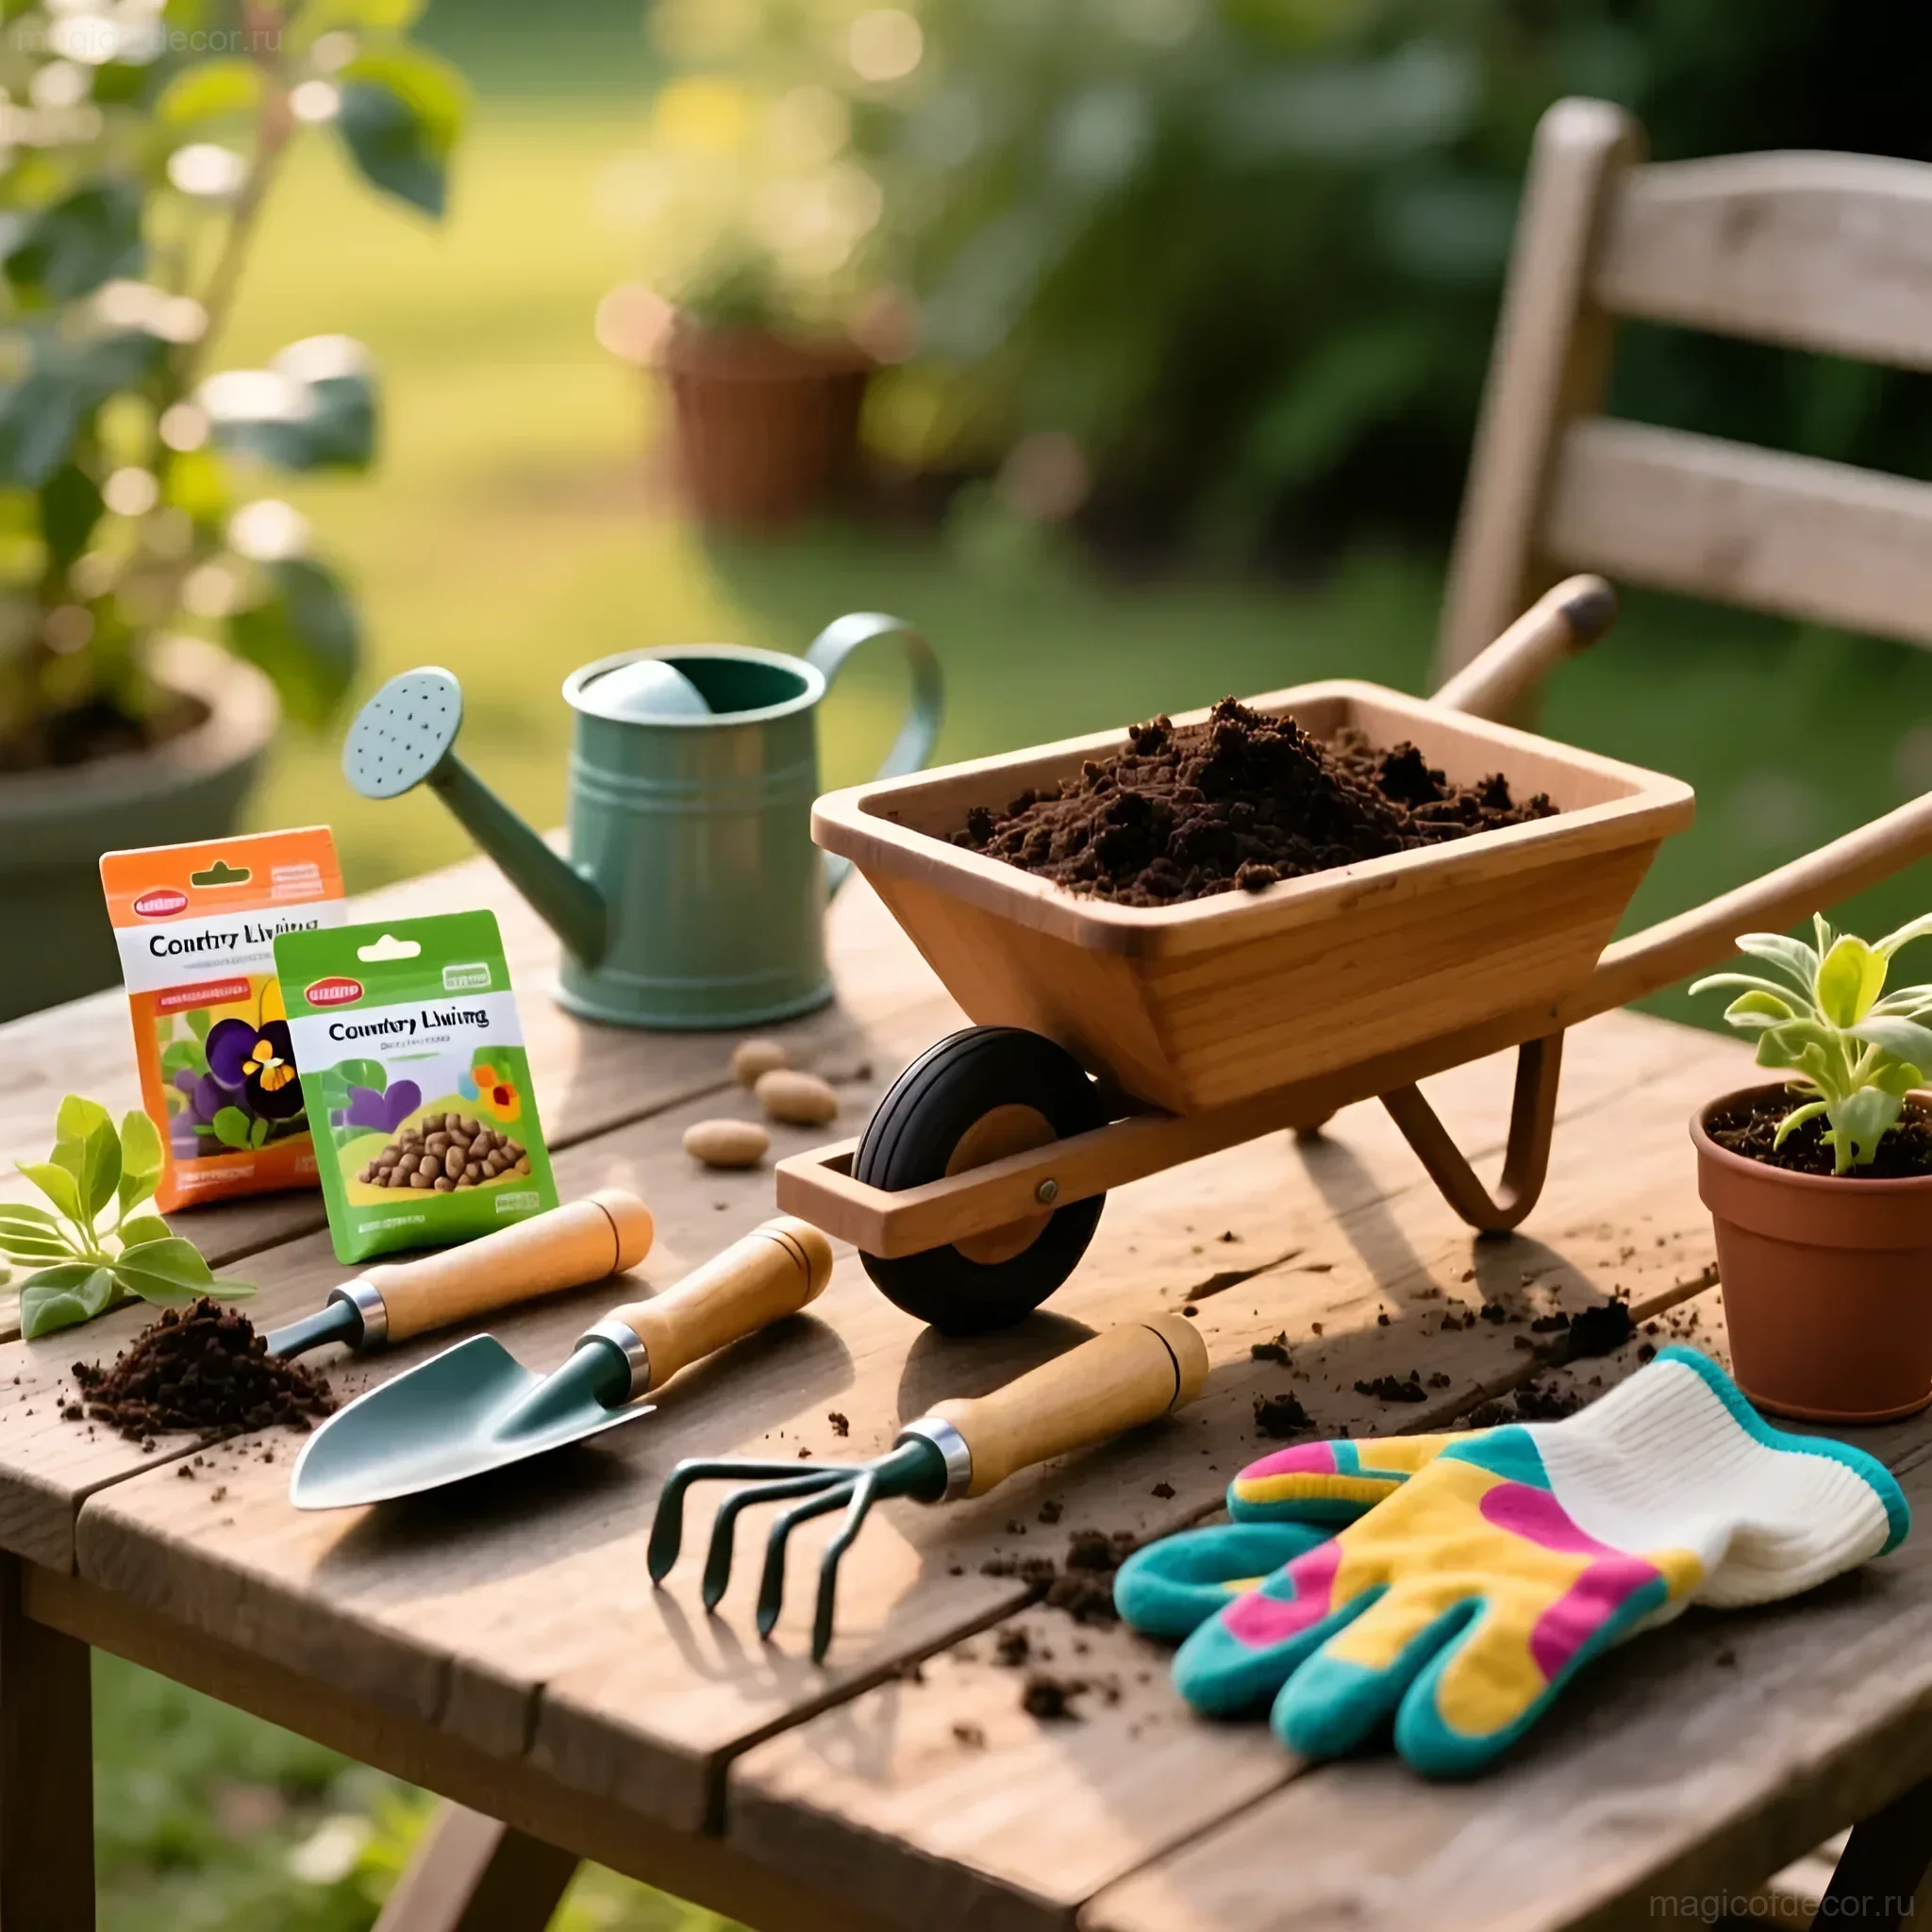
Tools for the Little Gardener
Size and color are important here! Forget about heavy metal shovels:
- Mini-Tool Set: Plastic or lightweight metal trowels, rakes, and hoes, perfectly sized for children’s hands. Choose bright, neon colors – they are harder to lose in the grass.
- Watering Can: A small, lightweight watering can. You can use an old plastic bottle with holes poked in the lid and paint it brightly (this is our first DIY!).
- Gloves: Thin fabric gloves with rubberized palms to protect the skin and make the process feel more “grown-up.”
Creating a Children’s Garden with Your Own Hands: Step-by-Step Instructions
Let’s get to the most interesting part – zoning and creating the garden beds. Remember that the area should be sunny, but preferably with some shade nearby (e.g., from a tree or awning) where one can rest.
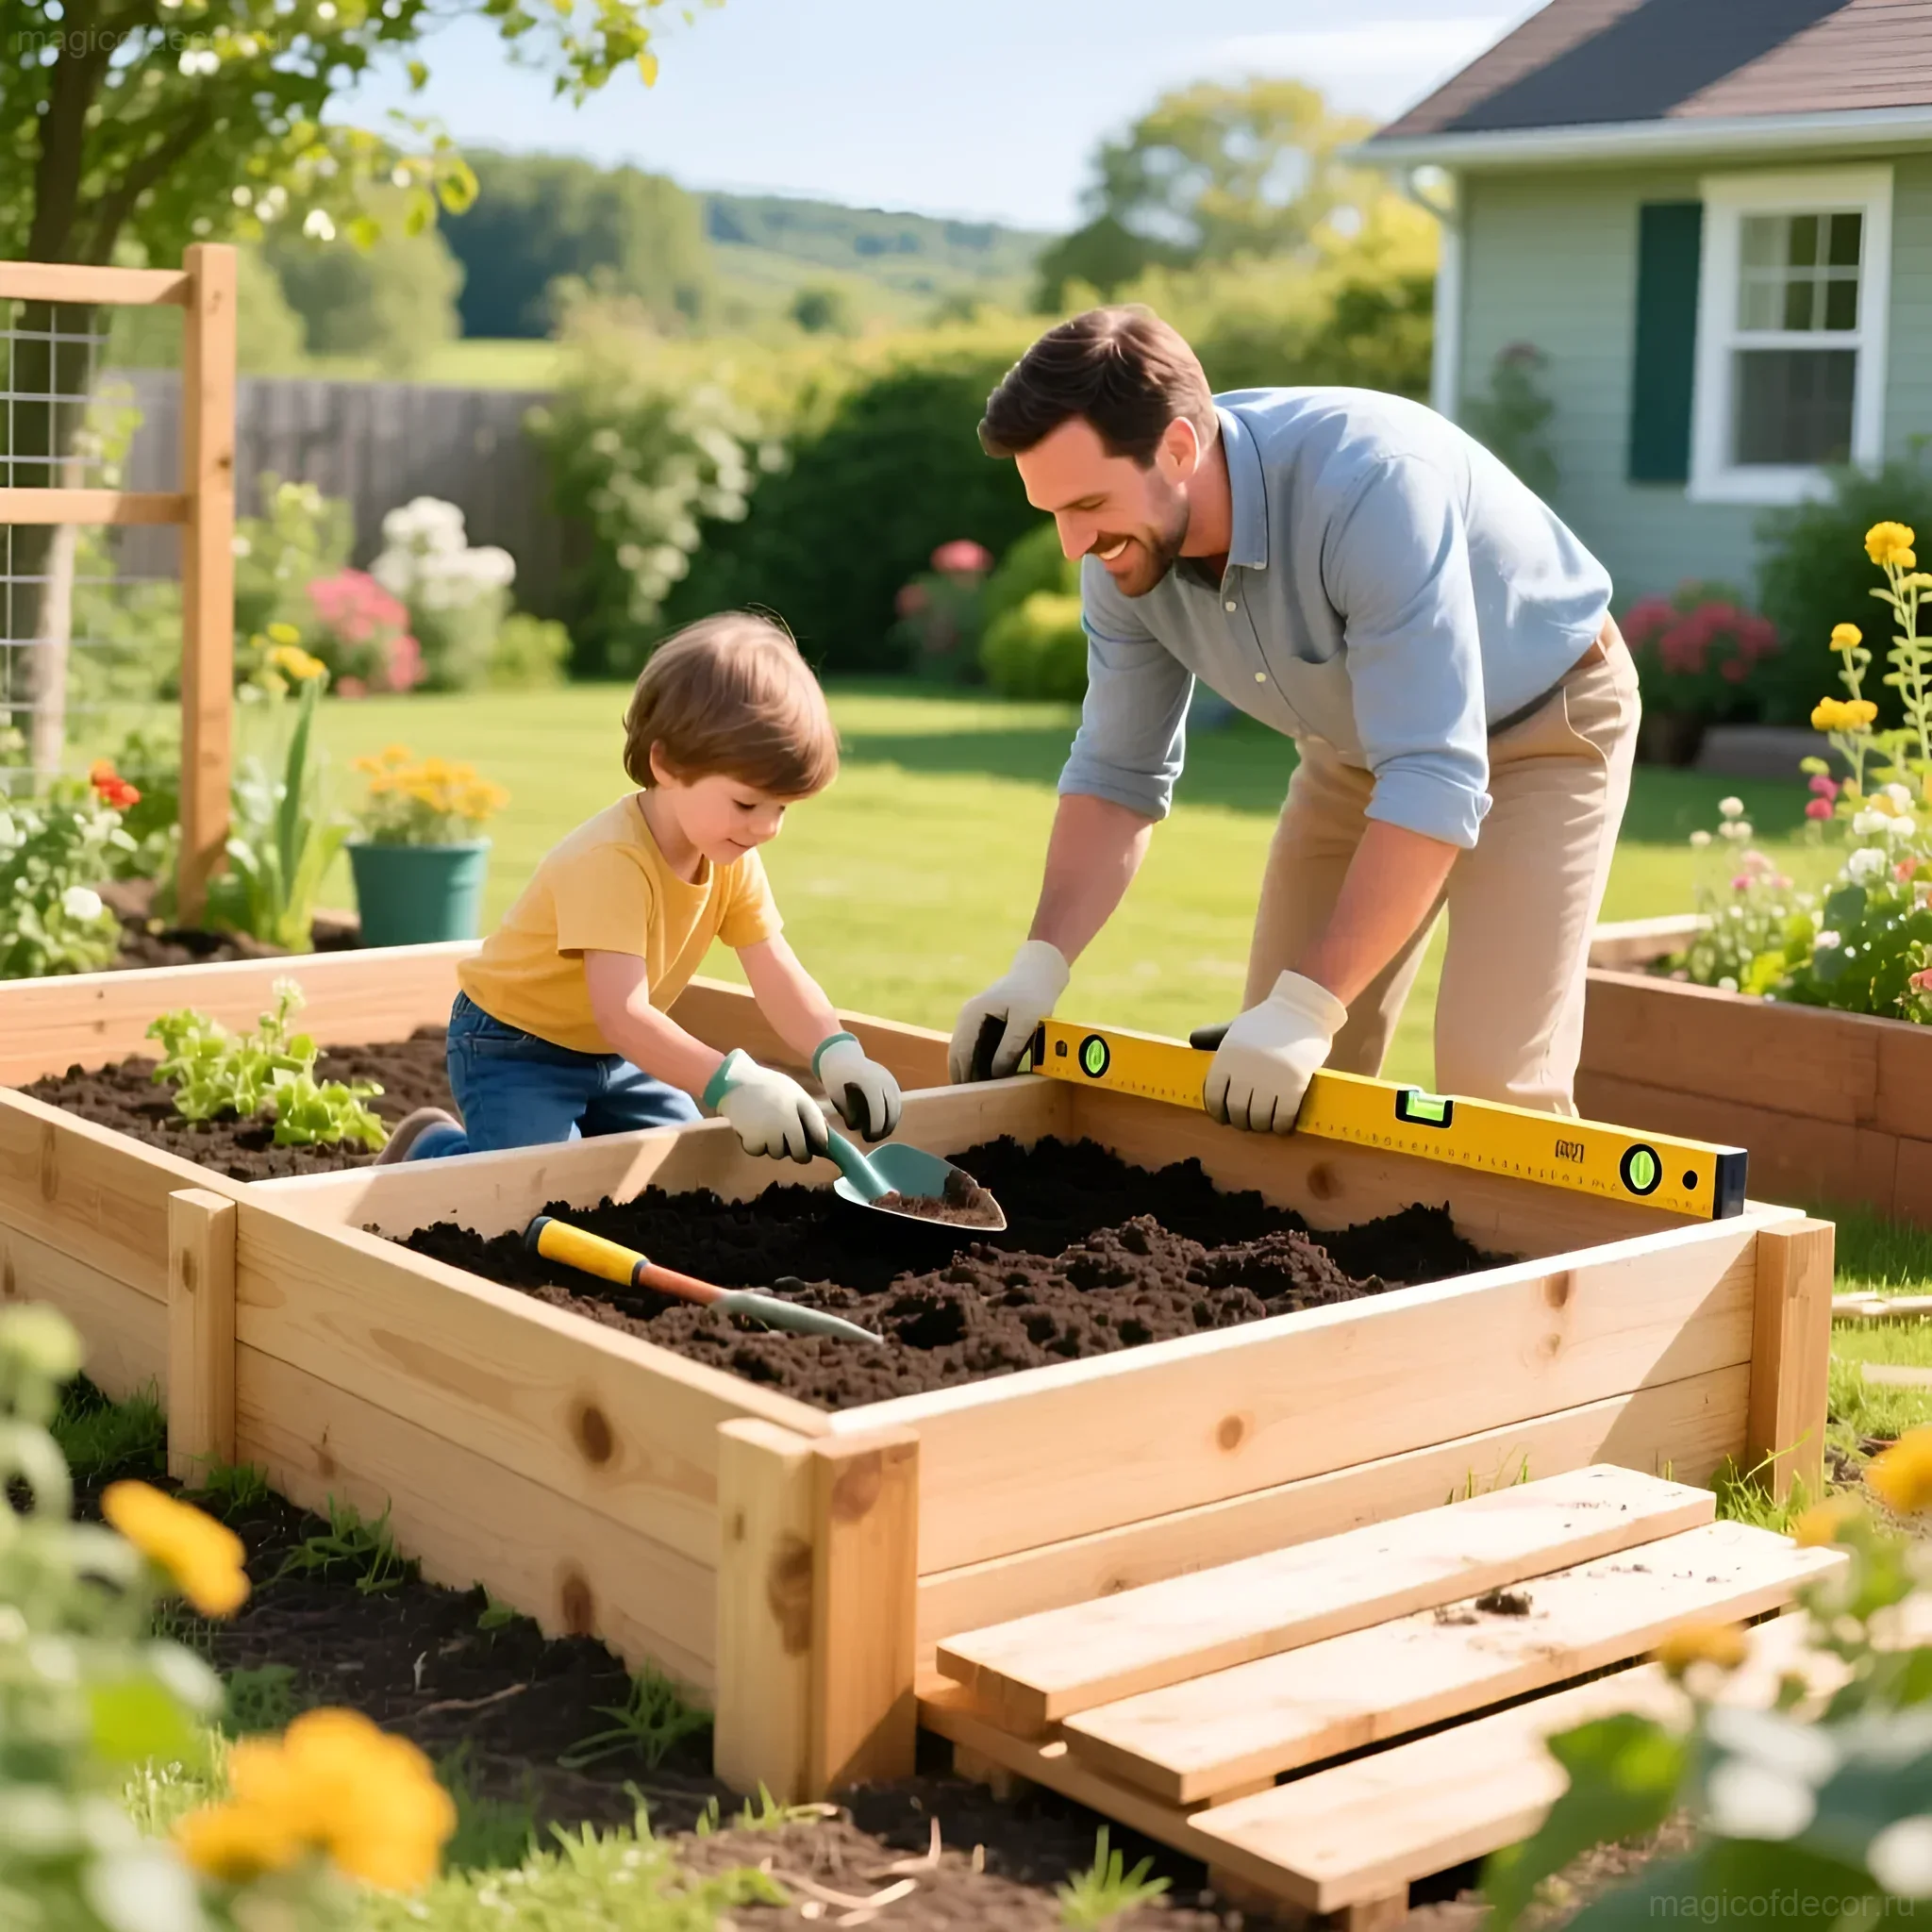
Step 1: Site Selection and Marking
Designate an area of approximately 1.5 by 2 meters. This is enough so that the child doesn’t get tired but feels like the owner of the territory. Use bright twine and stakes to outline the boundaries.
Step 2: Creating Raised Beds
Raised beds are our best friend in decor! They look neat, are easy to maintain, and immediately highlight the “children’s” zone. Assemble small borders from boards or use ready-made containers (e.g., wooden crates). The height should not exceed 30-40 cm.
Step 3: Soil Preparation
Fill the beds with a mixture of compost and nutrient-rich soil. Ensure the soil is loose and light – it should be easy for the child to work with a trowel.
Step 4: Zoning Within the Garden
Divide the garden into small, manageable sections. Each section is a separate project. For example:
- Section 1: Fast-growing vegetables (radishes).
- Section 2: Aromatic herbs (mint, basil).
- Section 3: Flower garden (marigolds, nasturtiums).
- Section 4: A “house” or “wigwam” made of climbing plants (beans, ornamental peas).
Color Palette and Design of a Children’s Garden: Bright Accents
As a decorator, I insist: color is everything! A children’s garden should not be boring. We need clean, joyful, saturated colors that will contrast with the greenery.
Ideal Palette for a Children’s Corner
Use combinations of:
- Sunny yellow (for borders and watering cans).
- Sky blue/turquoise (for decorative elements like birdhouses or flags).
- Bright red/orange (for plant markers and garden figurines).
Decorative Elements That Create Atmosphere:
- Windmills and weather vanes: They add dynamism and sound.
- Garden gnomes and fairies: Choose plastic or ceramic figurines that won’t break. Place them so they “hide” among the leaves.
- Garlands: String small garlands of flags or even solar lanterns (the ones that charge during the day) above the garden. It will look incredibly magical in the evening!
- Nameplates: Each bed should have its own name, written in large, fun fonts.
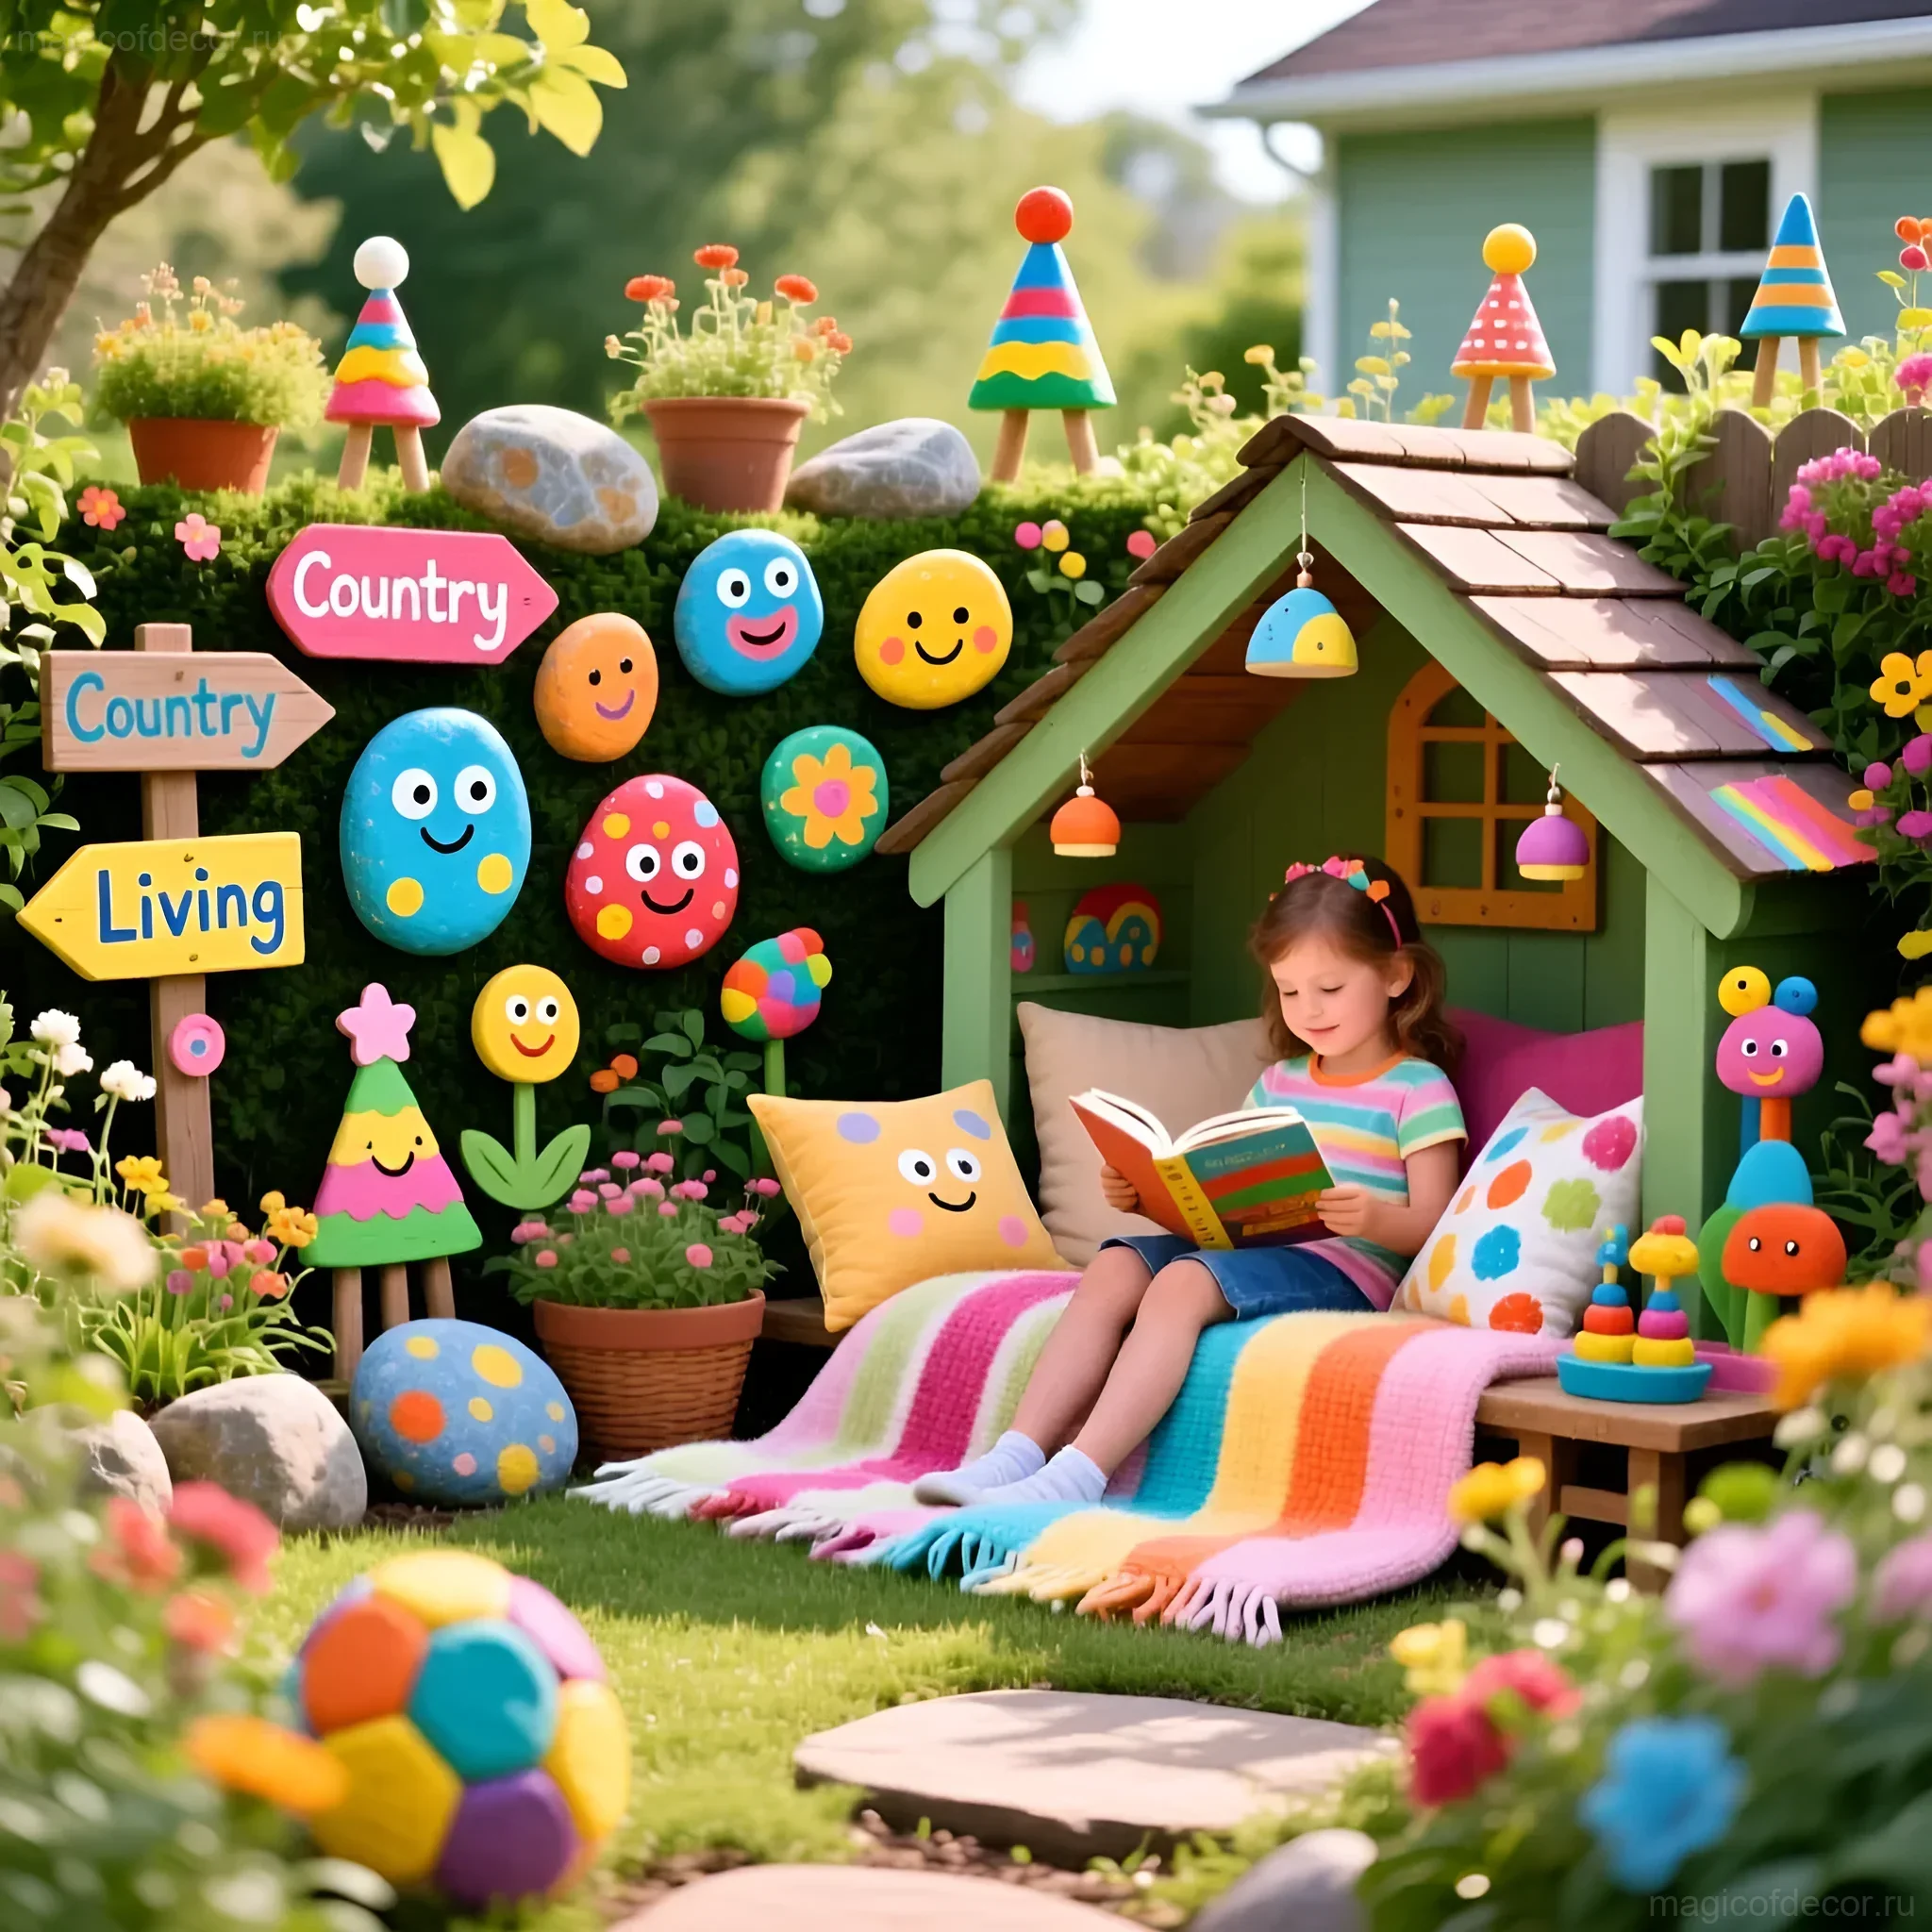
Your Personal Touch: Paint an old wooden bench in a bright color (e.g., fuchsia) and place it next to the garden. This will be a place to rest and observe the growth.
Children’s Garden at the Dacha: Budget-Friendly Ideas and Solutions
You can create beauty without spending a fortune. Decorating a children’s garden is ideal for using recycled materials and implementing the principles of upcycling.
1. Garden Beds from Found Materials
- Tires: Old car tires make ideal round garden beds. They need to be thoroughly washed and painted with facade paint in bright colors (yellow, green). Stack them to create a multi-level flower bed.
- Plastic Bottles: Use the bottoms of large bottles to create a border around the garden bed. Fill them with sand for stability and bury them halfway.
- Bricks or Stones: If you have leftover building materials, use them to create a low border. Children can paint these stones themselves with acrylic paints, turning them into “precious” boulders.
2. Vertical Gardening
If space is limited, use the walls of a shed or fence. This looks very modern and saves space:
- Pallets: Place a pallet vertically, attach small pots or cut plastic bottles to it. Paint the pallet white or light green.
- Tin Cans: Paint tin cans in different colors, make drainage holes, and attach them to the fence. You can plant herbs or succulents in them.
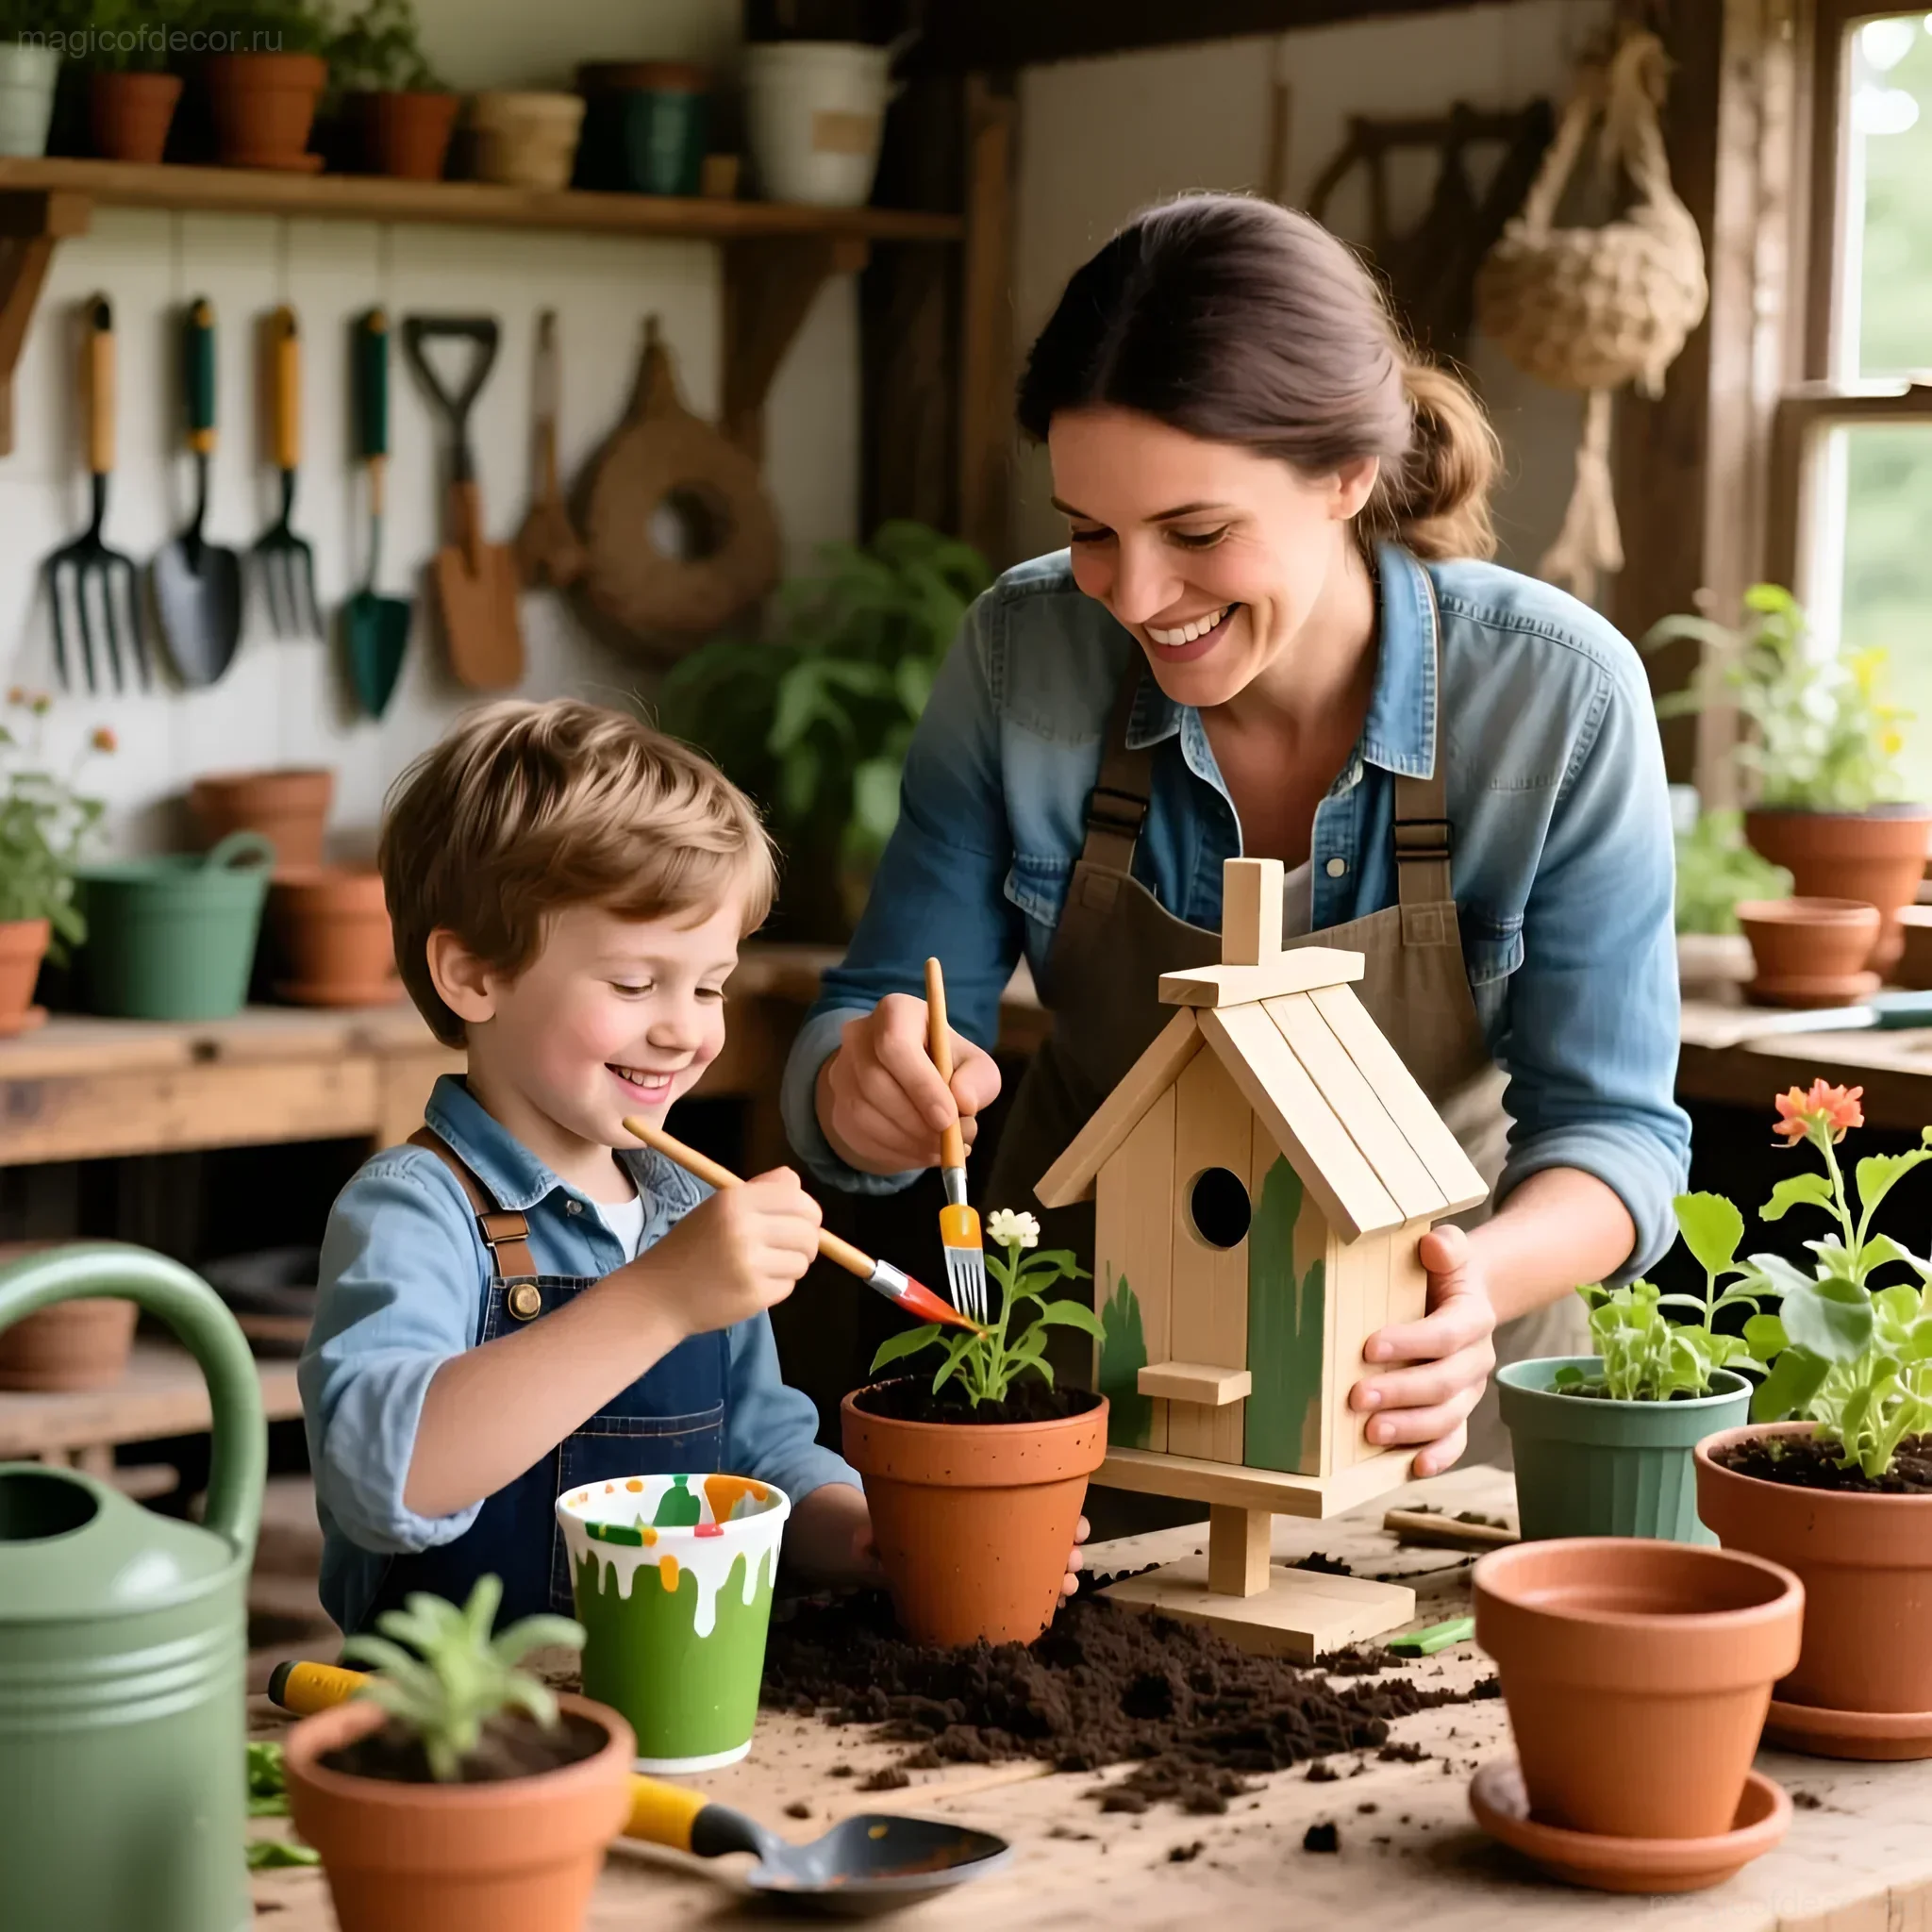
DIY Projects for a Children’s Garden: Doing it Together with Kids
The most valuable decor is that which is created with your own hands. These projects will not only decorate the garden but also become a great joint activity.
DIY 1: Stone Plant Markers
Instead of boring plastic tags, use smooth stones collected from the riverbank or garden.
- What you’ll need: Smooth stones, acrylic paints, brushes, clear varnish (to protect from rain).
- Process: Apply a base color to the stone. After drying, draw the plant on it (e.g., carrot, tomato, radish) or write its name. Cover with varnish. Place these bright “treasures” next to the corresponding plants.
DIY 2: A Fun Garden Scarecrow
A scarecrow is a central art object that gives the garden individuality.
- What you’ll need: A wooden cross (base), old children’s clothes, straw or newspaper for stuffing, an old ball or can for the head, a bright hat.
- Process: Dress the base with clothes. Stuff the head with newspapers and draw a funny face on the scarecrow. Don’t be afraid to use bright patches and bows – this is children’s decor!
DIY 3: Personalized Tools
Take a regular watering can or bucket and turn it into a unique item.
- What you’ll need: Metal or plastic watering can, spray paint, stencils (stars, animals), masking tape.
- Process: Degrease the surface. Cover areas you don’t want to paint with masking tape. Use bright spray paint. After drying, you can apply patterns using stencils. Sign the tool with the child’s name.
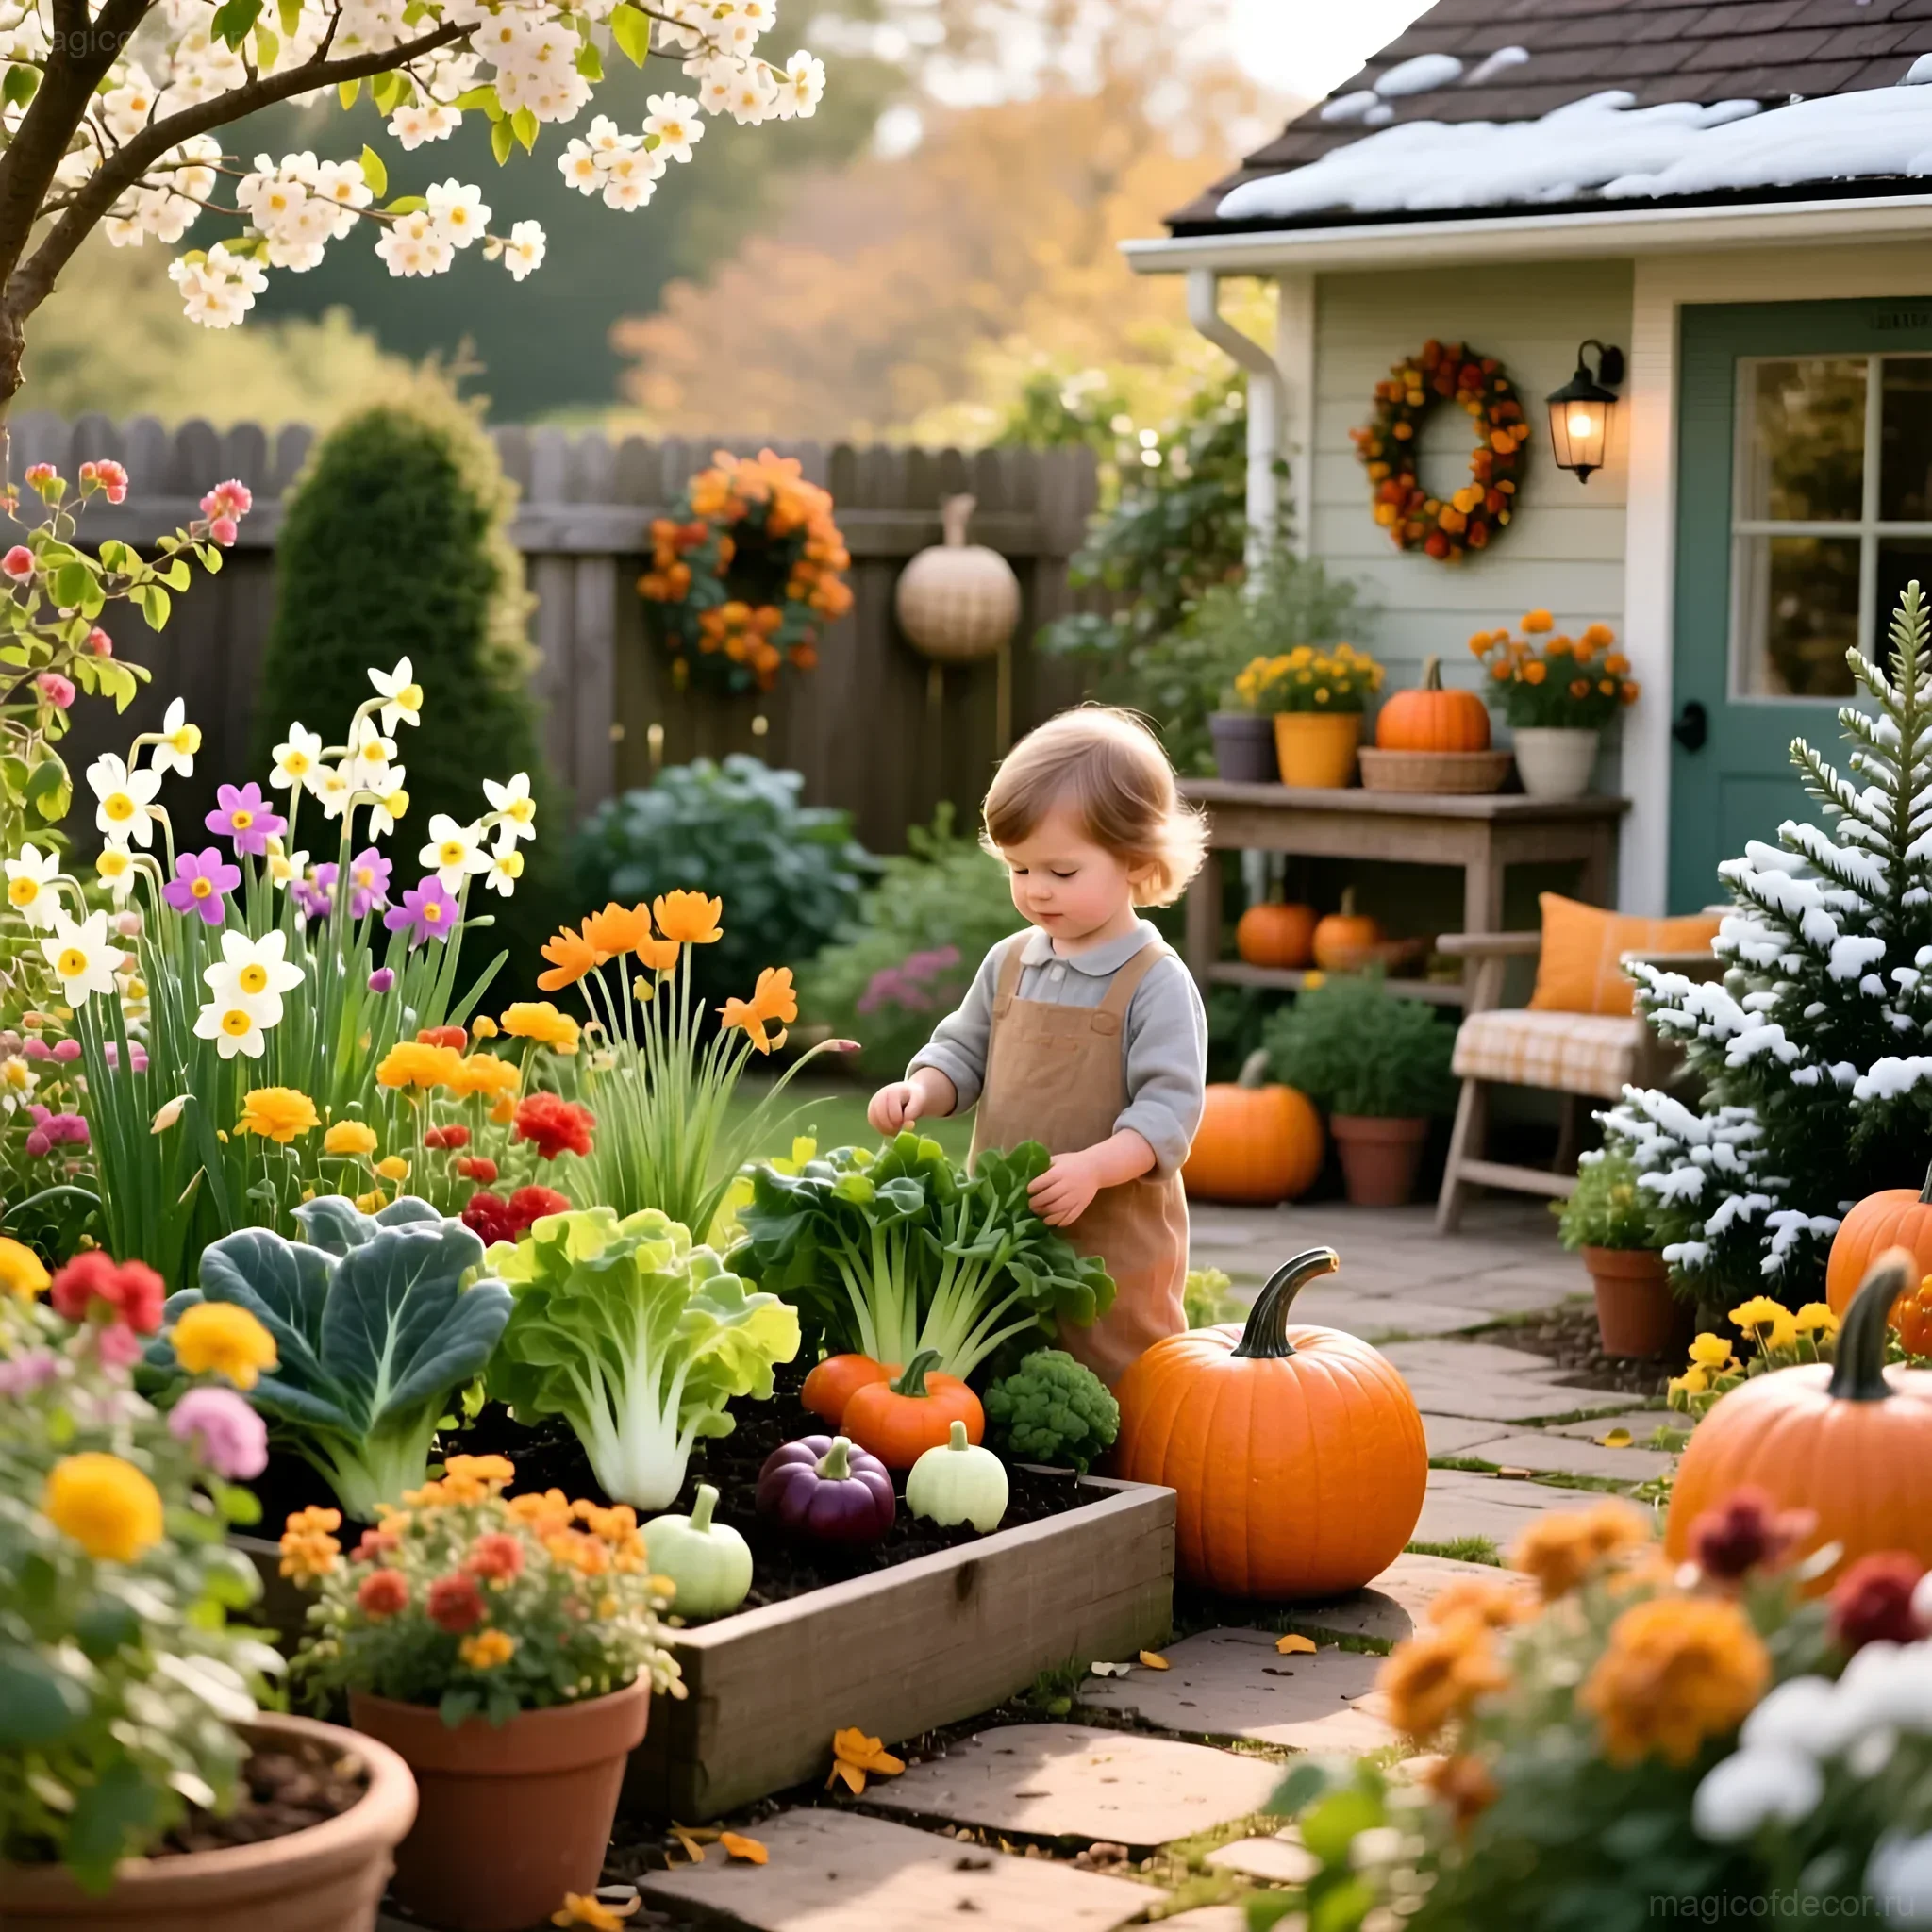
Children’s Garden by Season: What to Plant and How to Decorate
To keep the interest alive, it’s important to choose plants that give quick results and are suitable for play. And the decor should change with the season.
Spring: Time for Quick Victories
In spring, you should plant things that sprout quickly so the child sees the results of their labor within a week.
- Planting: Radishes (the fastest!), leaf lettuce, cress, peas (great for creating living “curtains” or wigwams).
- Decor: Add Easter or spring elements – bunny figurines, bright ribbons on branches, miniature birdhouses.
Summer: Time for Harvest and a Riot of Colors
In summer, plant things that can be eaten straight from the garden.
- Planting: Cherry tomatoes (choose low-growing varieties), strawberries (for enjoyment), marigolds (they repel pests and bloom beautifully).
- Decor: Enhance the brightness. Add solar garlands, flags, set up a mini-shower for watering (if it’s a fun bucket with holes).
Autumn: Preparing for Winter and Autumn Motifs
In autumn, we gather the last harvest and prepare the garden for rest, but don’t forget about decor.
- Planting: Late cabbage varieties, garlic for winter.
- Decor: Use natural materials. Arrange pumpkins of various shapes and sizes, dry leaves, pine cones. The scarecrow can be dressed in an autumn outfit.
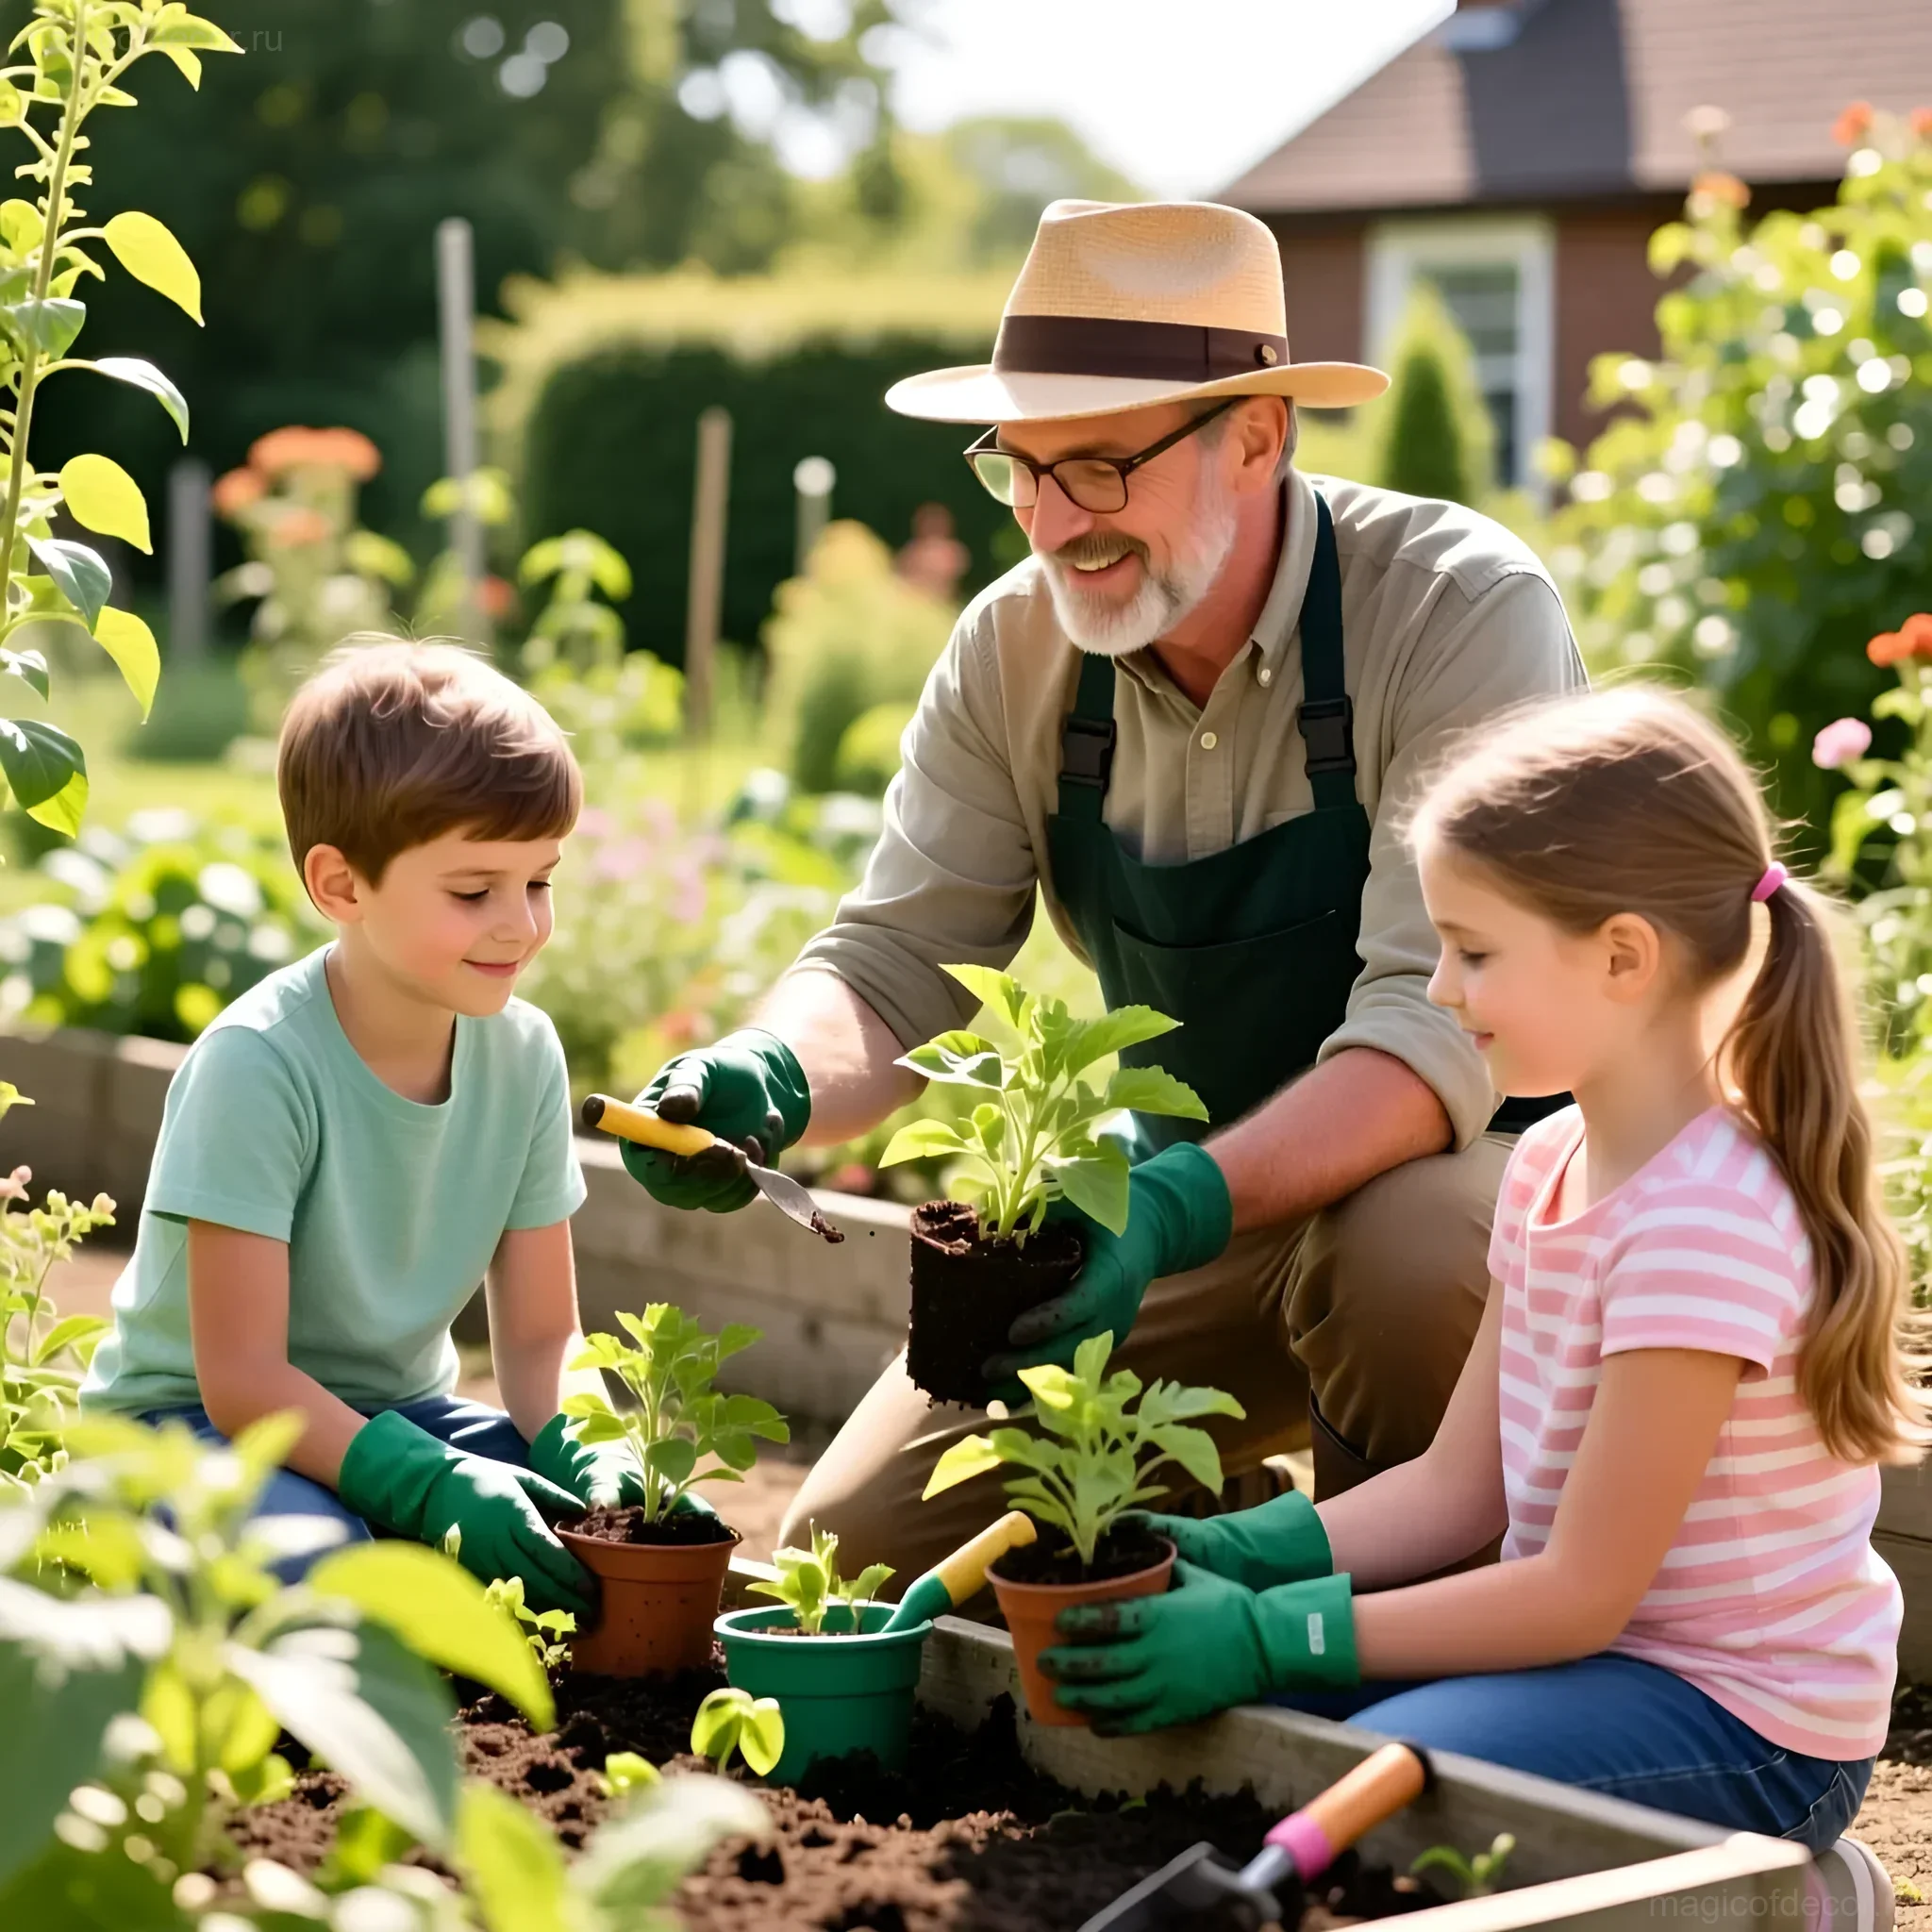
Expert Advice: How to Instill a Love for Gardening and Plant Care
Decor is just the beginning. For the garden to become truly magical, you need to instill in the child a love for caring for it. Rituals and the right approach are important here.
1. Give Full Responsibility (Within Reason)
This is their garden. Let the child choose what to plant (from your list of safe crops). Don’t constantly correct them, even if they water too much or plant too close. Small mistakes are the best lessons.
2. Introduce a “Garden Diary”
Create an album where the child can draw their plants, note when they sprouted, and record how they cared for them. This is a great way to develop observation skills and feel like a real scientist-gardener.
3. Turn Care into a Game
- Watering: This can be a “rescue mission” for plants that “are very thirsty.”
- Weeding: “Weed hunting” – enemies of the harvest.
- Harvesting: Should always feel like a treasure hunt.
4. Organize a “Harvest Day”
When it’s time to gather the fruits of their labor, organize a small celebration. Collect the harvest, help the child prepare a simple dish from it (a salad, a pizza topping). This closes the cycle of work and reward, making the experience as positive as possible.
FAQ: Answers to Common Questions About Children’s Gardens
Question: What is the safest and easiest plant to start with?
Answer: Radishes and nasturtiums. Radishes sprout very quickly and give visible results. Nasturtiums are edible flowers that grow easily and have large seeds, which are convenient for little fingers to plant.
Question: How to protect a children’s garden from pets?
Answer: The best decor is functional decor! Use a low but sturdy fence, for example, made of decorative mesh or a woven branch fence. It doesn’t need to be high, 30-40 cm is enough to mark a boundary that animals won’t cross.
Question: Can sand be used in a children’s garden?
Answer: Sand in its pure form is not suitable for growing, as it doesn’t retain moisture. However, you can designate a small area next to the beds for “culinary” games – where the child can make “mud pies” or build castles without harming the plants.
Conclusion: Magic Grown by Your Own Hands
A children’s garden is not just a place to grow vegetables. It’s a place where a sense of responsibility, respect for nature, and, most importantly for us decorators, a sense of beauty is born. By creating this magical corner, you are giving your child not just a garden bed, but a whole world where they can be a creator and owner. May your children’s garden be the brightest, coziest, and most fruitful place at your dacha! Good luck with the decor and a bountiful harvest!