
Dear reader of magicofdecor.ru, we are accustomed to talking about beauty inside the home – about soft throws, cozy lighting, and accessories that bring warmth. But today, we’re stepping out into the fresh air to discuss an equally important element of coziness and harmony: your garden and its “heart” – the compost bin. It’s not just a box for waste; it’s a true laboratory where nature works wonders, transforming organic scraps into “black gold” – the perfect fertilizer for your flowers and garden beds. Creating a DIY compost bin is not a difficult construction project, but a creative, conscious process that gives a sense of connection to the cycle of life. Let’s be inspired together by the idea of creating a practical, beautiful, and, most importantly, a properly functioning composter!
DIY Compost Bin: Giving New Life to Organic Waste 🌱
Composting is the pinnacle of gardening wisdom. When we compost, we’re not just getting rid of kitchen and garden waste; we’re creating a closed-loop system that makes our plot more sustainable and independent of store-bought fertilizers. Plus, it’s incredibly budget-friendly and eco-friendly!
A proper compost bin should perform three main functions:
- Maintain ventilation: for the aerobic bacteria that “cook” the compost.
- Retain moisture: the mass should be moist, but not wet.
- Ensure convenience: easy access for loading, turning, and, most importantly, unloading the finished compost.
Our approach to creating a compost bin will be as practical and budget-friendly as possible. We will use readily available materials and focus on functionality that can also be aesthetically pleasing.
Choosing a Location and Materials for Your Compost Bin 🏡
Before you pick up a hammer, let’s decide where our composter will live. Choosing the right spot is 80% of successful composting.
Ideal Location
The compost bin shouldn’t be in plain sight, but it must be accessible. Here are a few rules:
- Partial shade: Direct, scorching sun will dry out the compost mass, while excessive shade can lead to stagnant moisture. Ideally, a spot that gets sun only in the morning or evening.
- Wind protection: Strong winds can dry out the top layer.
- Proximity to water: You’ll need a hose or watering can for periodic moistening.
- Away from the house and neighbors: Although a properly functioning compost bin doesn’t smell, it’s best to maintain some distance.
- On the ground: The bin should stand directly on the soil (earth, grass) so that earthworms and microorganisms can freely enter.
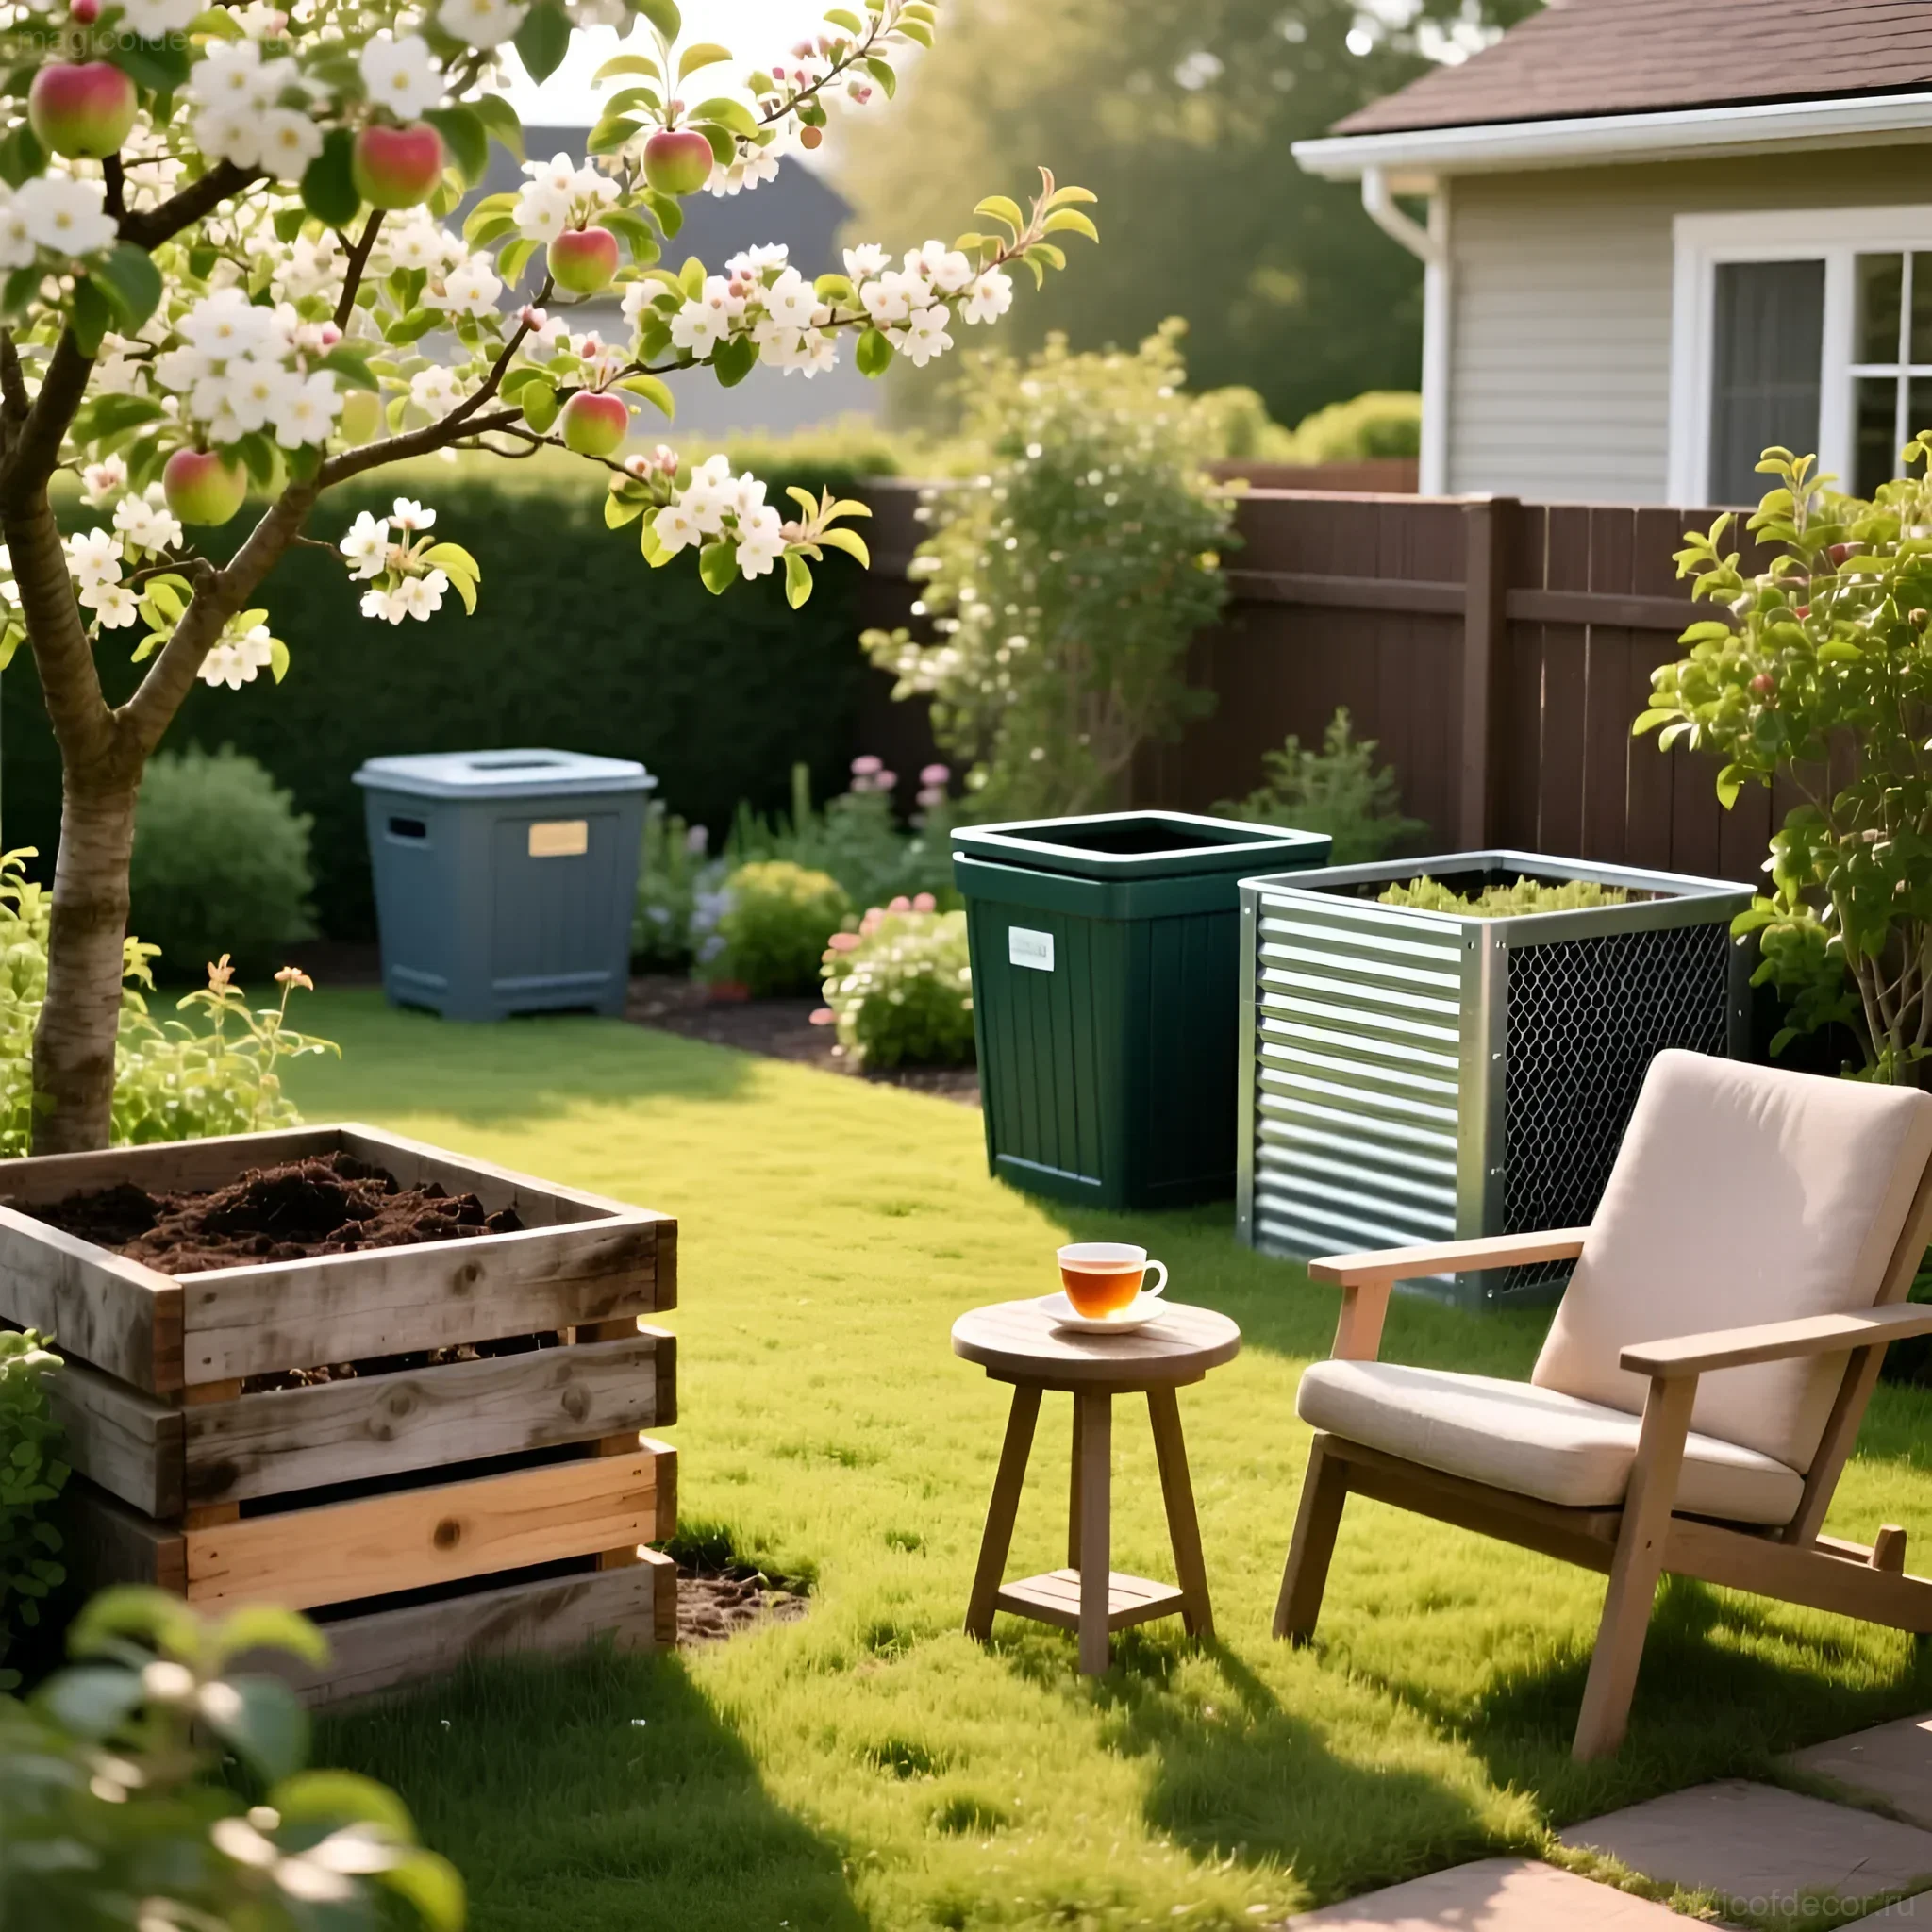
Budget-Friendly and Practical Materials
The most popular and durable material for a DIY compost bin is wood. You can use:
- Old pallets: The most budget-friendly and quickest option. Pallets already have gaps for ventilation and are quite sturdy.
- Scrap lumber (e.g., 25 mm thick): Ideal if you have leftover materials from construction or renovation.
- Wire mesh (for a temporary or “quick” composter): Mesh stretched over four vertical stakes. It ventilates very well but retains heat and moisture less effectively.
- Old plastic barrels or containers: Used to create compost tumblers (rotating bins).
Decorator’s tip: If you’re using wood, paint or treat the exterior of the bin with a stain or paint that matches the color of your garden shed or fence. This will not only extend its lifespan but also make the functional structure a part of your landscape design.
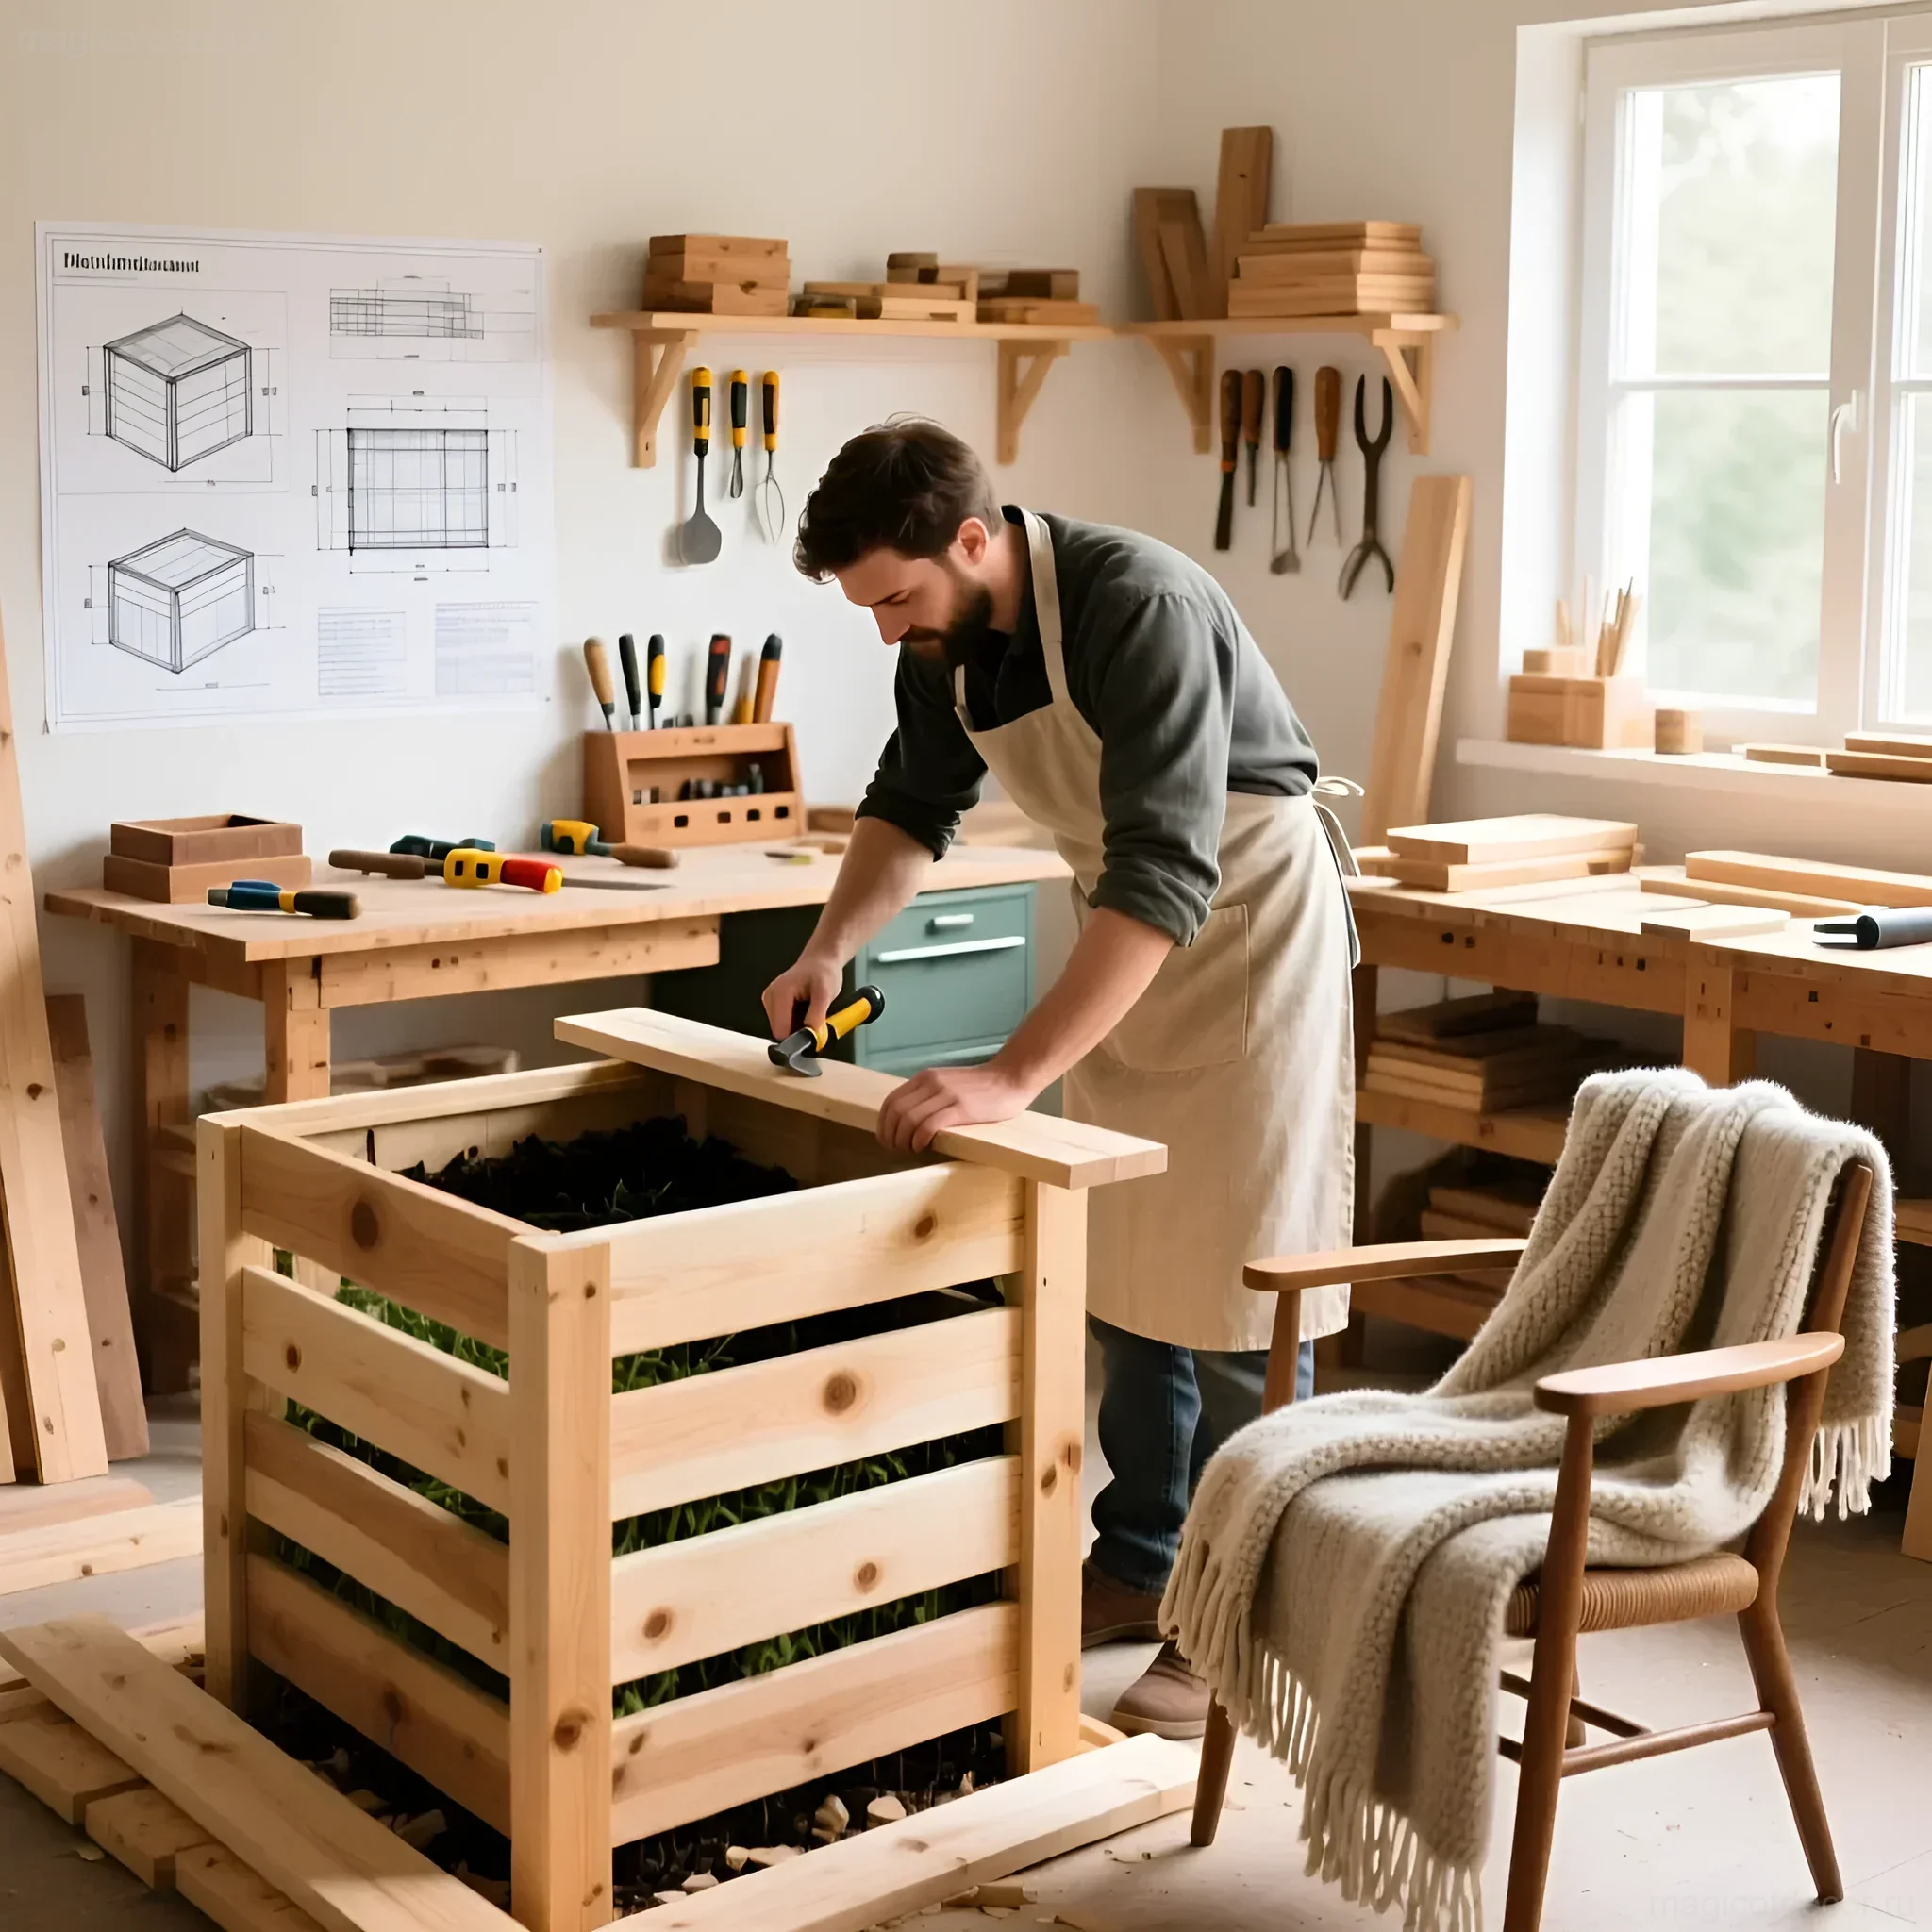
Step-by-Step Guide: Building a Wooden Compost Bin 🛠️
We will build a classic single-compartment bin approximately 1x1x1 meter in size. This is an optimal volume for maintaining the required temperature (around 1 cubic meter).
What You’ll Need:
- 8 support posts (e.g., 50×50 mm), 1 meter long (4 for the front, 4 for the back).
- Boards or planks for cladding (about 40-50 pieces, depending on width).
- Screws or nails.
- Hinges (for a hinged lid or door).
- Hacksaw/saw, screwdriver.
Construction Stages:
- Preparing the posts: Treat the bottom part of the posts with antiseptic or wrap the parts that will be in the ground or in contact with moisture with roofing felt.
- Assembling the back and side walls: Assemble two side frames and one back frame using two support posts for each side. Screw the boards horizontally to the posts. Important: Leave gaps of 1.5–2 cm between the boards. This is critical for ventilation.
- Installing the frame: Place the three assembled walls in the chosen location. For stability, you can bury the posts 10-15 cm deep or attach them to concrete blocks.
- Creating the front wall (door): The front wall should be removable or openable so you can easily turn the compost and remove the finished product from the bottom. The most convenient option is to make the front wall from boards that slide into special grooves between the two front support posts. As you fill the bin, you simply add more boards.
- Lid (optional): A lid is needed to regulate moisture (protecting from heavy rain or, conversely, from drying sun). Make a simple hinged lid from boards, attaching it with hinges to the back wall. It’s also advisable to include small ventilation holes in the lid.
Useful tip: If you plan to compost a lot, immediately build a two-compartment bin. While the compost is maturing in the first compartment, you can load fresh waste into the second. This significantly speeds up the process and simplifies management.
Compost Bin Options: From Simple to Complex 💡

There isn’t always time and resources for major construction. Here are a few alternative ideas you can implement in literally an hour.
1. Budget-Friendly and Quick: Wire Mesh Compost Bin
If you need a temporary or very cheap option, take a piece of wire mesh 3–4 meters long and 1 meter high. Roll it into a cylinder and secure the ends with wire. This provides maximum ventilation. The downside: the compost cools down quickly, which slows down “cooking” in cold weather, and it’s harder to turn.
2. Aesthetic and Durable: Compost Bin from Plastic IBC Totes
Plastic containers (totes) with metal cages are very durable. You just need to cut several ventilation holes in the sides and create a convenient unloading hatch at the bottom. They retain moisture and heat perfectly.
3. For the Lazy: Compost Tumblers (Rotating Bins)
Tumblers are barrels or containers mounted on an axle that can be rotated. Their main advantage: no need to shovel the compost with a fork. You simply rotate the tumbler a few times a week. You can make a tumbler from an old plastic barrel, mounting it on a frame of beams and drilling many small holes in it for ventilation.
What Can and Cannot Be Put in a Compost Bin? 🌿
Composting is about balancing “green” (nitrogen-rich) and “brown” (carbon-rich) materials. The ideal ratio is approximately 2 parts brown to 1 part green by volume.
✅ “Brown” Materials (Carbon C) – The Structural Base
They provide looseness and air circulation.
- Dry leaves (ideal!).
- Shredded branches, sawdust, shavings.
- Cardboard and paper (without gloss or ink, torn into small pieces).
- Straw and hay.
- Wood ash (in moderation).
✅ “Green” Materials (Nitrogen N) – Fuel for Bacteria
They provide heat and speed up the decomposition process.
- Freshly cut grass (important: lay in a thin layer to prevent matting).
- Vegetable and fruit peels, cores.
- Tea leaves and coffee grounds.
- Herbivore manure (cow, horse).
- Plant and flower waste (without signs of disease).
❌ What Absolutely Cannot Be Put in a Compost Bin
These materials can attract pests, slow down the process, or make the compost unsafe:
- Meat and dairy products, fats: Cause rotting, attract rats and flies.
- Diseased plants: Spores and infections can survive and infect garden beds.
- Weeds with seeds (especially perennial ones): Seeds may not die and will sprout in the beds where you apply the compost.
- Citrus peels in large quantities: Slow down the process due to high acid content.
- Feces of domestic predators (cats, dogs): May contain pathogens.
- Synthetic materials, plastic, glass.
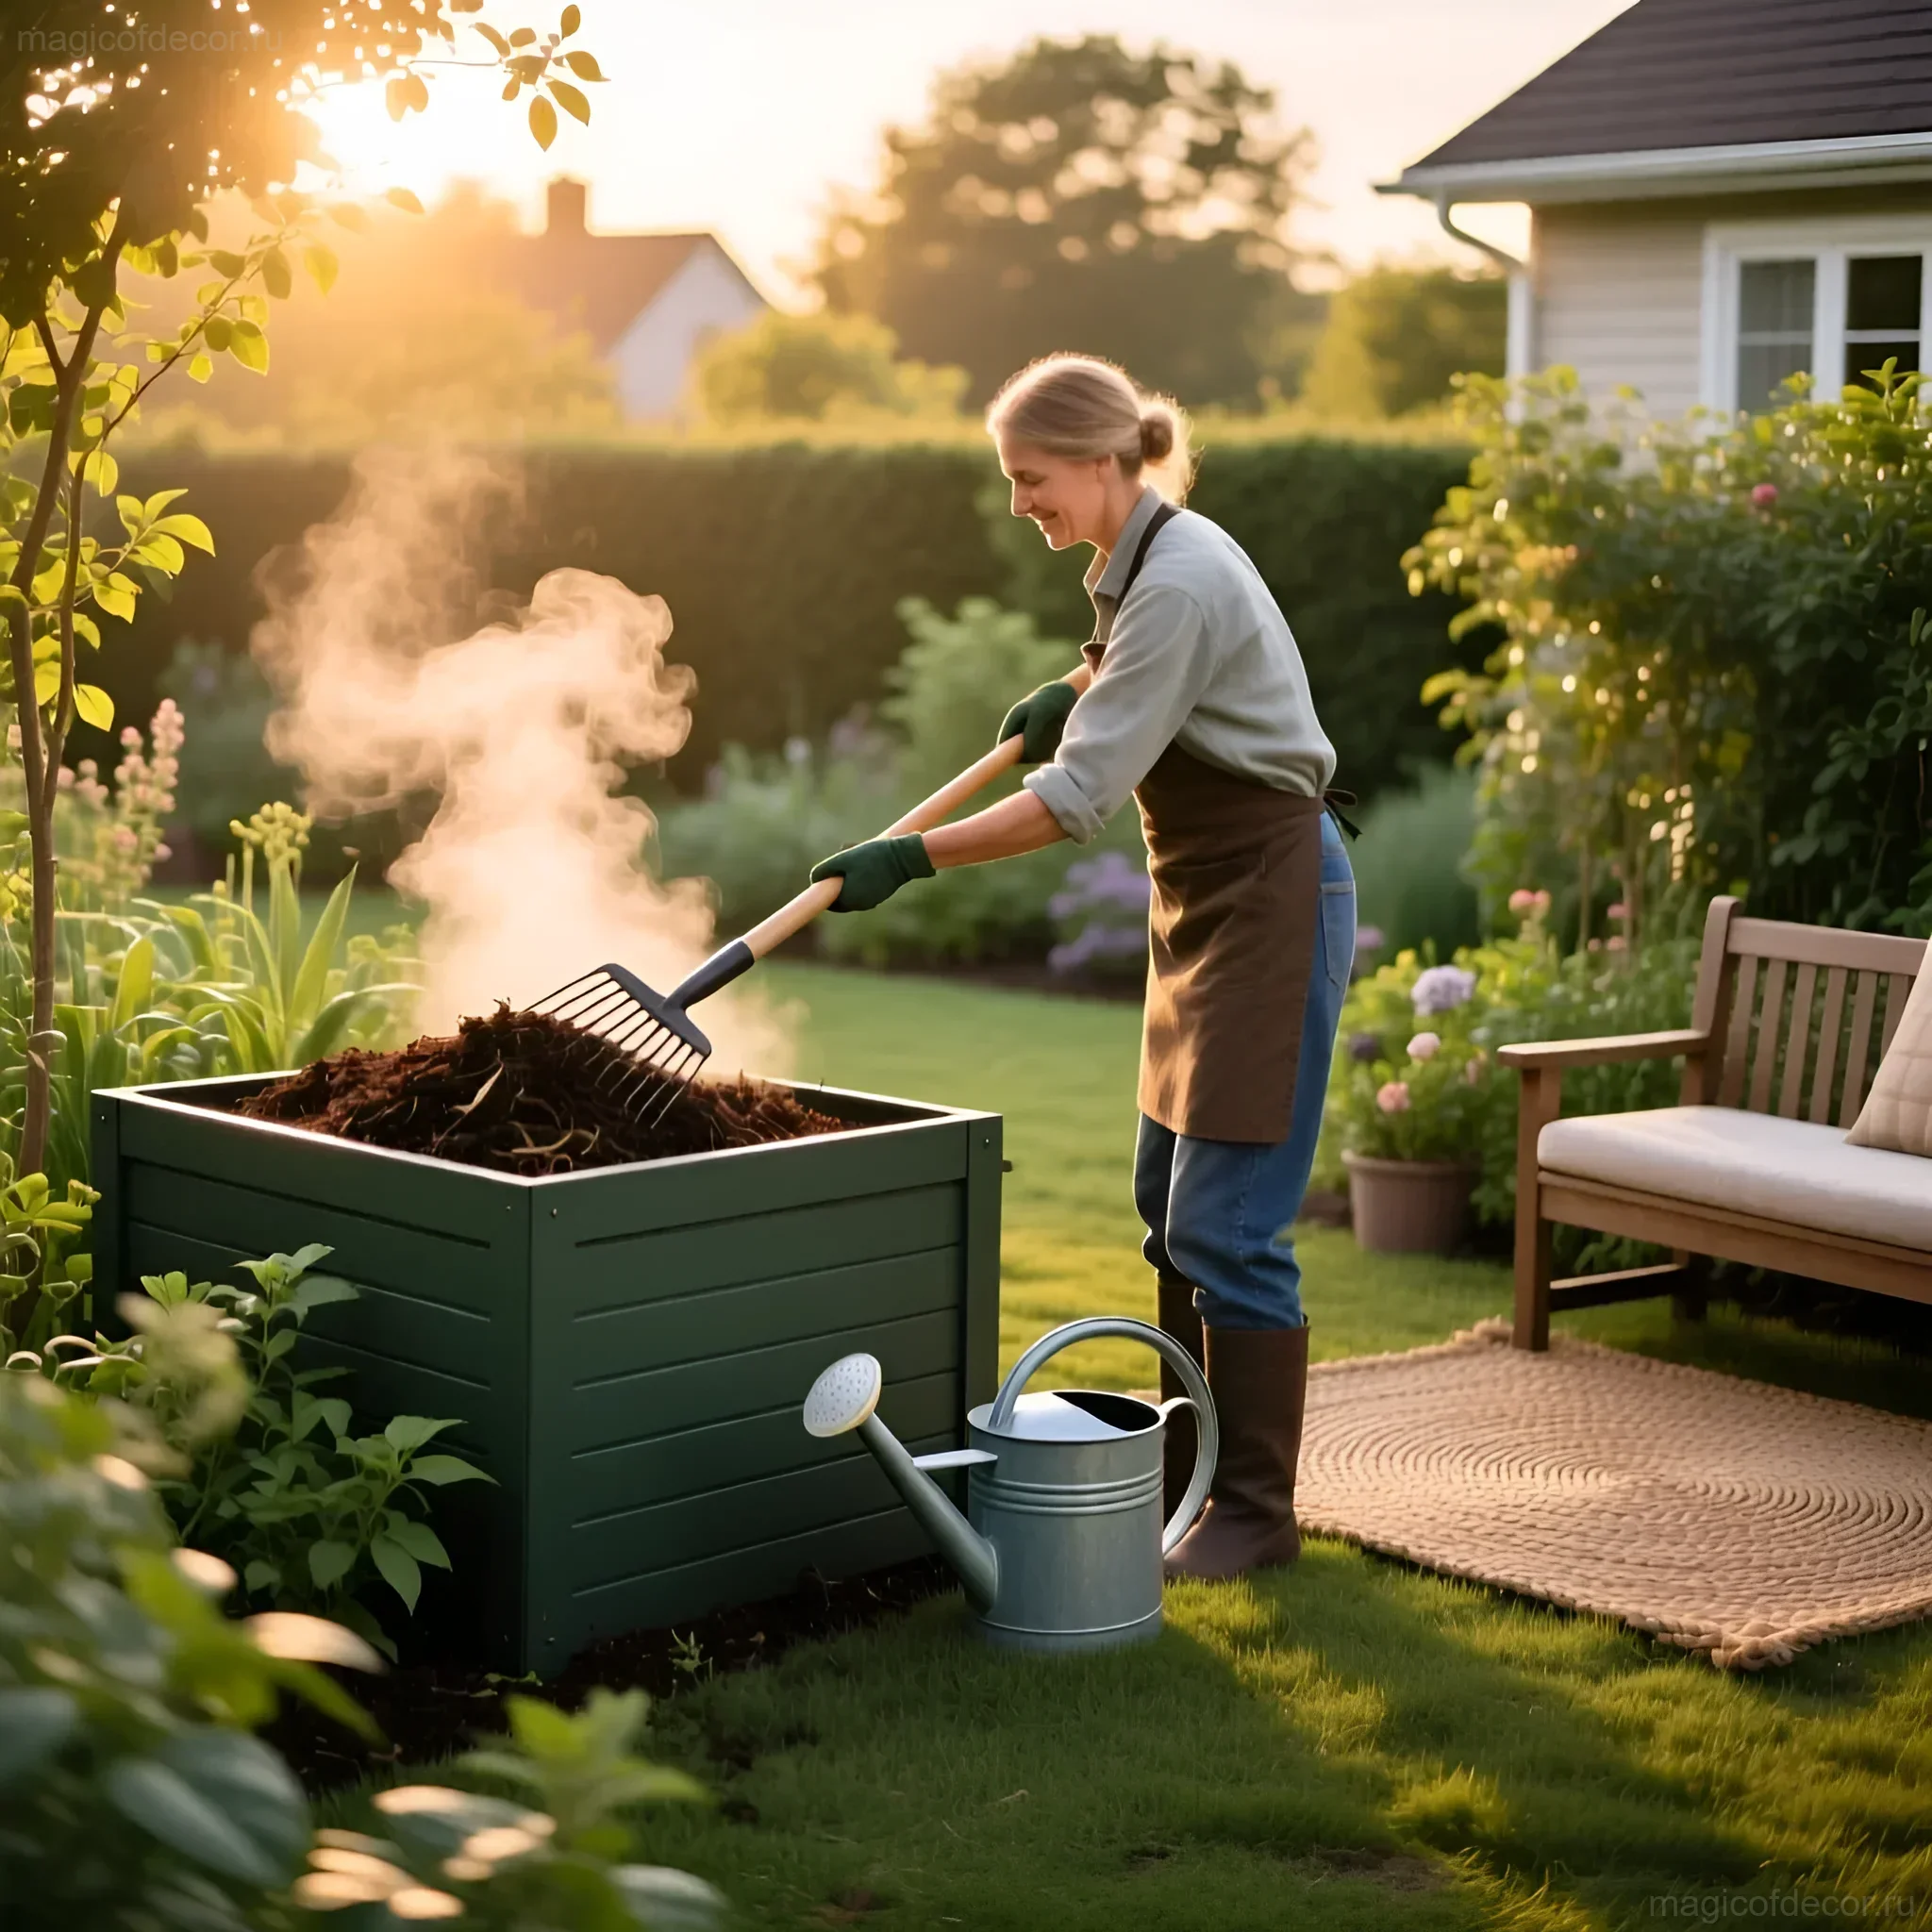
Compost Bin Care: For Perfect Compost 💧

Composting is like preparing a delicious dish: you need not only to gather the ingredients but also to monitor the process. Proper care involves three pillars: moisture, air, and turning.
1. Moisture: Like a Wet Sponge
The compost mass should be moist, like a well-wrung sponge. If you squeeze a handful of compost, only a few drops of water should come out. If the compost is dry, the process stops. If it’s too wet, anaerobic decomposition begins, and an unpleasant odor appears.
- What to do: If it’s dry, water it with a watering can. If it’s too wet (e.g., after heavy rain), add “brown” materials (sawdust, dry leaves) and turn it.
2. Turning (Aeration): Giving Oxygen
The bacteria working on the compost need oxygen. If the compost is not turned, it compacts, air is lost, and the process shifts to the anaerobic phase (smell of rotten eggs).
- How often: Ideally, once every 1–2 weeks.
- With what: Use a garden fork. If the bin is large, transfer compost from one compartment to another. Turning also helps to evenly distribute moisture and heat.
3. Temperature: Hotter Means Faster
Inside a properly functioning bin, the temperature can reach 50–70°C. This is good, as high temperatures kill most weed seeds and pathogens. You can check the temperature by hand (if it’s hot, everything is great) or with a special thermometer. If the compost isn’t heating up, it means it lacks nitrogen (green waste) or moisture.
FAQ: Answering the Most Popular Questions About Compost Bins 🤔
Even in something as simple as composting, questions arise. We’ve gathered the most frequent ones to help you avoid mistakes.
1. Why Does My Compost Smell Bad (Rotten)?
Answer: This is almost always a sign that the compost has become anaerobic – it lacks oxygen. Reasons: too much moisture or too dense a mass (too much grass clippings, not enough “brown” materials).
Solution: Immediately turn the mass and add dry, loose materials (sawdust, torn cardboard).
2. How Long Does Compost Take to Prepare?
Answer: The time depends on care and temperature. “Hot” compost, which is regularly turned, can be ready in 2–3 months. Passive composting (when you just pile waste and don’t touch it) can take 6–12 months. Finished compost is dark, crumbly, and smells like forest soil.
3. Do I Need to Add Activators or Special Bacteria?
Answer: In most cases, no. Nature will handle it. Earthworms, microbes, and fungi are already in the soil. Adding a small amount of finished compost or regular garden soil to the fresh mass will speed up the process, but special purchased activators are not mandatory.
4. Can I Compost Ash from a Barbecue?
Answer: Yes, but with caveats. Ash from wood (hardwood) is beneficial as it’s rich in potassium and phosphorus and neutralizes acidity. However, ash from charcoal, briquettes, or chemically treated wood is strictly forbidden.
5. What Should I Do If Ants Appear in the Compost?
Answer: Ants often appear if the compost is too dry or contains too many sweet residues. Solution: thoroughly moisten the mass and turn it well. You can also add a little wood ash or shredded pine needles.
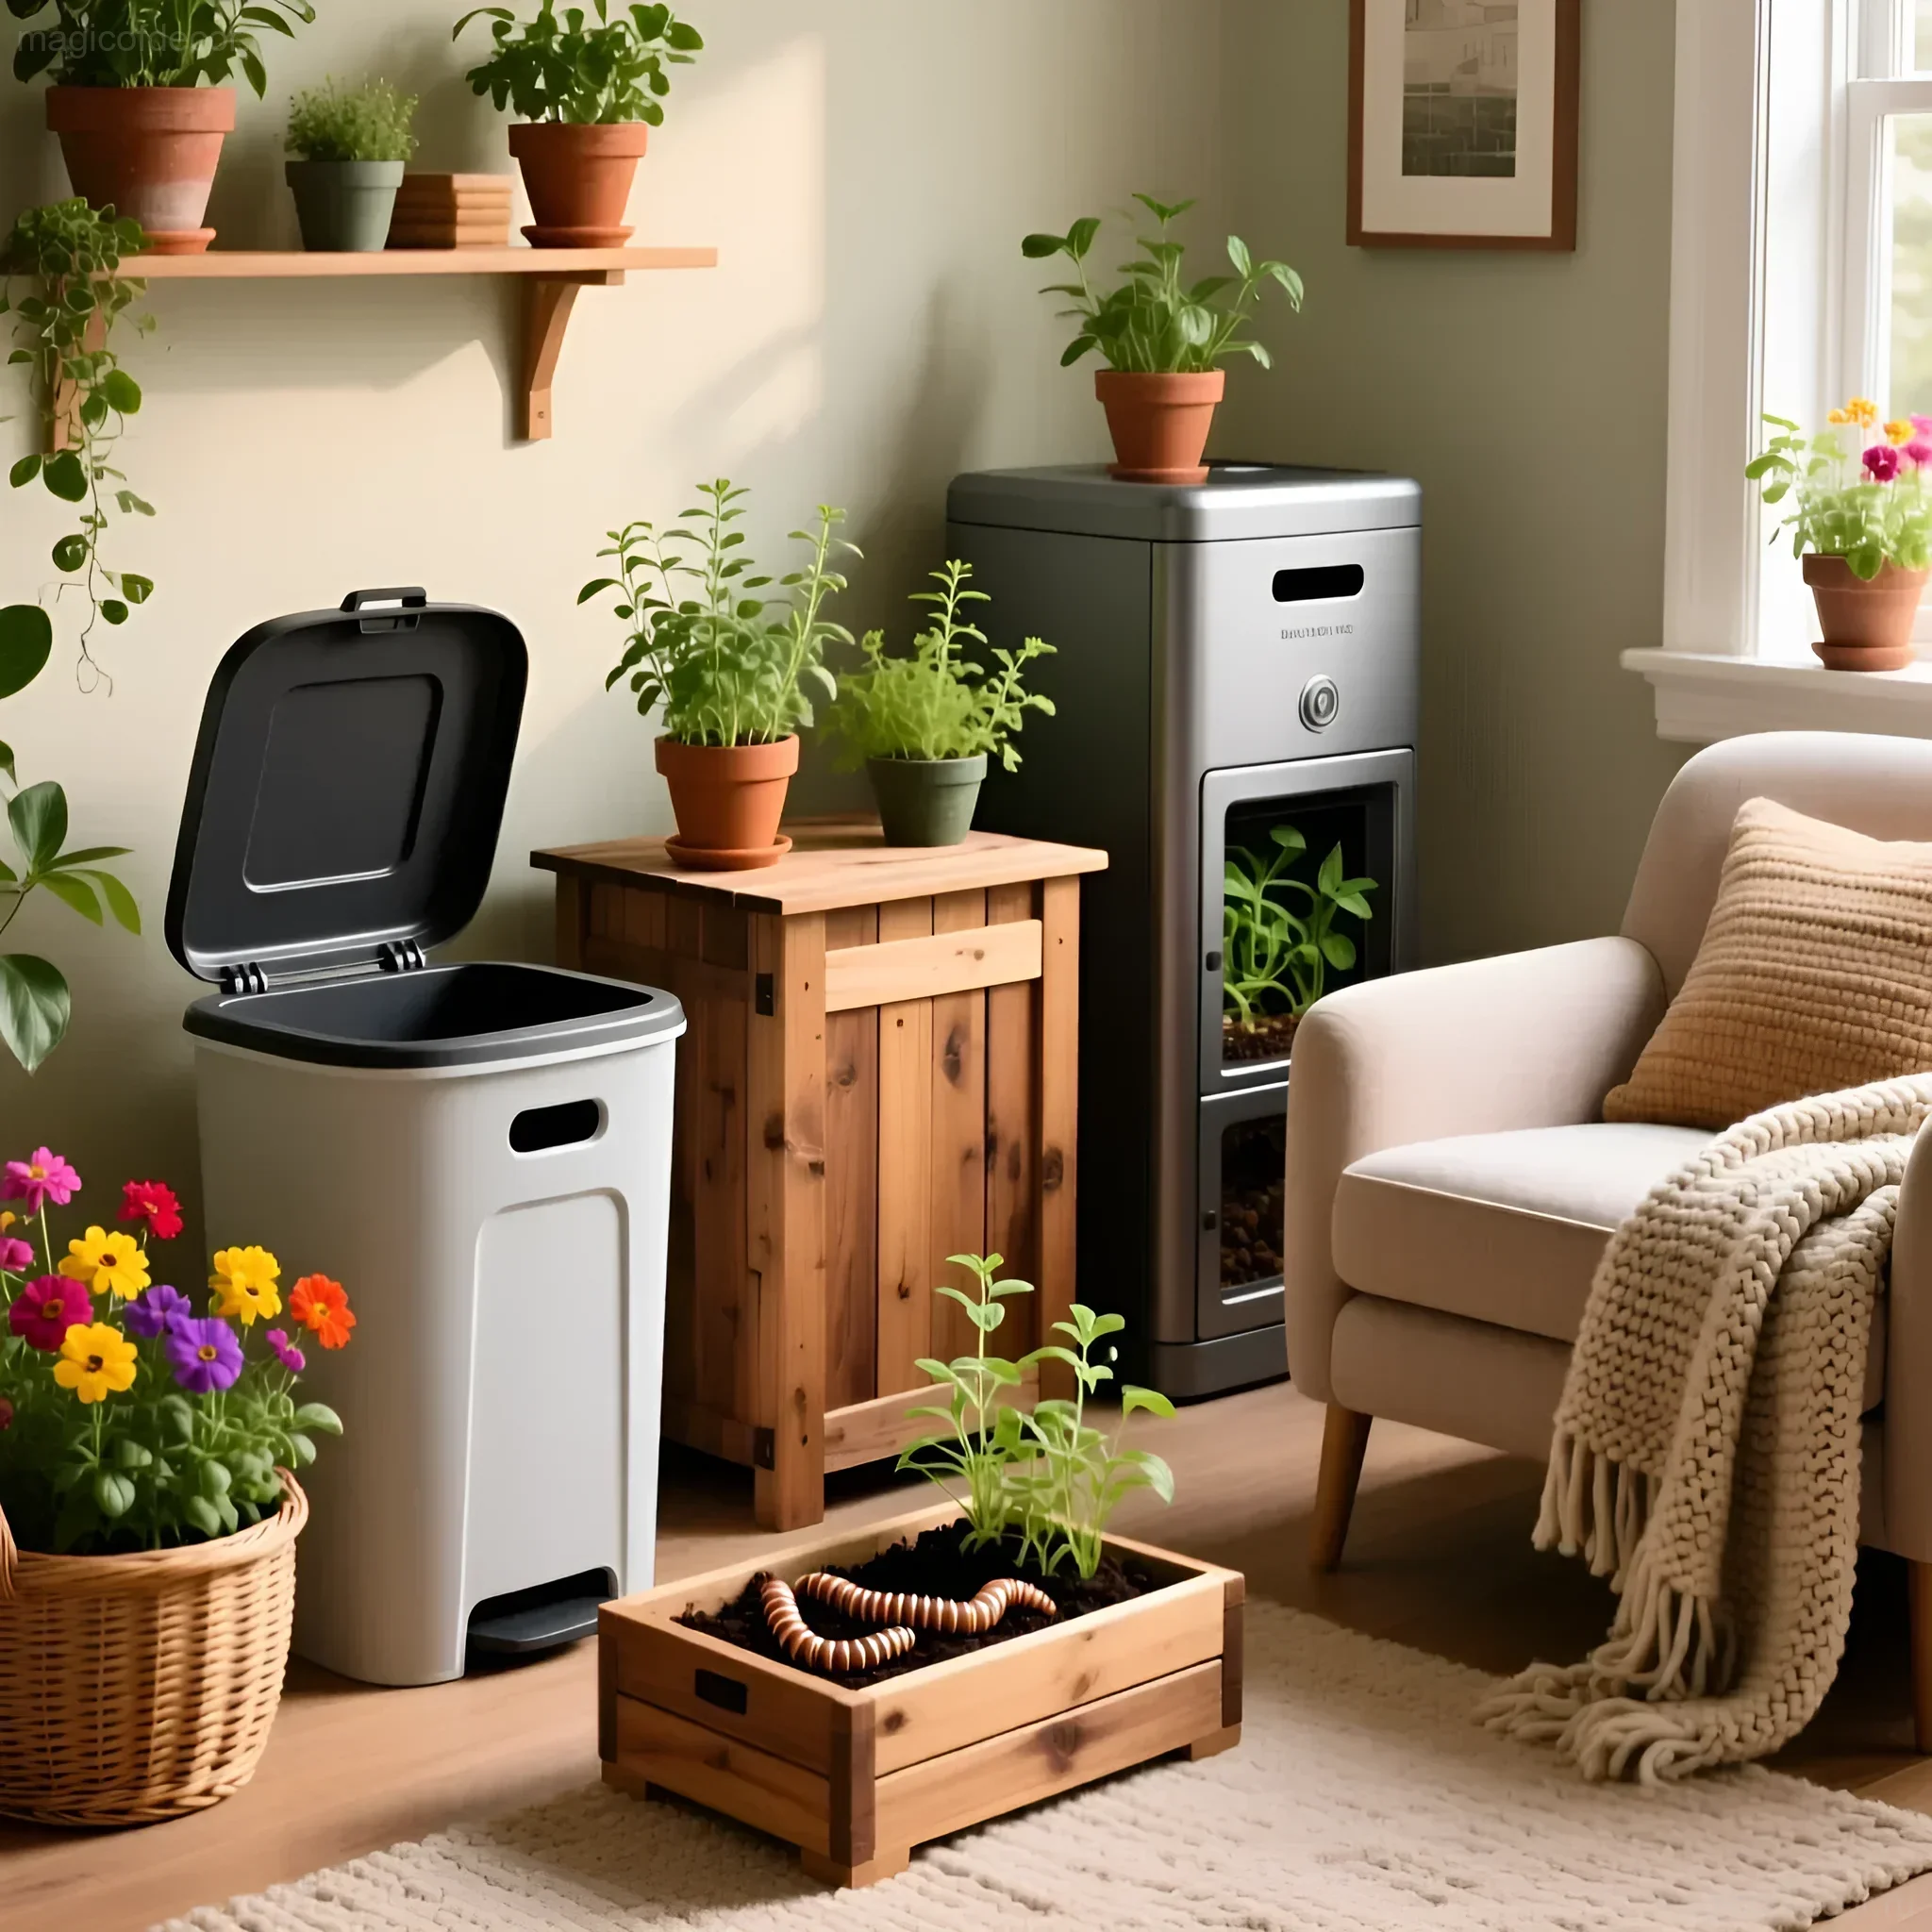
Interesting Facts About Composting 🌍
Composting is not just agriculture; it’s a whole science with amazing features:
- Fastest Compost: Under ideal conditions (correct C/N ratio, moisture, and regular turning), compost can be ready in as little as 6 weeks. This is called “hot composting.”
- Termite Helpers: In tropical regions, termites play an important role in decomposing woody waste, accelerating composting.
- Vermicomposting: This isn’t exactly a compost bin but rather a “home” for earthworms. Worms (most often Red Wigglers) process organic matter into vermicompost – the most valuable and concentrated organic fertilizer.
- Water Saving: Compost added to soil acts like a sponge. It significantly improves the soil’s water-holding capacity, allowing for a 30–50% reduction in watering frequency.
- Compost as Medicine: Studies show that adding mature compost to soil can suppress some plant diseases, acting as a natural fungicide and improving plant immunity.
Creating a compost bin is essentially creating a small, self-sufficient ecosystem on your plot. It’s a project that doesn’t require large investments but yields immense returns in the form of a healthy garden and a sense of pride in caring for nature. May your compost be perfect!