Do you dream of something unusual that will transform your garden and amaze everyone who sees it? Do you want to add a bit of magic and adventure to your corner of nature? Then this article is for you! We will tell you how to create an impressive dinosaur skeleton with your own hands, which will become a real highlight of your landscape. This is not only an exciting project but also a great way to express your creativity and surprise your neighbors.
Bring Your Garden to Life: Create an Impressive Dinosaur Yourself
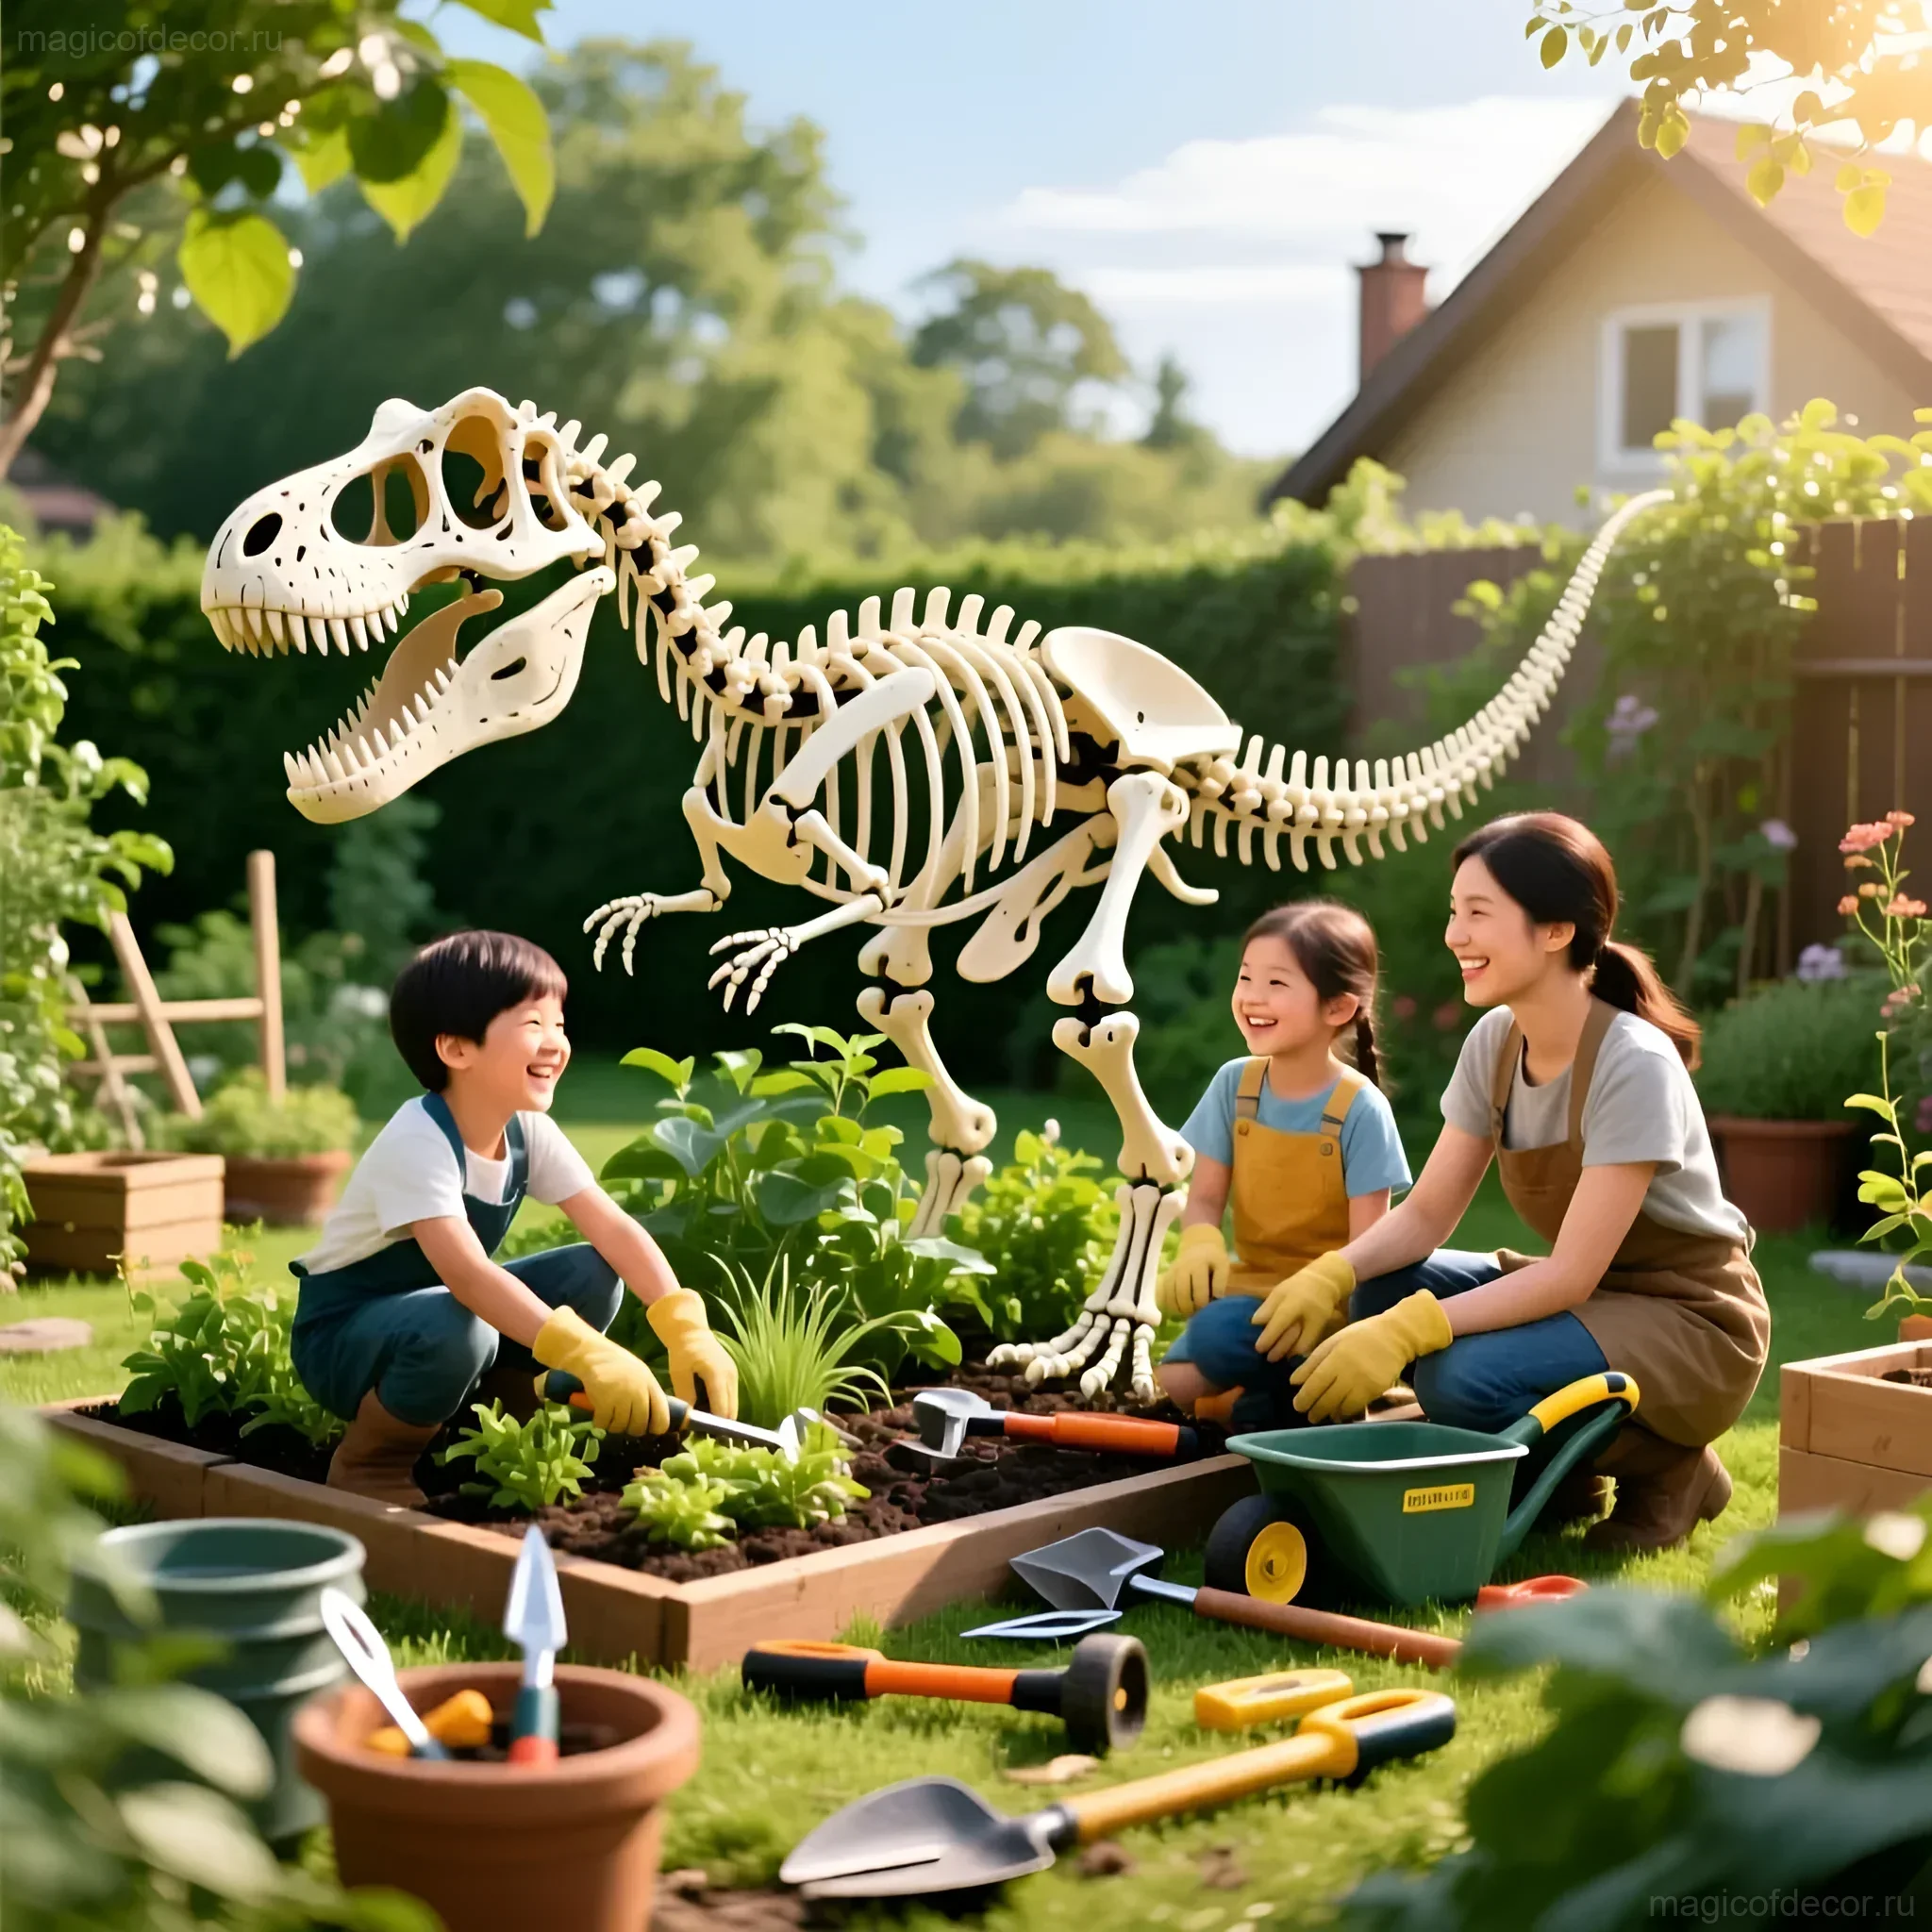
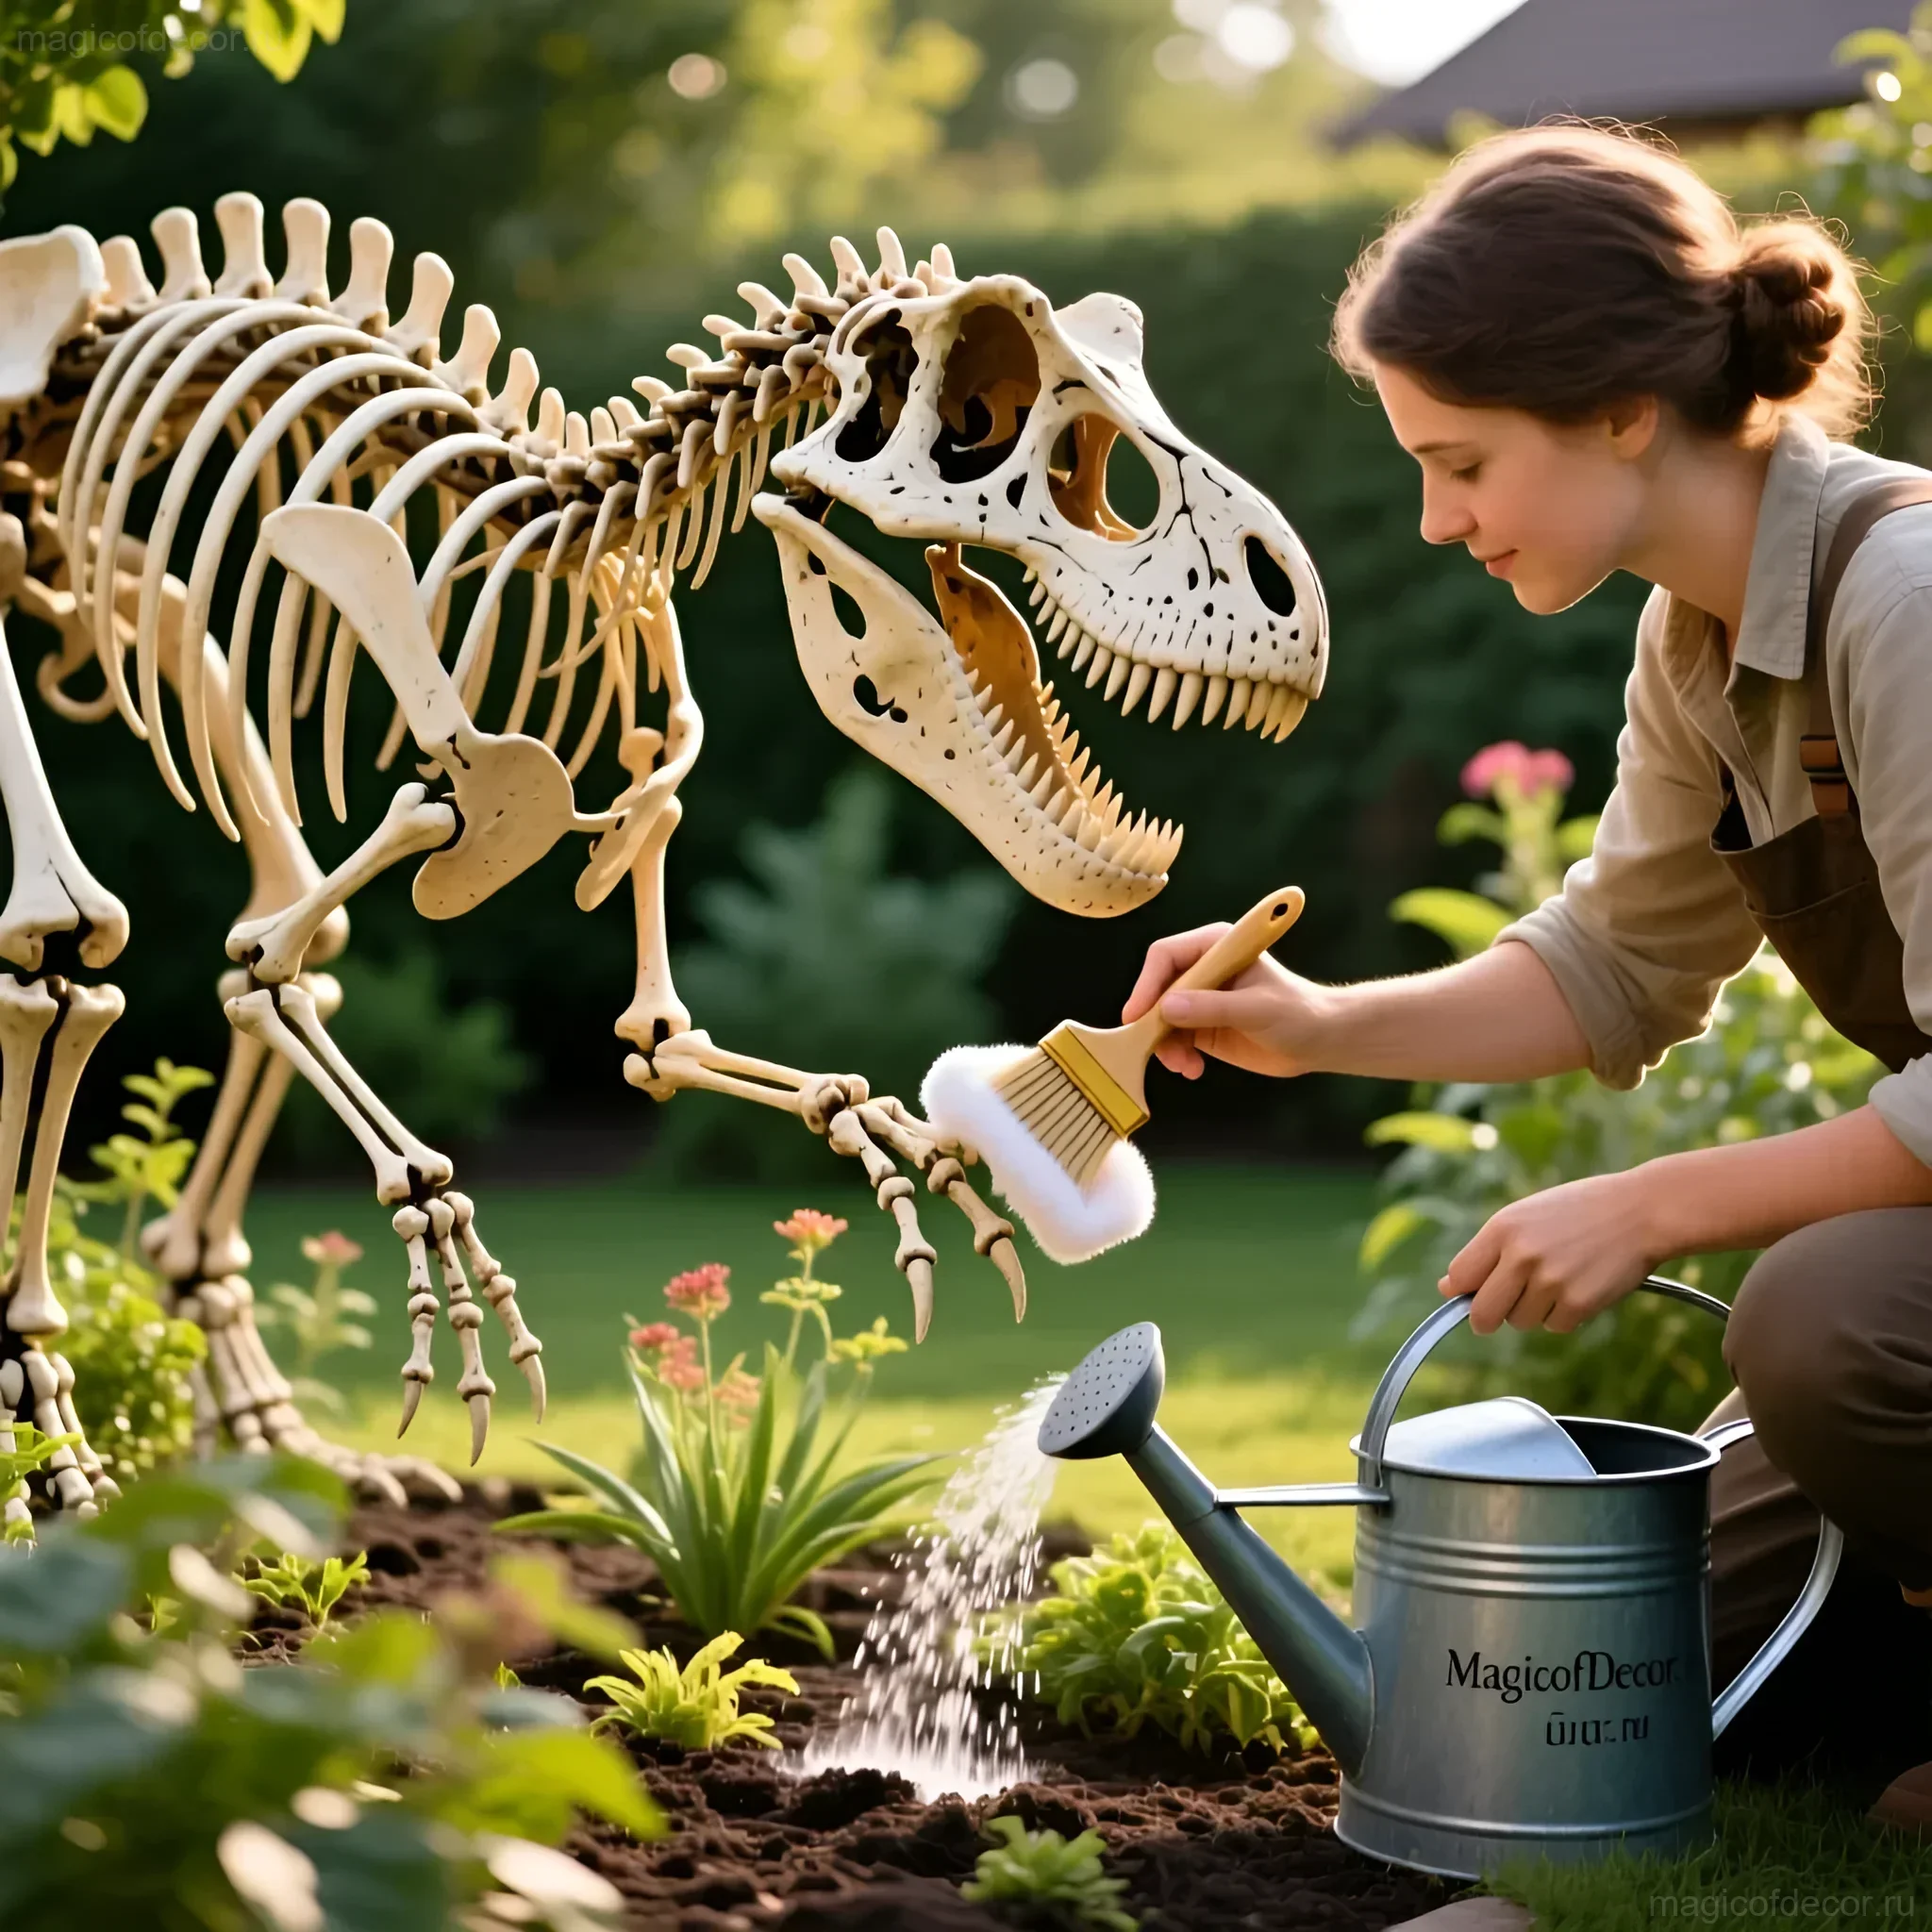
Imagine: your garden, bathed in sunlight, and amidst the greenery rises a majestic dinosaur skeleton! It looks like a prop from a Jurassic Park movie, but in reality, it’s the result of your hard work and imagination. Creating a dinosaur yourself is an opportunity not just to decorate your garden, but also to give yourself and your loved ones unforgettable experiences from the process. Don’t be intimidated by the scale of the task; we’ll break down all the steps so that even a beginner can handle this exciting project.
Materials and Tools: What You’ll Need for Dinosaur Bones
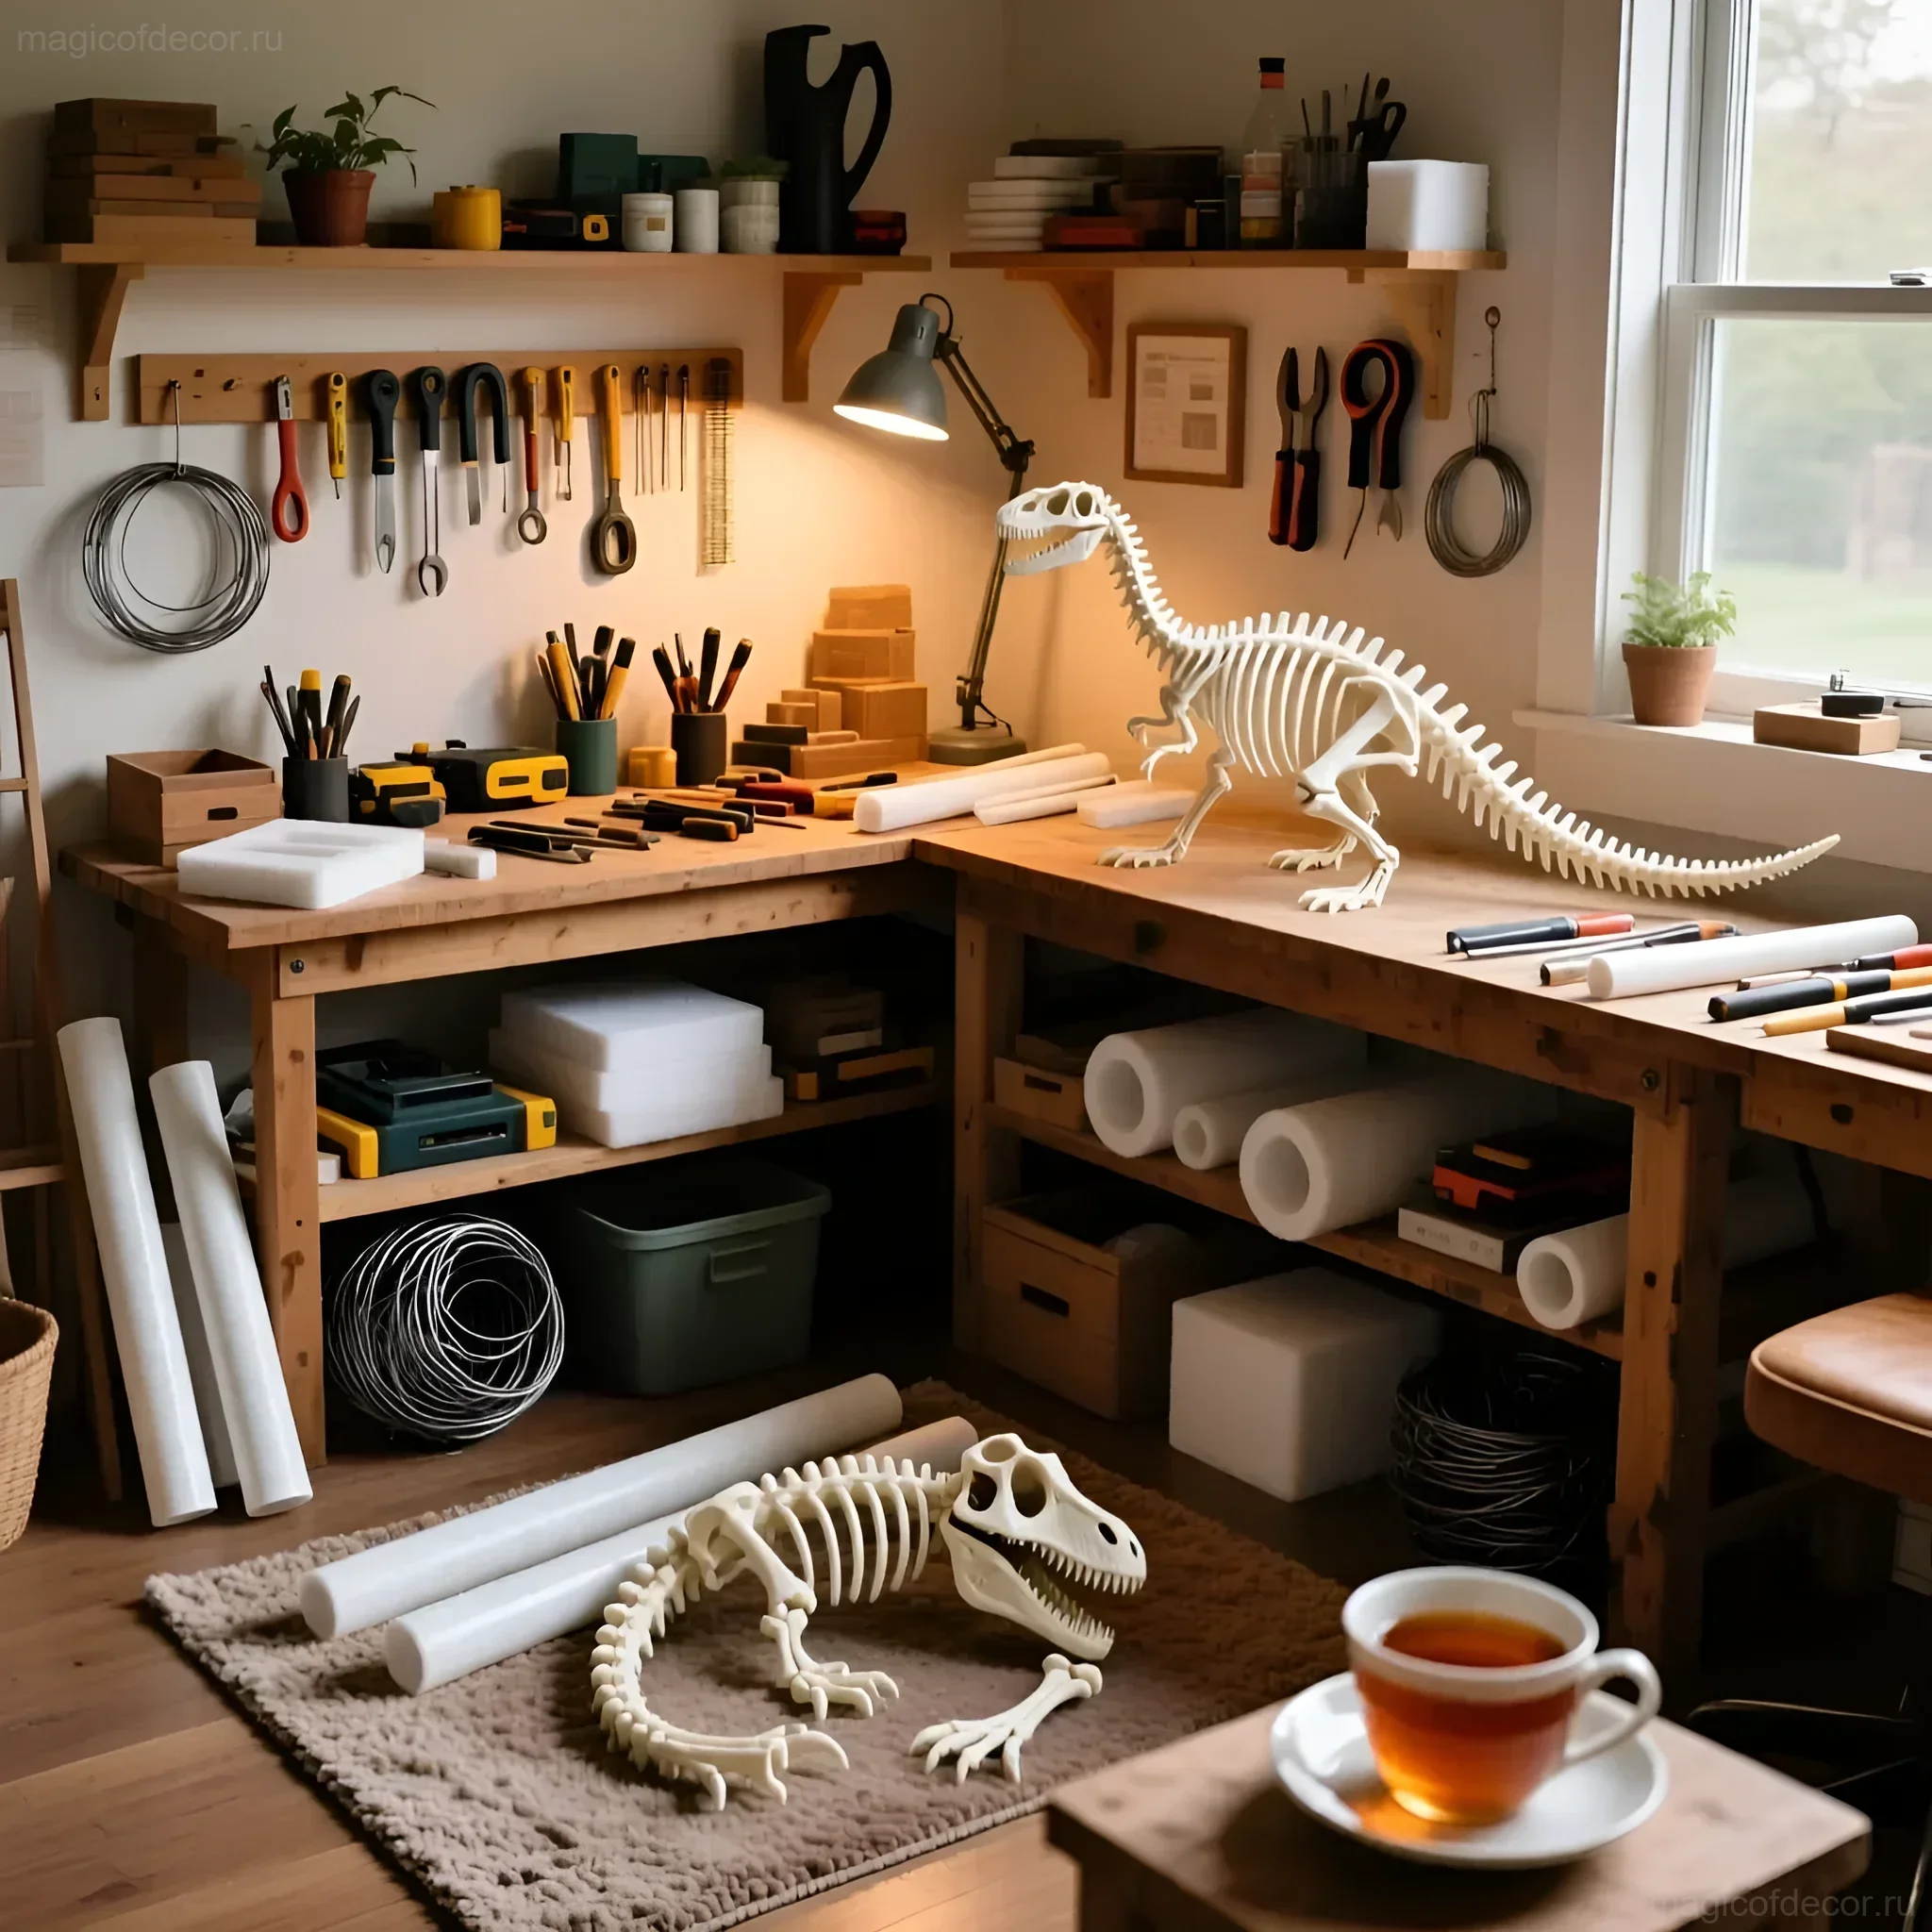
The most wonderful thing about this project is the opportunity to use readily available materials and let your imagination run wild. Here’s a general list of what you might need:
- For the bones:
- PVC pipes: This is the most popular and affordable option. Choose pipes of different diameters to create bones of varying thickness.
- Metal rod or rebar: For creating a frame and giving the bones strength.
- Wooden blocks: For connecting bones and creating support structures.
- Foam board: For creating volumetric elements, such as the head or ribs.
- Old plastic bottles: Can be used to create lightweight and durable elements.
- For joining and fastening:
- Screws and bolts: For fastening wooden elements.
- Zip ties: For temporary fastening and securing elements.
- Glue: Suitable for bonding the chosen materials (e.g., PVC glue or all-purpose glue).
- Welder (if using metal): For joining metal elements.
- Tools:
- Saw: For cutting PVC pipes, wood, and other materials.
- Drill and screwdriver: For drilling holes and driving screws.
- Knife: For working with foam board and plastic.
- Measuring tape and pencil: For measurements and marking.
- Sandpaper: For smoothing edges and giving a smooth finish.
- Safety glasses and gloves: For safety during work.
Step-by-Step Instructions: Assembling the Dinosaur Skeleton – From Head to Tail
Let’s get to the most interesting part! We will assemble the dinosaur skeleton step by step, starting from the head and ending with the tail. For clarity, let’s imagine we are creating a Tyrannosaurus Rex skeleton, but you can adapt the instructions for any dinosaur you like.
- Creating the head: Use foam board or PVC pipes to form the skull. Cut out the skull shape, giving it realistic contours. Reinforce the structure with a metal rod or wooden blocks.
- Creating the spine: Connect PVC pipes of different diameters to create the spine. Use a metal rod inside the pipes for strength. Remember that the spine should be curved to give the dinosaur a natural pose.
- Creating the ribs: Cut out the ribs from PVC pipes or wooden blocks. Attach the ribs to the spine using screws or glue. Pay attention to the angle of the ribs to make them look realistic.
- Creating the legs: Assemble the legs from PVC pipes, connecting them with a metal rod or wooden blocks. Attach the legs to the spine, ensuring the stability of the structure.
- Creating the arms: Assemble the arms from PVC pipes or wooden blocks. Attach the arms to the spine. Tyrannosaurus Rex had short and weak arms, so don’t overdo their size.
- Creating the tail: Connect PVC pipes to create the tail. Attach the tail to the spine. The tail should be long and flexible to give the dinosaur balance.
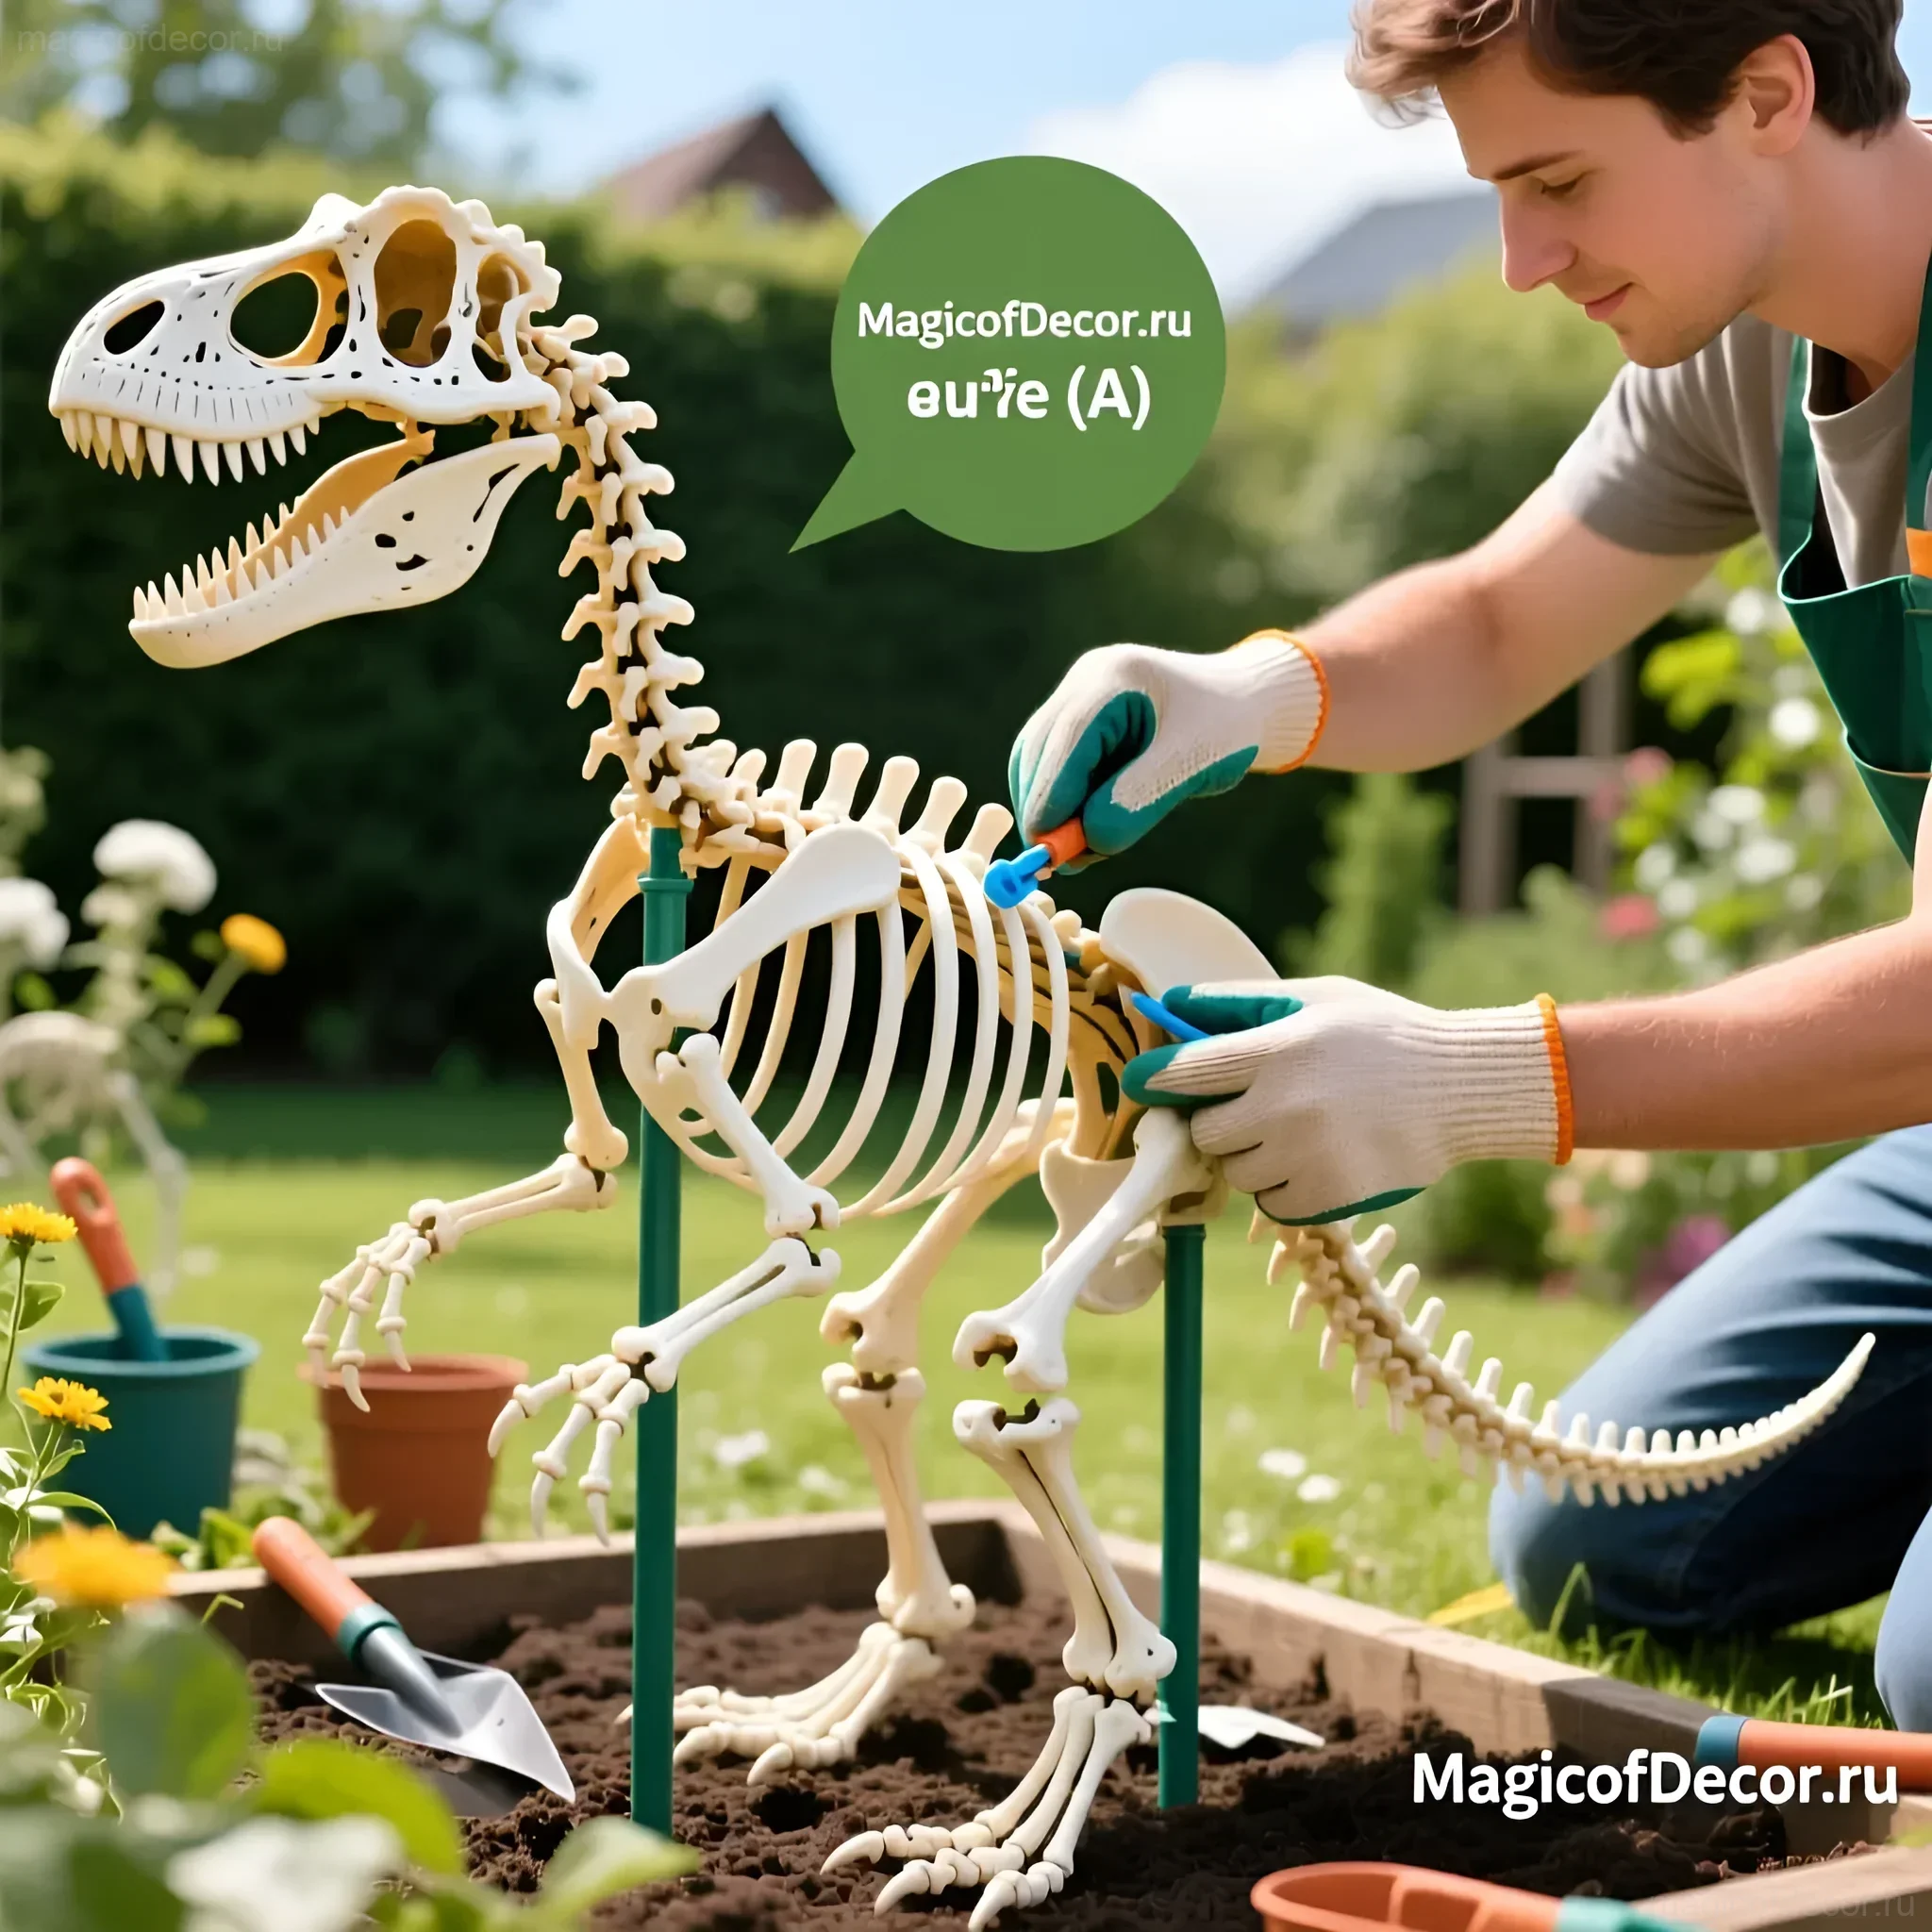
- Assembling the skeleton: Connect all the skeleton elements together using screws, glue, or zip ties. Make sure the structure is stable and secure.
Execution Options: Dinosaurs for Every Taste and Budget
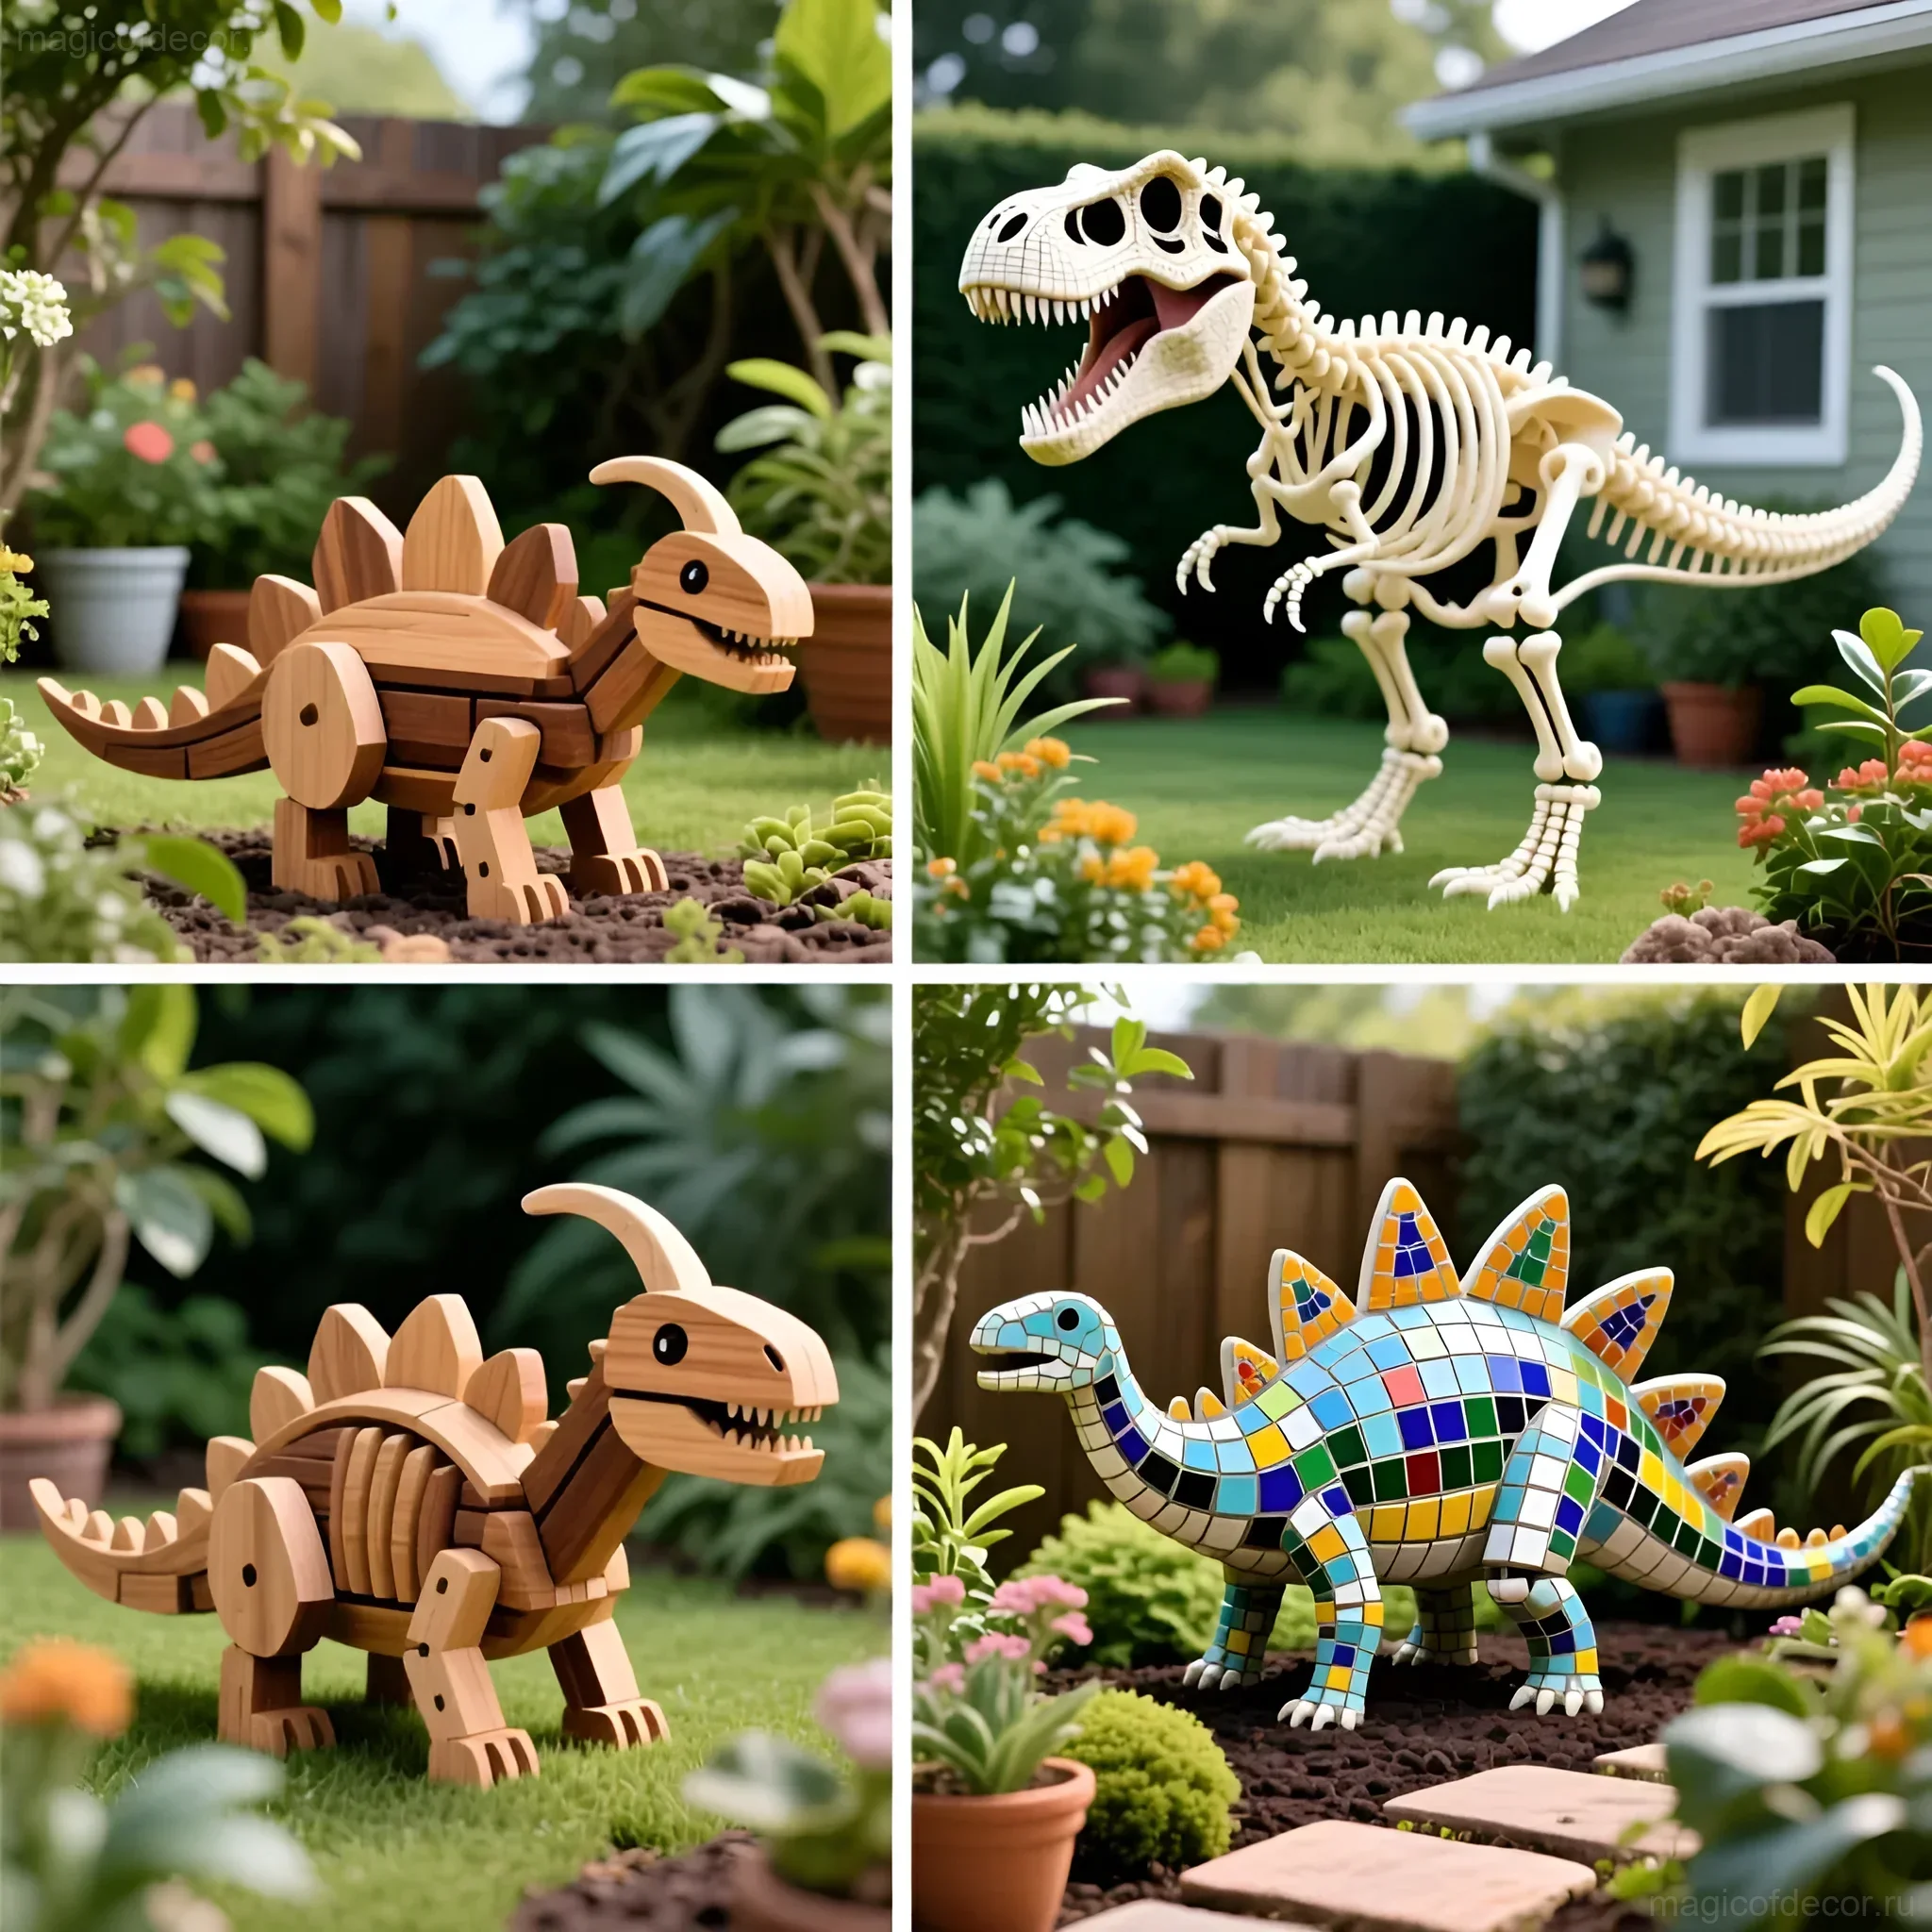
Don’t limit your imagination! There are many ways to create a dinosaur skeleton, depending on your preferences and budget:
- Budget option: Use only PVC pipes and zip ties. This is the simplest and cheapest way to create a dinosaur skeleton.
- Mid-range option: Use PVC pipes, wooden blocks, and screws. This will allow you to create a more durable and realistic structure.
- Premium option: Use a metal frame, PVC pipes, foam board, and other materials. This will allow you to create the most realistic and impressive dinosaur skeleton.
- Size: You can create a dinosaur of any size, from a small tabletop version to a huge figure towering over the garden.
- Type of dinosaur: Choose any dinosaur you like: Tyrannosaurus Rex, Triceratops, Brachiosaurus, etc.
Care Tips: How to Keep Your Dinosaur in Perfect Condition
To ensure your dinosaur brings you joy for years to come, proper care is essential:
- Protection from the elements: If the dinosaur is outdoors, treat it with a special compound that protects it from rain, snow, and sun.
- Regular cleaning: Periodically clean the dinosaur of dust and dirt.
- Strength check: Regularly check the structure for damage and repair it if necessary.
- Winter storage: If you live in a region with harsh winters, it’s best to store the dinosaur indoors during the winter months.
Inspiration: Ideas for Decorating a Dino Garden and Photo Gallery
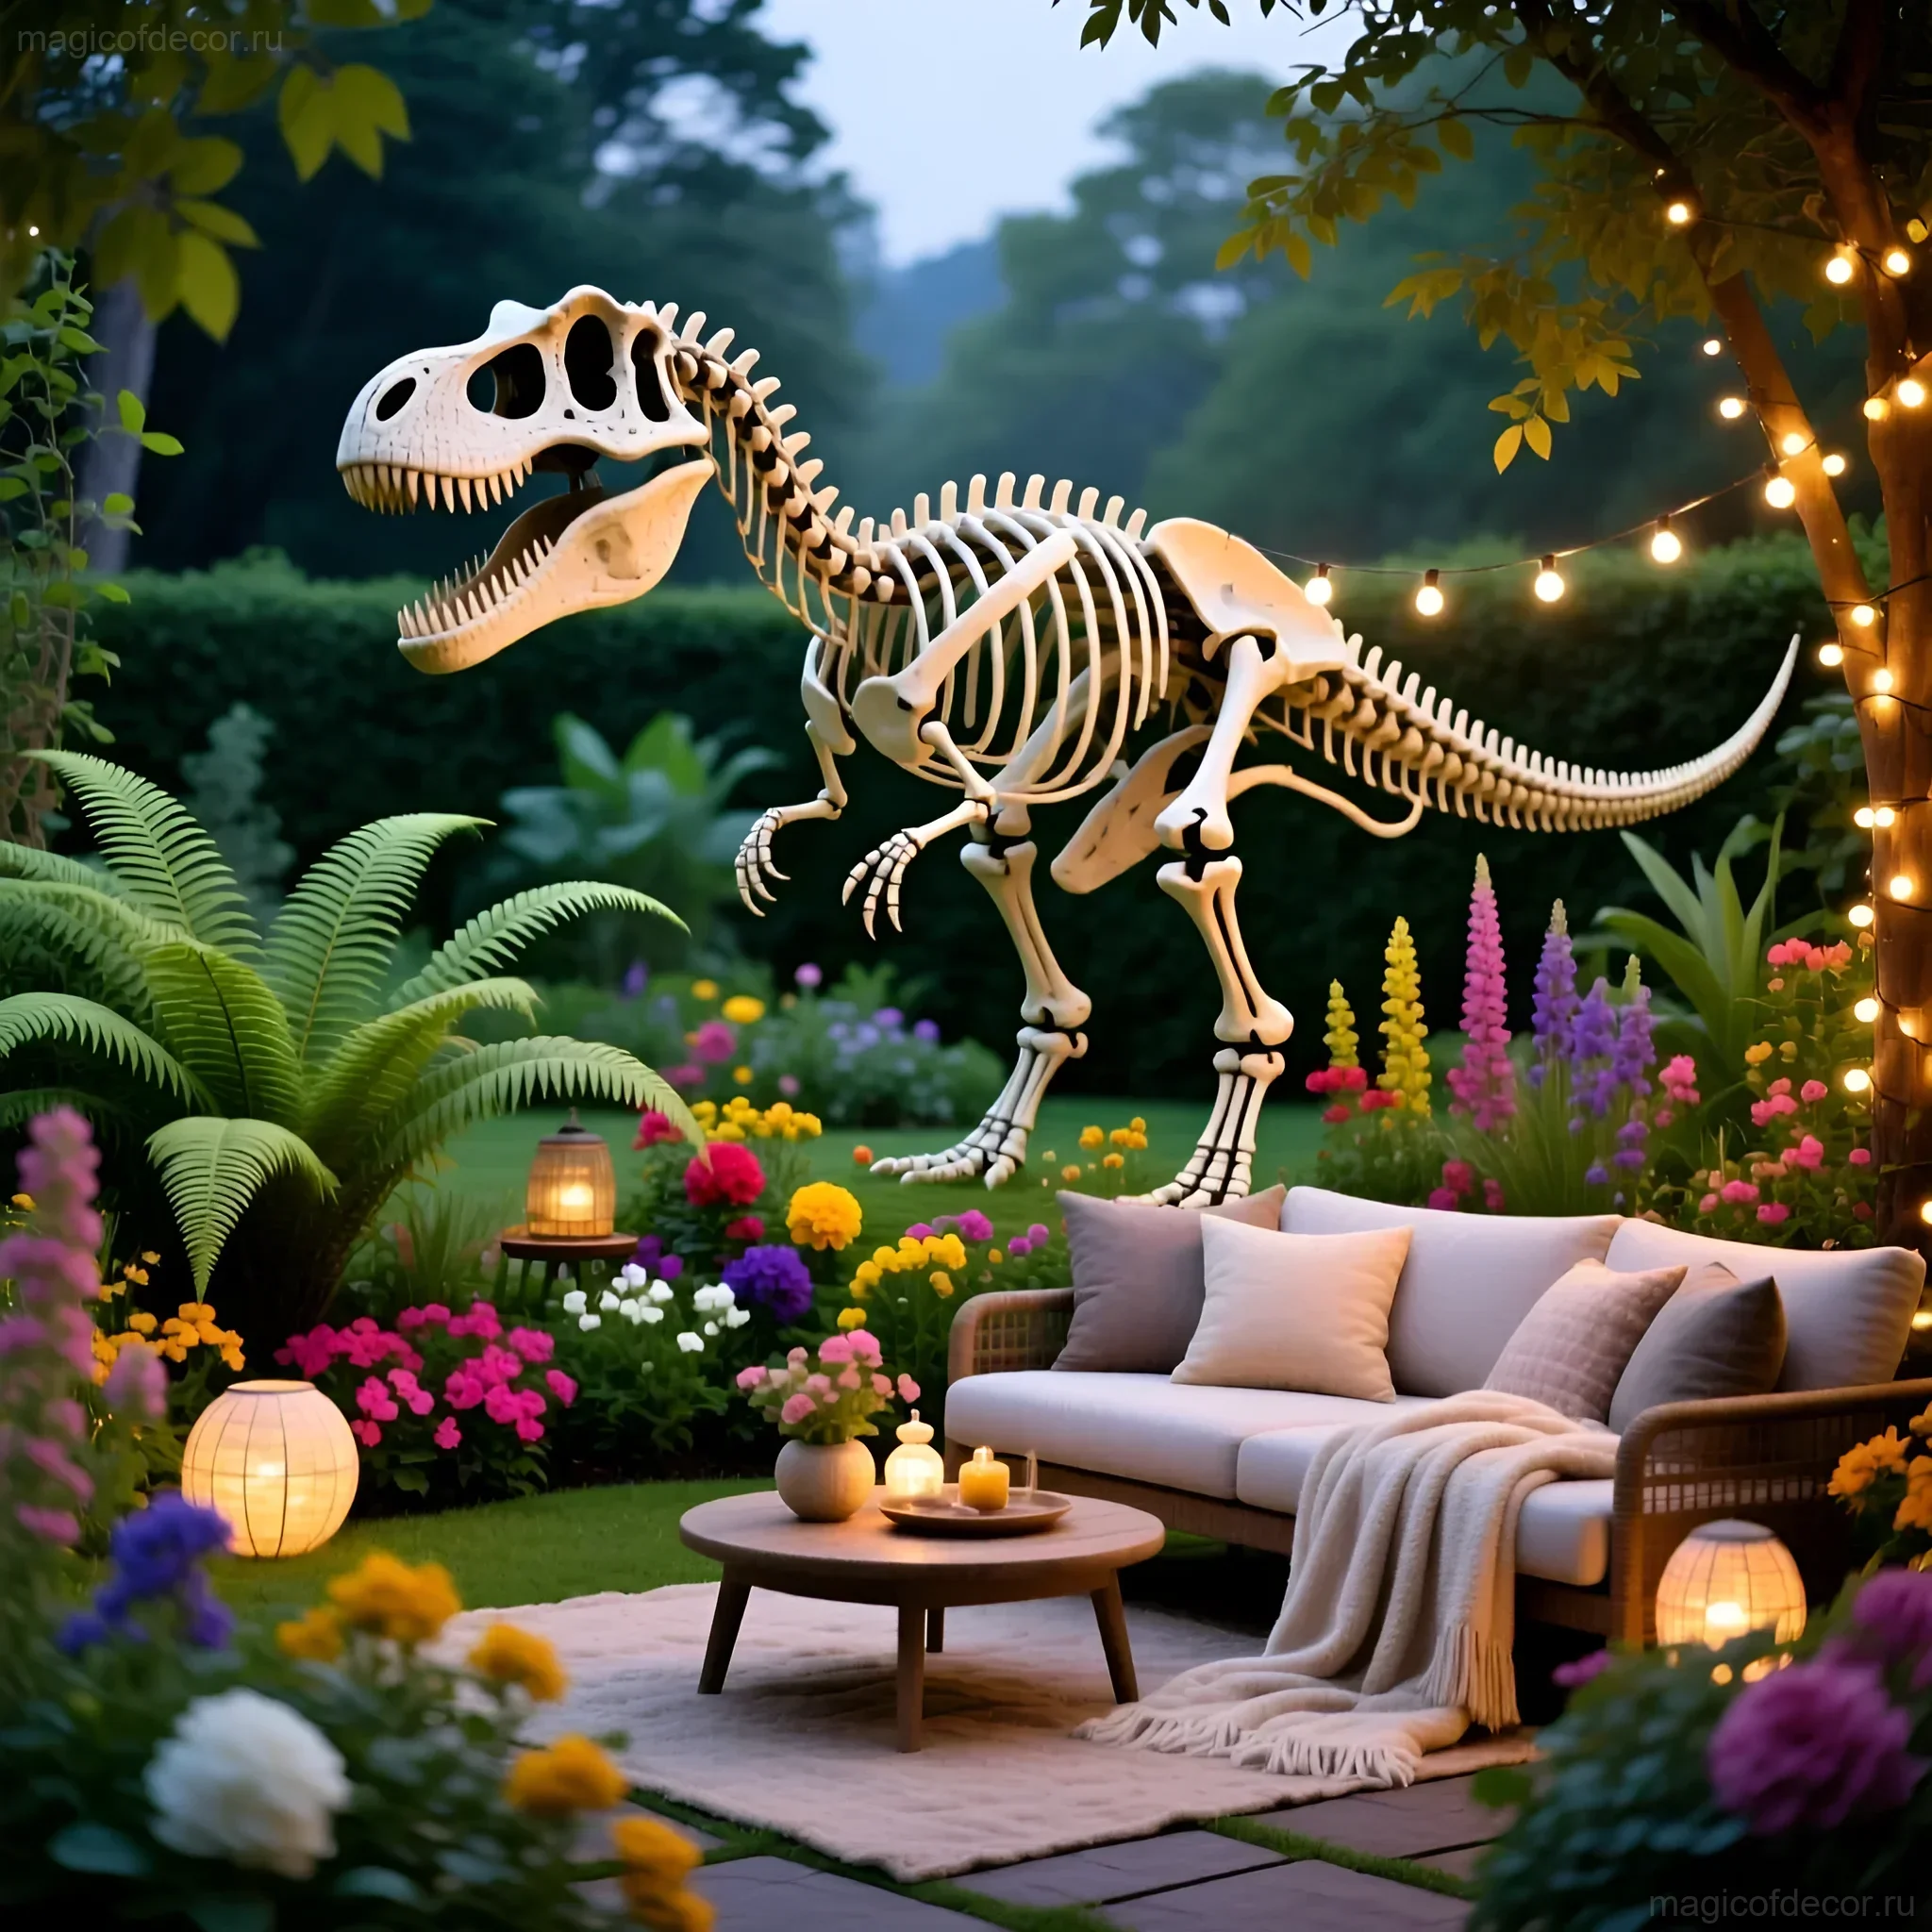
A dinosaur skeleton is just the beginning! You can create a whole dino-garden by adding other decorative elements:
- Plants: Plant ferns, palms, and other plants associated with the Jurassic period around the dinosaur.
- Stones and boulders: Use stones and boulders to create a realistic landscape.
- Artificial plants: Add artificial plants to create more lush and vibrant vegetation.
- Lighting: Install lighting to make the dinosaur look especially striking in the dark.
- Other dinosaurs: Create a whole collection of dinosaurs to turn your garden into a real Jurassic Park!
(A photo gallery with examples of dino-garden decoration can be placed here)
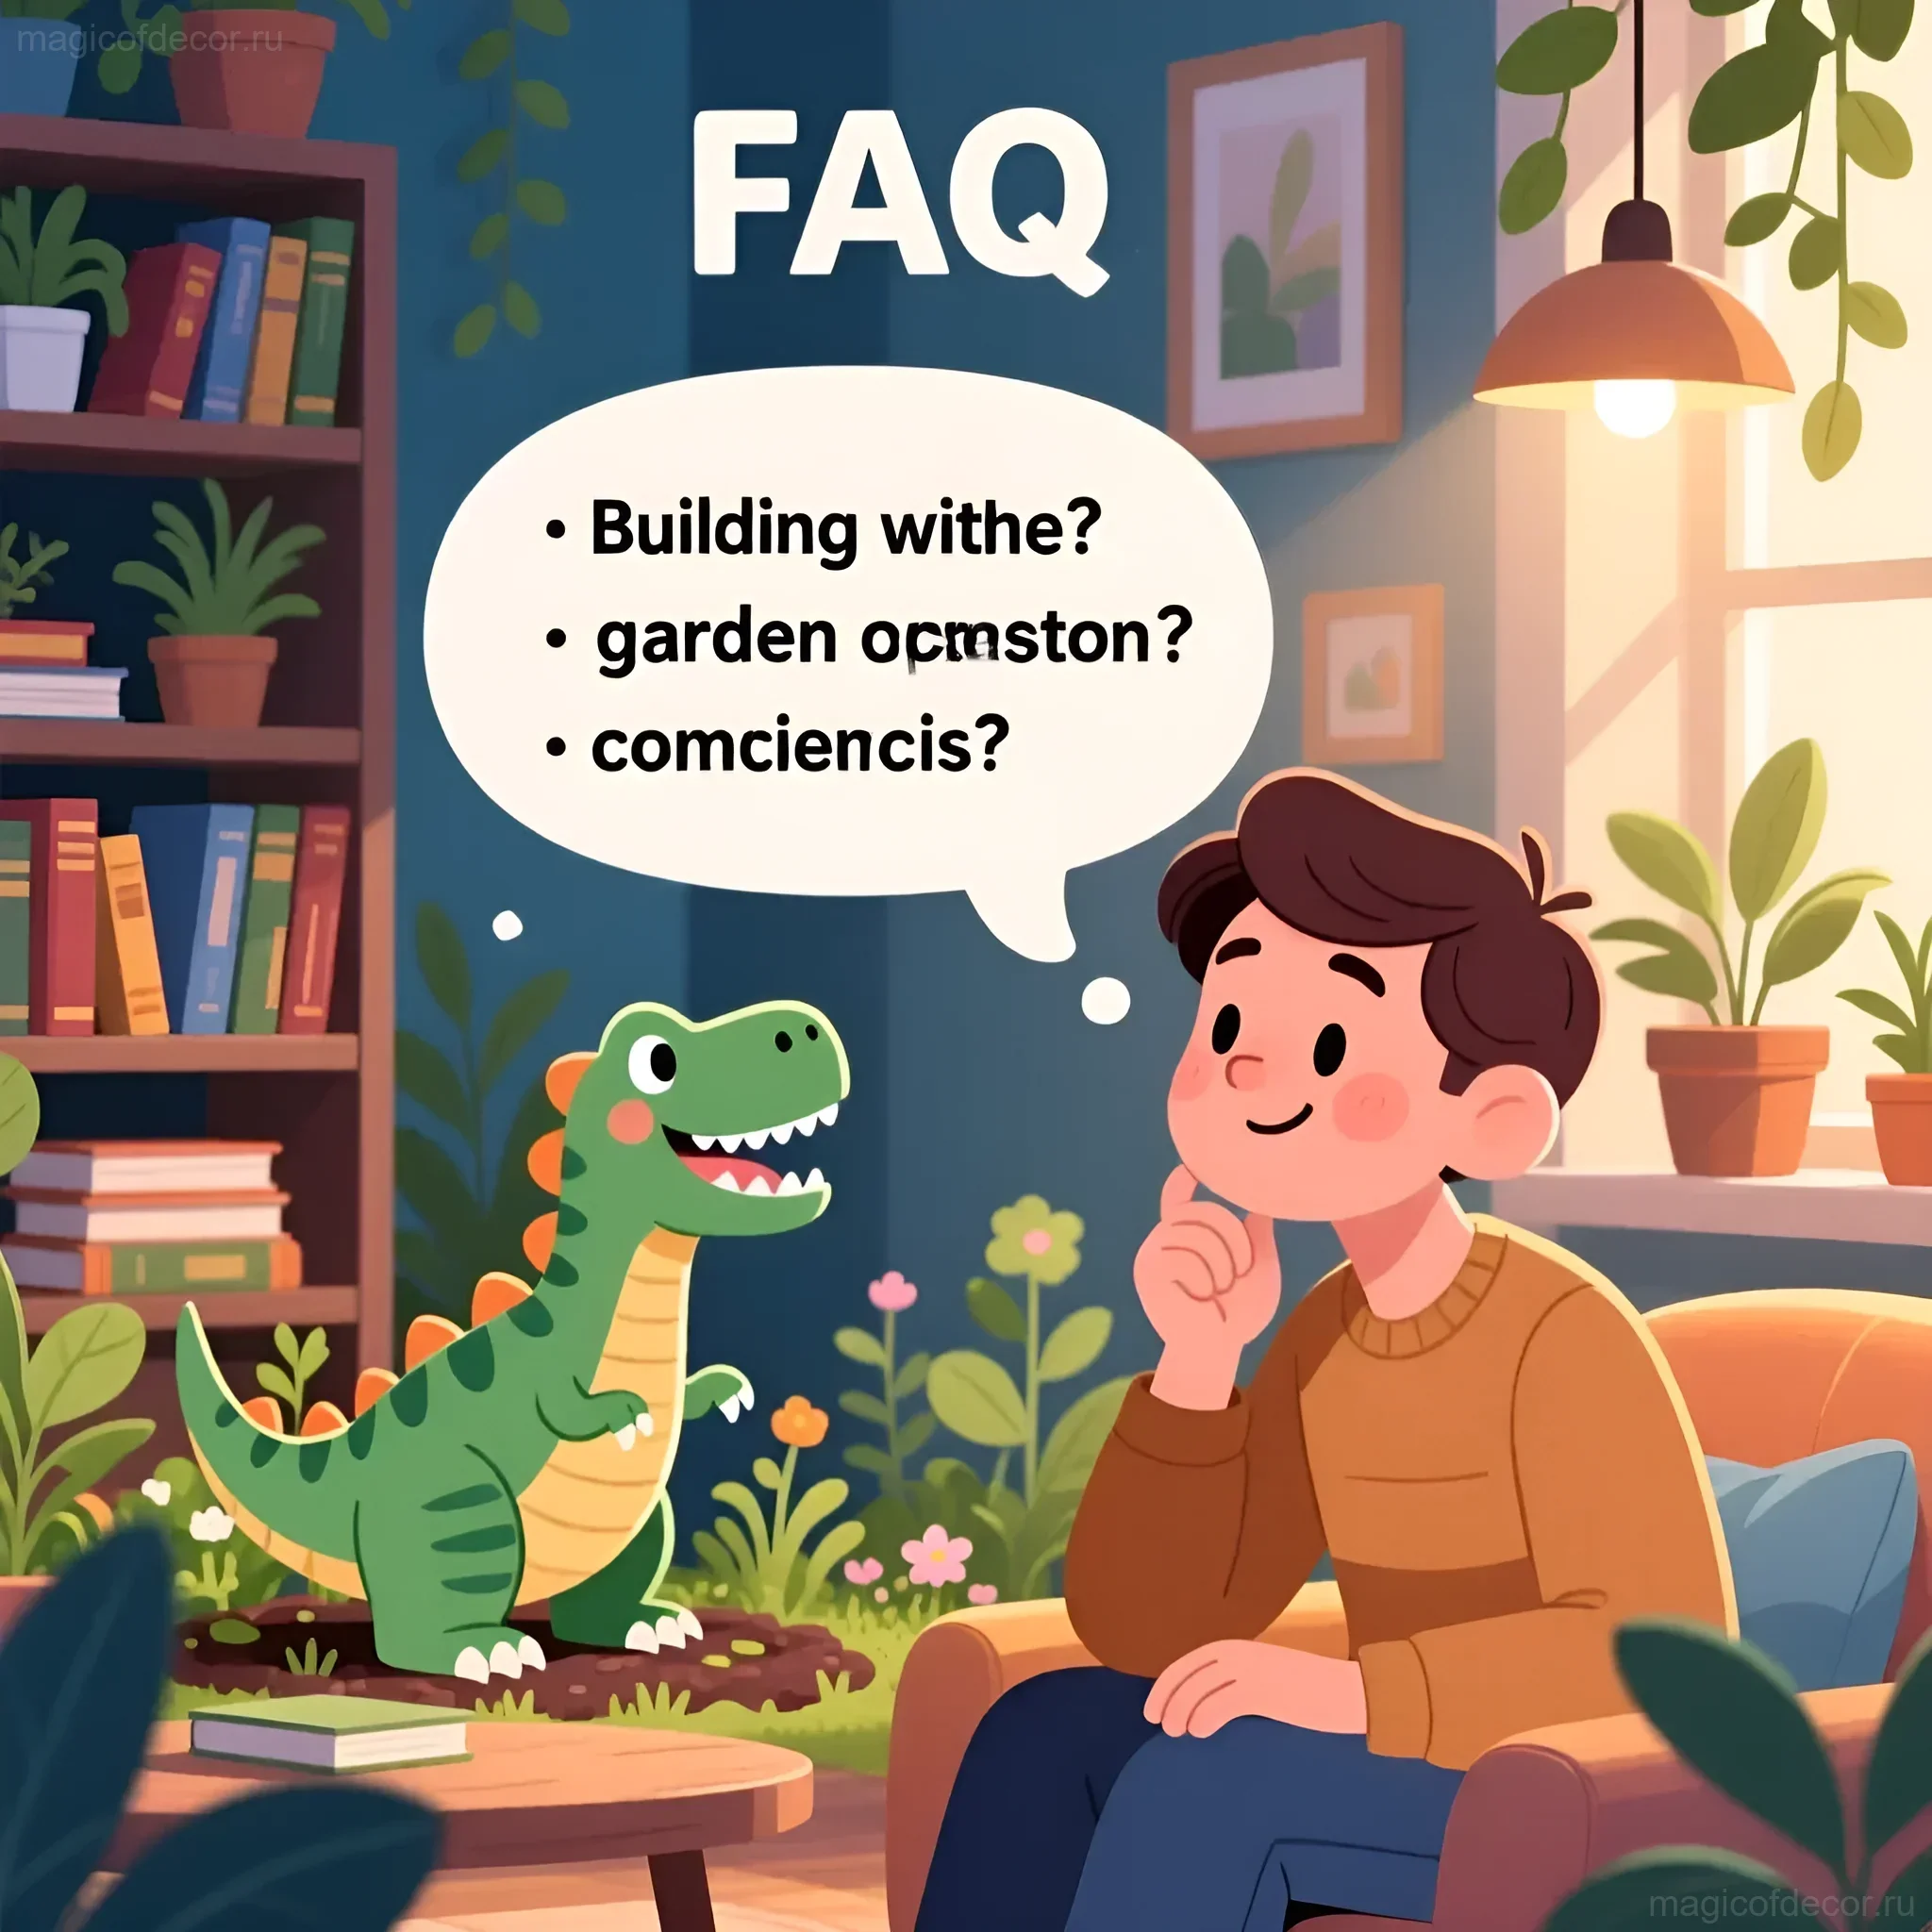
FAQ: Answers to the Most Popular Questions About Garden Dinosaurs
- How long does it take to create a dinosaur skeleton? The time depends on the size and complexity of the structure. On average, creating a dinosaur skeleton takes from a few days to several weeks.
- How much does it cost to create a dinosaur skeleton? The cost depends on the chosen materials and tools. A budget option can cost you a few thousand rubles, while a premium option can cost tens of thousands of rubles.
- Can you create a dinosaur skeleton with children? Yes, it’s a great way to spend time with family and develop children’s creative abilities. However, safety precautions must be observed, and care must be taken to ensure children do not get injured.
- How to protect the dinosaur skeleton from vandals? Install the skeleton in a hard-to-reach place or fence it off.
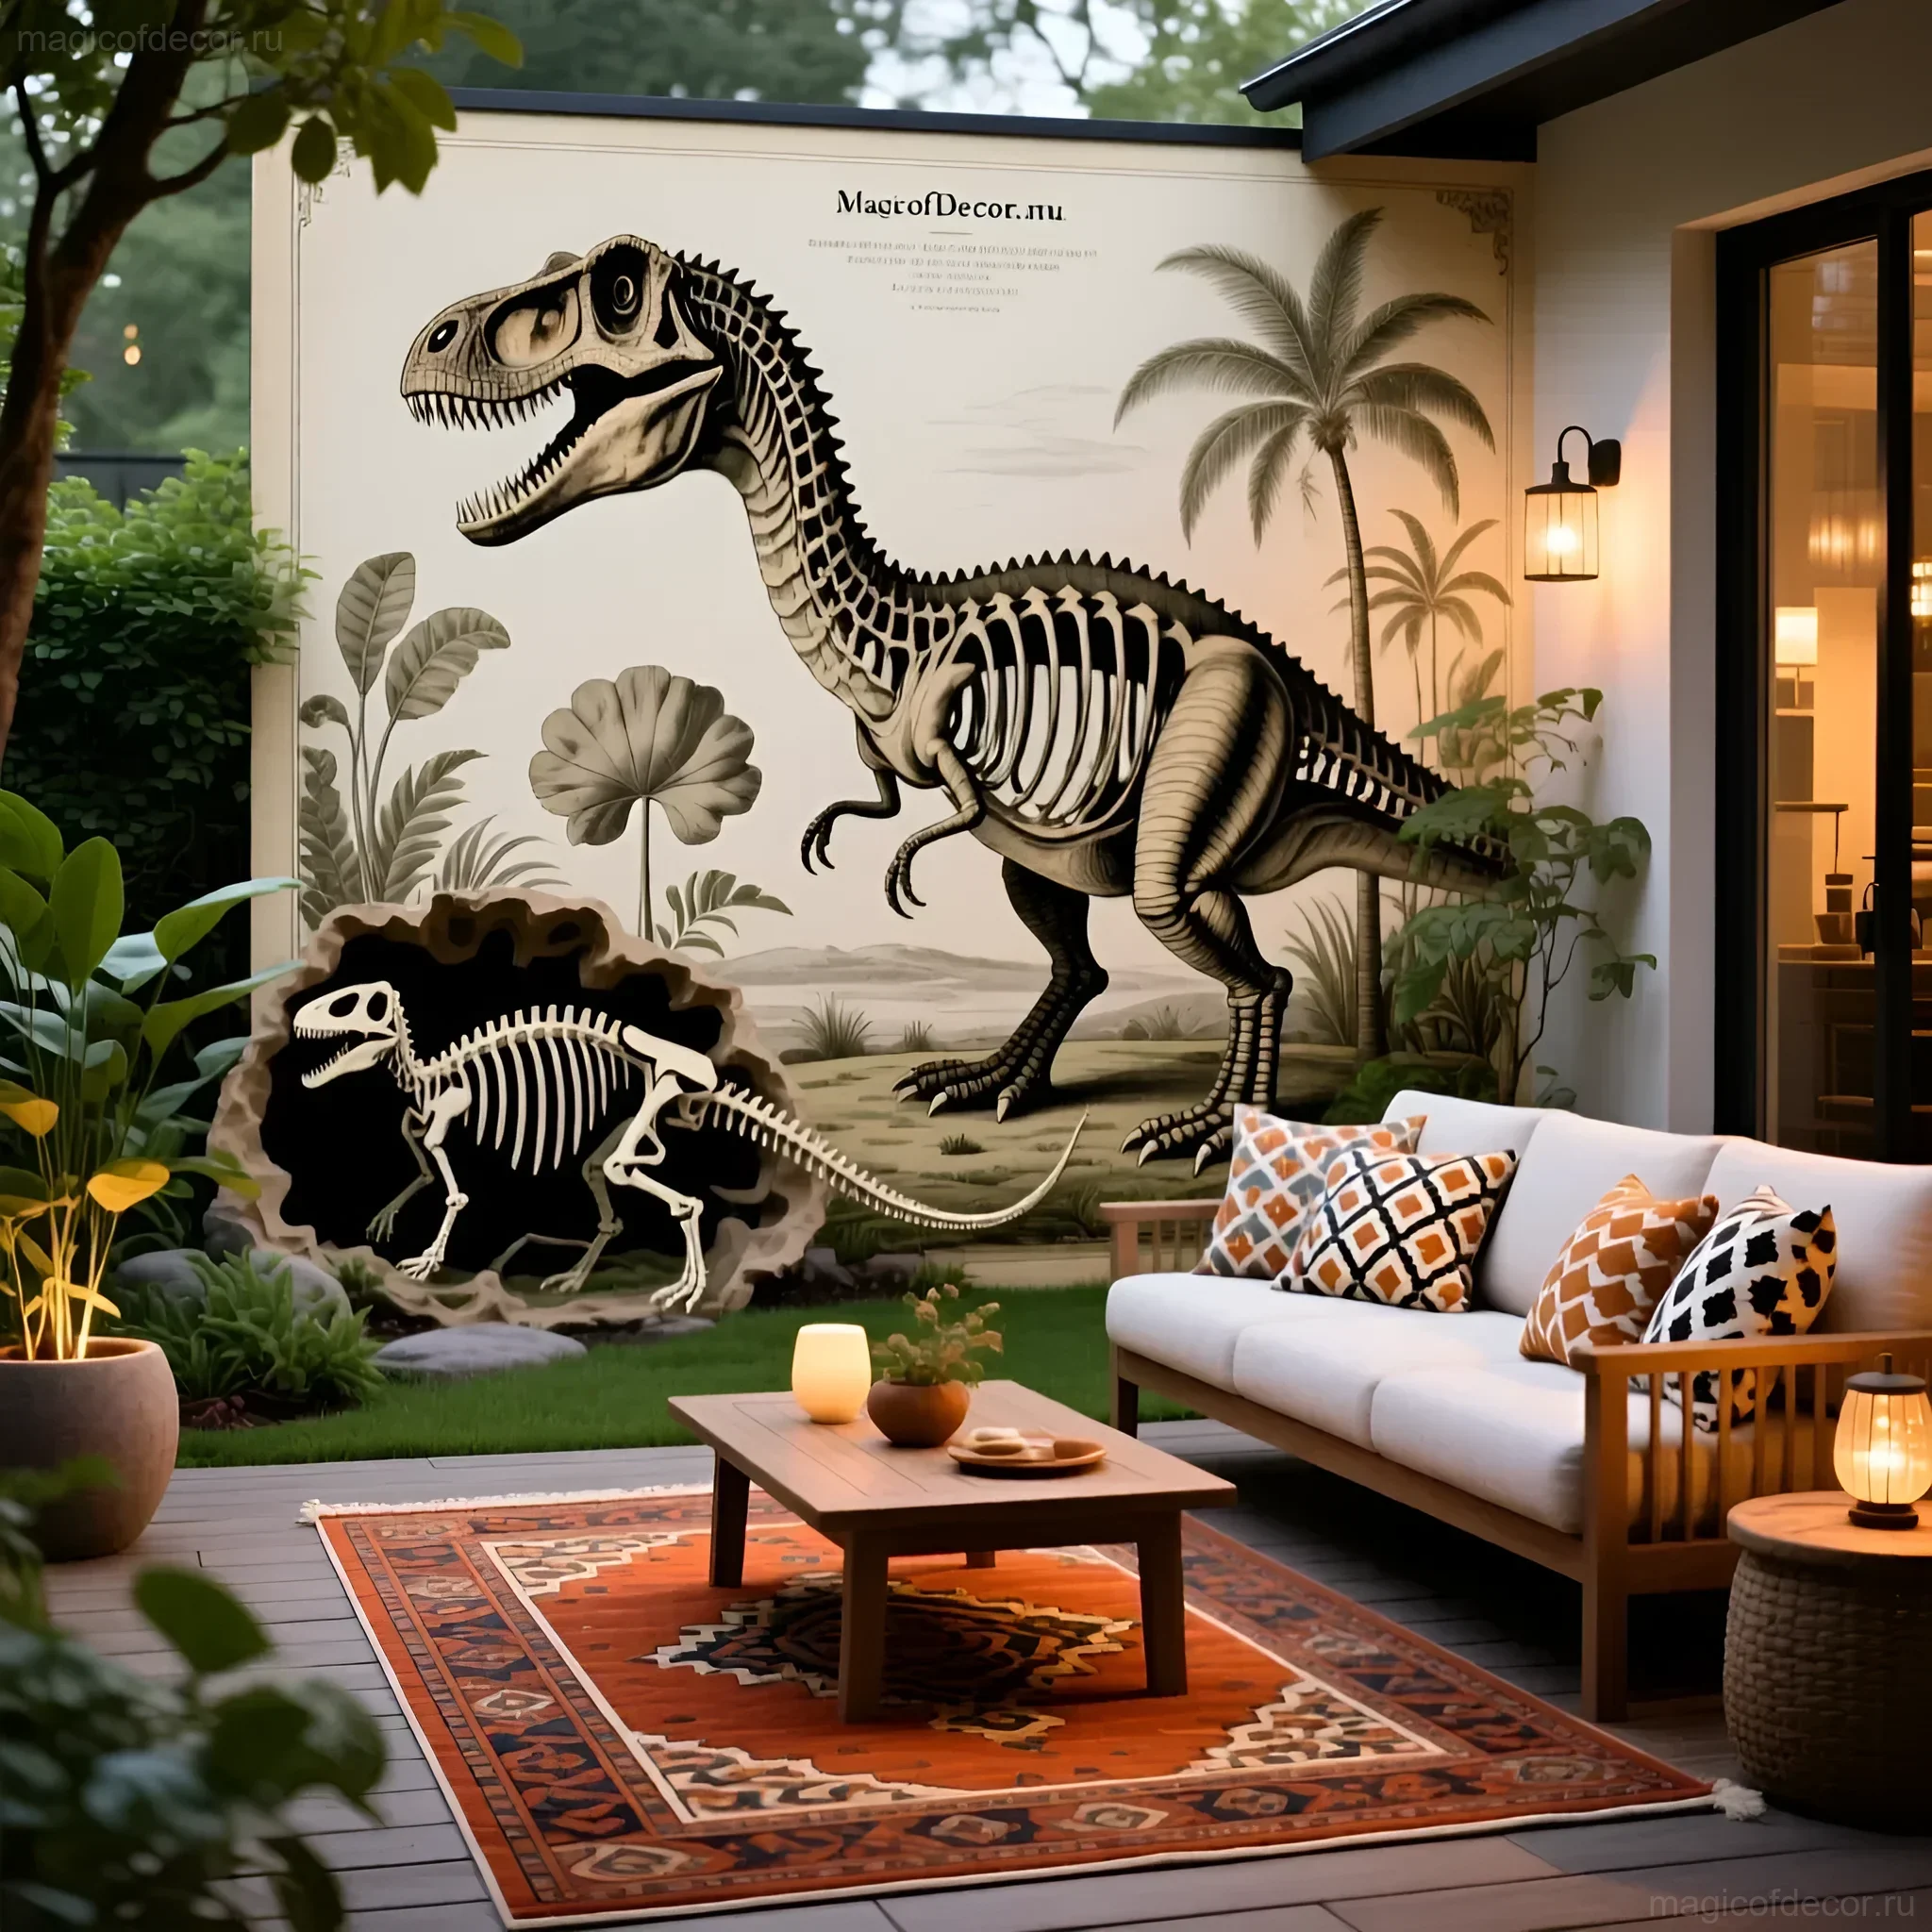
Interesting Facts: The Amazing History of Dinosaurs and Their Influence on Modern Decor
Dinosaurs are amazing creatures that lived on Earth millions of years ago. They were the largest and most powerful animals that ever existed. Their remains are found all over the world, and they continue to amaze scientists with their size and diversity. The influence of dinosaurs on modern decor is immense. Their images can be found on wallpaper, textiles, toys, and other interior items. Creating a dinosaur skeleton for your garden is an opportunity to touch history and add a little magic to your home.