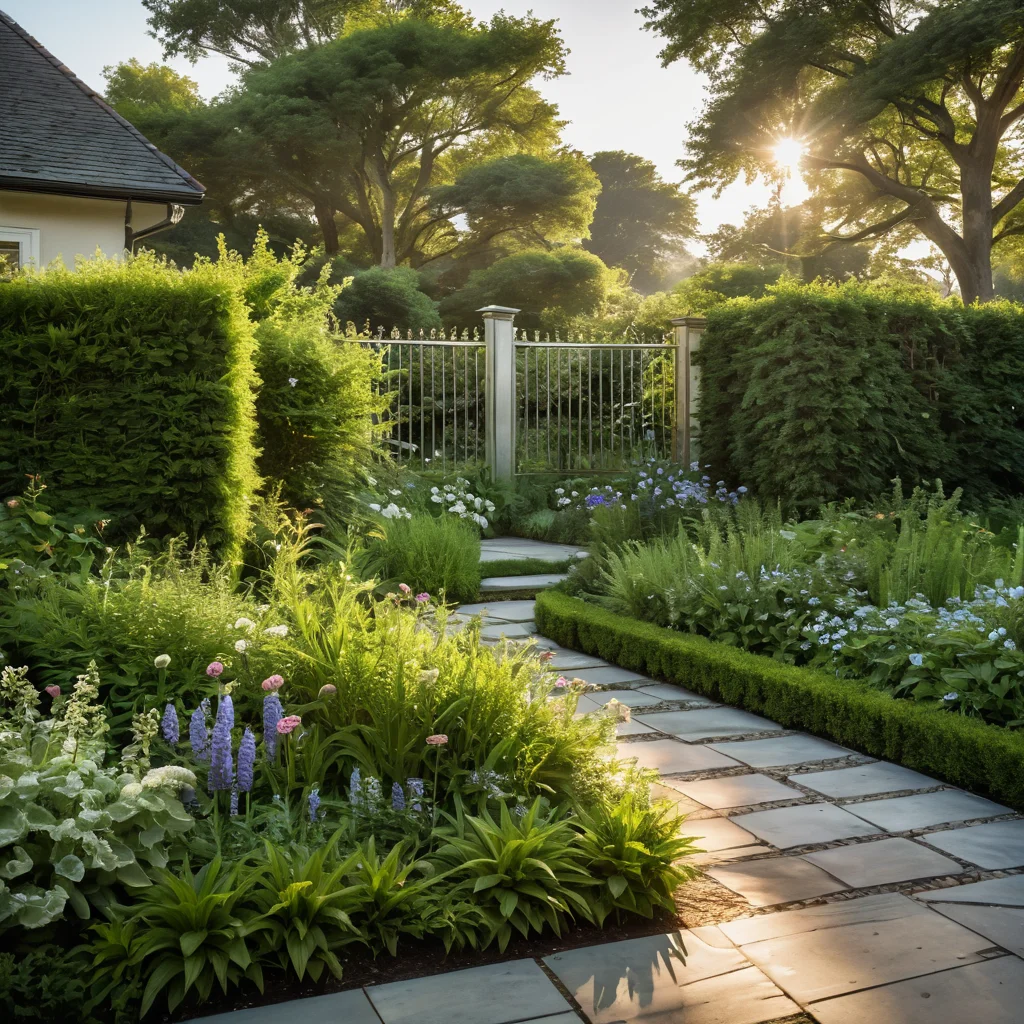
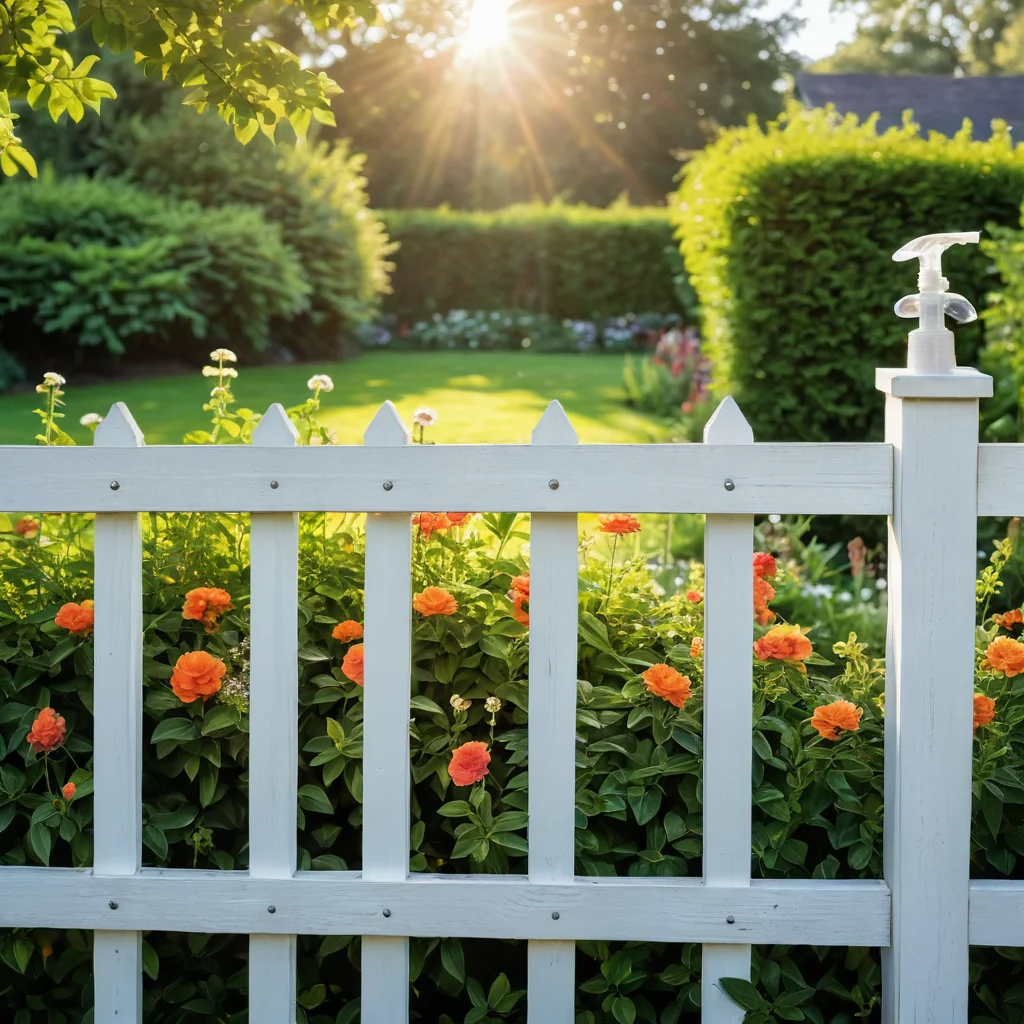
Imagine: you step onto the veranda on a misty morning. The air is filled with the scent of damp earth and yet-to-open buds. Sunlight is just beginning to break through the foliage, creating a play of light and shadow. And before you, instead of a solid wall, stretches an infinity, reflecting all the beauty of your garden. This is not a fairy tale, it’s a reality that a “mirror” fence can bring you. It’s not just a fence, but a true work of art that transforms the familiar space beyond recognition. Believe my experience, I’ve seen how such an element can change even the most modest plot, turning it into a magical place.
Why do you need a “mirror” fence on your plot? Expanding space and creating illusion
Many of us are familiar with the feeling of wanting our garden to seem larger, more spacious than it actually is. This is especially relevant for small plots where every square meter counts. And here comes a brilliant solution – a “mirror” fence.
Key advantages of a “mirror” fence:
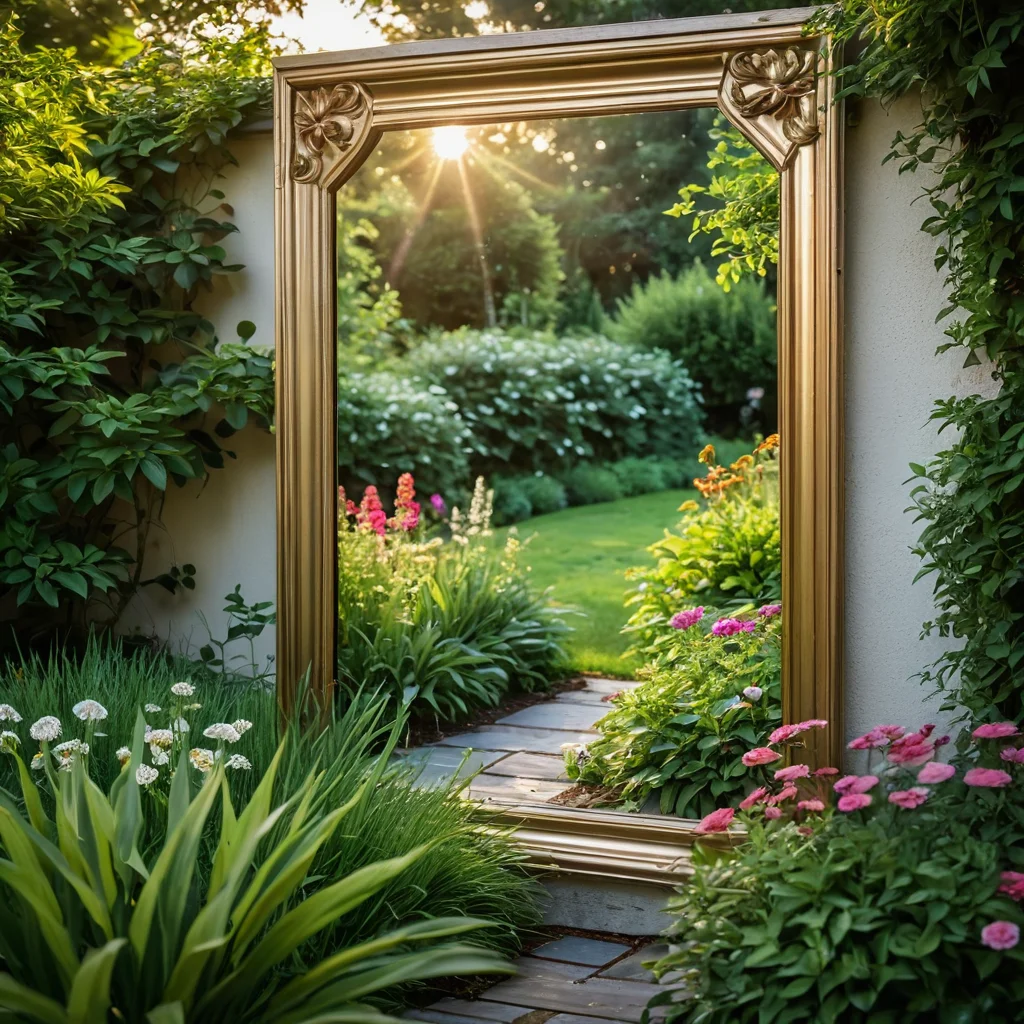
- Visual expansion of space: This is perhaps the main advantage. By reflecting the surrounding landscape, mirrors create the illusion of the plot continuing, making it visually twice as large. This is especially noticeable on small or elongated plots.
- Creating depth and perspective: Mirrors can “draw” the gaze into the distance, as if adding new horizons. This helps to hide less picturesque views (e.g., a neighbor’s fence or utility buildings) and focus attention on the beautiful elements of your garden.
- The effect of “living” decor: Instead of a static wall, you get a dynamic picture that changes depending on the time of day, weather, and season. The reflection of clouds, passing birds, dancing leaves – all this becomes part of your decor.
- Adding light: Mirror surfaces reflect sunlight excellently, making dark corners of the garden brighter. This can be useful for those areas where the sun rarely shines.
- Unique style and aesthetics: A “mirror” fence is a bold and modern solution that gives the plot individuality and emphasizes your taste. It can become a central element of landscape design.
- Camouflage: With the help of mirror panels, you can elegantly mask unsightly elements such as pipes, old wells, or even unsuccessful plantings.
I remember how my neighbor, Anna Petrovna, was very worried about the narrow and elongated shape of her dacha plot. After installing a “mirror” fence on one of the long sides, her garden was transformed. Now, when she sits on the terrace, she feels like she’s in a large park. The effect is stunning!
“Mirror” fence: types and materials for creating the effect
When we talk about a “mirror” fence, it’s important to understand that it’s not necessarily a solid wall of ordinary mirrors. There are many ways to achieve the desired effect using different materials and techniques.
Main types of “mirror” fences:
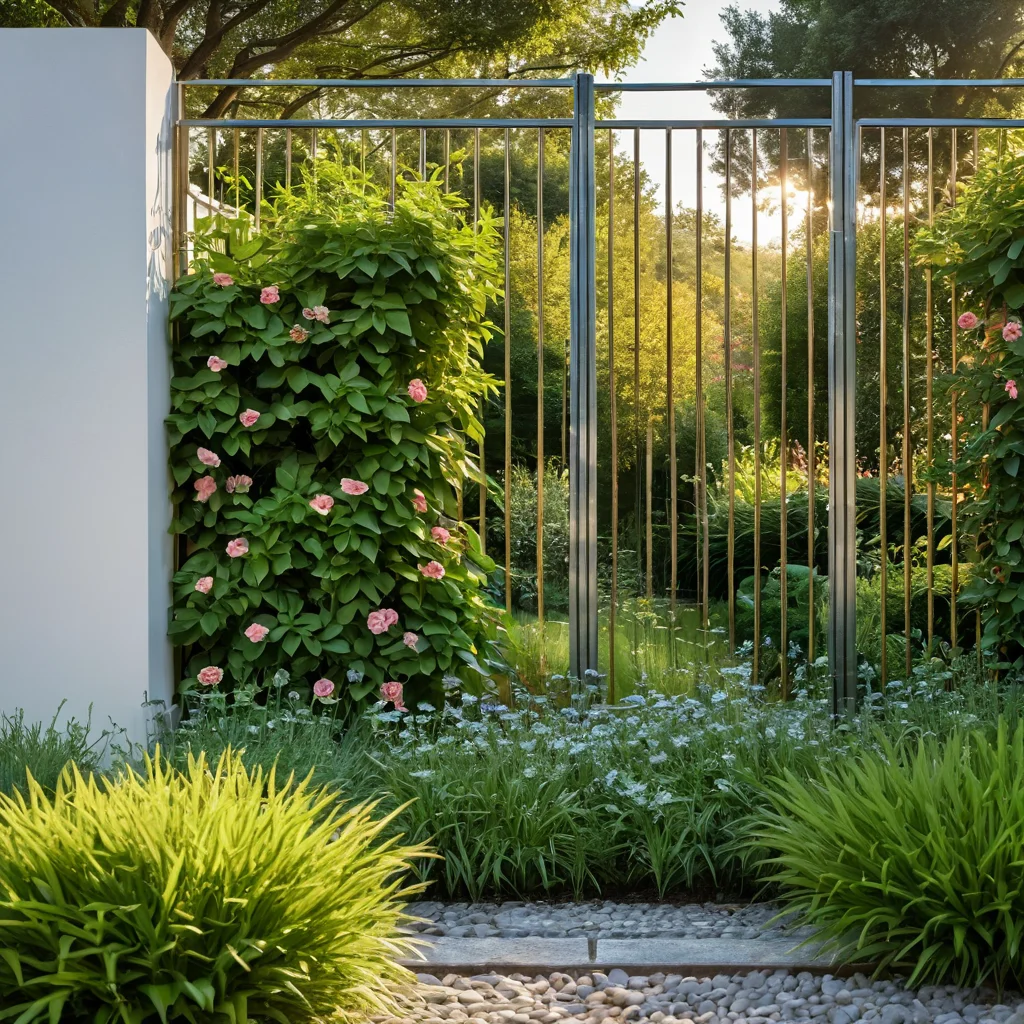
- Acrylic mirror fence: This is perhaps the most practical and safe option for a dacha. Acrylic is much lighter and stronger than ordinary glass, it does not break into small shards, which is especially important if you have children or pets. Acrylic mirrors come in different colors, but for the desired effect, it’s best to choose a classic silver or bronze finish.
- Glass mirror fence: A classic, but more fragile option. Such mirrors provide the clearest and most realistic reflection. For garden use, they are usually used in combination with other materials or in protective frames. It is important to choose tempered glass or triplex (laminated glass) for increased safety.
- Combined fences: Often, “mirror” elements are integrated into ordinary fences made of wood, metal, stone, or composite materials. These can be individual mirror inserts, strips, or even entire sections. This approach allows balancing cost, safety, and aesthetics.
- Fences with mirror film: Special self-adhesive mirror film can be applied to ordinary smooth surfaces (e.g., smooth slate, plastic, plywood). This is the most budget-friendly option, but also the least durable. The film can bubble, peel, and lose its reflective properties over time due to sun and moisture.
- DIY mirror panels: This is where creativity can flourish! You can use old mirrors (after carefully processing the edges), broken mirror tiles, creating mosaic panels. The main thing is to ensure secure fastening and safety.
Materials for the fence base:
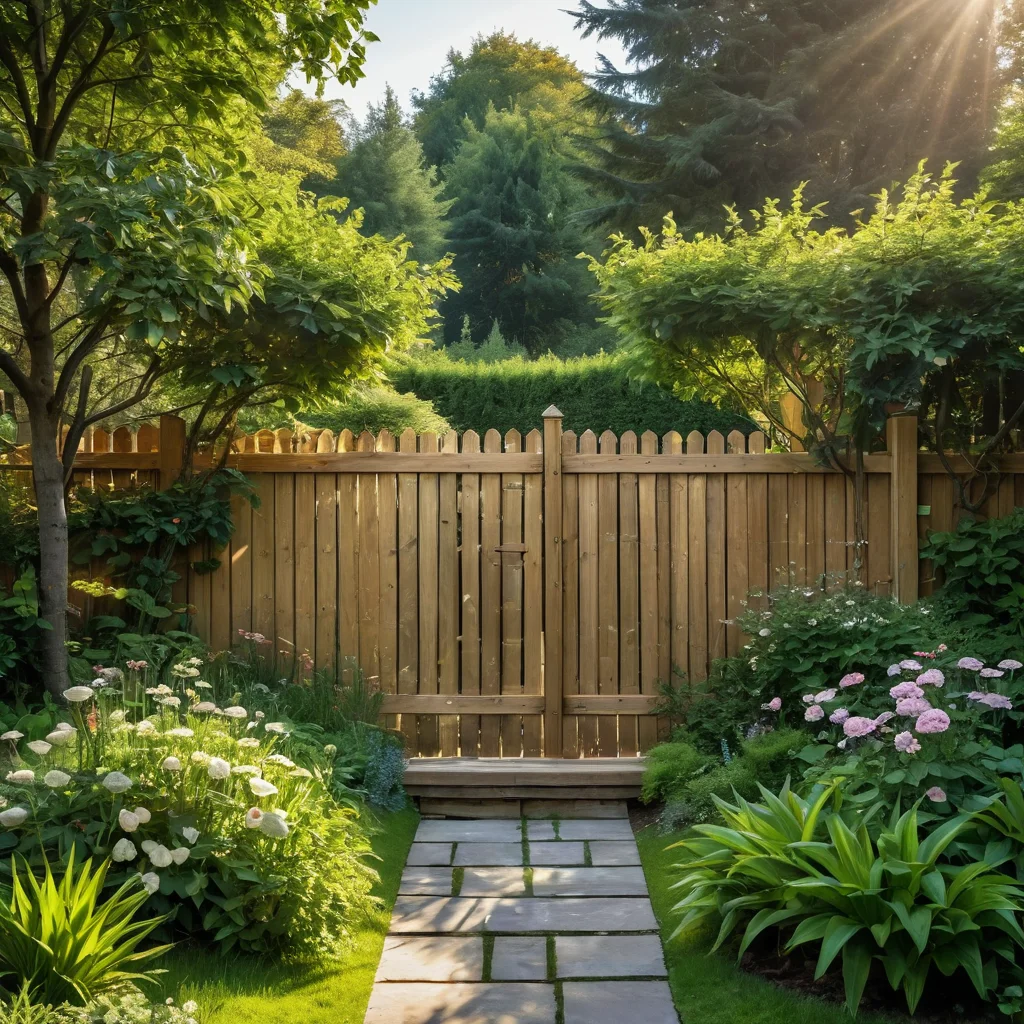
- Wood: A classic, eco-friendly, and warm material. A wooden base is easy to work with, and mirror elements can be integrated into it. Requires regular protection from moisture and insects.
- Metal: Strong and durable. A metal frame (e.g., from a profile pipe) allows for a reliable structure for attaching mirrors. Often used in modern design.
- Composite materials (WPC): Combine the advantages of wood and plastic. Resistant to moisture, temperature fluctuations, and do not rot. A good base for attaching mirror panels.
- Stone or brick: Create a monumental base. Mirror inserts in masonry look very impressive and expensive.
In my experience, for a dacha, combined fences or structures made of acrylic mirrors are often the optimal choice. They combine beauty, safety, and relative ease of installation.
Choosing the type of mirror coating: from ready-made panels to DIY solutions
So, we’ve established that a “mirror” fence isn’t necessarily a solid mirror. Let’s figure out what kinds of coatings exist and how to choose the one that’s right for you.
Ready-made mirror panels:
- Acrylic mirrors: Lightweight, safe, flexible. Available in various thicknesses (from 1 mm to 5 mm) and formats (sheets, tiles). Silver is the most common, but colored options (gold, bronze, graphite) also exist. Easy to cut and drill. Attached with glue, double-sided tape, or screws (with pre-drilling). Ideal for beginners and those who value safety.
- Glass mirrors (safe): Usually 4 mm thick mirrors with a special protective layer on the amalgam. For greater safety, tempered glass or triplex-based mirrors are used. They are heavier than acrylic and require more secure fastening. Often used in premium solutions or as decorative elements.
- Mirror tiles: Small square, rectangular, or shaped tiles. Can be either glass or acrylic. Allow for creating mosaic patterns, panels, and decorating corners. Installation requires care and a flat surface.
DIY solutions:
- Mirror mosaic from broken mirrors: Take an old mirror (or several), carefully break it into pieces (be sure to wear gloves and safety glasses!). Sand the edges of the shards to make them smooth. The resulting mosaic can be laid on any flat surface (e.g., plywood, OSB, plastic panels) using tile adhesive or liquid nails. Then grout the seams, just like with regular tile installation. It’s labor-intensive, but the result is very unique.
- Combining ordinary and mirror elements: For example, you can make fence sections from wooden slats and insert small mirrors between them. Or use decorative metal grilles with mirror strips woven into them.
- Self-adhesive mirror film: The simplest and most budget-friendly option. The film comes in rolls, is easy to cut and apply. It’s important to prepare the surface thoroughly – it must be perfectly smooth, clean, and degreased. Use a squeegee (special spatula) to smooth it out and avoid bubbles. But be prepared that the film may lose its appearance over time.
- Old mirrors in frames: You can use old mirrors in beautiful frames, integrating them into a wooden or metal fence frame. This creates a vintage and very striking look. The main thing is to securely fasten such structures.
Key points when choosing:
- Safety: For gardens with children and pets, acrylic is the best choice.
- Budget: Film and DIY mosaic are the most affordable, ready-made mirror panels are more expensive.
- Durability: High-quality glass and acrylic panels will last longer than film.
- Effect: For maximum realism – glass, for lightness and safety – acrylic.
- Ease of installation: Acrylic panels and film are the easiest to work with. Mosaic and glass mirrors require more skill.
Personally, I often choose acrylic mirrors for my experiments. They are quite durable, lightweight, and pleasant to work with. And the ability to choose colored film opens up possibilities for the boldest ideas!
How to install a “mirror” fence: a step-by-step guide for dacha owners
Installing a “mirror” fence, like any other, requires careful preparation and adherence to technology. I will explain how to do it as simply and reliably as possible.
Step 1: Planning and marking
- Determine the location: Decide where your “mirror” fence will be located. Usually, it’s placed where you need to visually expand the space, hide an unsightly view, or simply create an interesting accent.
- Mark the perimeter: Use stakes and string to outline the line of the future fence.
- Check for horizontality: Use a spirit level to ensure the line is straight.
- Calculate the amount of materials: Based on the length and height of the fence, as well as the dimensions of your chosen mirror panels (or materials for them), calculate the required quantity. Don’t forget about materials for the frame, fasteners, and protective elements.
Step 2: Preparing the base (frame)
The preparation method depends on your chosen base material.
- Wooden frame:
- Dig or concrete in support posts (wooden beams treated with antiseptic, or metal pipes). The distance between posts is usually 1.5-2 meters.
- Attach horizontal joists (beams or planks) to the posts.
- The mirror material itself will be attached to the joists.
- Metal frame:
- Assemble the frame from profile pipes using welding or bolts.
- Install support posts and weld horizontal crossbars to them.
- Both ready-made panels and sections for them can be attached to the metal frame.
- Solid base (e.g., WPC or plywood):
- Install support posts.
- Attach composite or moisture-resistant plywood panels to them, forming a solid surface.
Important: The base must be as flat and smooth as possible, especially if you are using self-adhesive film or thin mirror panels.
Step 3: Installing mirror elements
The fastening method depends on the type of mirror coating.
- Acrylic panels:
- With glue or liquid nails: Clean and degrease the base and the back of the panel. Apply glue evenly. Press the panel firmly against the base.
- With double-sided tape: Use special mounting tape. Apply it to the panel or base, remove the protective film, and press firmly.
- With screws: Pre-drill holes in the panels (at the corners). Secure the panels to the frame with screws. Decorative caps can be used to hide the screws.
- Glass mirrors:
- Special fasteners: Used for glass panels. They securely hold the mirror without damaging it.
- In frame grooves: If the frame has grooves, mirrors can be inserted into them and secured with sealant or special fixings.
- Mirror tiles:
- Laid on special mirror adhesive or tile adhesive, like regular tiles. Grout the seams.
- Mirror film:
- Carefully peel off the protective layer from the adhesive side.
- Apply the film to the prepared surface, starting from one edge.
- Using a squeegee, smooth the film from the center to the edges, pushing out air and bubbles.
Step 4: Finishing touches
- Sealing joints: Apply silicone sealant around the perimeter of the panels, especially if using glass mirrors or working in humid conditions. This will prevent moisture from getting under the mirror.
- Installing decorative elements: If planned, install top caps, corners, or other decorative elements.
- Cleaning: Thoroughly clean the surface of dust and installation marks.
Tip from an experienced gardener: If you are making a fence from acrylic mirrors, always leave a small (1-2 mm) gap between panels or between the panel and the frame. Acrylic expands and contracts with temperature changes, and this will help prevent deformation.
Lighting and “mirror” fence: creating magic in the evening

A “mirror” fence is beautiful during the day, but what about the evening? Properly chosen lighting can turn it into a true work of art, creating a unique atmosphere and adding mystery to your garden.
Basic lighting principles:
- Light direction: The light should fall on the mirror surface in such a way that it doesn’t blind, but reflects beautifully. It’s best to use soft, diffused light.
- Color temperature: For a cozy atmosphere, choose warm white light (2700-3000 K). Cold light can make the reflection harsh and unwelcoming.
- Type of fixtures:
Options for illuminating a “mirror” fence:
- In-ground lights (spots): Install small lights along the fence, directed upwards or at the fence itself. They will create the effect of a floating reflection and highlight the texture of the plants in front of the fence.
- Wall sconces: If the fence is adjacent to the house wall or another building, you can install sconces directed at the fence.
- String lights: LED string lights with small bulbs (e.g., “dewdrop” lights) can add a fairytale touch. They can be run along the top edge of the fence or woven into nearby plants.
- Backlighting plants in front of the fence: Instead of shining directly on the mirror, you can illuminate the plants in front of the fence. Their reflection in the mirror will create additional depth and volume.
- Decorative lights: Solar-powered lanterns placed nearby will create soft glints on the mirror surface.
What to consider:
- Safety: Use low-voltage equipment (12V or 24V) or carefully insulate wires intended for outdoor use.
- Hidden wiring: If possible, hide the wires underground or in special cable channels so they don’t spoil the overall look.
- Light control: Use timers or motion sensors to turn on the lights automatically after dark or when approaching the fence.
- Don’t overdo it: Too bright or abundant lighting can destroy the magic and turn the reflection into something intrusive. The main thing is to create soft, accent glints.
I love using small landscape lights dug into the ground in front of a “mirror” fence. In the evening, when they turn on, the garden seems endless, and the lights reflected in the mirror create a sense of coziness and magic. Try it, it truly transforms the space!
“Mirror” fence and plants: harmonious combination and creation of vertical gardens
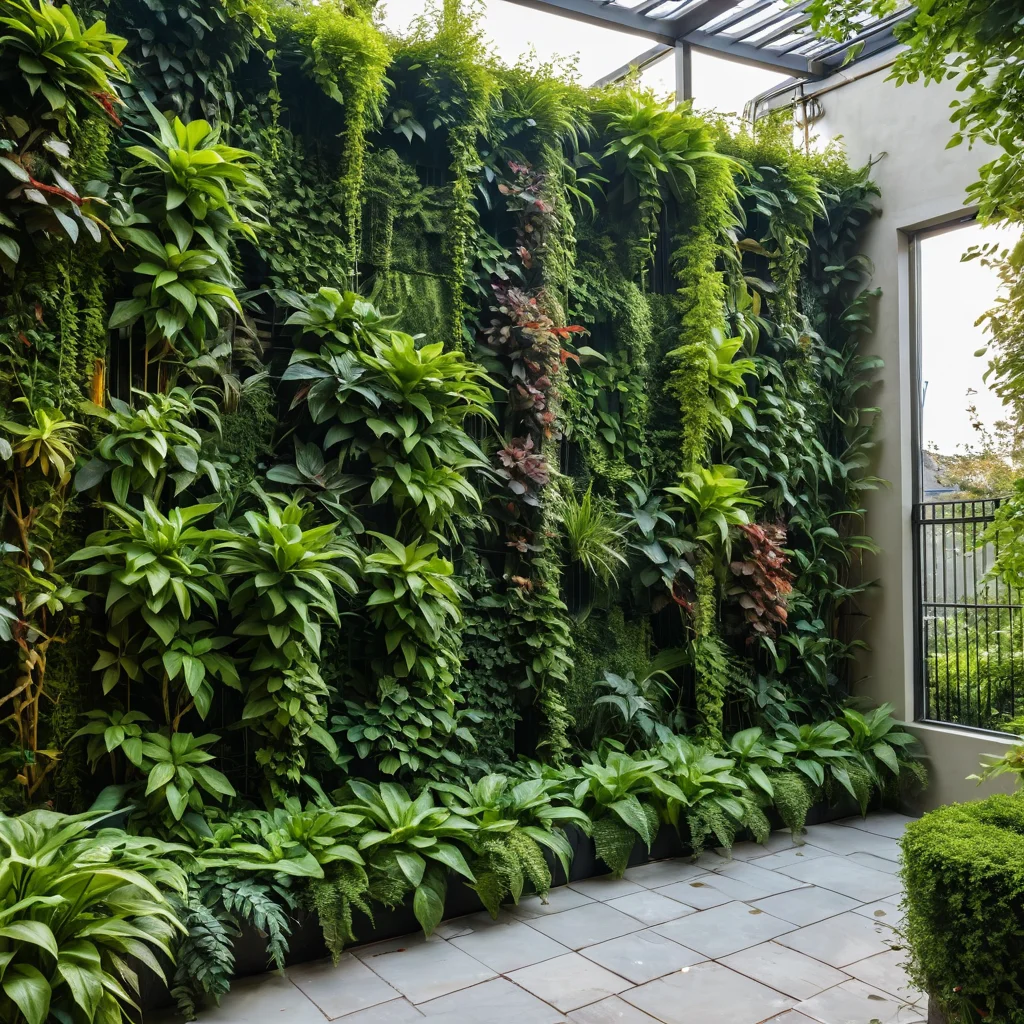
A “mirror” fence is already a work of art in itself, but in combination with living plants, it unfolds even more fully, creating amazing visual effects and even allowing for the arrangement of vertical gardens.
Combination ideas:
- Background for plants: The mirror becomes an ideal background that emphasizes the beauty of flowers and greenery. The reflection of foliage and buds creates a sense of lushness and depth.
- “Continuation” of the garden: Plant the same plants in front of the “mirror” fence as in the main part of the garden. Their reflection will create the illusion that your garden is endless.
- Contrast of textures: Combine smooth mirror surfaces with textured plants – carved foliage, fluffy inflorescences, thorny shrubs.
- Backlighting reflected plants: As I mentioned earlier, backlighting plants in front of the mirror is a great way to add depth.
Creating vertical gardens on a “mirror” fence:
A “mirror” fence can be the basis for vertical gardening, but there are nuances.
- Do not attach directly to the mirror: If you are using ready-made mirror panels, do not attach planters or shelves directly to them. This can damage the reflective layer or the mirror itself.
- Create a separate system: It’s best to install a separate structure for the vertical garden in front of the “mirror” fence. This could be:
- Wooden trellis or pergola: Installed at a short distance from the mirror, it will serve as a support for climbing plants or a mounting for planters.
- Special modular systems for vertical gardening: They attach to a wall or frame and have pockets or shelves for plants.
- Hanging planters: They can be hung on hooks installed on the fence frame (if it allows) or on a separate hanging structure.
- Plant selection: Plants that do not require too deep soil and tolerate vertical placement well are suitable for vertical gardening.
- Climbers: Clematis, morning glories, sweet peas, ornamental beans.
- Trailing: Petunias, lobelias, verbenas, fuchsias.
- Hardy: Succulents, spider plants, some types of ferns.
- Edible: Strawberries, herbs (mint, lemon balm, thyme, rosemary).
Important points for vertical gardening:
- Watering: Ensure the watering system is well-thought-out. Moisture should not get onto the mirror surface, especially the amalgam, as this can lead to its degradation. It’s better to use drip irrigation systems or water manually, avoiding direct contact with the mirror.
- Sun protection: If the mirror is under direct sunlight, it can heat up. Some plants may suffer from overheating, so choose them considering this factor.
- Care: Regularly inspect plants, remove faded flowers, and fertilize.
Creating a vertical garden against the backdrop of a “mirror” fence is an opportunity to add life, color, and fragrance to the most unexpected corners of your plot. The main thing is to approach it creatively and wisely!
Caring for a “mirror” fence: how to maintain cleanliness and shine
A “mirror” fence, like any other decorative structure, requires care. To ensure it delights you with its shine and cleanliness for a long time, follow a few simple rules.
Regular cleaning:
- Frequency: Depending on the conditions (dust, rain, bird droppings), wipe the mirrors as they get dirty. This is usually required once every 1-2 weeks.
- What to wash with:
- Water and mild detergent: The simplest and safest option. Use warm water with a small amount of dish soap or a special glass/mirror cleaner.
- Special products: Many glass and mirror cleaning sprays are available in stores. Choose those that do not leave streaks.
- Folk remedies: A vinegar solution (1 part vinegar to 10 parts water) effectively removes limescale and adds shine. Just make sure the vinegar doesn’t damage your mirror’s coating (for acrylic, use a minimal concentration or avoid it).
- What to wipe with:
- Microfiber cloth: The ideal option. It absorbs moisture well and leaves no lint.
- Paper towels: Can be used, but they sometimes leave small lint.
- Rubber squeegee (water scraper): Excellent for quickly cleaning large surfaces of water, but it’s still advisable to follow up with a dry microfiber cloth.
Washing technique:
- Avoid abrasives: Never use stiff brushes, metal scouring pads, or abrasive powders. They can scratch the mirror surface, especially acrylic.
- Do not wash in the sun: Do not wash mirrors in direct sunlight. The cleaning solution will dry too quickly, leaving streaks.
- Start from the top: If washing large sections, start from the top and move down so that the dirty water running off doesn’t dirty already cleaned areas.
- Wipe the edges: Pay special attention to the edges of the panels where dirt can accumulate.
Protection from damage:
- Bird droppings: Try to remove bird droppings as soon as possible, as they can leave hard-to-remove stains.
- Impacts: Protect mirrors from strong impacts, especially glass ones.
- Chemicals: Avoid contact with aggressive chemicals (solvents, acids, alkalis) that can damage the reflective layer.
Seasonal maintenance:
- Before winter: If you have glass mirrors and are concerned about frost damage (although modern coatings are quite resistant), you might consider dismantling them or installing protective screens. Acrylic mirrors usually withstand winter without problems.
- Check fastenings: Before the start and at the end of the season, check the reliability of all mirror panel fastenings.
Caring for a “mirror” fence is no more difficult than caring for an ordinary window. The main thing is to do it regularly and use the right tools and products. A clean and shiny mirror will only enhance the effect of your magical garden!
Common mistakes when installing and operating “mirror” fences: how to avoid them
A “mirror” fence is an impressive solution, but like any endeavor, it has its pitfalls. I’ve compiled the most common mistakes for you so you can avoid them and enjoy the result.
Material selection mistakes:
- Using ordinary household mirrors: They are not designed for outdoor conditions and will quickly fail under the influence of moisture and temperature fluctuations.
- Choosing acrylic that is too thin: Thin acrylic mirrors (less than 1 mm) bend easily and can distort reflections, as well as scratch more quickly.
- Low-quality mirror film: Cheap film quickly fades, bubbles, and peels. It’s better to choose trusted manufacturers.
Installation mistakes:
- Uneven base: If the surface to which the mirror or film is applied is uneven, it will lead to distorted reflections, bubbles, and quick peeling.
- Lack of ventilation: If mirror panels are installed tightly against a wall without a gap, moisture can accumulate underneath, leading to damage of the reflective layer.
- Overtightening screws or fasteners: When installing acrylic or glass panels, it’s important not to overtighten screws and not to apply excessive pressure. This can lead to cracks or deformation.
- Using the wrong adhesive: Some adhesives can damage the amalgam or plastic. Use only special adhesives for mirrors or acrylic.
- Insufficient surface preparation: The surface must be perfectly clean, dry, and degreased before applying glue, tape, or film.
Operation mistakes:
- Using abrasive cleaning agents: As I’ve already mentioned, this leads to scratches and loss of shine.
- Washing hot mirrors: A sharp temperature change can cause cracks or deformation.
- Direct sunlight on glass mirrors: In rare cases, if installed incorrectly, a mirror can focus sunlight and cause dry grass or other materials to ignite. This effect is called the “magnifying glass effect.” This effect is particularly dangerous for mirror surfaces positioned at an angle.
- Ignoring bird droppings: Dried bird droppings can leave indelible marks on the reflective layer.
- Icing: In winter, water that gets into micro-cracks or joints can freeze and expand, damaging the mirror.
How to avoid these mistakes:
- Carefully choose materials: Opt for materials designed for outdoor use.
- Prepare a strong and even base: This is the key to durability.
- Follow installation technology: Don’t rush, follow the manufacturer’s instructions.
- Use the right care products: Soft cloths and gentle cleaning agents are your best allies.
- Pay attention to details: Small gaps, proper lighting, timely cleaning – all of these matter.
A “mirror” fence is truly a magical element for your garden. With a little attention to detail during selection and installation, it will delight you with its magic for many years to come!