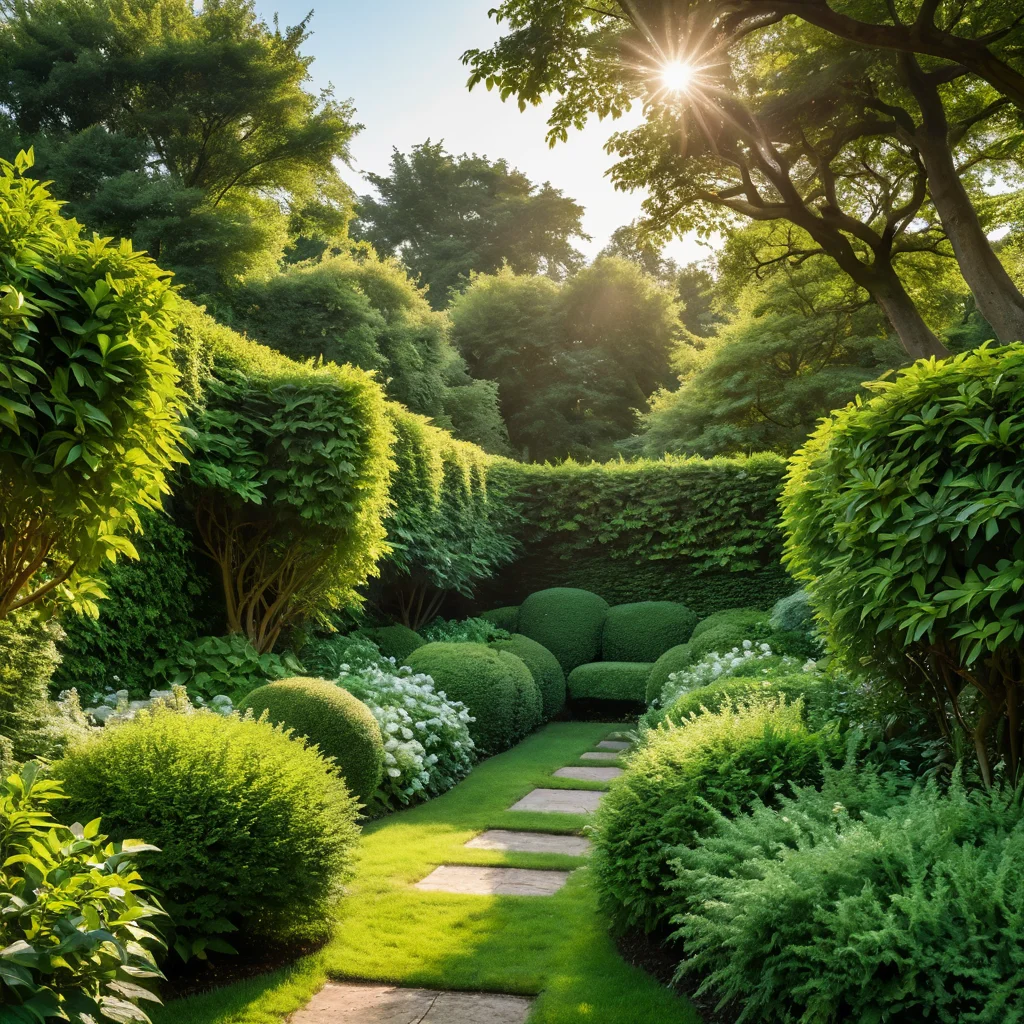
Imagine: a gentle breeze rustles the delicate leaves, sunbeams filter through the greenery, and the air is filled with the aroma of flowers and herbs. No, this is not a tropical paradise, but your own transformed garden, where an ordinary fence has turned into a true masterpiece of landscape art – a living fence. It doesn’t just separate your plot from your neighbor’s; it breathes, grows, and changes with you, offering a sense of coziness, tranquility, and an unbreakable connection with nature. I myself have often faced the choice – to install a boring wooden fence or to trust in the magic of living plants. And each time, my choice fell on greenery, because it can offer so much more than just a boundary.
What is a Living Fence and Why is it Better Than a Regular One?
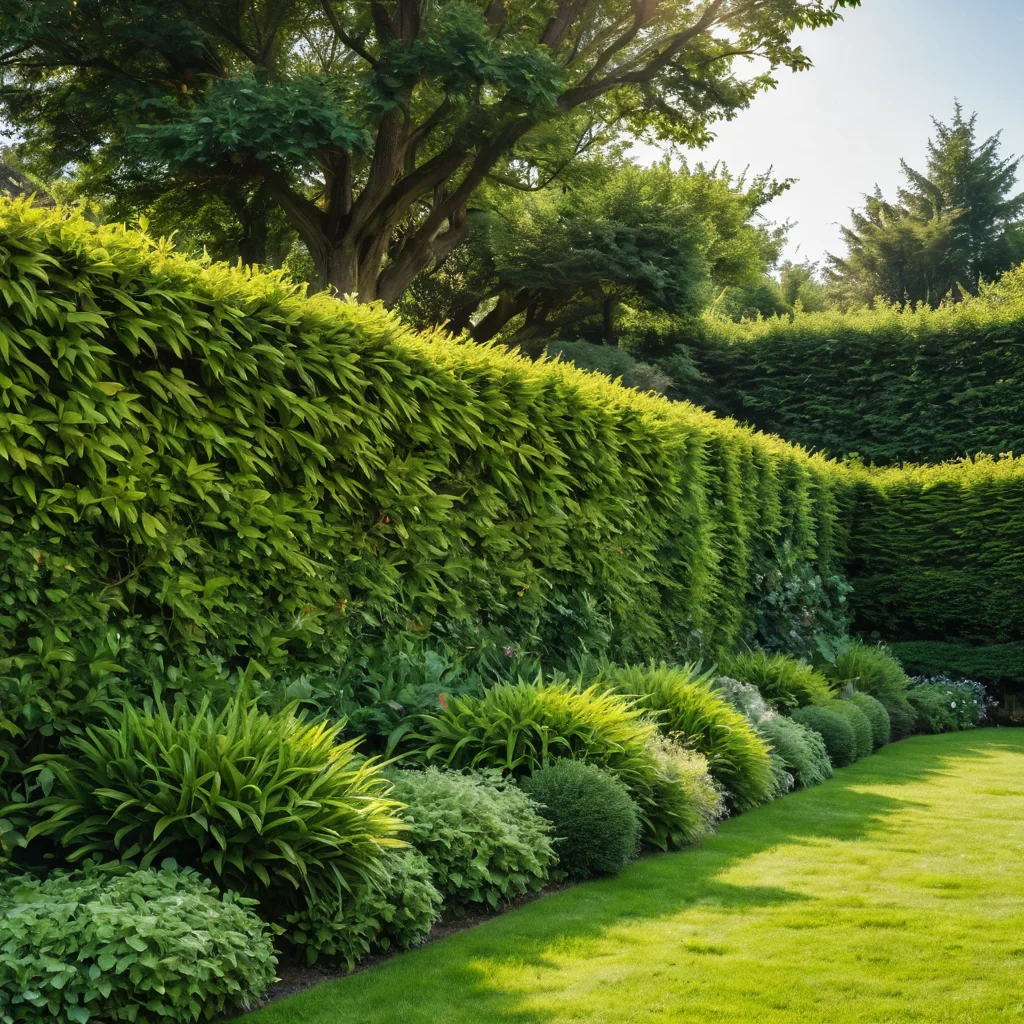
A living fence, or hedge, is a multi-row or single-row planting of woody and shrubby plants that creates a dense green wall. It is designed to perform the same functions as a traditional fence: to zone space, provide privacy, protect from wind and dust, and also to decorate the plot. But, unlike its “dead” counterparts, a living fence has a whole range of undeniable advantages.
Advantages of a Living Fence:
- Eco-friendliness: Plants purify the air, release oxygen, and absorb carbon dioxide and dust. It’s a real natural filter for your plot.
- Aesthetics: A living fence is always beautiful. In spring, it delights with tender shoots and blossoms; in summer, with lush greenery; in autumn, with vibrant foliage colors; and in winter, with elegant silhouettes of branches, sometimes adorned with frost or snow.
- Soundproofing and Wind Protection: A dense green wall effectively absorbs street noise and curbs wind gusts, creating a more comfortable microclimate on the plot.
- Privacy: A dense hedge reliably hides your yard from prying eyes, ensuring peace and seclusion.
- Biodiversity: A living fence attracts birds, butterflies, and beneficial insects, creating a miniature ecosystem on the plot.
- Durability: With proper care, a living fence can last for decades, only becoming more beautiful with age.
- Uniqueness: You choose the plants, shape, and height of the hedge yourself, creating a unique look for your plot.
- Cost-effectiveness (in the long run): Although initial investments may be comparable to or even higher than building a stone or wooden fence, ongoing maintenance of a living fence is often cheaper and requires less frequent repairs.
Of course, there are nuances. A living fence requires regular care, time for shaping, and growth. But believe me, the result is worth it. It’s not just a fence; it’s part of your garden philosophy, a way to turn an ordinary plot into a place of power and inspiration.
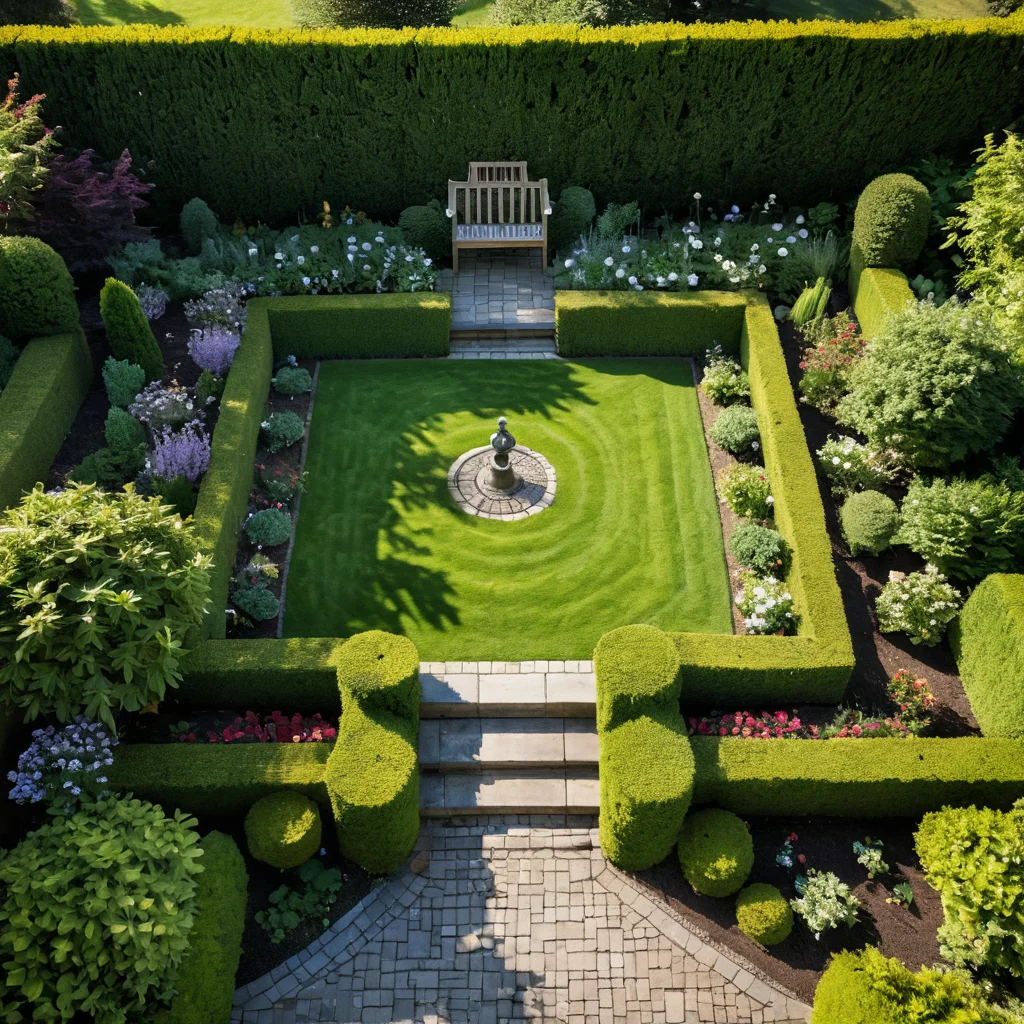
Types of Living Fences: Choosing the Ideal Option for Your Plot
Before you start planting, it’s important to decide what kind of living fence you need. They differ in height, planting type, shape, and purpose. The choice depends on your goals, plot size, and personal preferences.
1. By Height:
- Low Borders (up to 0.5 m): Ideal for marking the boundaries of flower beds, paths, and for zoning within the garden. Often used to give a neat appearance to lawns.
- Medium Hedges (0.5-1.5 m): The most popular option. Excellent for separating relaxation areas, children’s playgrounds, and creating cozy corners. They provide sufficient privacy and wind protection.
- Tall Hedges (over 1.5 m): Serve as a full replacement for a solid fence. Ideal for enclosing the plot perimeter, providing maximum privacy and sound insulation. They require more space and careful shaping.
2. By Planting Type:
- Single-row: Easier to plant and care for, but achieve maximum decorative effect and density with the right plant selection and regular trimming. Suitable for low borders and medium-height hedges.
- Multi-row: Create a denser, more voluminous, and decorative wall. Often used for tall hedges where plants are alternated or planted in a staggered pattern. They require more space and are more complex to care for.
3. By Shape:
- Free-growing: Plants are shaped naturally, without regular trimming. This is a more labor-intensive option, as you need to choose plants that have a beautiful crown shape themselves and do not grow chaotically. They only require sanitary pruning.
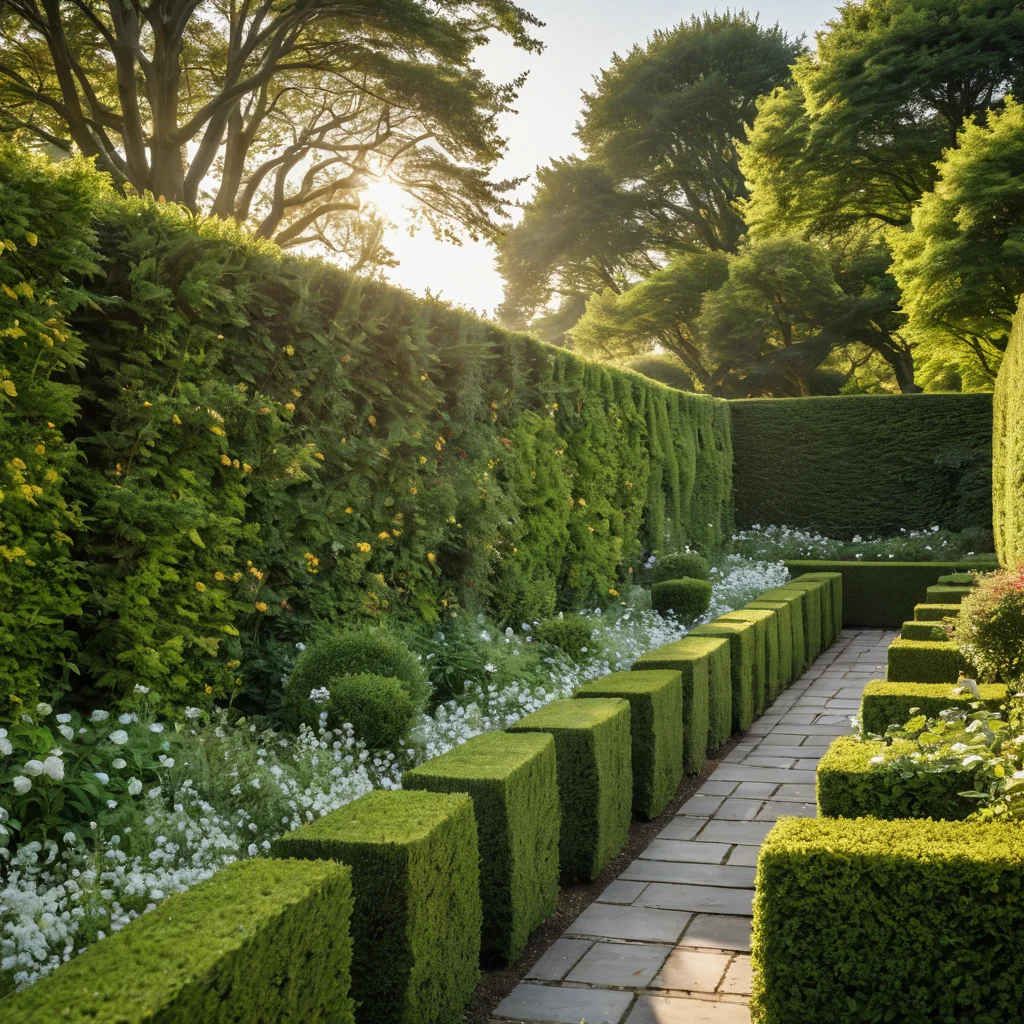
- Shaped (trimmed): Require regular and precise trimming to maintain a given shape (rectangular, spherical, conical, etc.). These are the hedges often associated with classic European gardens.
4. By Decorative Qualities:
- Deciduous: Shed their leaves in winter but can impress with vibrant colors in autumn. Many of them bloom beautifully in spring or summer.
- Evergreen: Retain their foliage year-round, providing protection and decoration at all times. Ideal for creating a permanent green barrier.
- Flowering: Adorn the garden with lush blooms during a specific period.
- Fruiting: Some shrubs used for hedges produce tasty berries or fruits.
Examples of Popular Combinations:
- For a dense and tall fence: A combination of evergreen thuja (on one side) and decorative linden (on the other) to create a multi-layered, impenetrable wall.
- For a medium-height, flowering fence: Alternating Japanese spirea (spring to summer), ninebark (with bright foliage), and panicle hydrangea (with lush inflorescences).
- For a low border: Evergreen boxwood, horizontal cotoneaster, or low-growing spirea varieties.
When choosing the type of living fence, consider how important privacy is to you, how much time you are willing to dedicate to care, and what overall garden style you want to create. Don’t be afraid to experiment with different plant types – it will add individuality to your hedge.
Selecting Plants for a Living Fence: Selection Criteria and Popular Species

The very heart of a living fence is, of course, the plants. The appearance and durability of your green wall depend on their proper selection. I always approach this issue with special attention, as each plant is a small builder.
Plant Selection Criteria:
- Frost Resistance: Ensure that the plants you choose are suitable for the climatic conditions of your region.
- Shade Tolerance or Light Preference: Assess the lighting of the planting site. Different plants are suitable for sunny areas versus shady ones.
- Growth Rate: If you want quick results, choose fast-growing species. For a slower but guaranteed beautiful result, opt for slow-growing ones.
- Soil Requirements: Most plants prefer fertile, well-drained soils. However, some species can grow in poorer or acidic soils.
- Decorative Qualities: Assess the plant’s appearance in different seasons: leaf color, crown shape, presence of flowers and fruits.
- Disease and Pest Resistance: Choose plants that are less susceptible to diseases and insect attacks.
- Prunability: For shaped hedges, it is crucial that the plant tolerates pruning well and branches out.
Popular Plants for Living Fences:
- Western Thuja (Thuja occidentalis): (evergreen) A real hit! Unpretentious, frost-resistant, tolerates pruning well. There are many varieties of different heights and crown shapes (e.g., ‘Smaragd’, ‘Brabant’, ‘Columna’). Ideal for creating dense, tall hedges.
- Norway Spruce (Picea abies): (evergreen) A classic for tall, solid hedges. Requires sufficient space and fertile soil. Pruning is essential to maintain its shape.
- Glossy Cotoneaster (Cotoneaster lucidus): (deciduous) A very popular shrub. Grows quickly, is frost-resistant, and tolerates pruning well. In autumn, the leaves turn a beautiful reddish hue.
- Spirea (Spiraea): (deciduous) A huge family with diverse species. Japanese spirea (‘Goldflame’, ‘Anthony Waterer’) are low-growing and bloom profusely. Grey spirea (‘Grefsheim’) is fast-growing with abundant spring blooms. They prune well.
- Common Ninebark (Physocarpus opulifolius): (deciduous) Stands out for its decorative foliage in various shades – from purple (‘Diablo’, ‘Red Baron’) to green. Grows quickly and tolerates pruning well.
- Red Osier Dogwood (Cornus alba): (deciduous) Valued for its bright shoots, which are particularly striking in winter. There are varieties with variegated foliage (‘Elegantissima’, ‘Aureo-marginata’). Prunes well.
- Japanese Barberry (Berberis thunbergii): (deciduous) A low to medium-height shrub with decorative foliage (red, yellow, green). Thorny, which can serve as an additional barrier. Tolerates pruning well.
- Common Lilac (Syringa vulgaris): (deciduous) For those who love fragrance! Blooms beautifully in spring. Requires regular pruning to avoid excessive thickening and maintain its shape.
- Littleleaf Linden (Tilia cordata): (deciduous) Suitable for tall, dense hedges. Tolerates pruning well. Valued for its fragrant flowers.
- Common Boxwood (Buxus sempervirens): (evergreen) Ideal for low borders and topiary. Grows slowly but is very durable. Requires winter protection in colder regions.
Tip from an experienced gardener: Don’t be afraid to combine different plant species! This will create more interesting texture, color, and flowering periods. For example, a combination of fast-growing cotoneaster for the base and slow-growing thuja for accents. The main thing is that the plants are compatible in their growing conditions.
Planning a Living Fence: How to Calculate the Number of Plants and Choose a Location
Now that you’ve decided on the type of hedge and selected the plants, it’s time for the most important part – planning. Proper calculation and location selection are the keys to the success of your future green wall.
Choosing a Location:
First, assess the plot:
- Lighting: Consider how much sun the planting site receives at different times of the day. Many shrubs love sun, but some (like boxwood) prefer partial shade.
- Soil Type: Most plants prefer loose, fertile, well-drained soil. If you have heavy clay or sandy soil, it will need improvement.
- Distance from Other Objects: A living fence grows. Ensure it has enough space and won’t interfere with the growth of trees, shrubs, or structures. Maintain a minimum distance from buildings (usually at least 0.5-1 m) and neighboring property lines (according to regulations).
- Underground Utilities: Make sure there are no hidden pipes, cables, or other utilities in the planting area.
- Wind and Drafts: If you want protection from the wind, position the hedge perpendicular to the prevailing winds. Avoid planting heat-loving plants in open, windy areas.
Calculating the Number of Plants:
This stage requires precision to avoid buying too much or not having enough planting material. Here’s how to do it:
- Determine the length of the future hedge. Measure the area where the fence will be located.
- Choose a planting scheme:
- Single-row planting: Plants are planted in a single row.
- Two-row planting: Plants are planted in two rows, often in a staggered pattern for greater density.
- Multi-row planting: More than 3 rows, used for very dense and tall hedges.
- Find out the optimal spacing between plants: This depends on the species and variety of shrub, as well as the desired density of the hedge. This information is usually indicated on plant labels or in variety descriptions. Conventionally, you can rely on the following distances:
- For fast-growing, spreading shrubs (e.g., ninebark, spirea): 0.5 – 1 m between plants in a row.
- For medium-sized, compact shrubs (e.g., cotoneaster, barberry): 0.3 – 0.5 m between plants in a row.
- For conifers (thuja, spruce): 0.5 – 0.8 m between plants in a row (depending on the variety).
- For very dense, shaped hedges (boxwood): 0.2 – 0.3 m between plants in a row.
- Calculate the number of plants for one row:
Hedge length (in meters) / Spacing between plants (in meters) = Number of plants.
Example: If the hedge length is 20 m, and the spacing between cotoneaster bushes is 0.4 m, you will need: 20 / 0.4 = 50 plants for one row.
- Account for the number of rows: If you plan a two-row hedge, multiply the calculated number of plants by 2. For staggered two-row planting, the distance between rows is usually 0.3-0.5 m.
- Add a buffer: I always recommend getting 5-10% more plants. This is in case some plants don’t take root, die, or you decide you want to make the hedge a bit denser.
Tip: When buying seedlings, choose plants with a well-developed root system, free from signs of disease or damage. It’s best to purchase seedlings from specialized nurseries. Pay attention to the age of the plants – seedlings aged 2-4 years are optimal for hedges.
Step-by-Step Guide: How to Plant and Shape a Living Fence
So, the location is chosen, the plants are bought, the calculations are made. It’s time for the most enjoyable part – creating your future green wall! Follow this guide, and you’ll succeed.
1. Trench Preparation:
This is one of the most important stages. The quality of preparation determines how well the plants will take root and develop.
- Marking: Use stakes and string to mark the line of the future hedge.
- Digging the trench: Dig a trench. Its depth and width depend on the size of the seedling root systems, but are usually:
- Depth: 40-60 cm (can be more for tall hedges).
- Width: 40-60 cm (if a two-row planting is planned, the trench width should be larger, about 80-100 cm).
- Soil preparation: Lay a drainage layer (expanded clay, broken brick) 5-10 cm thick at the bottom of the trench if the soil tends to waterlog. Then, mix the excavated soil with compost, humus, and a complex mineral fertilizer (especially if the soil is poor).
2. Planting the Plants:
The best time to plant most shrubs is early spring (before bud break) or autumn (after leaf fall).
- Soaking roots: If the seedlings have an open root system, soak them for a few hours in water with a root-forming stimulant (e.g., “Rootin”).
- Arranging the plants: Place the seedlings along the trench at the planned spacing. Ensure that the root collar (the point where the trunk transitions to the root) is at ground level or slightly above.
- Backfilling with soil: Carefully backfill the roots with the prepared soil mixture, lightly tamping the soil to avoid air pockets.
- Forming a berm: You can form a small soil berm around the planted plants to help retain water during watering.
3. Watering and Mulching:
- Abundant watering: Water each plant generously immediately after planting. This helps the soil settle and ensures good root-to-soil contact.
- Mulching: Mulch the soil around the plants with a layer of 5-7 cm. Bark, wood chips, peat, or compost can be used as mulch. Mulch retains moisture, suppresses weed growth, and protects roots from temperature fluctuations.
4. Initial Shaping Pruning (for shaped hedges):
If you plan a trimmed hedge, the first pruning can be done 1-2 weeks after planting. The goal is to stimulate lateral branching. Cut off the top part of the shoots by about 1/3 of their length. All plants in the row should be trimmed to the same height.
Important points:
- Two-row planting: When planting in two rows, plant the plants in a staggered pattern. This will allow them to develop better and ensure maximum hedge density.
- Protection of young plants: In the first year after planting, young plants are particularly vulnerable. Protect them from frost (cover with spruce branches or non-woven material) and from rodents with special nets or repellents.
- Patience: Remember that a living fence is not a quick process. For the first 2-3 years, the plants will actively root and gain green mass. Don’t expect a perfect wall immediately.
By following these steps, you will lay a solid foundation for your future living fence, which will delight you for many years.
Caring for a Living Fence: Watering, Fertilizing, and Pest Protection
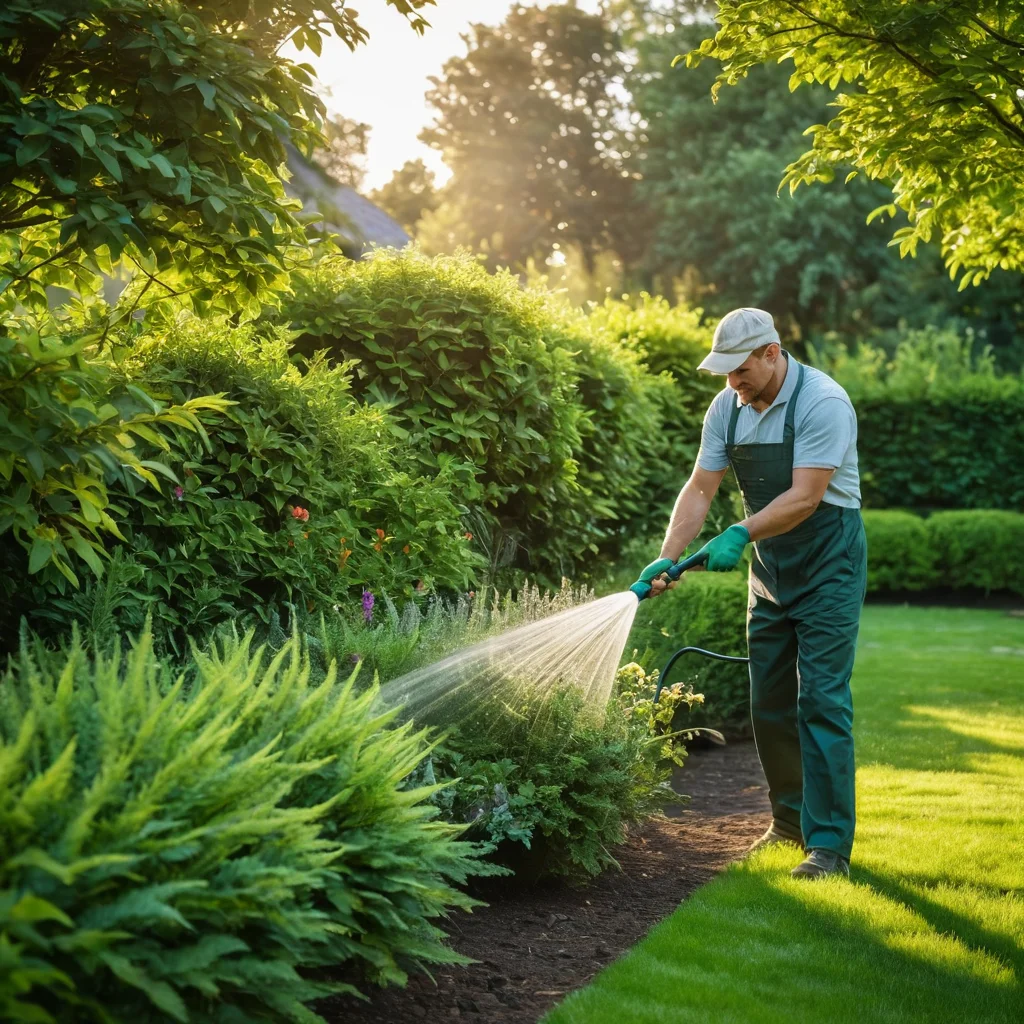
Creating a living fence is only half the battle. For it to look impeccable and delight with lush greenery and blooms, it needs regular and proper care. Believe my experience, even the most unpretentious plants are grateful for care.
1. Watering:
The watering schedule depends on:
- Weather: In hot and dry weather, watering is required more often and more abundantly. In cool and rainy weather – less often.
- Plant Age: Young plants need more frequent and regular watering until their root system is strong. Mature hedges are more drought-tolerant.
- Soil Type: Moisture evaporates faster in sandy soils, so you’ll need to water more often. In clay soils – less often, but more abundantly.
General Recommendations:
- Deep watering: It’s better to water less often but abundantly, so that moisture penetrates deep to the roots. Surface watering stimulates the growth of surface roots, making the plant less resistant to drought.
- Watering at the root: Try to water directly at the root, avoiding getting water on the leaves, especially in sunny weather, to prevent burns.
- Morning or evening watering: The best time for watering is early morning or late evening, when the sun is less active.
- Using settled water: If possible, use rainwater or settled water.
Signs of insufficient moisture: wilted leaves, drooping shoots, slowed growth.
2. Fertilizing:
For lush growth and decorative appeal, plants need nutrients. Fertilizing is done:
- In spring: At the beginning of the growing season (April-May), nitrogen fertilizers are applied to stimulate the growth of green mass. Well-rotted manure, compost, urea, and ammonium nitrate are suitable.
- In summer: During the period of active growth and flowering (June-July), complex mineral fertilizers containing nitrogen, phosphorus, and potassium are applied.
- In autumn: (September-October) phosphorus-potassium fertilizers are applied to strengthen plants before winter and to set flower buds for the next year.
Important:
- Always fertilize only on moist soil to avoid burning the roots.
- Follow the dosage indicated on the fertilizer packaging.
- Do not over-fertilize plants, especially with nitrogen, as this can make them more susceptible to diseases and pests.
3. Protection from Pests and Diseases:
Even the most resistant plants can sometimes be attacked by insects or suffer from diseases. Regularly inspect your hedge:
- Prevention: Proper care (watering, fertilizing, timely pruning), weed removal, and clearing fallen leaves are the best prevention.
- Pest control:
- Aphids: Often infest young shoots. Can be washed off with soapy water or treated with insecticides (e.g., “Fitoverm”, “Actara”).
- Spider mites: Appear in dry, hot weather. Manifest as a fine web on the leaves. Spray with water, soapy water, or acaricides (e.g., “Fitoverm”).
- Scale insects and mealybugs: Attach themselves to shoots and leaves, sucking sap. Remove manually (with a cotton swab dipped in alcohol) or treat with insecticides.
- Disease control:
- Fungal diseases (rust, powdery mildew): Appear as spots or a bloom on the leaves. Remove affected parts, treat with fungicides (e.g., “Topaz”, “Skor”).
- Viral diseases: Unfortunately, often incurable. The best measure is to remove and burn the diseased plant.
Tip: Act immediately at the first signs of pest or disease infestation. Use an integrated approach: mechanical removal, biological preparations, and in extreme cases – chemical plant protection products. Always read the instructions and follow safety precautions.
Trimming and Shaping a Living Fence: Secrets of the Perfect Form
Trimming is the soul of a shaped living fence. It is what allows it to achieve a neat, well-groomed appearance and maintain its desired shape. My grandmother used to say: “If you want a beautiful fence, be prepared to trim it!” And that’s absolutely true.
When to Start Trimming?
- Young hedges (1-3 years): The first trim is done 1-2 weeks after planting to stimulate branching. In the first few years, trimming is aimed at forming a dense structure.
- Mature hedges: The main trimming is done once or twice a year – in spring (after active growth has ended) and/or in summer (June-July).
Basic Trimming Rules:
- Tool: Use sharp secateurs, garden shears, or a special hedge trimmer. Dull tools “tear” branches, which harms the plant and looks untidy.
- Sharpness: The tool must be very sharp.
- Cleanliness: The tool must be clean to avoid spreading diseases.
- Time: Avoid trimming in hot, sunny weather or during frost. The best time is a cloudy but dry day.
Trimming Technique:
- For shaped hedges:
- Starting: Begin trimming from the bottom up.
- Width: Shape the hedge slightly wider at the base and tapering towards the top (trapezoidal shape). This is necessary so that the lower branches receive enough light and do not become bare.
- Straight lines: Use a taut string or ruler to achieve perfectly straight horizontal and vertical lines.
- Trimming the top: Trim the top part last, following the desired height.
- Trimming the sides: Trim the sides vertically or at a slight angle.
- For free-growing hedges:
- Sanitary pruning: Remove dry, diseased, damaged, and overcrowding branches.
- Thinning: If necessary, thin the crown to allow light and air to reach the inner parts of the bush.
- Maintaining shape: You can lightly trim overly protruding shoots to maintain the overall silhouette.
Secrets of the Perfect Form:
- Regularity: The more regularly you trim, the easier and faster the process, and the better the hedge looks.
- Neatness: Even small imperfections should be corrected immediately.
- Stimulating branching: For a denser hedge, pinch the tips of young shoots.
- Considering the plant species: Some plants (e.g., lilac) are best trimmed after flowering to avoid sacrificing next spring’s blooms.
Example: If you want to create a straight, rectangular hedge 1.5 meters high, start by stretching a string at this height. Then, using this string, trim the top part evenly. After that, moving from bottom to top, shape the sides, maintaining a slight upward slope.
Trimming is a creative process. Don’t be afraid to experiment, but always remember the plant’s health. A well-maintained, beautifully trimmed hedge is a true decoration for your garden!
Common Mistakes When Creating and Caring for a Living Fence: How to Avoid Them
Even the best intentions can lead to disappointment if common mistakes are made when creating and caring for a living fence. I’ve compiled the most frequent pitfalls for you so you can avoid them and enjoy the beauty of your green fence.
Mistakes in Plant Selection:
- Climate Mismatch: Choosing plants that are not suitable for your climate zone (too heat-loving or, conversely, not frost-resistant). Solution: Carefully study plant characteristics before purchasing, consult with local gardeners.
- Incorrect Lighting Selection: Planting shade-tolerant plants in sunny areas or light-loving plants in shade. Solution: Assess the lighting of the area before purchasing plants.
- Ignoring Growth Rate: The desire for instant results from slow-growing species or, conversely, uncontrolled growth of fast-growing ones. Solution: Match the growth rate of plants with your expectations and readiness for trimming.
- Incorrect Plant Combinations: Planting species with different soil, moisture, or light requirements in the same hedge. Solution: Choose plants with similar needs or create different hedges for different conditions.
Planting Mistakes:
- Planting too shallow or too deep: The root collar should be at ground level. Planting too deep leads to rot, too shallow – to root drying out. Solution: Carefully control the planting depth.
- Planting too sparse or too dense: Too sparse – the hedge will be weak and not decorative. Too dense – plants will compete for light and nutrients, developing poorly. Solution: Maintain the recommended spacing between plants for each species.
- Insufficient soil preparation: Planting in compacted, undrained soil without fertilization. Solution: Always improve the soil in the trench, add compost and humus. Provide drainage if necessary.
- Ignoring distance from structures: Planting too close to the house or fence. Solution: Maintain minimum distances so that the hedge does not damage the foundation and has space for development.
Care Mistakes:
- Incorrect watering: Frequent shallow watering instead of infrequent but abundant watering. Solution: Water deeply, soaking the root ball.
- Untimely or incorrect trimming: Skipping trimming, trimming at the wrong time, incorrect shape. Solution: Adhere to the trimming schedule, shape the hedge trapezoidally, use sharp tools.
- Over-fertilizing or under-fertilizing: Excess nitrogen or lack of nutrients. Solution: Apply complex fertilizers in recommended doses at the appropriate time of year.
- Ignoring pests and diseases: Lack of regular inspections and delayed action. Solution: Regularly inspect plants and take action at the first signs of problems.
- Insufficient winter preparation: Not covering young plants or plants sensitive to frost. Solution: If necessary, cover the root system and above-ground parts of the plants for winter.
The main tip: Observe your hedge! The plants themselves will tell you what they need. Learn to see their signals – changes in leaf color, wilting, appearance of spots. And, of course, don’t be afraid to ask for advice from more experienced gardeners. Creating a living fence is an exciting journey that will bring you much joy and satisfaction.