
The problem of moles appearing on a garden or dacha plot is familiar to many landowners. These hardworking animals, although beneficial by eating pests, can turn a well-kept lawn into a minefield in a matter of days. It is important to note that the use of chemical agents or traps is inhumane and often unsafe for the plot’s ecology. That is why experts from the bur4ik.ru resource recommend paying attention to environmentally friendly and budget-friendly methods, among which the homemade mole repeller made from an ordinary plastic bottle is a leader.
Moles on the Plot: The Problem and a Safe Solution – a Bottle Repeller
Moles are subterranean mammals that build extensive tunnel networks to search for food, mainly earthworms and larvae. The main problems they create are:
- Damage to the root system: when digging tunnels, they sever plant roots, leading to their death.
- Landscape damage: the appearance of numerous earth mounds (molehills) spoils the appearance of lawns and garden beds.
- Disruption of soil structure: excessive loosening can negatively affect moisture retention in the upper soil layers.
A homemade repeller from a plastic bottle is one of the most popular solutions because it works by creating constant, but not dangerous to the animal, discomfort. It does not kill or injure the mole, but merely creates conditions incompatible with its comfortable living in a specific area.
How Moles Sense Vibration and Why It Works

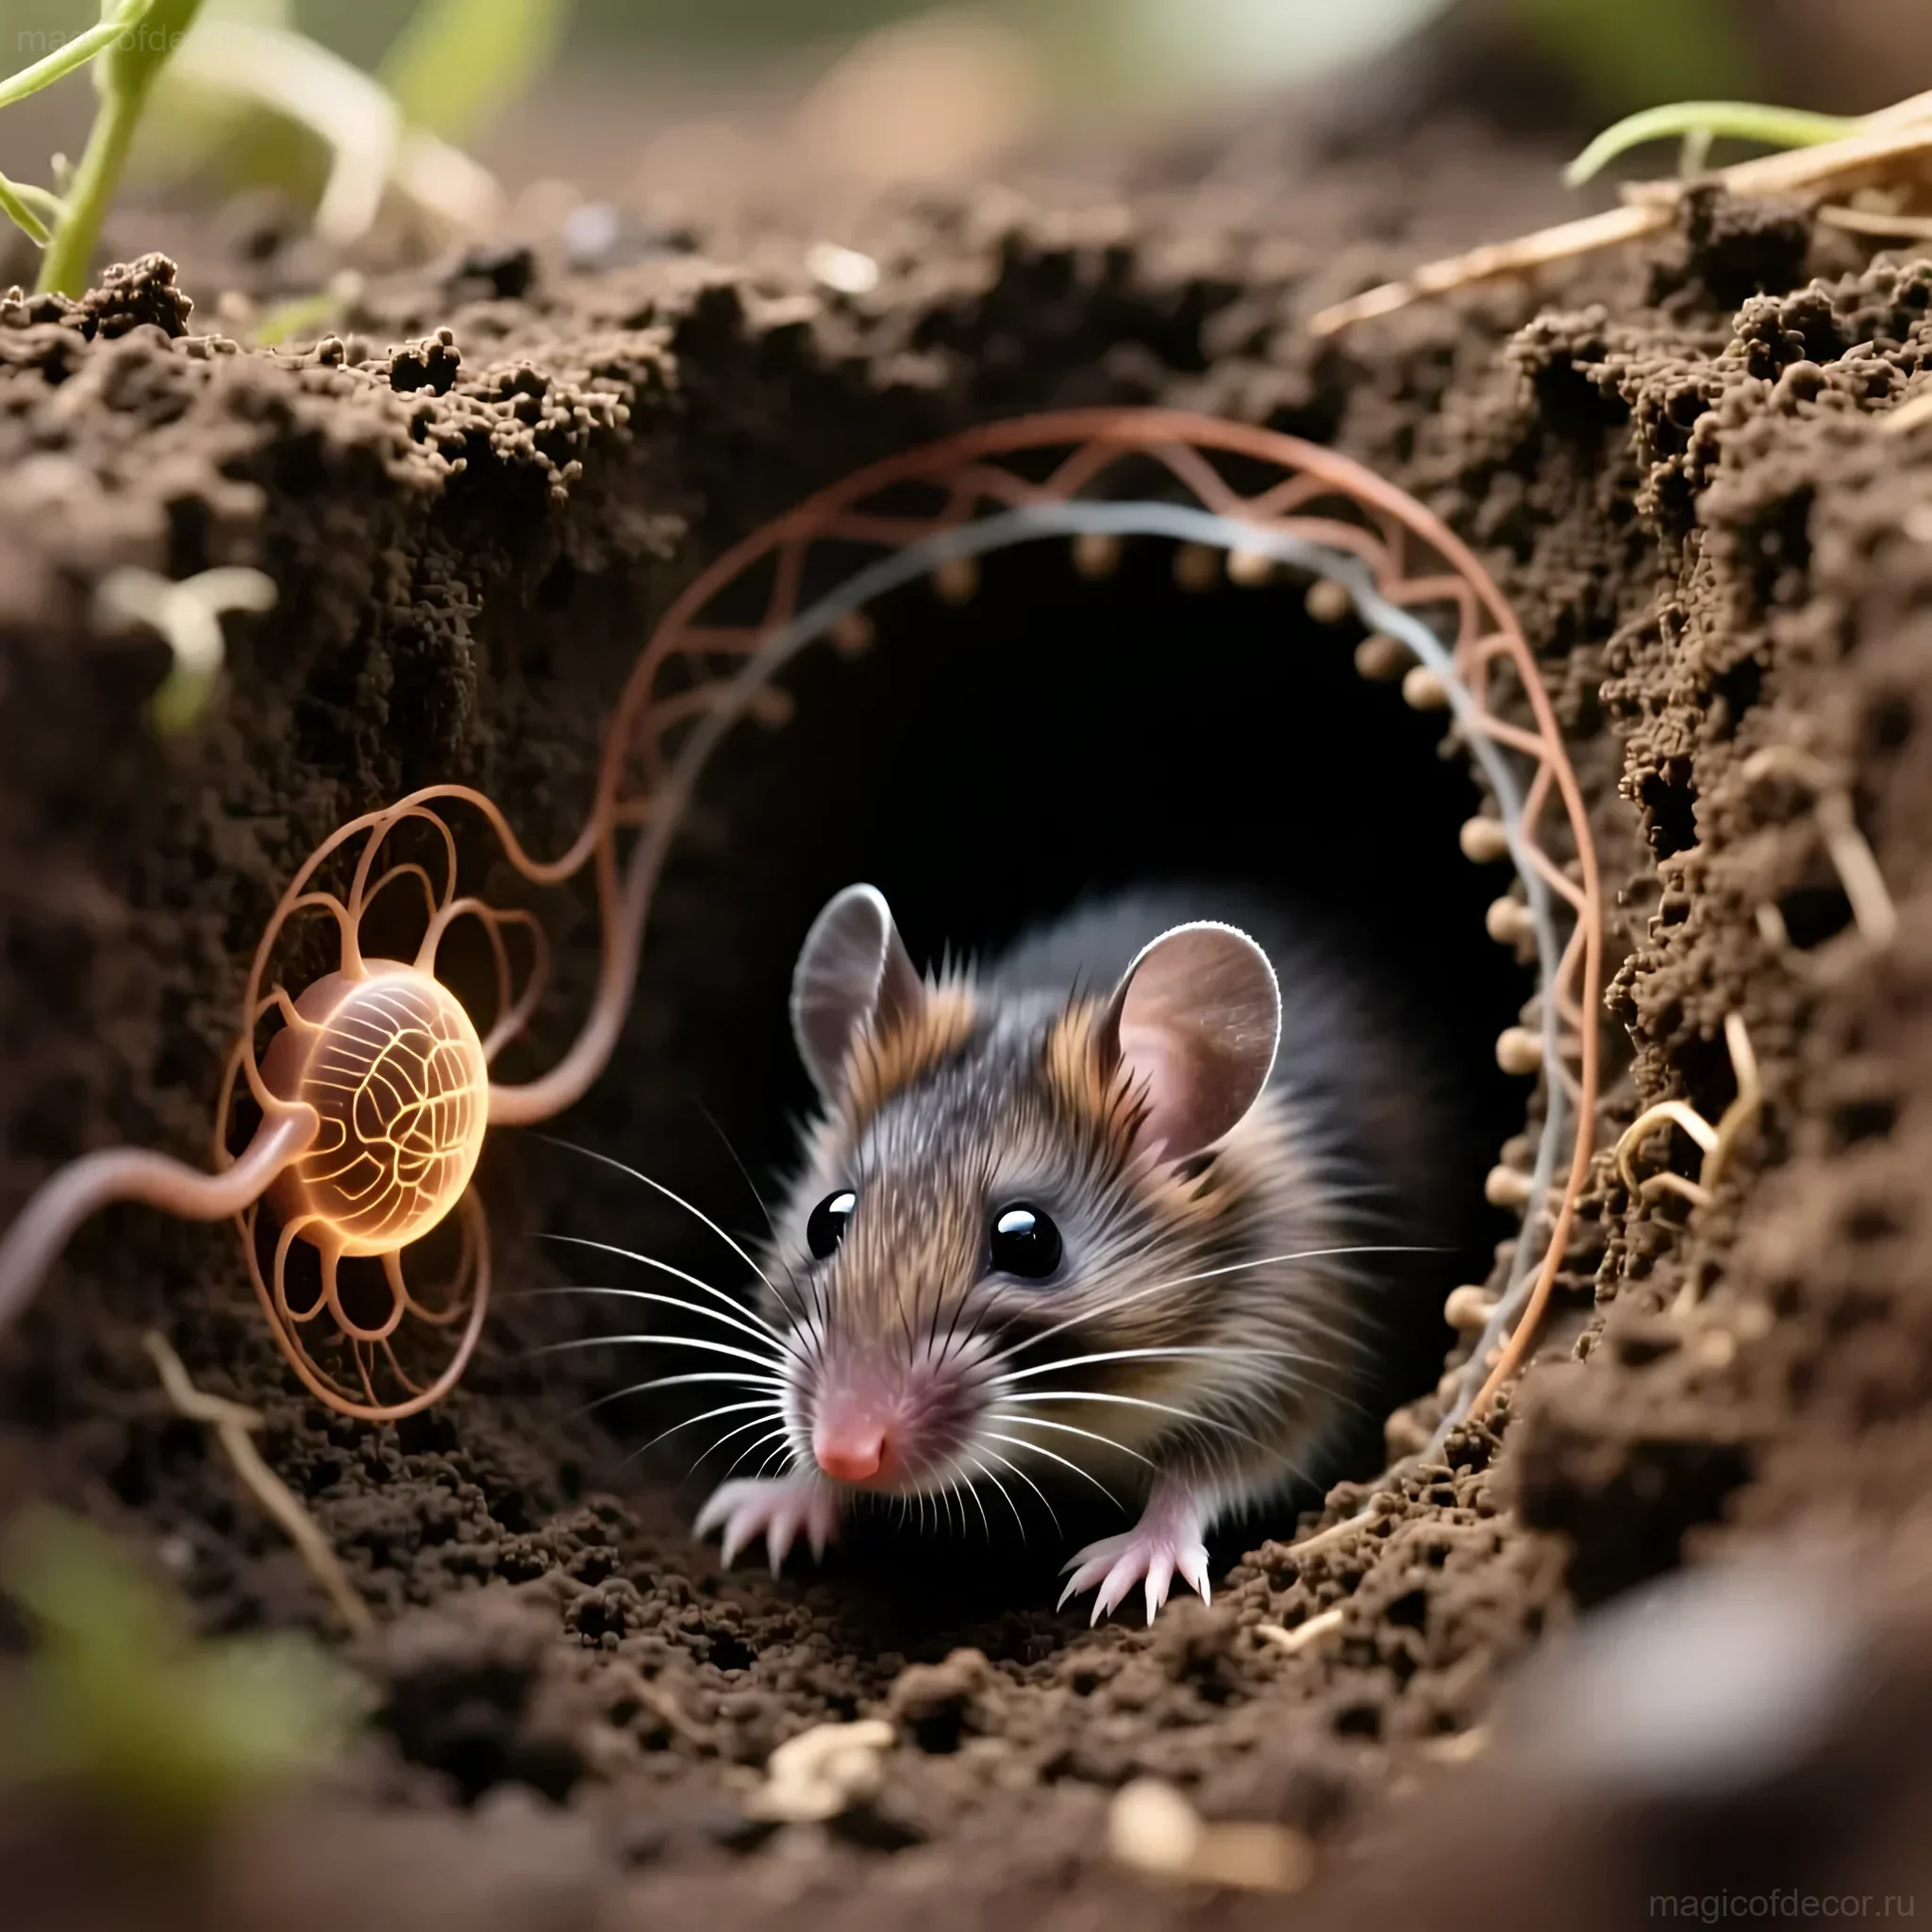
Moles have extremely developed hearing and touch, which allows them to navigate in complete darkness underground. Their vision, on the other hand, is very poorly developed. This is why they are extremely sensitive to any vibrations and low-frequency sounds transmitted through the soil.
The principle of operation of a bottle repeller is based on resonance:
- A plastic bottle, cut in a special way, is placed on a metal or wooden rod.
- The wind causes the bottle to rotate, creating aerodynamic noise and mechanical vibration.
- This vibration is transmitted through the rod deep into the soil.
- The constant, unnatural noise and vibration cause the mole to feel anxious, mimicking the presence of a predator or severe mechanical discomfort.
Moles prefer quiet and stable habitats. Constant humming, even if barely audible to humans, becomes unbearable for them, and they are forced to migrate to quieter territories.
Materials and Tools: What You’ll Need to Make the Repeller
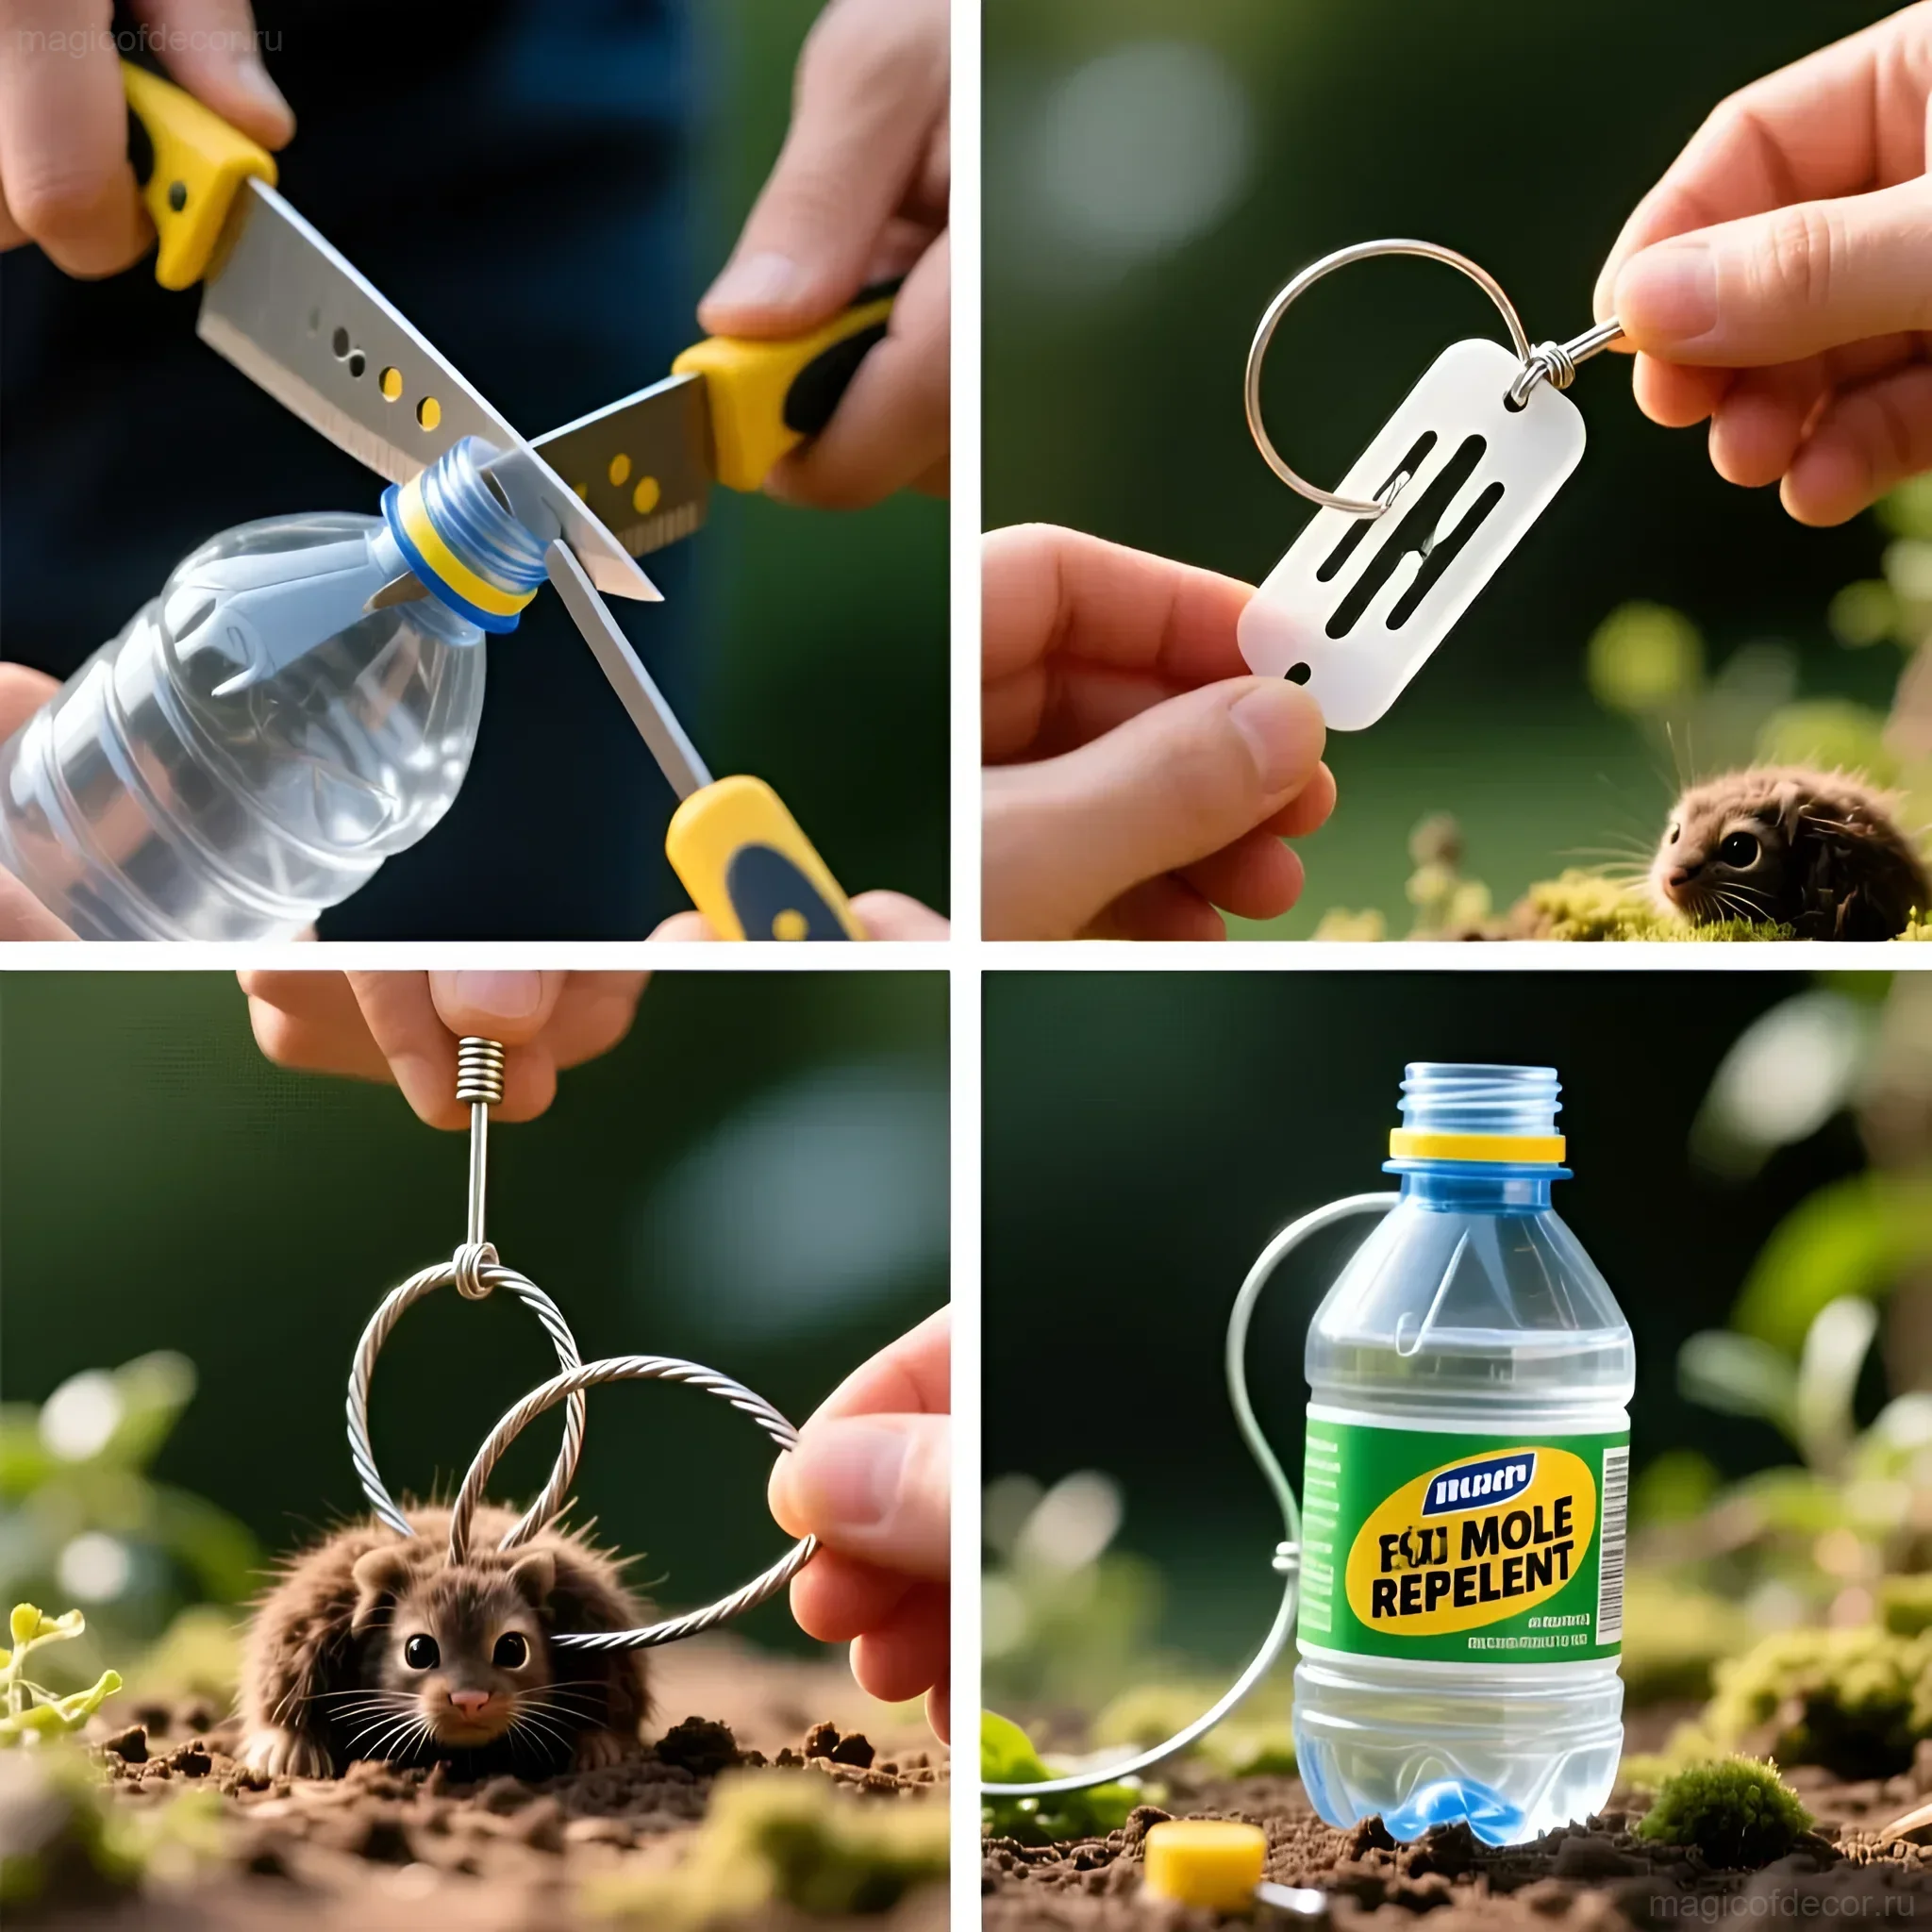
Making this device does not require special skills or expensive materials. Everything you need is usually readily available to any dacha owner.
Required Materials:
- Plastic bottle (PET): It is recommended to use a container with a volume of 1.5–2 liters. It is important that the plastic is sufficiently dense and not too soft, so that the blades can hold their shape.
- Support rod: The best choice is a metal rod, rebar, thin pipe, or ski pole. The length of the rod should be at least 1.5–2 meters to ensure deep penetration into the soil and sufficient height for rotation.
- Fastener: A small bolt, screw, or nail that will serve as the axis of rotation.
Tools:
- Sharp knife or utility knife: for precise cutting of plastic.
- Marker: for marking the blades.
- Awl or drill with a thin bit: for making holes in the cap and bottom of the bottle.
- Hammer: for driving the rod into the ground.
Expert tip: Make sure the support rod is not rusted where the fastener is attached, as this can hinder the free rotation of the bottle.
Step-by-Step Instructions: Making a Mole Repeller from a Plastic Bottle

The process of creating a mole repeller consists of five key stages. Precise adherence to proportions and angles will ensure maximum device effectiveness.
Stage 1: Preparing the Bottle
First, you need to prepare the working part – the future rotor.
- Remove the label and thoroughly wash the bottle.
- Divide the bottle into four equal parts vertically with a marker, starting from the neck and not reaching the bottom by about 5–7 cm.
- Carefully cut the plastic along these lines, forming four future blades.
Stage 2: Creating the Propeller Blades
This is the most important step, determining how well the repeller will rotate.
- Take each of the four blades and bend it, creating an angle of approximately 45–50 degrees relative to the central axis.
- All blades should be bent in the same direction to ensure rotation in one direction when exposed to wind (clockwise or counterclockwise).
- Ensure that the blades are as symmetrical as possible, otherwise the rotation will be uneven and the noise weak.
Stage 3: Creating the Hole for the Axis
You need to prepare the bottle for mounting on the rod.
- Make a hole in the center of the bottle’s bottom. It should be slightly larger than the diameter of the support rod so that the bottle can slide and rotate freely.
- Also, make a hole in the bottle cap that matches the diameter of the fastener (nail or screw).
Stage 4: Assembling the Structure
Now you need to connect all the parts.
- Screw the cap onto the neck.
- Insert the support rod into the hole in the bottom of the bottle.
- The free end of the rod (which will be above the bottle) should have a small hole or bend. Insert the fastener (nail/screw) into this hole, which secures the bottle from above, preventing it from falling off.
- Important: there should be a gap of 1–2 mm between the cap and the upper fastener. This will ensure the bottle rotates easily on the rod, like on an axis.
Installing the Repeller: Where and How to Place It Correctly
Correct installation is key to effective operation. If the rod does not have sufficient contact with the soil, the vibration will not reach the mole tunnels.
Choosing a Location for Installation
Repellers should be placed in areas of highest mole activity.
- Look for fresh molehills: install the rod directly next to recently appeared mounds or in the center of a cluster of tunnels.
- Distance between devices: since vibration propagates effectively in dense soil, one repeller is usually sufficient for every 10–15 meters of area. On larger plots, it is recommended to create a grid of devices.
- Considering the terrain: in areas with loose or sandy soil, the effectiveness of vibration decreases, so repellers should be placed more frequently (every 8–10 meters).
Rod Installation Technique
The rod should be installed as vertically and deeply as possible.
Immersion depth: The rod should be buried in the soil at least 50–70 cm deep. This ensures that the vibration reaches the depth of the main mole tunnels (usually 10–50 cm).
Fixation: Make sure the rod is firmly seated in the ground. If it wobbles, the vibration will be absorbed by the loose soil around it, rather than being transmitted over long distances.
Height above ground: A part of the rod sufficient for the bottle to rotate freely should remain above ground (usually about 80–100 cm).
Effectiveness and Maintenance: How Often to Renew and What to Do If It Doesn’t Help?

The effectiveness of a homemade repeller depends on many factors, including wind strength, soil type, and duration of use. This is not an instant solution; moles need time to realize the discomfort and leave the territory.
Timelines and Expected Reaction
- Start of action: Moles may leave the area of discomfort within 1–2 weeks after installation.
- Consistency: The device should operate around the clock. Lack of wind (calm) reduces effectiveness.
Device Maintenance and Care
To ensure the repeller works throughout the season, regular inspection is necessary:
- Check rotation: Make sure the bottle rotates freely. Dust, dirt, or jamming on the upper fastener can stop the rotor. Lubricate the axis if necessary.
- Clean the blades: Remove stuck dirt or cobwebs from the blades.
- Replacement: Plastic degrades over time due to UV exposure. It is recommended to replace bottles every 6–12 months (depending on plastic density).
What to Do If the Repeller Doesn’t Help?
If moles continue to actively dig tunnels, you may need to intensify the effect or change the design.
Increase noise: Add a few small metal objects (e.g., nuts or balls) to the bottle. When rotating, they will hit the walls, creating an additional sound effect that is better transmitted into the air and soil.
Increase density: Install more repellers, reducing the distance between them to 8 meters, especially if the soil is loose.
Change rod material: If you used a wooden rod, replace it with a metal one. Metal conducts vibration better.
FAQ: Most Frequent Questions About Bottle Mole Repellers

bur4ik.ru experts have compiled answers to the most popular questions regarding the use of homemade repellers.
- Question: Will this repeller harm the mole?
Answer: No. The device works solely through noise and vibration, creating discomfort. It is a humane method of control that simply forces the animal to seek a quieter place. - Question: Does the color of the plastic bottle matter?
Answer: Color does not affect repelling effectiveness, as moles are almost blind. However, dark plastic (e.g., from beer or kvass) is more resistant to sunlight and will last longer than transparent plastic. - Question: Should mole repellers be removed for the winter?
Answer: Yes, it is recommended to dismantle the bottles before severe frosts. This will prevent the plastic from cracking and keep the rotation mechanisms from freezing. The rods can be left in the ground. - Question: Can moles get used to the noise?
Answer: This is unlikely. Vibration is a constant irritant that signals danger. However, if the vibration is too weak (due to poor contact of the rod with the ground), the mole may ignore it.
Interesting Facts About Moles and Eco-Friendly Methods of Controlling Them
Understanding mole biology helps in choosing the most effective and humane protection strategies for your plot.
Facts About Moles
- Not rodents: Moles belong to the order of insectivores, not rodents. They do not eat vegetables or roots (except for accidental damage during digging); their main food is worms and insects.
- High speed: A mole can dig tunnels at a speed of up to 30 meters per day.
- Solitary life: Moles lead a solitary lifestyle, and on a plot of 6–10 hundredths of a hectare, rarely more than 1–2 individuals inhabit it.
Additional Eco-Friendly Repelling Methods
If a single vibration repeller is not enough, you can combine methods, using natural remedies that also affect moles’ sensitive organs – their sense of smell.
Effective repellent scents:
- Planting strong-smelling plants: Moles cannot tolerate the smell of marigolds, crown imperials, daffodils, as well as garlic and onions. Planting these plants around the perimeter of the plot can create a natural barrier.
- Using the smell of petroleum: Rags soaked in kerosene or tar, placed in active molehills, can force the animal to leave its tunnels.
- Fish waste: Burying small pieces of spoiled fish in active tunnels is also an old but effective method, as moles cannot stand the smell of decomposition.
By combining mechanical bottle repellers with natural repellents, you can achieve stable and long-term results, ensuring the protection of your plot without harm to the environment or the animals themselves.