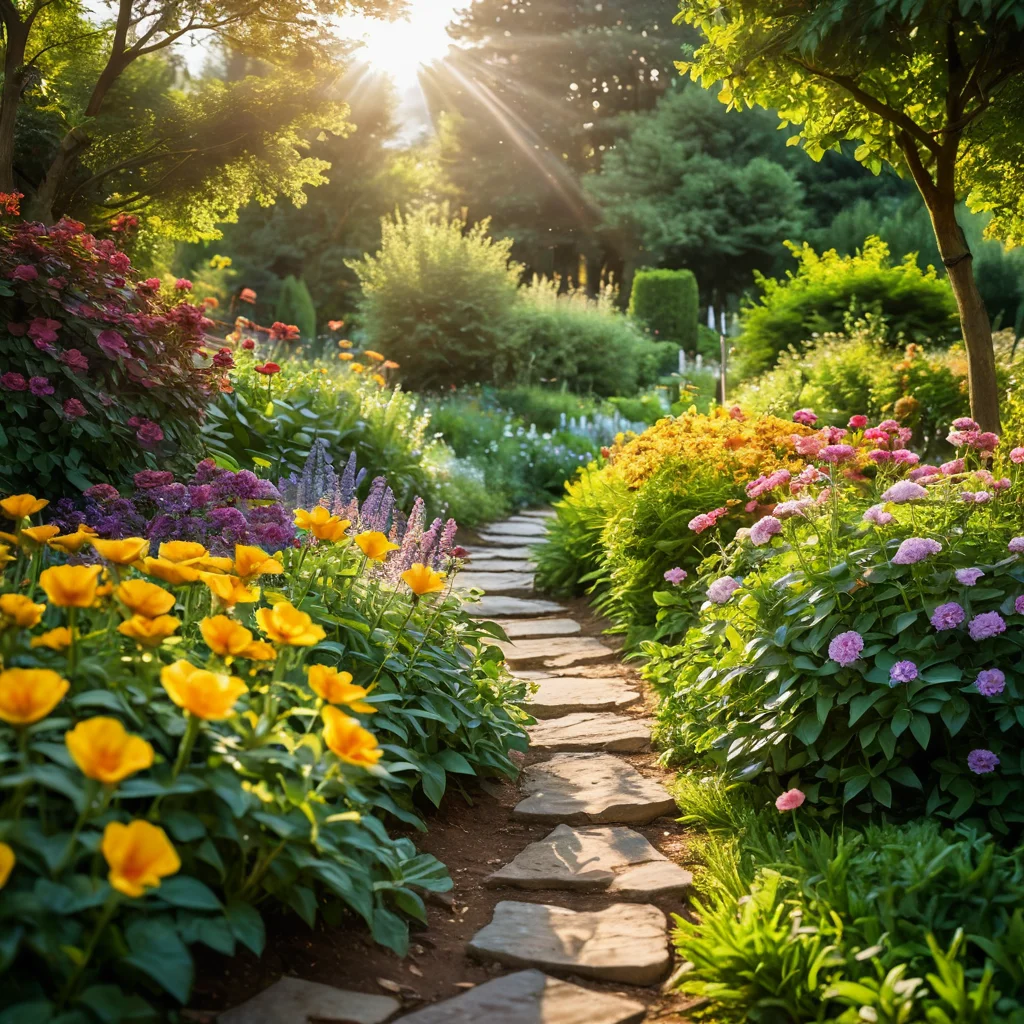
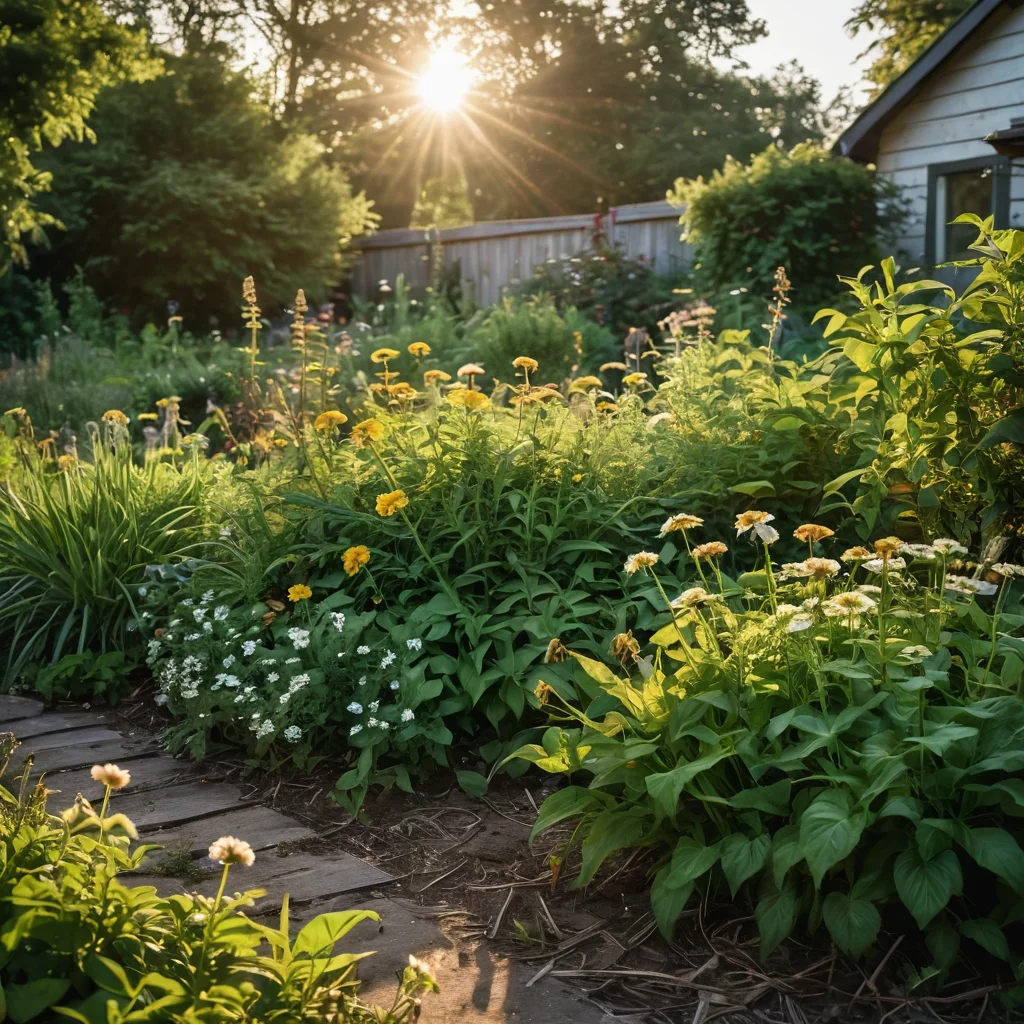
Remember how you used to draw rainbows as a child? Those seven bright, pure colors, flowing into one another, seemed like magic. What if I told you that the same magic can be created right in your own garden? Imagine: your garden, bathed in sunlight, and in its center – a lush, radiant flowerbed, recreating all the shades of the rainbow. It’s not just beautiful; it’s a real explosion of color that will delight the eye from spring to autumn. Today, I want to share with you the secrets of creating such a flowerbed, so that your plot transforms into a true work of art, filled with life and positivity. Let’s dive into the world of floral magic together!
Why Create a “Rainbow” Flowerbed: The Effect and Meaning of Colorful Garden Design
Creating a “rainbow” flowerbed is not just about following a trendy landscaping design. It’s a conscious choice in favor of beauty, harmony, and a positive mood. Such a flowerbed becomes a real accent in your garden, attracting attention and bringing smiles. It can transform even the most modest plot, adding brightness and individuality. The meaning of such colorful design is multifaceted:
- Aesthetic Pleasure: Undoubtedly, the main thing is visual appeal. Smooth color transitions, from soft red to deep violet, create a mesmerizing effect. It’s like a living painting, constantly changing under the sun’s rays.
- Psychological Impact: Bright colors have a therapeutic effect. Red gives energy, orange brings joy, yellow fosters optimism, green promotes calmness, blue and indigo offer peace, and violet evokes mystery and inspiration. Contemplating such a flowerbed helps relieve stress and improve mood.
- Zoning Space: Large, bright flowerbeds can serve as visual markers in the garden, helping to visually divide the space. A “rainbow” flowerbed, placed in a prominent spot, can become the center of the composition.
- Symbol of Harmony and Wholeness: The rainbow is a natural phenomenon, a symbol of unity and completeness. By creating such a flowerbed, you are bringing a piece of natural harmony into your garden.
- Inspiration for Creativity: A “rainbow” flowerbed is a great opportunity to experiment with plants, their shapes, and textures. It’s a chance to express your creativity and create something truly unique.
Believe my experience, your garden guests will be delighted, and you yourself will receive immense pleasure watching your own rainbow bloom in your garden.
Types of “Rainbow” Flowerbeds: 5 Popular Color Arrangement Schemes
There are many ways to arrange flowers according to the rainbow’s color spectrum. The choice of scheme depends on the shape of your future flowerbed, its location, and your personal preferences. Let’s look at the most popular and effective options:
1. Classic Arc
This is perhaps the most recognizable and easiest to implement option. The flowerbed is shaped like an arc or semicircle, mimicking the curve of a celestial rainbow. Colors are arranged in strict sequence:
- Red – at one end.
- Orange
- Yellow
- Green (often used as a background or transition color, you can use plants with green foliage or lime-green leaves).
- Light Blue
- Blue
- Violet – at the other end.
Tip: Both perennial and annual flowers are great for this scheme. If the flowerbed is visible from one side, place taller plants in the center of the arc and shorter ones at the edges to create volume. If the flowerbed is round, plant the tallest plants in the center and arrange the rest in a circle.
2. Straight Stripe (Linear Rainbow)
This option is ideal for elongated areas, along paths or fences. Colors are arranged in straight stripes running parallel to each other. The color order remains the same as in the classic arc.
- Red stripe
- Orange stripe
- Yellow stripe
- Green stripe
- Light Blue stripe
- Blue stripe
- Violet stripe
Tip: In this scheme, it’s important to achieve clear boundaries between the stripes. For this, you can use low border plants (e.g., alyssum, lobularia) or decorative gravel. This scheme looks very graphic and modern.
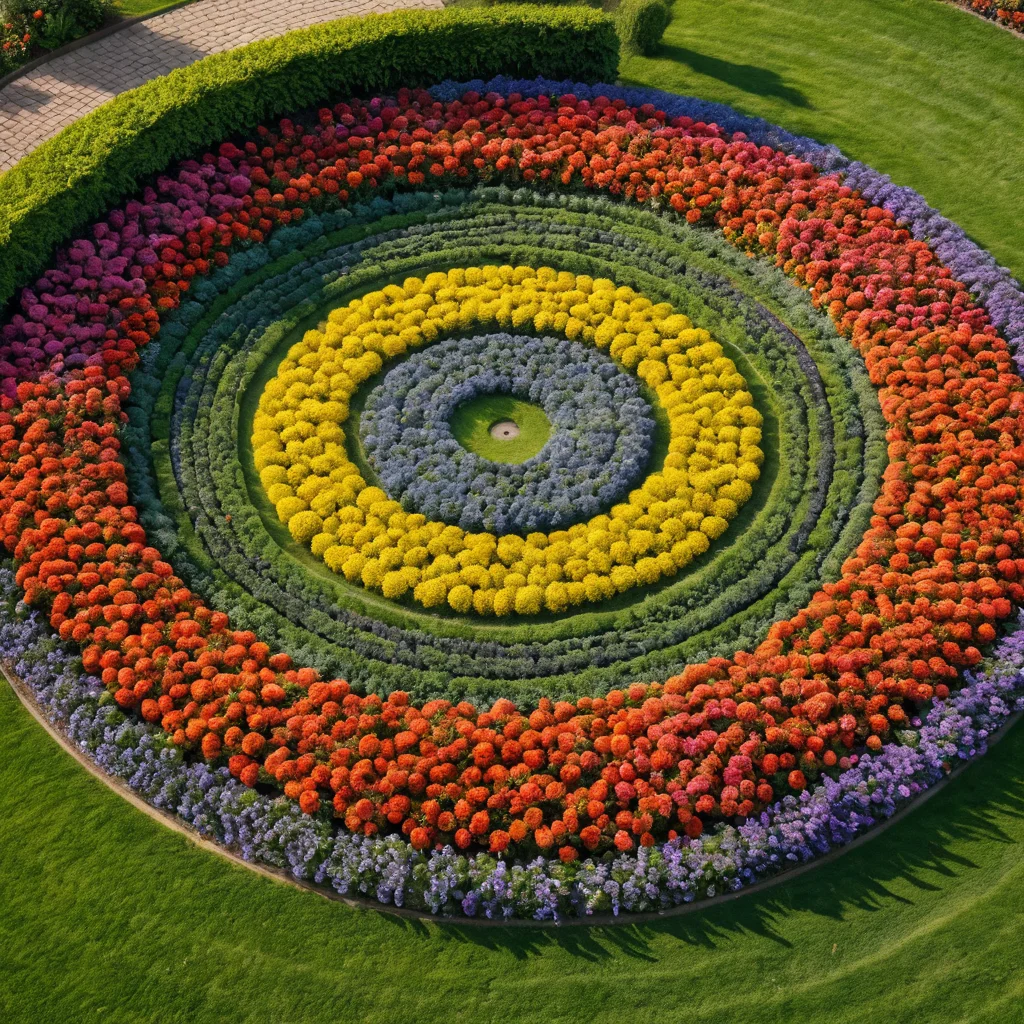
3. Concentric Circles
If you have the opportunity to create a round flowerbed, this option will look incredibly impressive. Colors are arranged in rings, radiating from the center outwards (or vice versa).
- Center: Usually start with the brightest or deepest color, such as blue or violet.
- Next ring: Light blue.
- Then: Green (you can use plants with decorative foliage).
- Next: Yellow.
- Orange
- Red – on the outer edge.
Tip: This option requires precision. It’s important that the plants in each ring are approximately the same height, or that the height changes gradually from the center to the edge. To create clear boundaries between the rings, you can use low, creeping plants or decorative stones.
4. Spiral
For lovers of unusual solutions – a spiral flowerbed. It can be a flat or raised bed. Colors flow smoothly into each other, following the curves of the spiral.
- Start of the spiral: For example, red.
- Movement along the spiral: Orange, yellow, green, light blue, blue, violet.
Tip: This flowerbed looks very dynamic. It’s important to consider how the spiral will look from different viewpoints. To create volume and interesting texture, you can use plants of different heights and shapes.
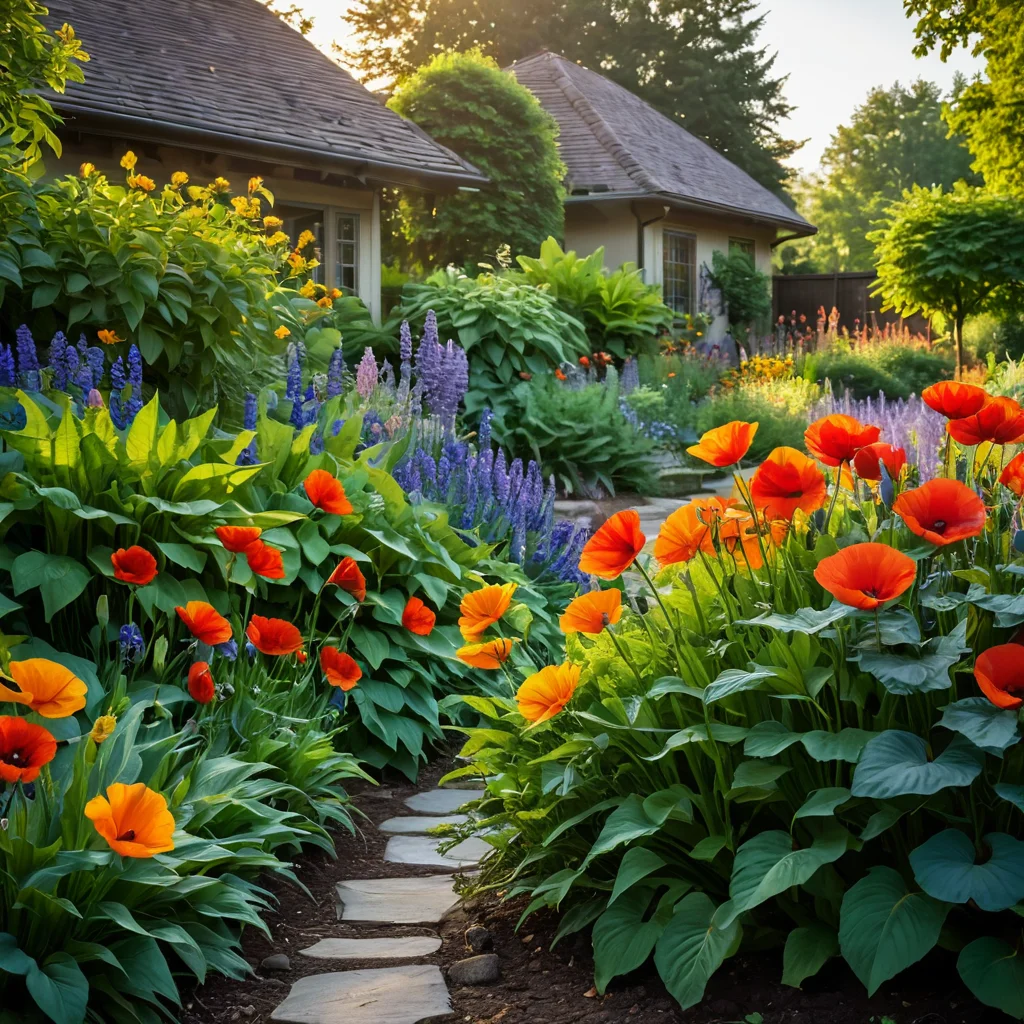
5. Free Composition (Creative Rainbow)
It’s not necessary to strictly follow the spectrum order. You can create a more free composition where the rainbow colors are represented in patches, but maintain overall harmony. This is a great option for those who want to add a bit of improvisation to their garden.
- Main color zones: Designate areas for red, orange, yellow, green, light blue, blue, and violet.
- Transitions: Use plants with transitional shades (e.g., red-orange, yellow-green) for smoother transitions.
- Accents: Add white or silver plants to give the composition airiness and brightness.
Tip: In this scheme, the key is a sense of proportion and harmony. Don’t be afraid to experiment with the shape and size of the patches. You can even partially intertwine colors, creating a natural effect.
When choosing a scheme, consider the size of your plot and the shape of the flowerbed itself. The most important thing is that the result pleases you!
Choosing “Rainbow” Flowers: Plants for Each Color of the Spectrum (Red, Orange, Yellow, Green, Light Blue, Blue, Violet)
The heart of any flowerbed is, of course, the plants. To make your “rainbow” flowerbed truly bright and impressive, you need to carefully select flowers for each color segment. Believe my experience, the right choice of plants is already half the success! Here are my recommendations for the spectrum colors:
Red
Energy and Passion. Red is the most noticeable color; it attracts the eye. It’s better to use it sparingly so the flowerbed doesn’t look too gaudy.
- Annuals: petunia (many varieties with red flowers), scarlet sage, amaranth, marigolds (thin-leaved and erect), garden geranium (pelargonium), alyssum (some varieties).
- Perennials: helenium, coreopsis (some varieties), coneflower (varieties with red flowers), monarda, astilbe (red varieties), rudbeckia (red varieties), grass pink.
- Bulbs: tulips (red varieties), hyacinths (red), daffodils (red).
Orange
Joy and Warmth. Orange is a cheerful color that pairs well with yellow and red.
- Annuals: calendula, marigolds (and their many shades), petunia (orange varieties), cosmos (orange varieties), snapdragon (orange varieties).
- Perennials: helenium (orange varieties), coneflower (orange varieties), coreopsis (orange varieties), rudbeckia (orange varieties), yarrow (orange varieties).
- Bulbs: tulips (orange varieties), daffodils (orange).
Yellow
Optimism and Light. Yellow adds brightness and a sunny mood. It pairs well with almost all rainbow colors.
- Annuals: marigolds (yellow varieties), calendula (yellow varieties), sunflower (decorative varieties), zinnia (yellow varieties), cosmos (yellow varieties), alyssum (lemon yellow).
- Perennials: rudbeckia (yellow varieties), coneflower (yellow varieties), coreopsis (yellow varieties), yarrow (yellow varieties), globe flower, goldenrod, thrift (yellow varieties).
- Bulbs: tulips (yellow varieties), daffodils (yellow), hyacinths (yellow), crocuses (yellow).
Green
Calmness and Harmony. Green in a flowerbed is not just foliage, but also the flowers themselves. It creates a background and connects the other colors.
- Flowers with green blooms: Oxeye daisy (some varieties), hydrangea (greenish inflorescences), monarda (greenish varieties), crown imperial (greenish varieties), begonia (decorative varieties with green foliage).
- Plants with decorative foliage: hosta (a variety of cultivars with green, lime-green, bluish-green leaves), heuchera (cultivars with green, lime-green, emerald leaves), coral bells, ferns, ornamental grasses (fescue, sedge).
- Low-growing green plants: ivy, periwinkle.
Light Blue
Tenderness and Calmness. Light blue adds airiness and coolness to the flowerbed.
- Annuals: ageratum, lobelia (light blue varieties), petunia (light blue varieties), forget-me-not.
- Perennials: catmint, speedwell, monkshood (light blue varieties), delphinium (light blue varieties), gentian, scabiosa, sage (light blue varieties).
- Bulbs: hyacinths (light blue), muscari, scilla, anemone (light blue varieties).
Blue
Depth and Mystery. Blue is a deep, rich color that contrasts well with yellow and orange.
- Annuals: petunia (dark blue varieties), lobelia (dark blue varieties), alyssum (dark blue varieties).
- Perennials: monkshood (blue varieties), delphinium (blue varieties), sage (blue varieties), iris (blue varieties), garden phlox (blue varieties), astrantia (blue varieties), mountain cornflower.
- Bulbs: hyacinths (blue), muscari (dark blue).
Violet
Mystery and Nobility. Violet is the final color of the rainbow, adding an air of mystery.
- Annuals: petunia (violet varieties), lobelia (violet varieties), ageratum (violet varieties), zinnia (violet varieties).
- Perennials: sage (violet varieties), astilbe (violet varieties), garden phlox (violet varieties), speedwell (violet varieties), geranium (violet varieties), lavender, clematis (violet varieties).
- Bulbs: tulips (violet varieties), crocuses (violet), hyacinths (violet).
Important: Don’t forget about plant height! Within one color segment, you can use plants of different heights to create volume and texture. Combine tall flowers with short ones so the flowerbed looks lush and harmonious.
How to Plan a “Rainbow” Flowerbed: Creating a Sketch and Calculating the Number of Plants

Before you grab a shovel and rush to the store for flowers, let’s sit down and plan everything carefully. Proper planning is the key to success, helping to avoid mistakes and disappointments. Believe my experience, a well-thought-out plan is half of a finished flowerbed!
1. Site Assessment
Sun or Shade? First, determine how much sunlight the chosen spot receives. Most bright flowers love the sun, but some prefer partial shade. This will influence your plant selection.
Size and Shape. Measure the area of the future flowerbed. Draw its approximate outline on paper. It can be:
- Round
- Oval
- Rectangular
- Irregular shape
Visibility. Consider from which points of the garden your flowerbed will be best visible. Will it be viewed from all sides or only from one?
2. Choosing a Scheme
Based on the shape and size of the flowerbed, choose a suitable color arrangement scheme (arc, stripe, circles, spiral, or free composition) that we discussed earlier.
3. Creating a Sketch
Take a sheet of paper (preferably graph or grid paper) and draw the flowerbed plan to scale. Mark on it:
- The boundaries of the flowerbed.
- Color zones according to the chosen scheme. Use different colored pencils or number the zones.
- Approximate placement of plants within each zone. Consider height: tall plants in the center or at the back, short ones at the edges or front.
- Plants with decorative foliage (green, lime-green, bluish) that will serve as a background or connecting element.
- Accent plants (e.g., white or silver) that will add a special touch.
Tip: Don’t overload the flowerbed with too many plant species. It’s better to choose a few striking varieties for each color and arrange them in groups.
4. Calculating the Number of Plants
Once the sketch is ready, you can start calculating. To do this:
- Determine the approximate spacing between plants. This depends on the plant species and its mature size. Typically, for annuals, it’s 15-25 cm, for perennials – 30-50 cm.
- Divide the length of each color stripe or the area of each color patch by the approximate spacing between plants. This will give you the approximate number of plants of one species for that zone.
- Consider the size of the mature plant. If you are planting young seedlings, they will be smaller, but will grow larger over time.
- Create a shopping list. Include all the plants you’ve chosen with their quantities.
Example: If you have a 3-meter long stripe and you want to plant red petunias in it with a spacing of 20 cm, you will need 300 cm / 20 cm = 15 plants.
Tip: It’s better to buy slightly more plants than needed, in case some don’t take root. You can also have a reserve to replace faded plants during the summer.
Thorough planning will allow you to create a harmonious and long-lasting “rainbow” flowerbed that will delight you with its beauty.
Preparing the Soil for a “Rainbow” Flowerbed: What You Need to Know Before Planting
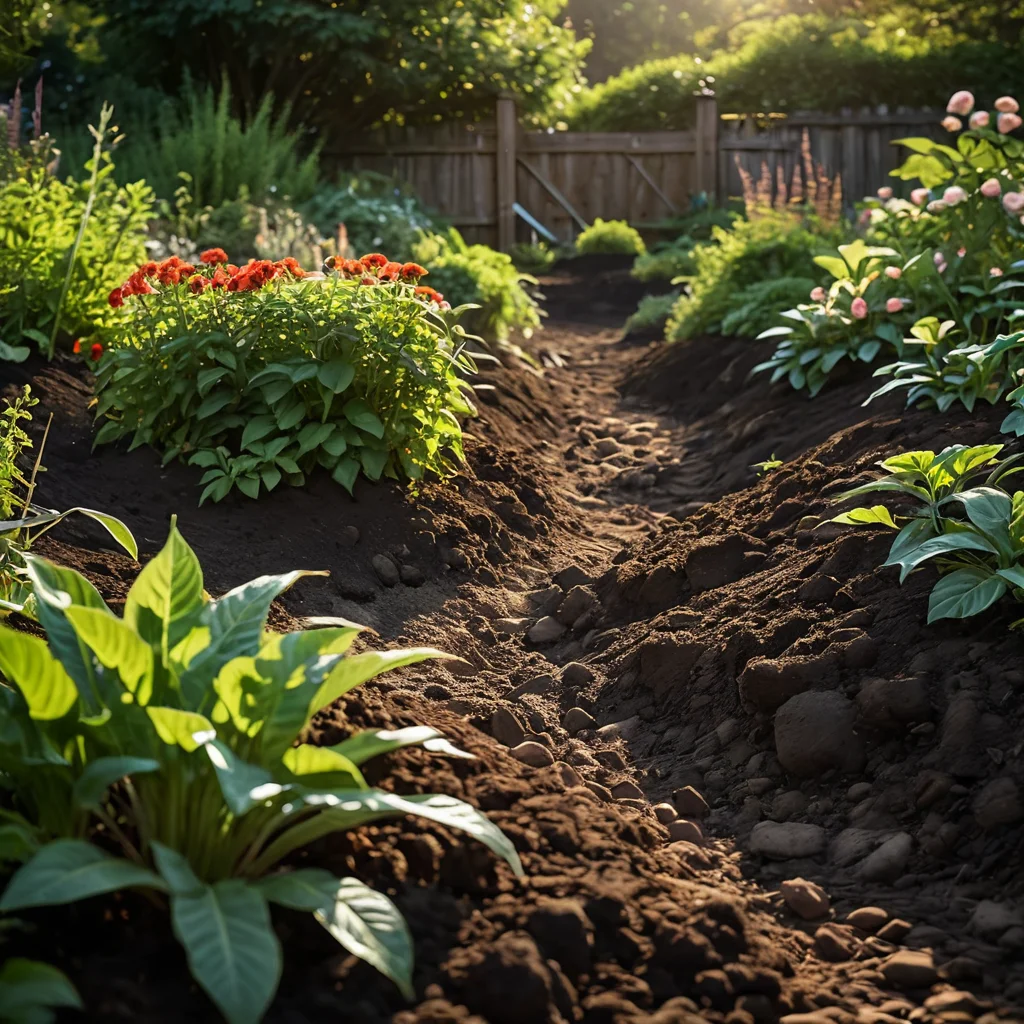
So, the plan is ready, the plants are chosen – it’s time to prepare the soil. The health of your flowers and the lushness of their bloom depend on how well you prepare the ground. Don’t neglect this stage, as it’s the foundation of your future “rainbow” beauty!
1. Choosing and Arranging the Site
Cleaning. First, thoroughly clear the chosen area of weeds, stones, and debris. If there were perennial weeds (couch grass, sow thistle) on the site, try to remove their roots as much as possible.
Forming the Flowerbed. If you plan a raised flowerbed, outline its borders using:
- Edging tape
- Decorative stones
- Bricks or wood
- Metal profile
For a regular flowerbed, simply outlining the contour is sufficient.
2. Soil Preparation
Digging. Dig the soil deeply (to the depth of a spade, about 20-25 cm). This will improve aeration and drainage.
Adding Fertilizers. A “rainbow” flowerbed needs a lot of energy for lush blooming, so add nutrients:
- Organic Fertilizers: Rotted manure, compost. Apply at a rate of 5-10 kg per square meter. This will improve soil structure and enrich it with nutrients.
- Mineral Fertilizers: Complex fertilizers for flowering plants. Pay attention to the composition: it’s important that they contain enough phosphorus and potassium, which stimulate flowering. Follow the instructions on the packaging.
- Drainage Materials: If your soil is heavy and clayey, add sand, fine gravel, or perlite to improve drainage.
Deacidification (if necessary). If the soil is acidic, add lime, dolomite flour, or wood ash. You can determine acidity using special test strips or litmus paper.
3. Leveling
Thoroughly level the soil surface with a rake. Remove all clumps of earth and remaining weeds. Ensure the surface is even, without holes or bumps.
4. Compaction
Slightly compact the soil (e.g., walk on it or pat it down with a rake). This will help prevent the flowerbed from settling after watering.
5. Soil Specifics for Different Plants
Important to remember: Different plants have their own soil preferences. For example:
- Acid-loving plants: azaleas, hydrangeas (although they don’t always fit the “rainbow” concept, they can be used for green zones).
- Prefer neutral or slightly alkaline soil: lavender, phlox, delphinium.
- Need light, well-drained soil: most succulents, some types of bulbs.
If you are planning a very diverse flowerbed, you may need to zone within the flowerbed itself, preparing the soil differently for different groups of plants. However, for a “rainbow” flowerbed, plants with similar growing requirements are usually chosen.
Well-prepared soil is the guarantee that your “rainbow” flowers will grow healthy, strong, and bloom abundantly!
Step-by-Step Guide: How to Create a “Rainbow” Flowerbed Yourself
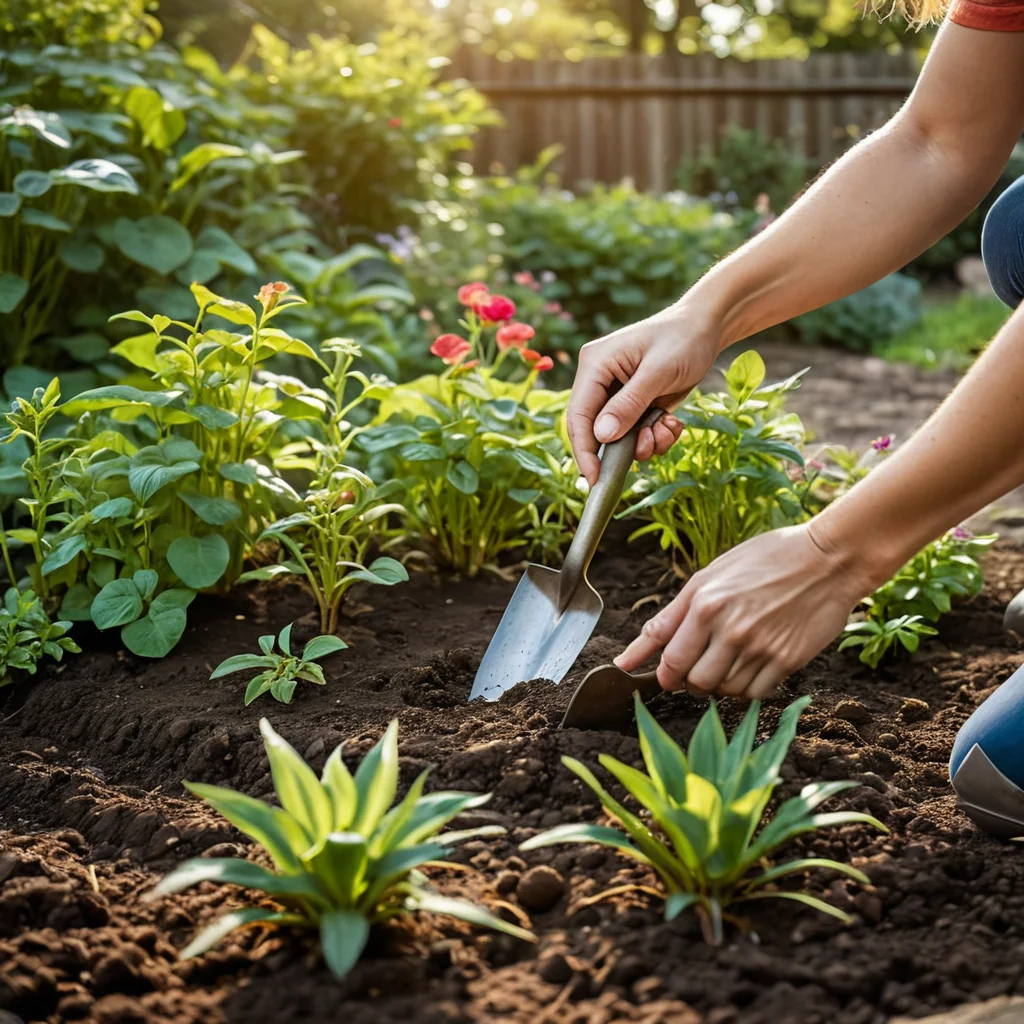
Now that the soil is ready, it’s time to get to the most creative part – planting the flowers! I always advise doing this on a cloudy day or in the evening so that young plants tolerate transplanting more easily. Follow this guide, and you’ll succeed:
Step 1: Marking the Flowerbed
Take your sketch and transfer it to the site. Use:
- Stakes and string to mark the contours and boundaries of color zones (especially relevant for linear or arched flowerbeds).
- Sand or chalk to draw outlines on the ground.
- Garden hose for smooth, curved lines.
Tip: Don’t be afraid to adjust the zone sizes on the spot if you feel it will look better. The main thing is to preserve the overall rainbow idea.
Step 2: Preparing Planting Holes
Dig planting holes for each plant. The size of the hole should be about twice the size of the seedling’s root ball.
- For annuals, holes 15-20 cm deep are sufficient.
- For perennials, 30-40 cm, depending on the size of the root system.
Important: If you are planting plants in groups, maintain the recommended spacing between them so they don’t interfere with each other’s growth.
Step 3: Planting
Carefully remove seedlings from their pots. If the roots are tightly tangled, gently loosen them from the bottom. Place the plant in the hole so that the root collar is at ground level or slightly above.
- Start from one end of the flowerbed, following your scheme. For example, from the red zone.
- Arrange the plants first “dry” to assess the composition, and only then proceed with planting.
- Group plants of the same species. This looks more impressive than single plantings.
- Don’t forget about height. Plant tall plants in the center or at the back, and short ones in the front.
Tip: Use plants with decorative foliage (hostas, heucheras) to create green transitions or to emphasize zone boundaries. They will add volume and texture.
Step 4: Backfilling and Watering
Carefully backfill the holes with soil, gently compacting it around the roots to avoid air pockets.
Water generously the planted plants. This will help the soil settle and ensure root contact with the soil.
Step 5: Mulching
After watering, mulch the soil around the plants. You can use the following as mulch:
- Bark
- Decorative gravel
- Compost
- Mowed grass (slightly dried)
Mulch helps retain soil moisture, suppresses weed growth, and looks aesthetically pleasing. It also helps smooth the boundaries between different zones if you used, for example, gravel.
Step 6: Finishing Touches
Check if everything looks as you intended. Perhaps you should add a few small accents, such as decorative stones or figurines.
Congratulations! Your “rainbow” flowerbed is ready! Now all that’s left is to wait for the plants to establish and start delighting you with their riot of colors.
Caring for a “Rainbow” Flowerbed: Watering, Fertilizing, and Maintaining Color Brightness
Creating a “rainbow” flowerbed is only half the battle; the most interesting part begins afterward: watching it grow and bloom. And for your rainbow to shine as brightly and as long as possible, it needs proper care. I always say: “Care is love for your plants”!
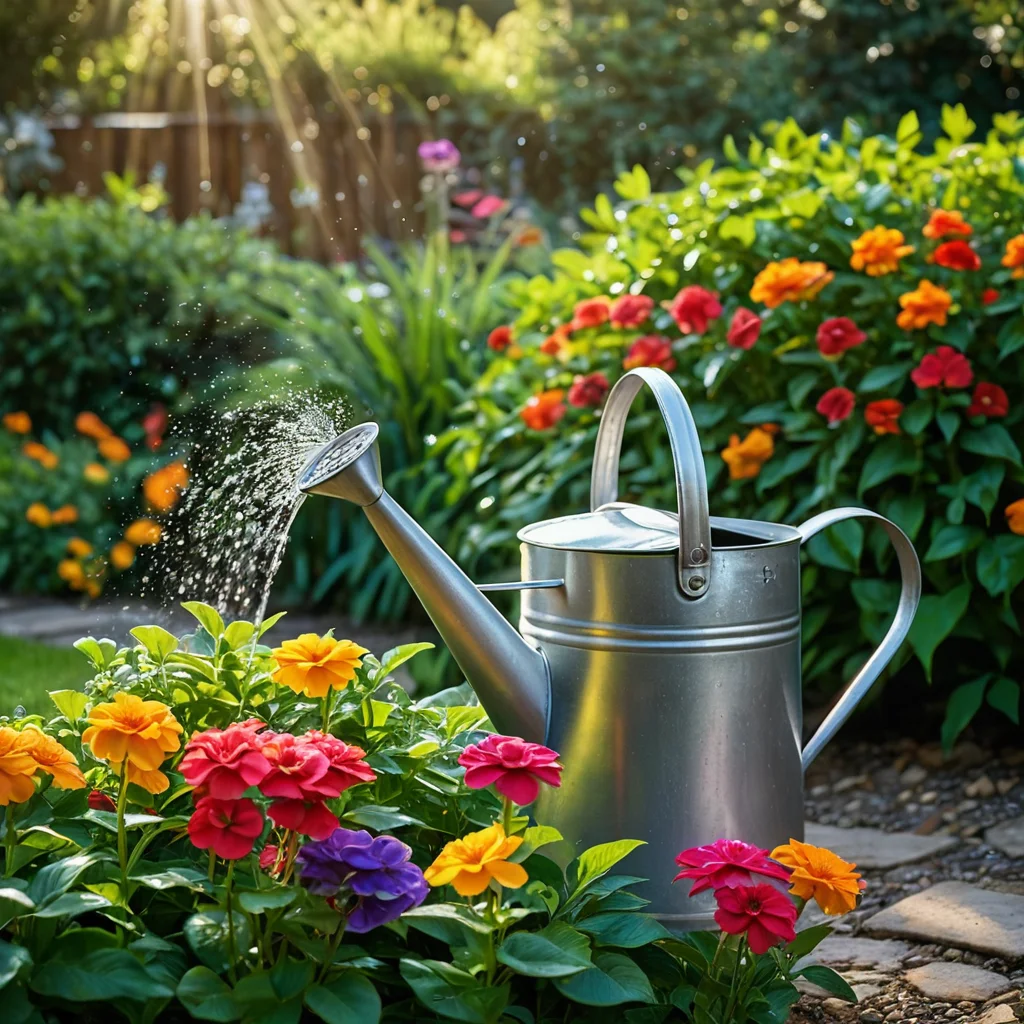
1. Watering
Regularity. “Rainbow” flowerbeds typically consist of sun-loving plants that require sufficient watering, especially in hot weather. Check the soil moisture:
- In dry weather, water the flowerbed daily or every other day.
- In cool and rainy weather, watering can be reduced.
Watering Method. Try to water plants at the root, avoiding getting water on the leaves and flowers, especially in sunny weather (this can cause burns). The best time for watering is early morning or evening.
Tip: Using drip irrigation systems is an excellent option for flowerbeds; it saves water and time.
2. Fertilizing
To maintain bright and prolonged flowering, plants need nutrients. “Rainbow” flowerbeds, where plants bloom abundantly, are particularly in need of fertilization.
- In spring: Use complex mineral fertilizers with a predominance of nitrogen to stimulate the growth of green mass.
- During bud formation and flowering: Switch to fertilizers with a higher content of phosphorus and potassium. They promote the formation of lush buds and vibrant colors.
- Every 3-4 weeks, you can fertilize with liquid complex fertilizers for flowering plants.
Important: Strictly follow the instructions on the fertilizer packaging. An excess of nutrients can harm plants just as much as a deficiency.
3. Weeding and Loosening
Regularly remove weeds, which take water and nutrients away from cultivated plants. After watering or rain, when the soil has slightly dried, gently loosen it. This will ensure air reaches the roots and prevent the formation of a soil crust.
Tip: Mulching, done during the planting stage, will significantly reduce the amount of weeding.
4. Removing Spent Blooms
Timely remove faded flowers and seed pods. This:
- Prolongs the flowering period of many plants (they don’t spend energy forming seeds).
- Maintains the decorative appearance of the flowerbed.
- Prevents self-seeding (if you don’t plan to collect seeds).
5. Winter Preparation
In autumn, after the first frosts, prune faded perennials. Remove fallen leaves and plant debris to prevent the development of diseases and the appearance of pests.
Winter Protection: Some heat-loving perennials (e.g., some varieties of dahlias, if you decide to grow them) may require winter protection or digging up of tubers.
Tip: A “rainbow” flowerbed looks impressive even in autumn, thanks to the variety of leaf shapes and late blooming of some plants. Proper care will allow you to enjoy its beauty for as long as possible.
Common Mistakes When Creating a “Rainbow” Flowerbed and How to Avoid Them
Even experienced gardeners sometimes make mistakes. A “rainbow” flowerbed is bright and spectacular, but it has its nuances. Let’s look at the most common mistakes so that your “rainbow” turns out flawless:
- Mistake 1: Incorrect Site Selection.
- Why it’s a mistake: Many “rainbow” flowers are sun-lovers. If planted in shade, they will stretch, bloom poorly, or refuse to bloom altogether.
- How to avoid it: Carefully study the site’s lighting before planning the flowerbed. Choose plants that match the lighting conditions.
- Mistake 2: Not Following Color Order.
- Why it’s a mistake: Although the rainbow is a symbol of harmony, a disturbed color order can look chaotic and unnatural.
- How to avoid it: Strictly follow the color arrangement scheme. Use the sketch as a guide. If you want to improvise, do it consciously, understanding how the colors complement each other.
- Mistake 3: Ignoring Plant Height.
- Why it’s a mistake: If all plants in the “rainbow” zones are planted at the same height, the flowerbed will look flat. Tall flowers can obscure shorter ones.
- How to avoid it: Plan the flowerbed considering plant heights. Use the principle of “from tall to short” when planting. Combine plants of different heights within each color zone to create volume.
- Mistake 4: Overcrowding.
- Why it’s a mistake: Young seedlings look cute, but they grow. Overcrowding leads to competition for light, water, and nutrients, diseases, and a decline in appearance.
- How to avoid it: Maintain the recommended spacing between plants, as indicated on labels or in variety descriptions. Consider the mature size of the plant.
- Mistake 5: Unprepared Soil.
- Why it’s a mistake: Poor or overly heavy soil will prevent plants from developing properly, and flowering will be sparse.
- How to avoid it: Always prepare the soil thoroughly: dig it, add organic and mineral fertilizers, and improve its structure if necessary.
- Mistake 6: Improper Watering.
- Why it’s a mistake: Both a lack and an excess of moisture are detrimental to plants.
- How to avoid it: Water regularly but moderately, focusing on soil condition and weather. Avoid watering during the hottest part of the day.
- Mistake 7: Using Only Annuals.
- Why it’s a mistake: The flowerbed will only be beautiful for one season, and then it will have to be created anew.
- How to avoid it: Whenever possible, combine annual and perennial plants. This will help maintain the structure and beauty of the flowerbed for several years, as well as reduce labor.
- Mistake 8: Ignoring Plants with Decorative Foliage.
- Why it’s a mistake: A “rainbow” flowerbed can look a bit dull during periods when the main flowers haven’t bloomed yet or have already faded.
- How to avoid it: Actively use plants with green, lime-green, bluish foliage (hostas, heucheras, ornamental grasses) to create a background, fill gaps, and ensure smooth transitions between color zones.
Remember that creating a “rainbow” flowerbed is a creative process. Don’t be afraid to experiment, learn from your mistakes, and enjoy the results. Your own rainbow in the garden is a wonderful opportunity to add bright colors and positive emotions to your life!