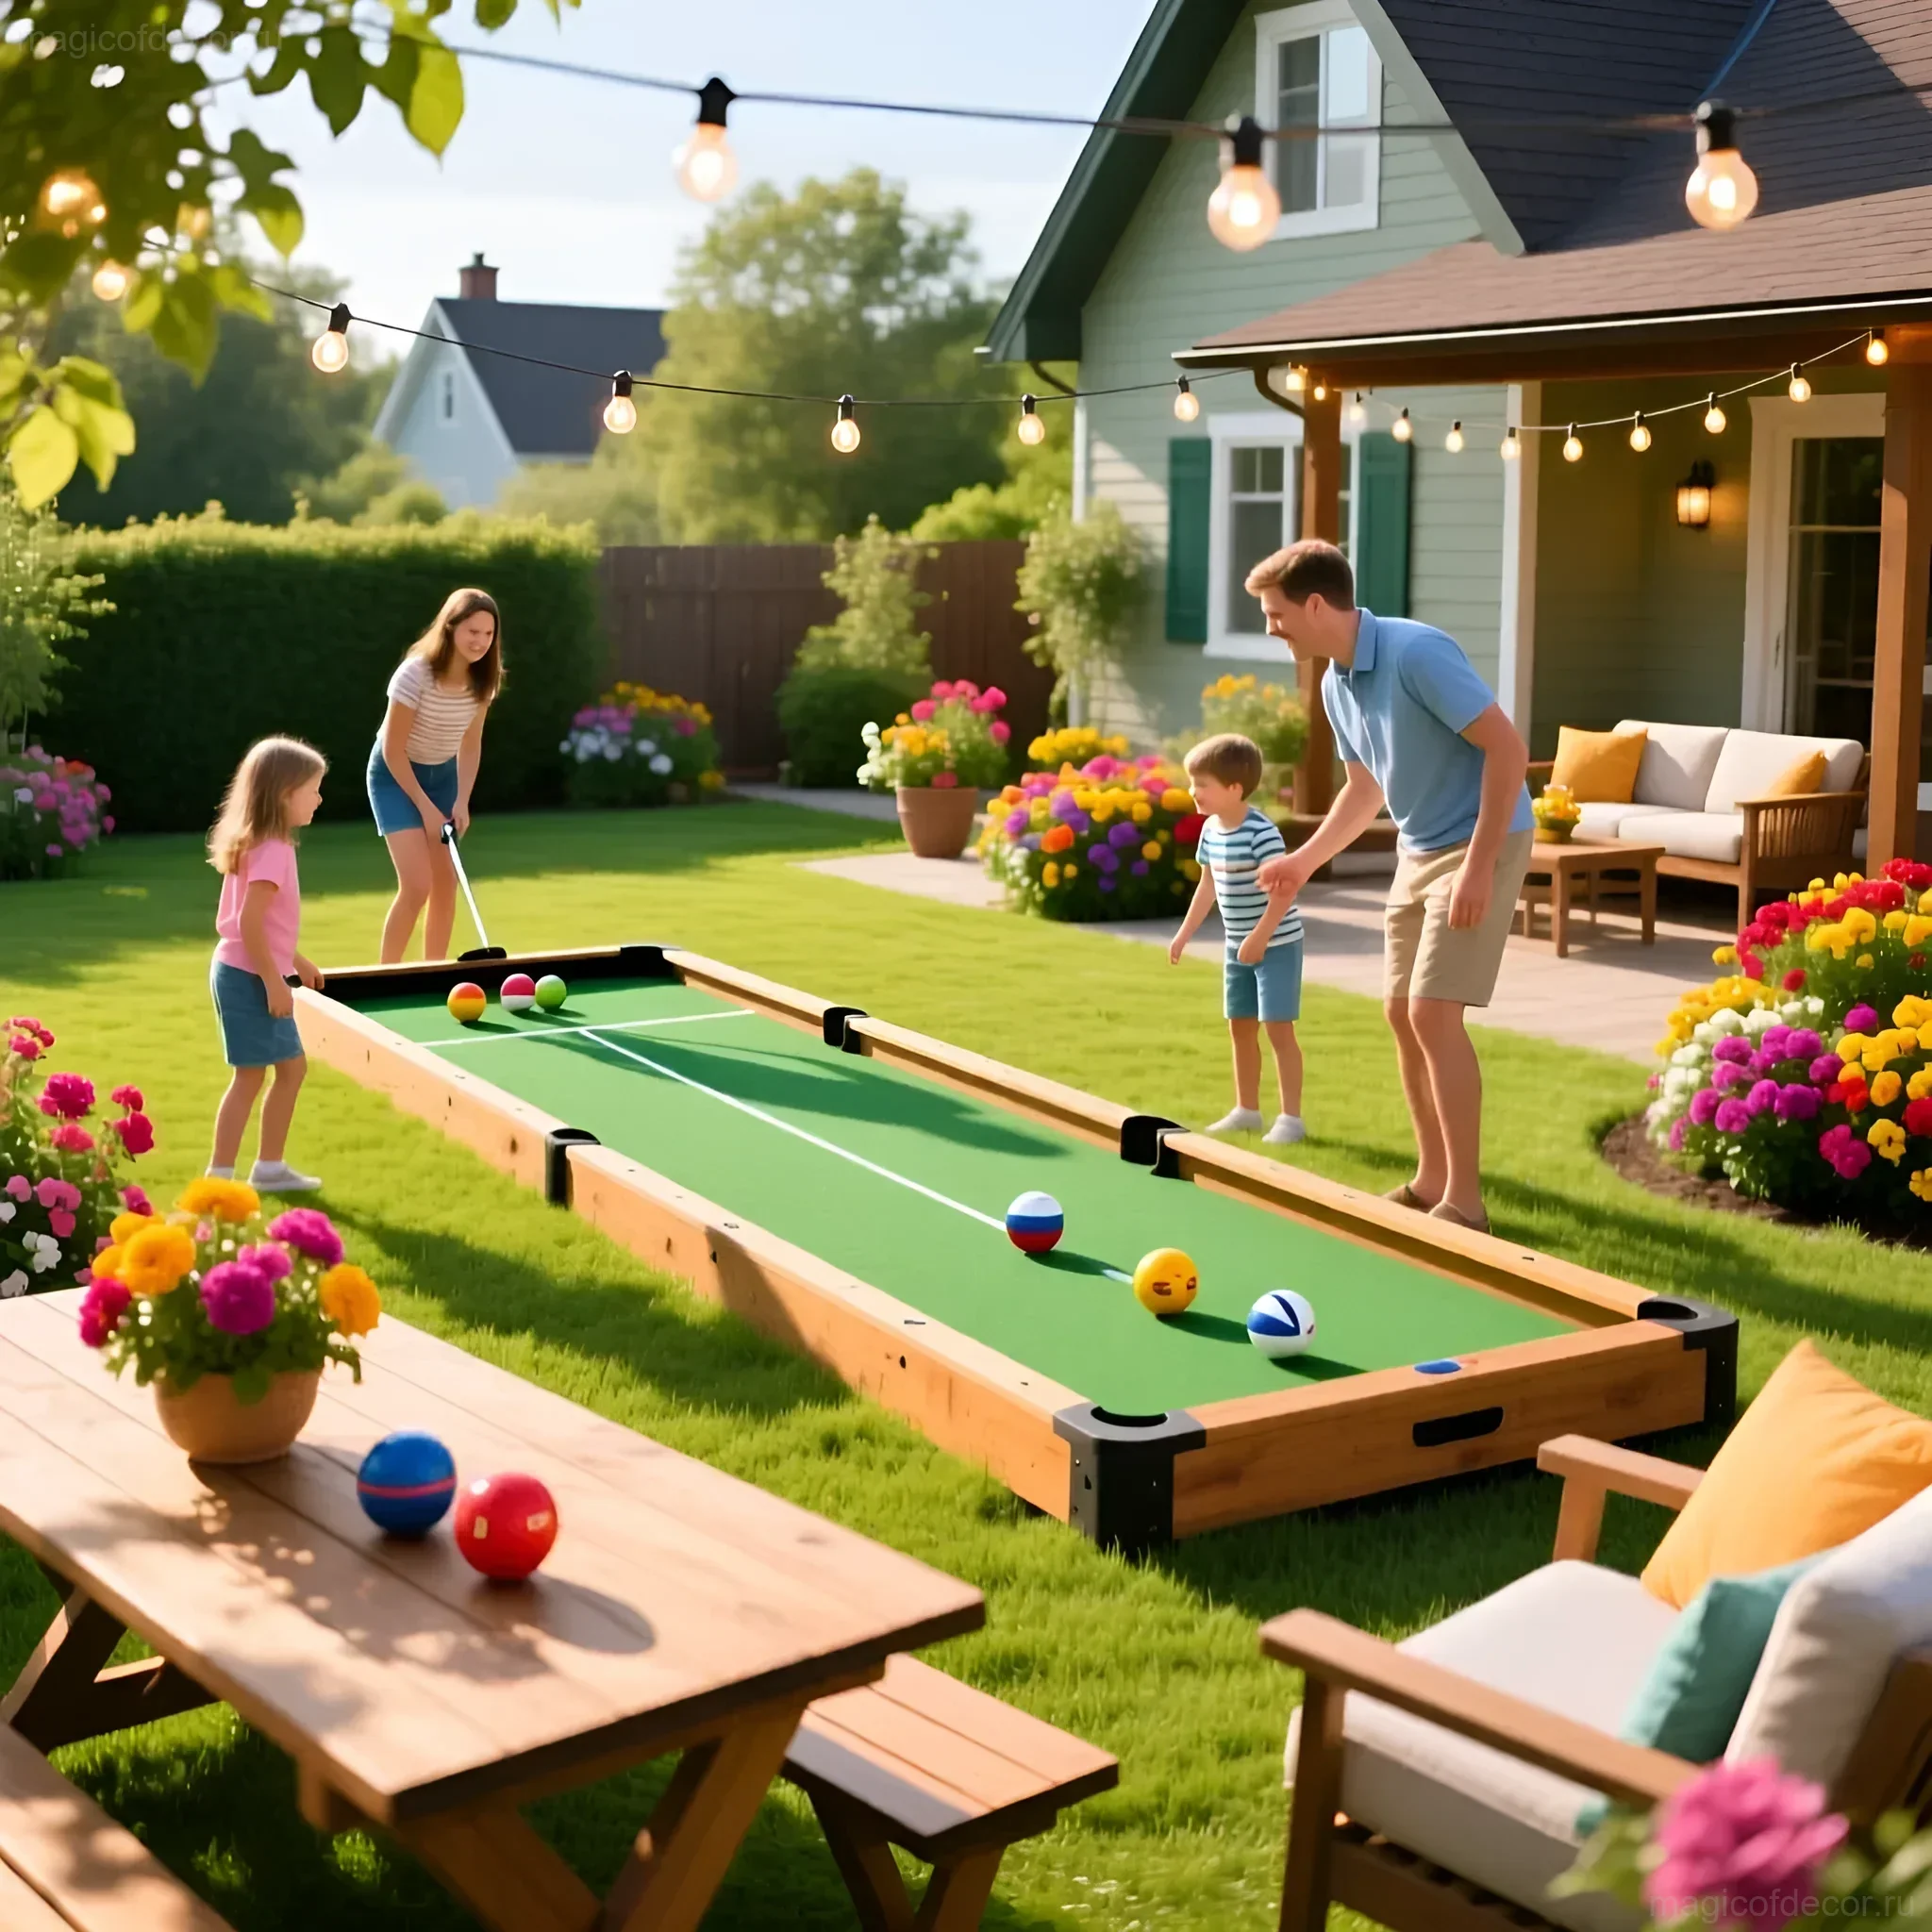
My dear lovers of coziness and fresh air! How wonderful it is when a dacha becomes not just a place for vegetable beds, but a real family resort, where an atmosphere of joy and carefree relaxation reigns. And what could be better than creating a zone that unites everyone – from the youngest to grandparents? We won’t be talking about complex landscape design or major renovations today. Our focus is on games that inspire and beautify: elegant French petanque and our own, no less exciting, gorodki.
Today, like true decorators and a little bit builders, we will figure out how to create these play areas with our own hands, with minimal budget investment, but maximum soul and beauty. This will not just be construction, but a creative project to create the perfect place for summer memories!
Backyard Game Zone: Inspiration and Ideas for Family Recreation
Why petanque and gorodki? Because these games do not require complex structures, fit perfectly into the natural landscape of a dacha, and most importantly, they are incredibly social. A play area for them is not just a place to play, it’s a center of attraction where you can drink lemonade, chat, and enjoy the summer.
Our goal: to create not just a functional, but also an aesthetically pleasing zone that will become part of your dacha decor. Imagine: neat wooden borders, a path sprinkled with light sand, and cozy lighting so you can play until late in the evening.
- Petanque (Bocce): requires a flat, but slightly loose surface (sand, gravel). Ideal for creating a neat, European-style “lane” on your property.
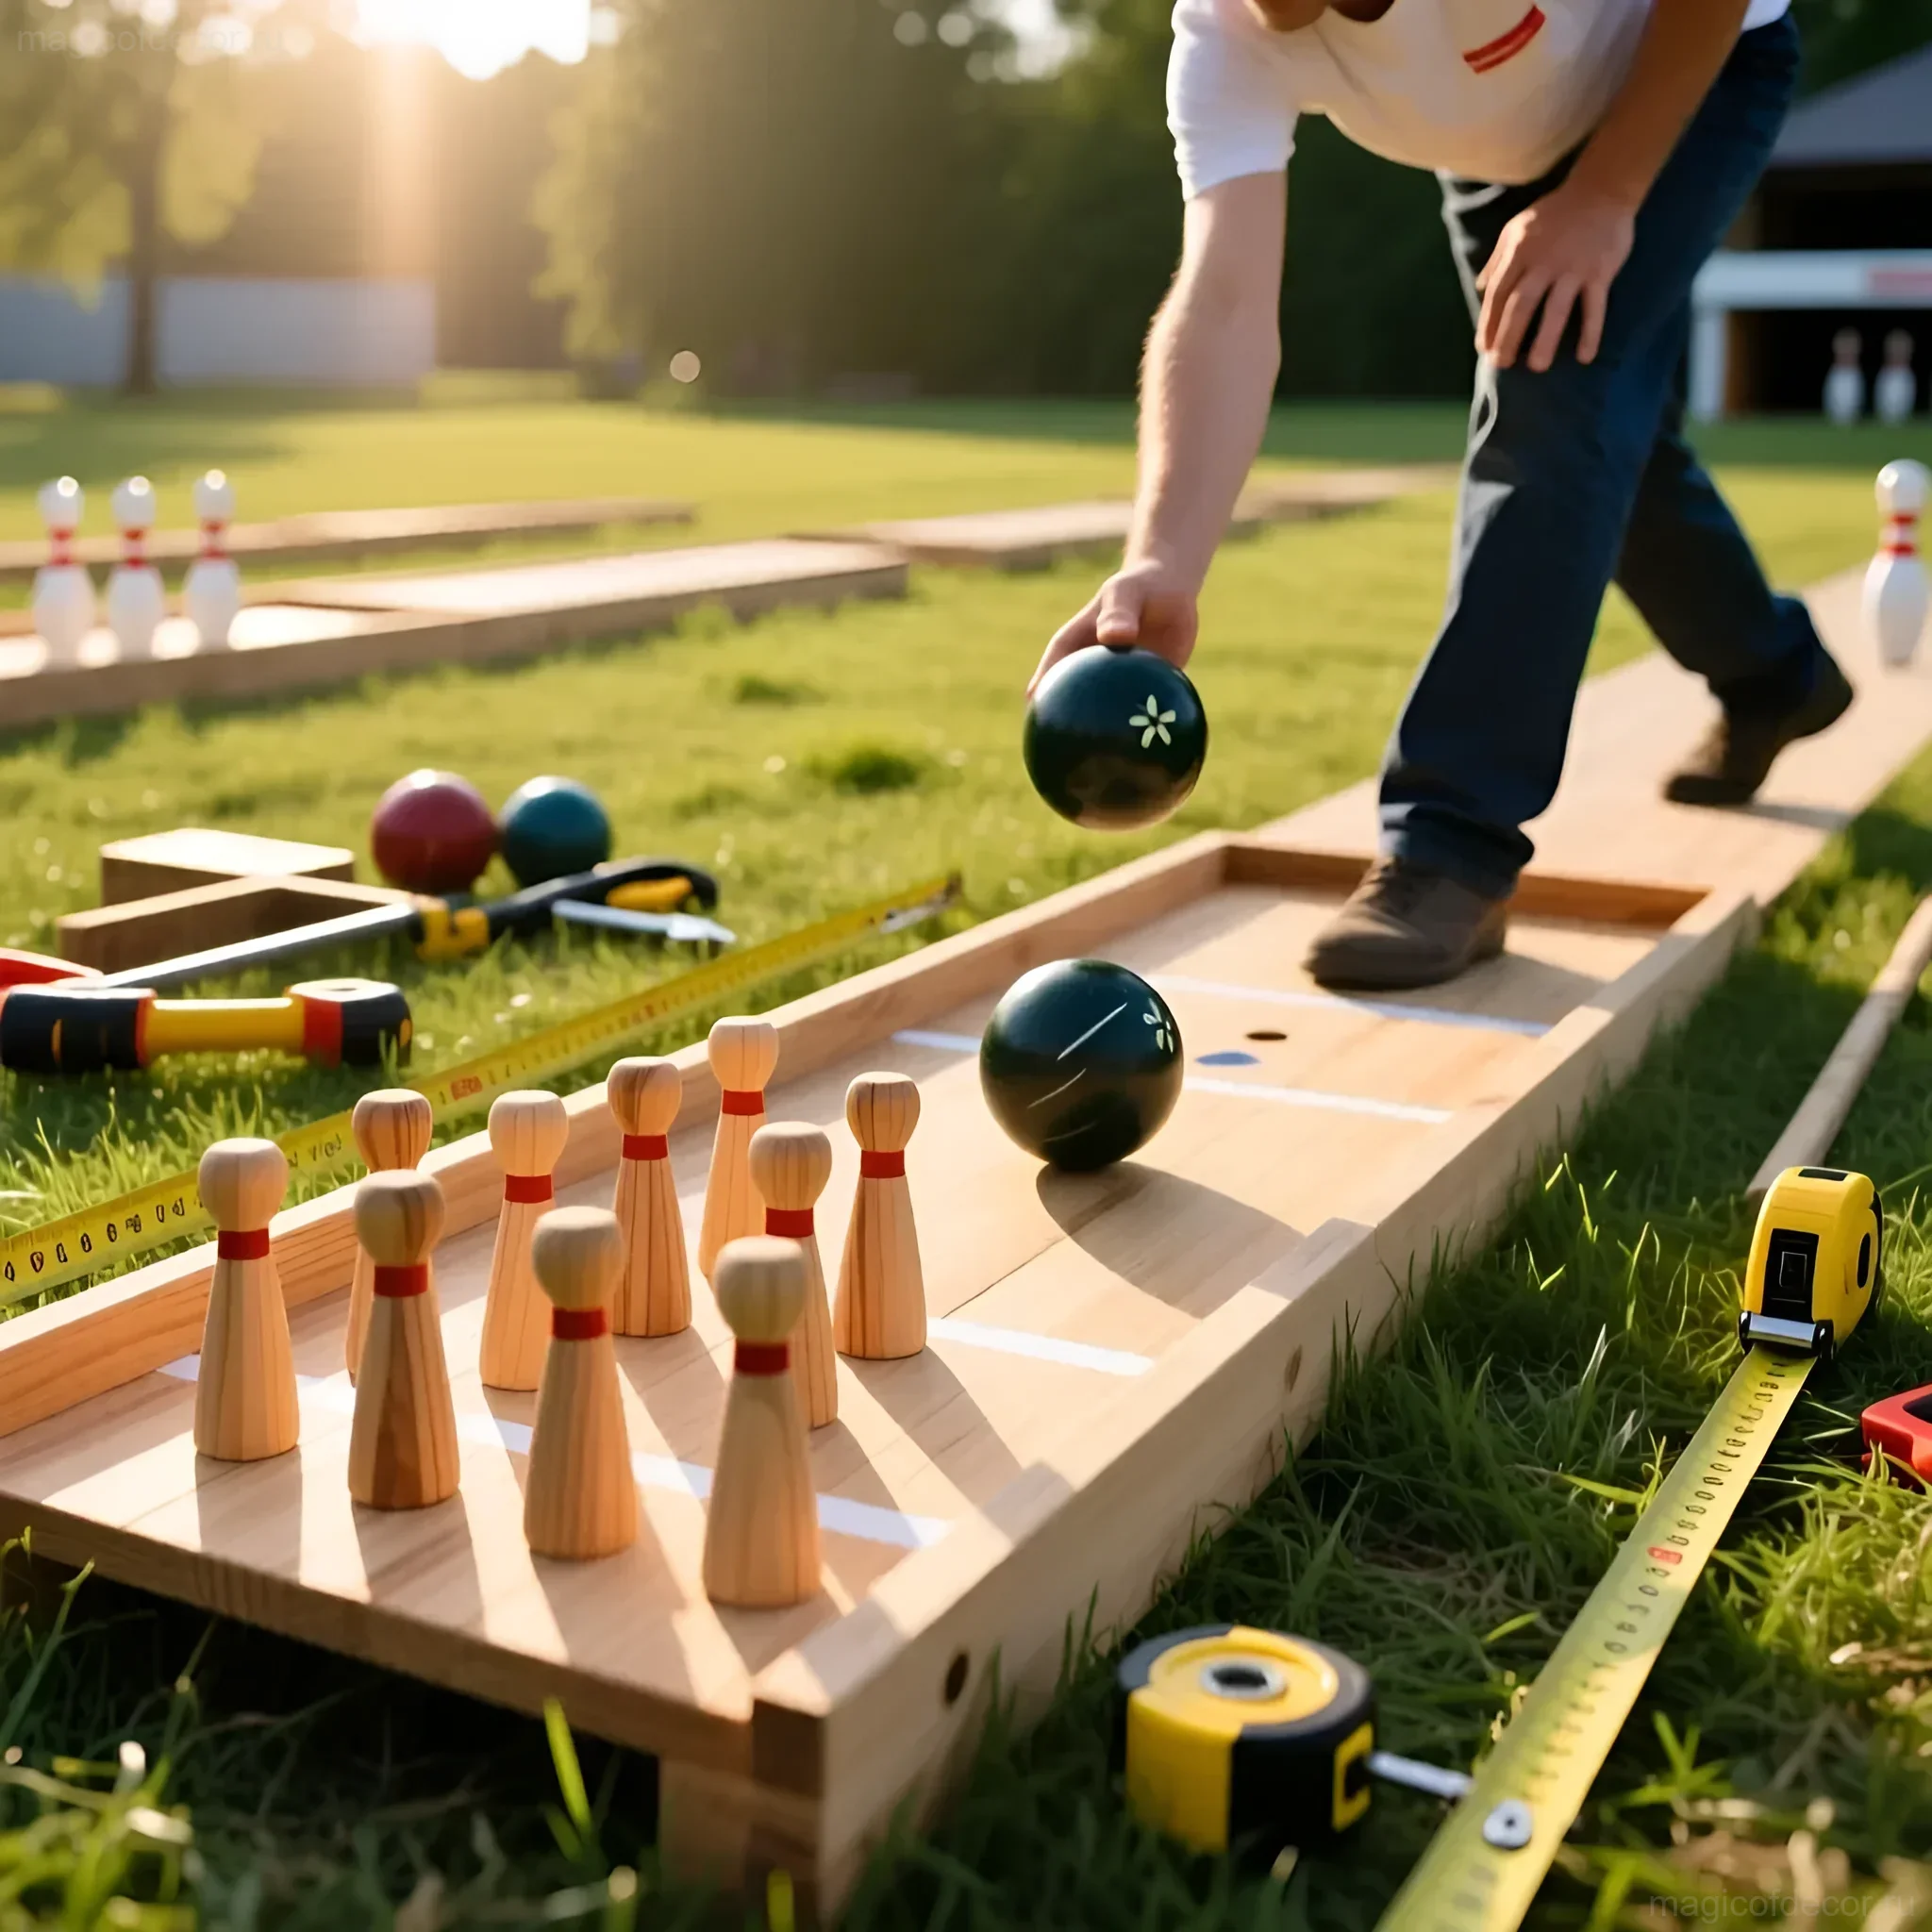
- Gorodki: requires a flat, compacted surface (earth, clay, or even a closely mown lawn) and clear markings. This is a more brutal and dynamic, but no less stylish option.
Petanque and Gorodki: Choosing Materials and Necessary Tools
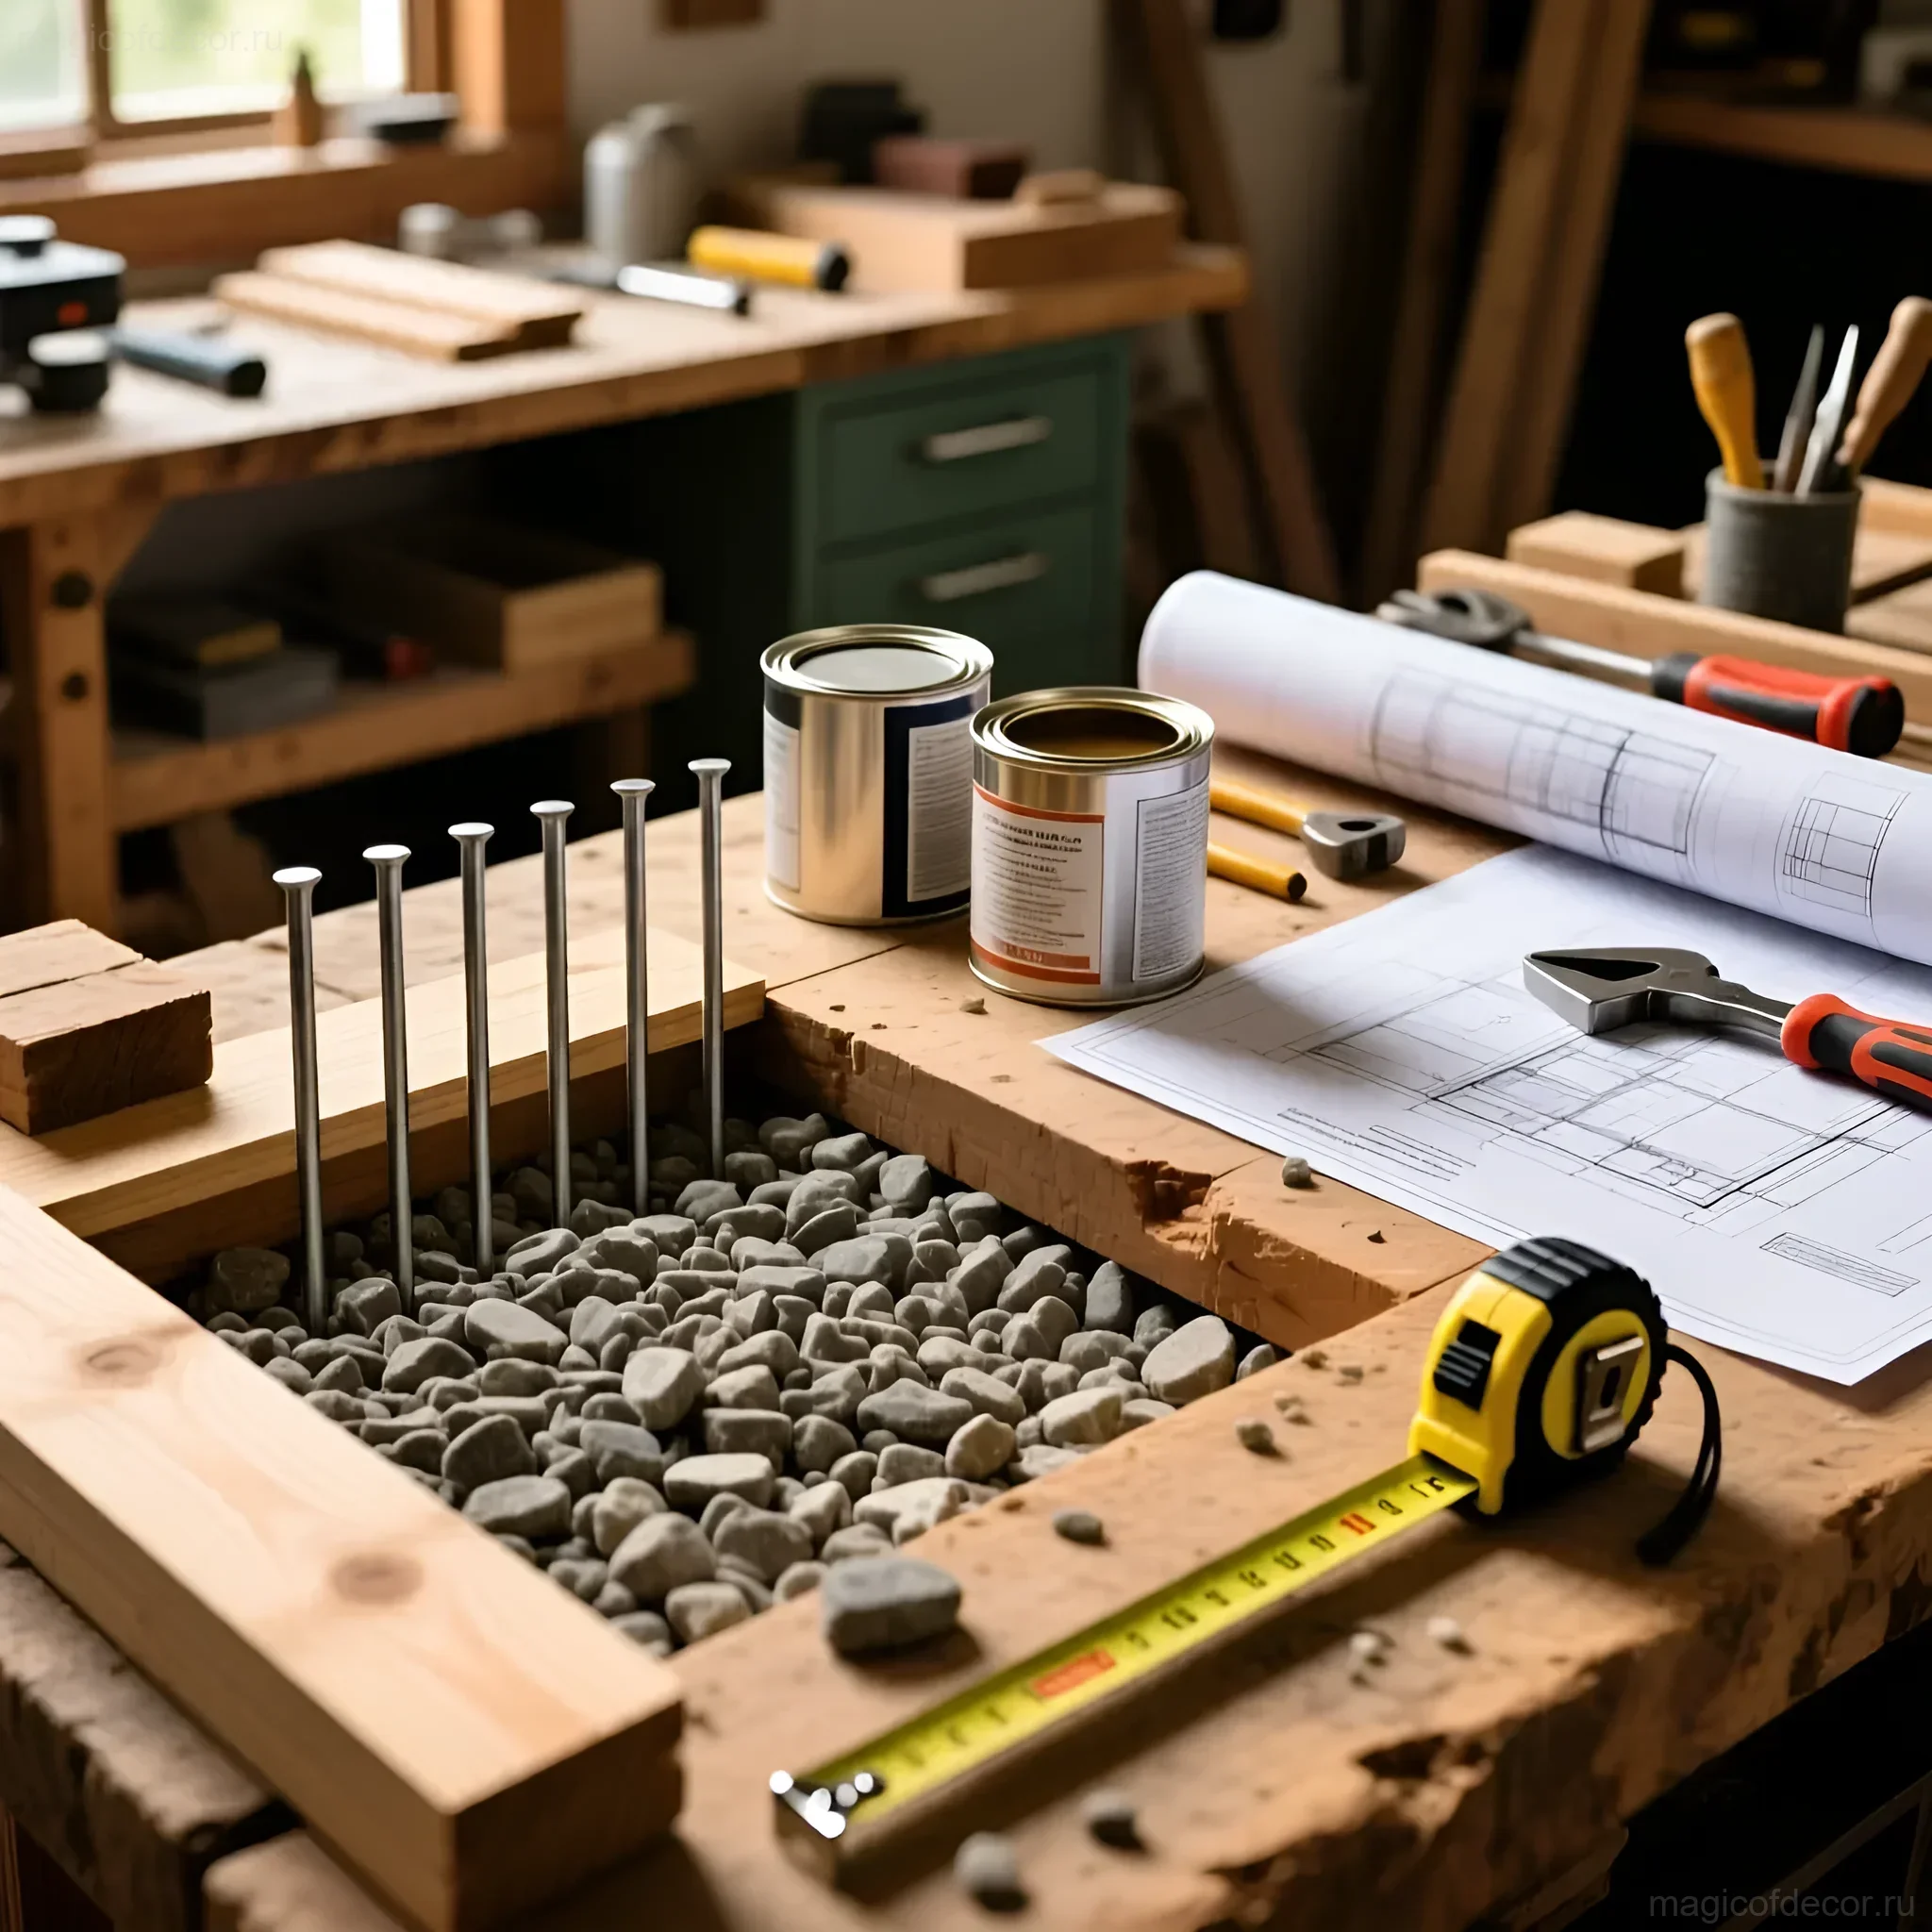
Before we start any groundwork, let’s decide what we’ll need. Remember, we’re focusing on budget-friendly and accessible materials that can be found in any hardware or garden store.
Materials for a Petanque Court (standard size 3–4 meters wide and 12–15 meters long, but can be reduced)
- For borders: Wooden beams or sleepers (landscape logs). They look natural and are easy to attach. Alternative: old curb stones or even tightly packed wine bottles (for a decorative effect).
- For base and drainage: Geotextile (essential!), coarse gravel (drainage layer).
- For playing surface: Screenings (fine gravel, granite chips) or coarse river sand. It’s ideal if you can find oyster shell grit – it provides perfect density and color.
- Fasteners: Long metal stakes or rebar to secure the borders in the ground.
Materials for a Gorodki Court (standard square 6×6 meters)
- For the surface: If you already have a flat area, simply compact the soil. If not, you can use a thin layer of sand or fine gravel, which is then tightly compacted.
- For marking: Garden twine, tape measure.
- For marking lines: Facade paint or lime (for temporary markings), or thin wooden planks dug into the ground level (for permanent markings).
Step-by-Step Instructions: How to Build a Petanque Court Yourself
A petanque court, or boulodrome, should be not only beautiful but also functional, ensuring good drainage. We don’t want puddles after rain!
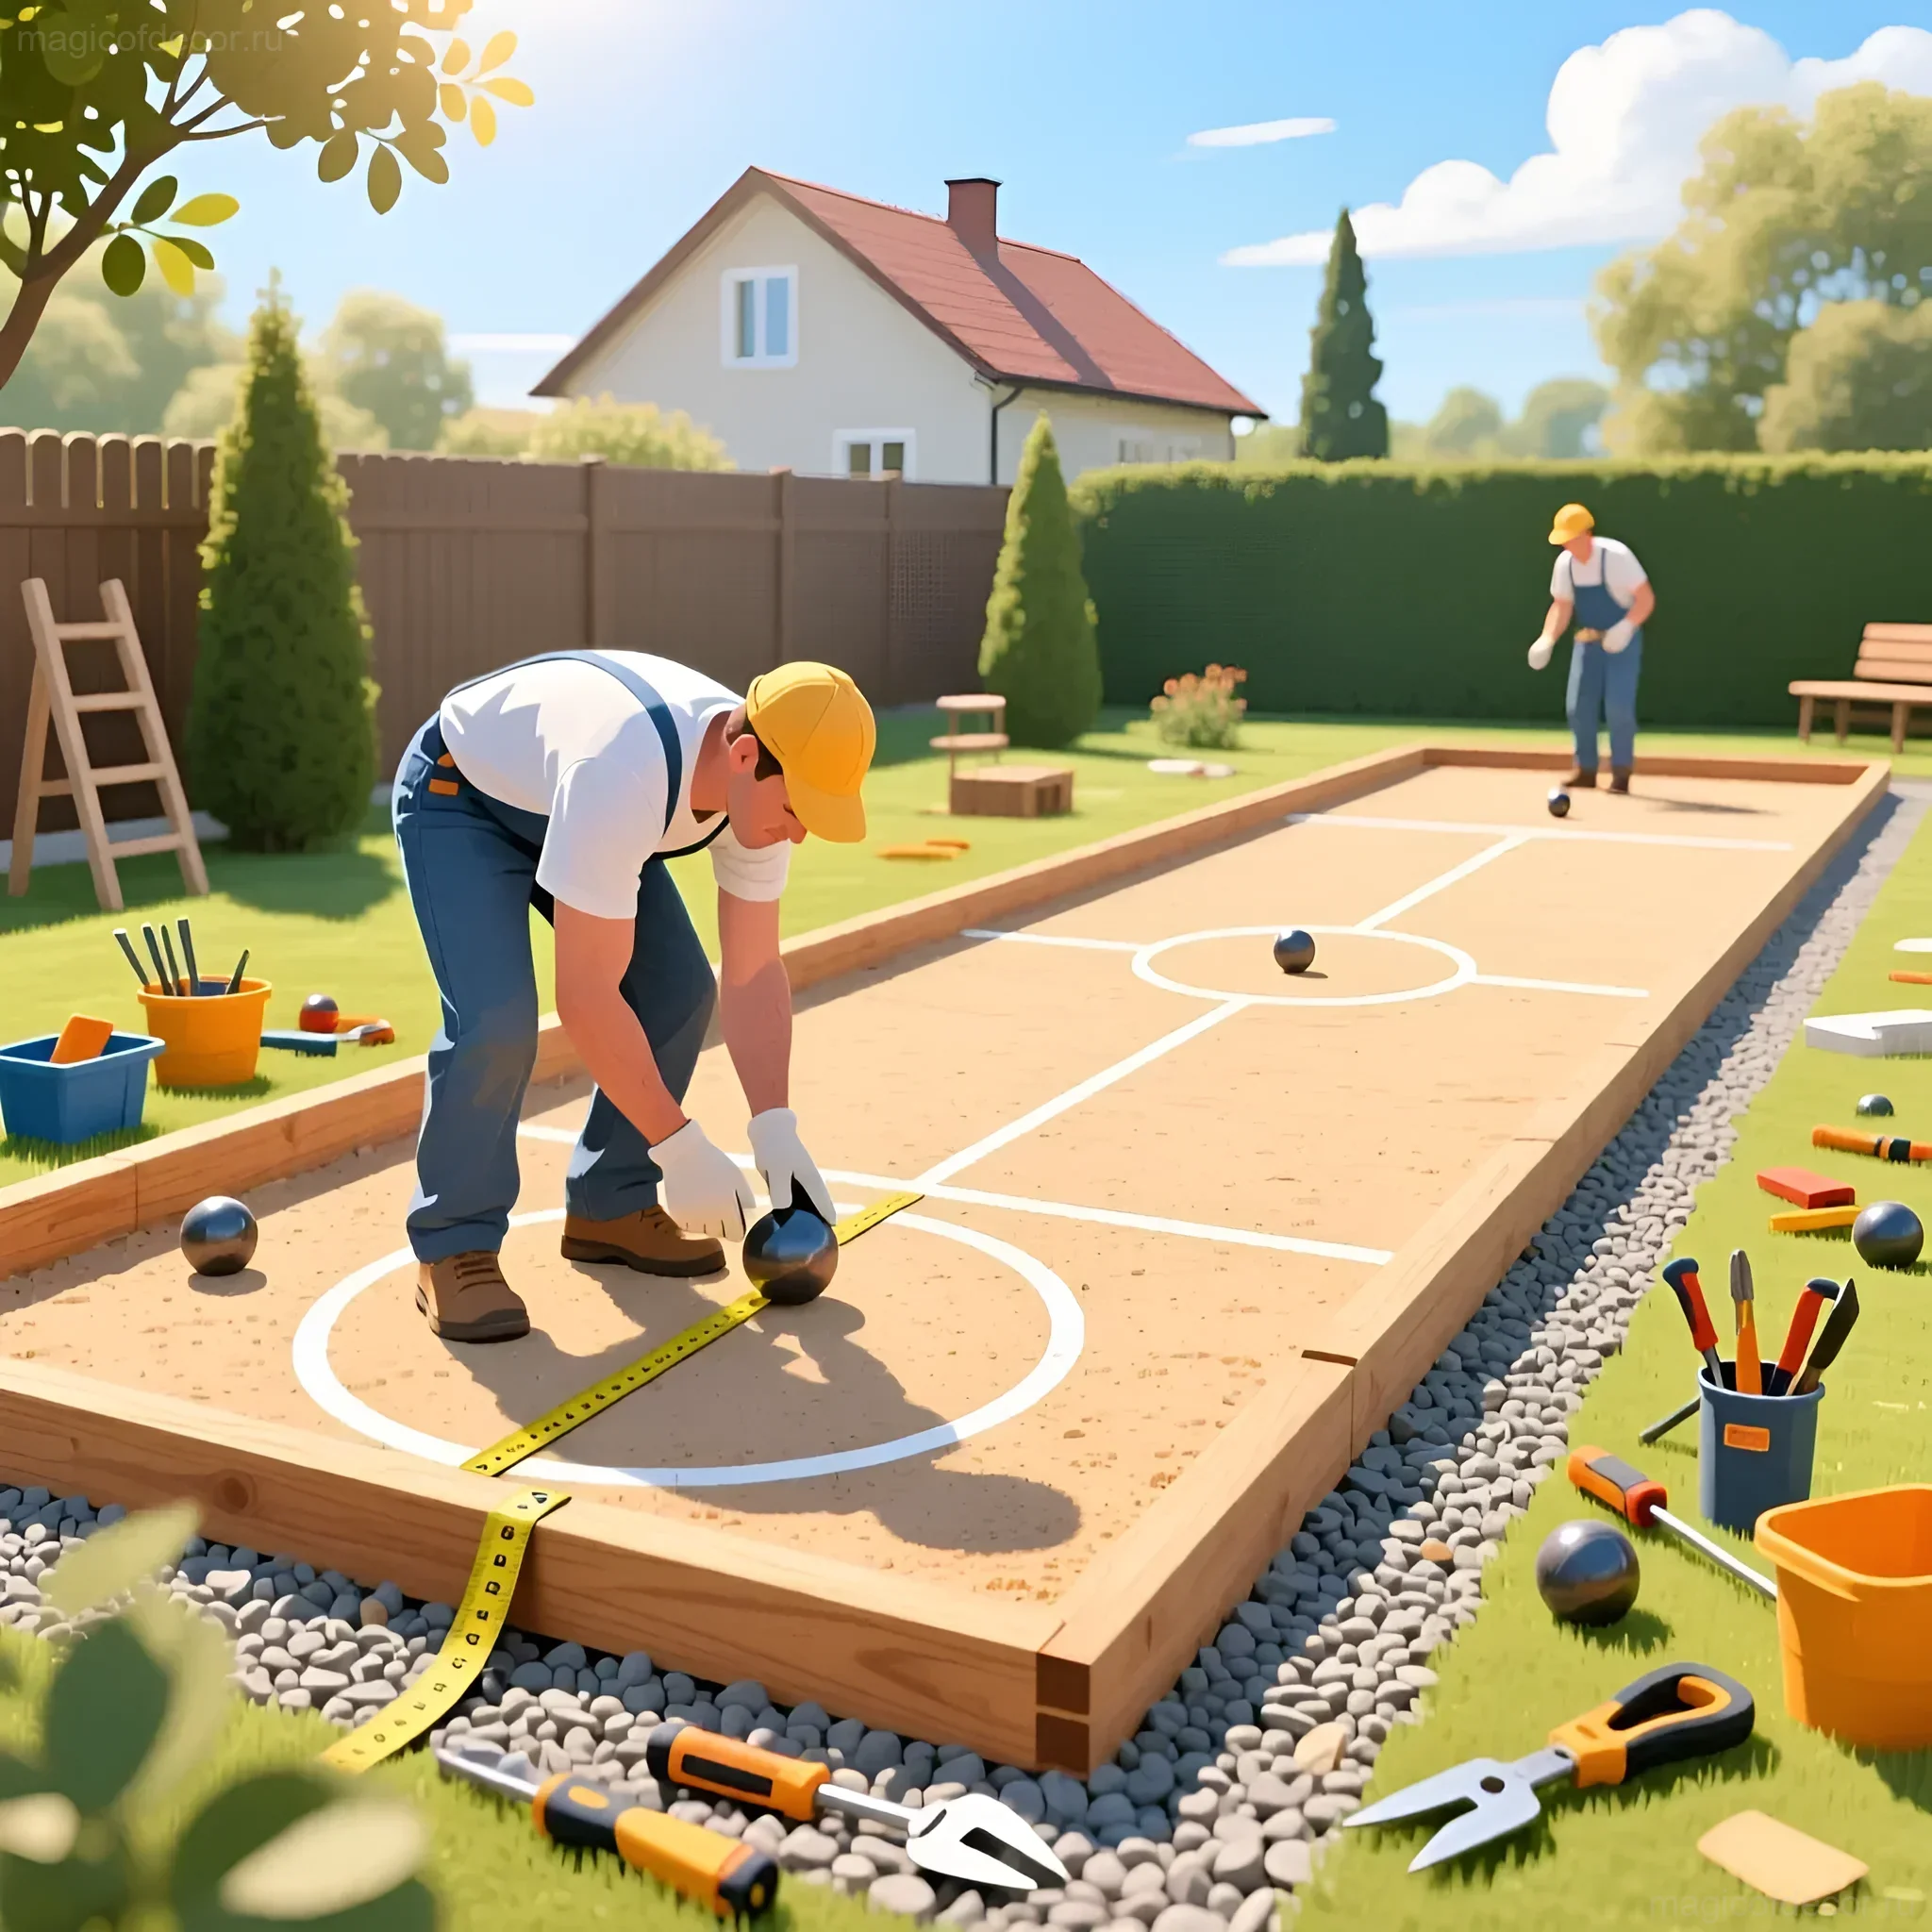
Step 1: Site Selection and Marking
Choose a maximally flat area, preferably in partial shade, so it’s comfortable to play even on a hot day. Use stakes and twine to mark the boundaries (e.g., 3.5 x 13 meters).
Step 2: Preparing the Base and Drainage
Remove the top layer of turf (about 15–20 cm). This indentation will be our “bath” for laying the layers. Ensure the bottom is flat and slightly sloped for water runoff.
- Laying geotextile: Cover the bottom with geotextile. It will prevent weed growth and mixing of layers.
- Drainage layer: Pour 5–7 cm of coarse gravel. This is the foundation of our drainage.
Step 3: Installing Borders (the most decorative stage!)
Lay wooden beams around the perimeter. The beams should be high enough (about 10–15 cm) to hold the playing surface. Secure them in the ground with metal stakes or brackets. If you want the borders to look as decorative as possible, treat the wood with stain or a protective varnish of a natural shade.
Step 4: Creating the Playing Surface
Now we create that perfect surface on which the balls will roll, but not too fast.
- Pour a layer of fine gravel or gravel screenings (5–7 cm). Compact it with a plate compactor or at least a heavy roller.
- Finishing layer (3–5 cm): pour coarse sand, granite chips, or a mixture of sand and clay. This layer should be loose enough for the balls to sink slightly when they land.
- Compact again and lightly moisten the surface.
Decorator’s tip: for a lighter and more “Mediterranean” look, use light quartz sand. This will immediately give the court a sophisticated feel.
Creating a Gorodki Court: A Detailed Guide
Gorodki is a more dynamic game and requires fewer layers, but more precision in marking. The key here is flatness and clear lines.
Step 1: Preparation and Leveling
Choose an area of 8×8 meters (this includes the throwing zone). Thoroughly remove all stones, roots, and level the ground. If the soil is too loose, it needs to be compacted, and possibly clay soil or fine gravel added to create a firm surface.
Step 2: Marking the “Gorods”
We will need two “gorods” – 2×2 meter squares, placed 13 meters apart (for adults; for children, this can be reduced to 8–10 meters). Use a tape measure to ensure the corners are perfectly square (check the diagonals).
Step 3: Marking the Throwing Zones
At a distance of 13 meters from the front line of the “gorod,” mark the throwing zone. For convenience, you can place a small bench or a bat holder, which will also serve as a zone marker.
Step 4: Securing the Lines
- Budget option: stretch twine and sprinkle the lines with lime or white sand. This will require redoing after every rain.
- Durable option: Use white facade paint that is resistant to weathering. For maximum durability, dig thin wooden or plastic planks, painted white, level with the ground, around the perimeter.
Important: Unlike petanque, gorodki requires the “gorod” to be surrounded by a penalty zone (a 6×6 meter square), beyond which the bats should not fly. Be sure to mark this outer square.
Harmonious Color Combinations and Zoning of the Play Area
This is where we start decorating! The play area should be visually separated from the vegetable garden and relaxation area, but at the same time harmoniously integrated into the overall dacha picture.
Color Palette: Naturalness and Contrast
For areas with a lot of sand and wood, natural, muted shades work best:
- Base: Sand, natural wood (pine, larch).
- Accents: Terracotta, olive, deep blue, or gray (for textiles, cushions, benches).
- Contrast (for markings): Pure white or light yellow.
Zoning and Comfort
The play area should include not only the courts themselves but also places for spectators and storage of equipment.
- Spectator area: Place simple benches or loungers along the long side of the petanque court. Pallet furniture, painted in a light color and decorated with soft cushions, will look ideal and very budget-friendly.
- Vertical zoning: If the court is in direct sunlight, use a pergola or a light-colored fabric canopy. This is not only protection but also an important decorative element that adds intimacy to the space.
- Lighting: Be sure to add warm LED string lights (Edison bulbs). They can be strung over the seating area or along the perimeter of the wooden borders. This instantly transforms the space in the evening, making it magical and cozy.
Budget-Friendly Solutions: Saving on Dacha Playgrounds
Creating the perfect relaxation area doesn’t require huge investments if you approach it with imagination and use available resources.
Saving on Surface Materials
The biggest expense when creating a boulodrome is the playing surface (gravel and screenings).
- Use recycled materials: Instead of expensive granite screenings, consider using brick chips (broken bricks, which can be found at construction sites or bought very cheaply). Brick chips give a beautiful terracotta hue.
- Local sand: If there is quarry or river sand in your area, use it as the top layer for petanque. The main thing is that it is clean and coarse.
Saving on Borders
Instead of new, expensive landscape beams:
- Old sleepers: If you have access to old railway sleepers (treated to exclude skin contact), they will make an ideal, robust, and durable border.
- Stones from the plot: Use large, flat stones collected from your property to create a natural border.
- Recycled boards: If you have leftover scraps from construction or old boards, they can be assembled into neat boxes, treated for protection, and used as borders for gorodki.
DIY Projects: Decorating Your Play Area
Decor is what turns a play area into your unique relaxation zone. Let’s add individuality with simple DIY projects.
1. Equipment Storage System
Nothing spoils the view like scattered bats and balls. Create a stylish storage box:
- Take an old wooden crate (e.g., from vegetables).
- Paint it a bright color (e.g., mint or mustard), stencil the inscription: “Petanque & Gorodki Club”.
- You can add a soft lining inside with old felt so the balls don’t rattle.
2. Stylish Score Holder (Scoreboard)
Keep score in style! Make a vertical scoreboard:
Take a wide wooden board (about 1.5 m high). Cover the top part with chalkboard paint. Now you can write the score with chalk. At the bottom, attach hooks for chalk and a sponge. This element is not only functional but also adds rustic charm.
3. Signs and Navigation
Create wooden arrow signs that will direct guests to your new play area. Use vintage fonts and soft pastel colors. This will add the feeling that you are in a small country club.
Seasonal Decor for the Play Area: From Summer Fun to Autumn Gatherings
The play area should be relevant not only in July. Decor will help adapt it for any time of year.
Summer: Maximum Light and Freshness
- Textiles: Light linen cushions, striped throws for evening gatherings.
- Flowers: Place pots with bright petunias or lavender directly on the petanque court borders.
- Drinks: You can place a vintage metal basin with ice nearby, where homemade lemonades are chilled.
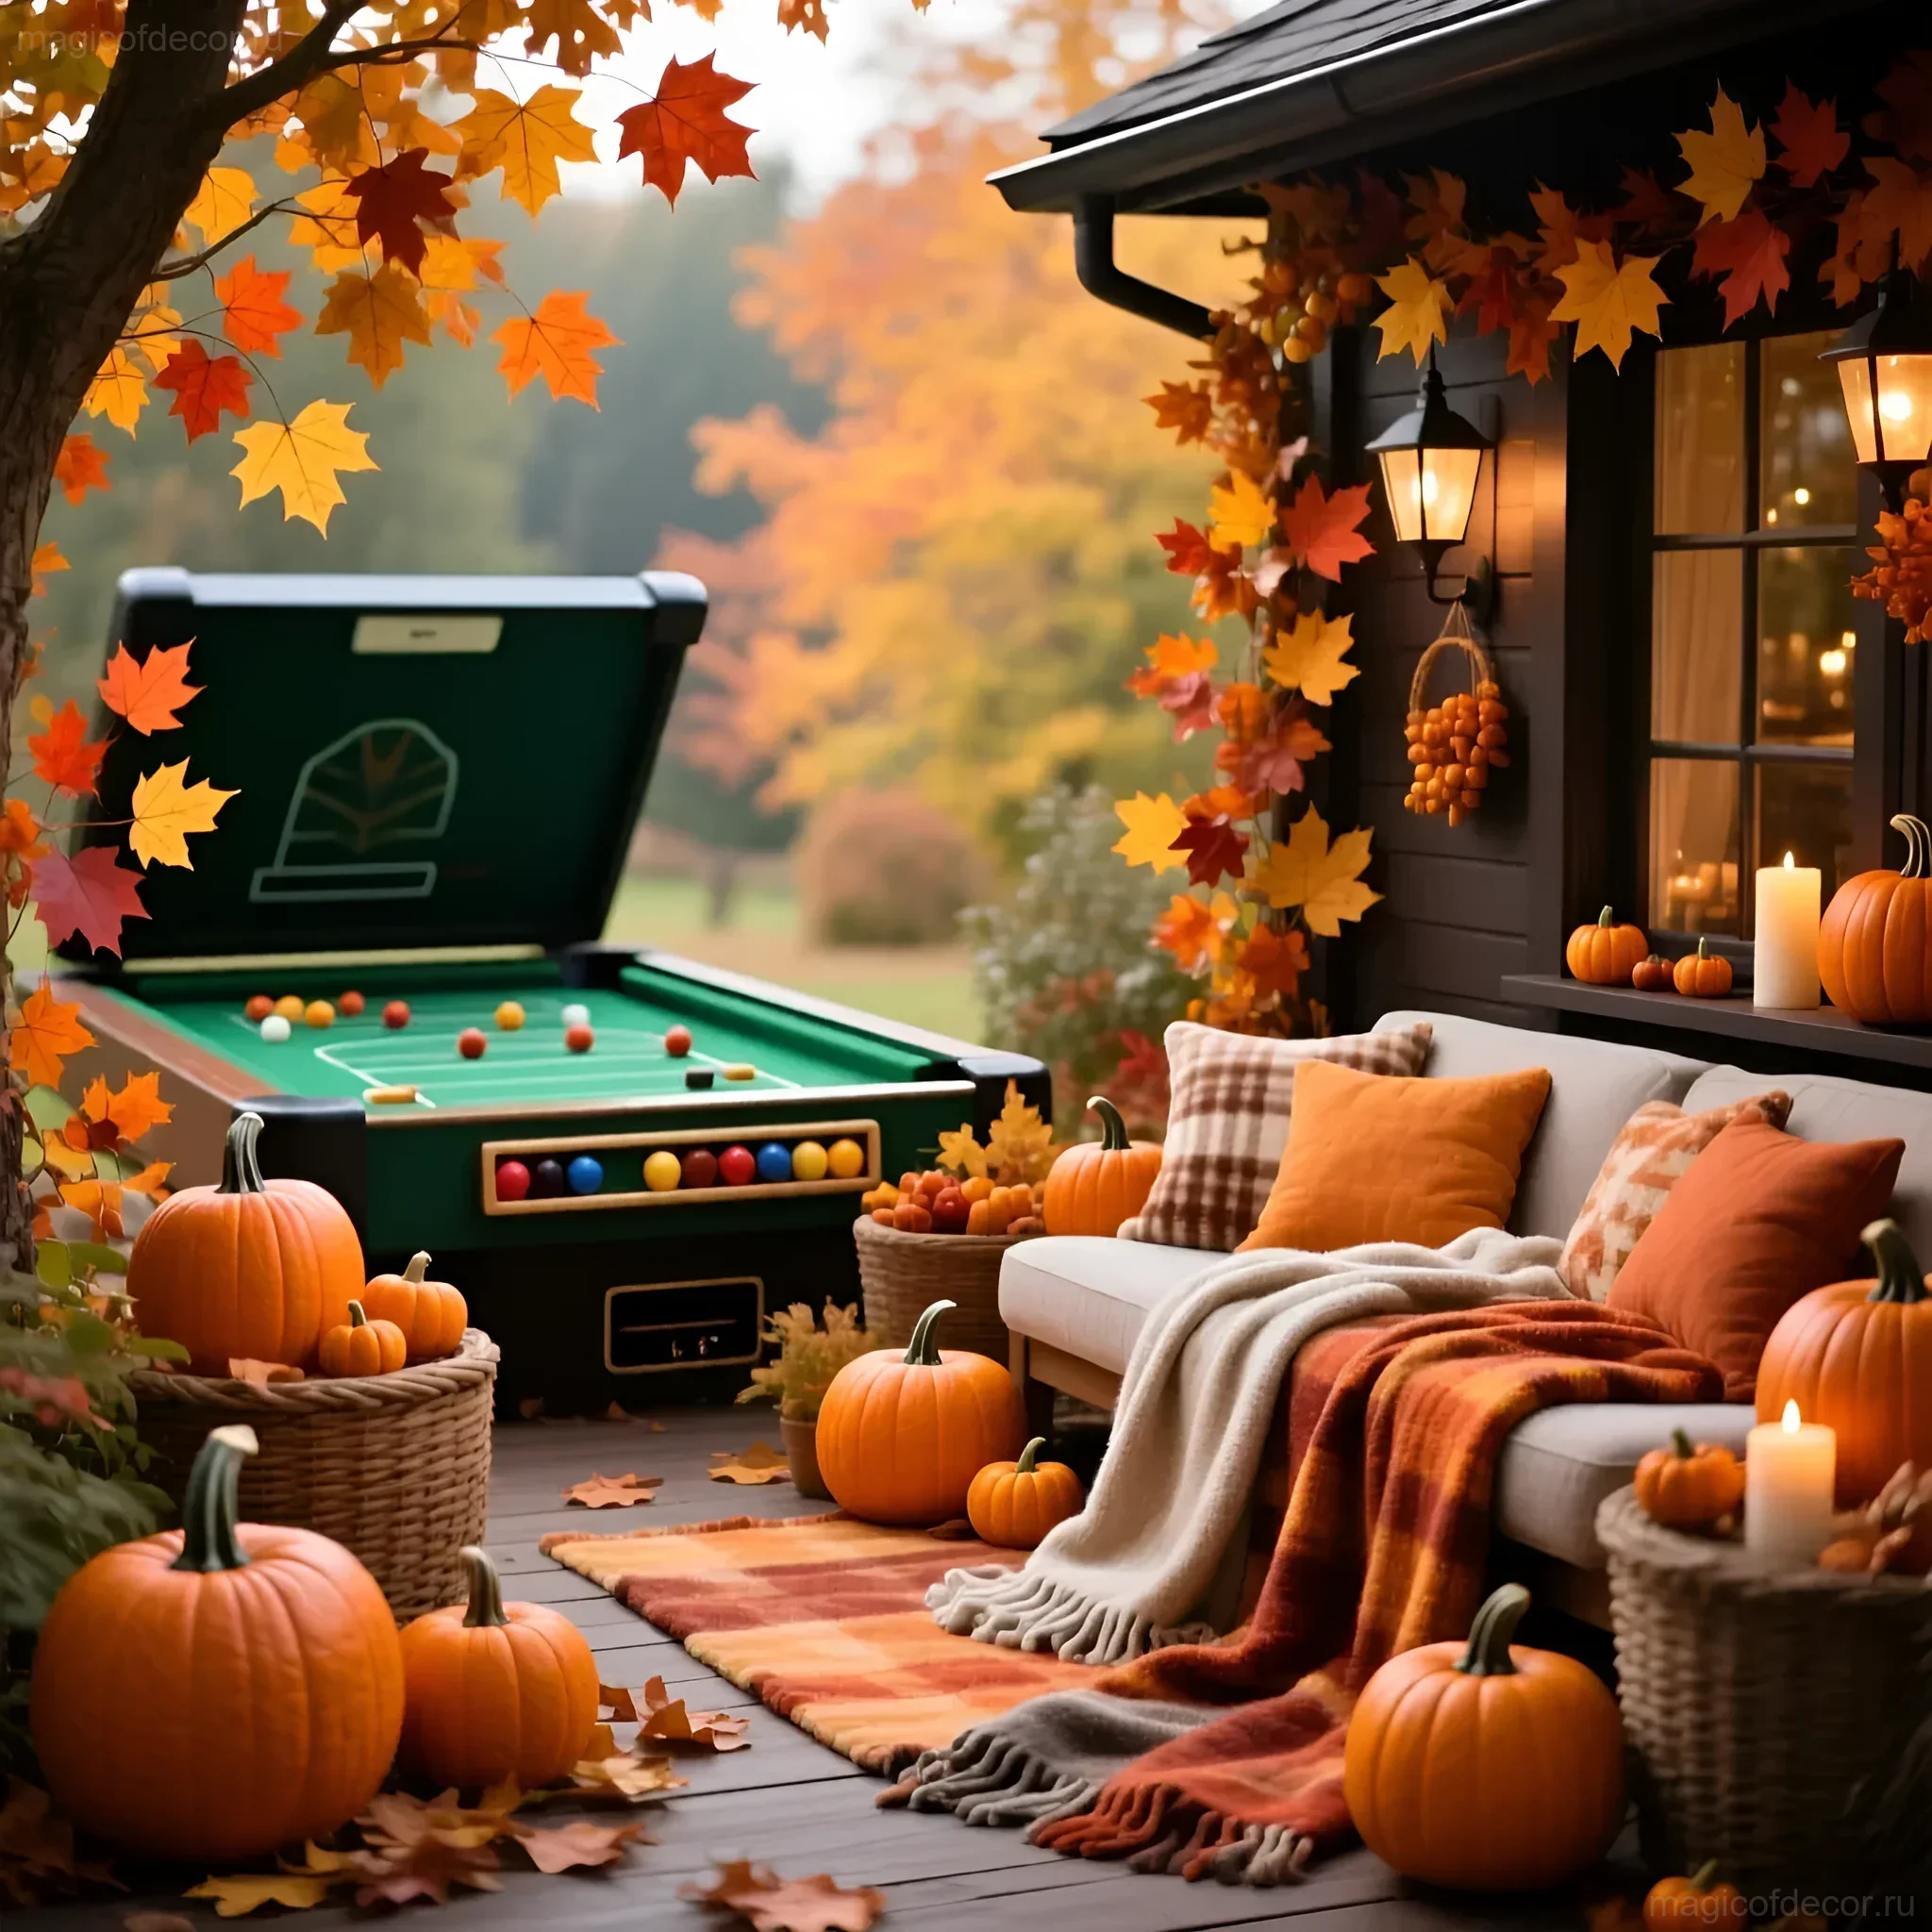
Autumn: Coziness and Warmth
When it gets cooler, the play area can be transformed into a place for cozy autumn gatherings:
- Light: Add lantern lights with candles (safe LED ones). Warm orange light will create coziness.
- Textiles: Woolen throws, cushions with plaid patterns or autumn leaf prints.
- Decor: Use seasonal gifts: pumpkins (even small decorative ones), branches with berries, sheaves of hay (as bases for benches or a table).
Tip: The petanque court can be used as an “autumn bonfire” – place a mobile fire pit (fire basket) in the center and enjoy roasted marshmallows while the children play gorodki.
Expert Advice: Secrets of Durability and Safety for Play Areas
To ensure your DIY play area brings you joy for many years, you need to take care of its protection and safety.
1. Protecting Wooden Elements
Wooden borders (especially those in contact with the ground) rot quickly. Use specialized outdoor antiseptics. It’s best to apply two coats of impregnation followed by a coat of UV-resistant varnish or paint.
2. Surface Maintenance (Petanque)
The petanque surface requires regular maintenance. After heavy rains or intense play, small depressions may form. You will need rakes and a roller:
- Periodically level the surface with light rakes.
- Once a month, moisten and compact with a roller to maintain ideal density.
3. Safety in the Gorodki Zone
The game of gorodki is quite active, and bats can fly off in different directions. If the play area is located close to windows or other important objects:
- Install a safety net 2–3 meters high behind the throwing zone. This doesn’t have to be a solid fence; a simple garden net stretched on posts will suffice.
- Ensure there are no sharp corners or protruding stones around the gorodki court that you could trip over.
4. Winter Preservation
Before winter, it’s best to preserve the petanque and gorodki courts. Remove all leaves and debris from the petanque court, ensure the drainage is working. The gorodki court can simply be covered with dense agrotextile or a tarp to protect the markings and prevent excessive soil erosion in the spring.
Creating a play area is not only work but also immense pleasure. When you see your family and friends enthusiastically playing on a court made by your hands, you’ll realize that you’ve invested not just sand and wood, but real dacha magic and coziness. Enjoy the process, and may your dacha be the most inspiring and hospitable!