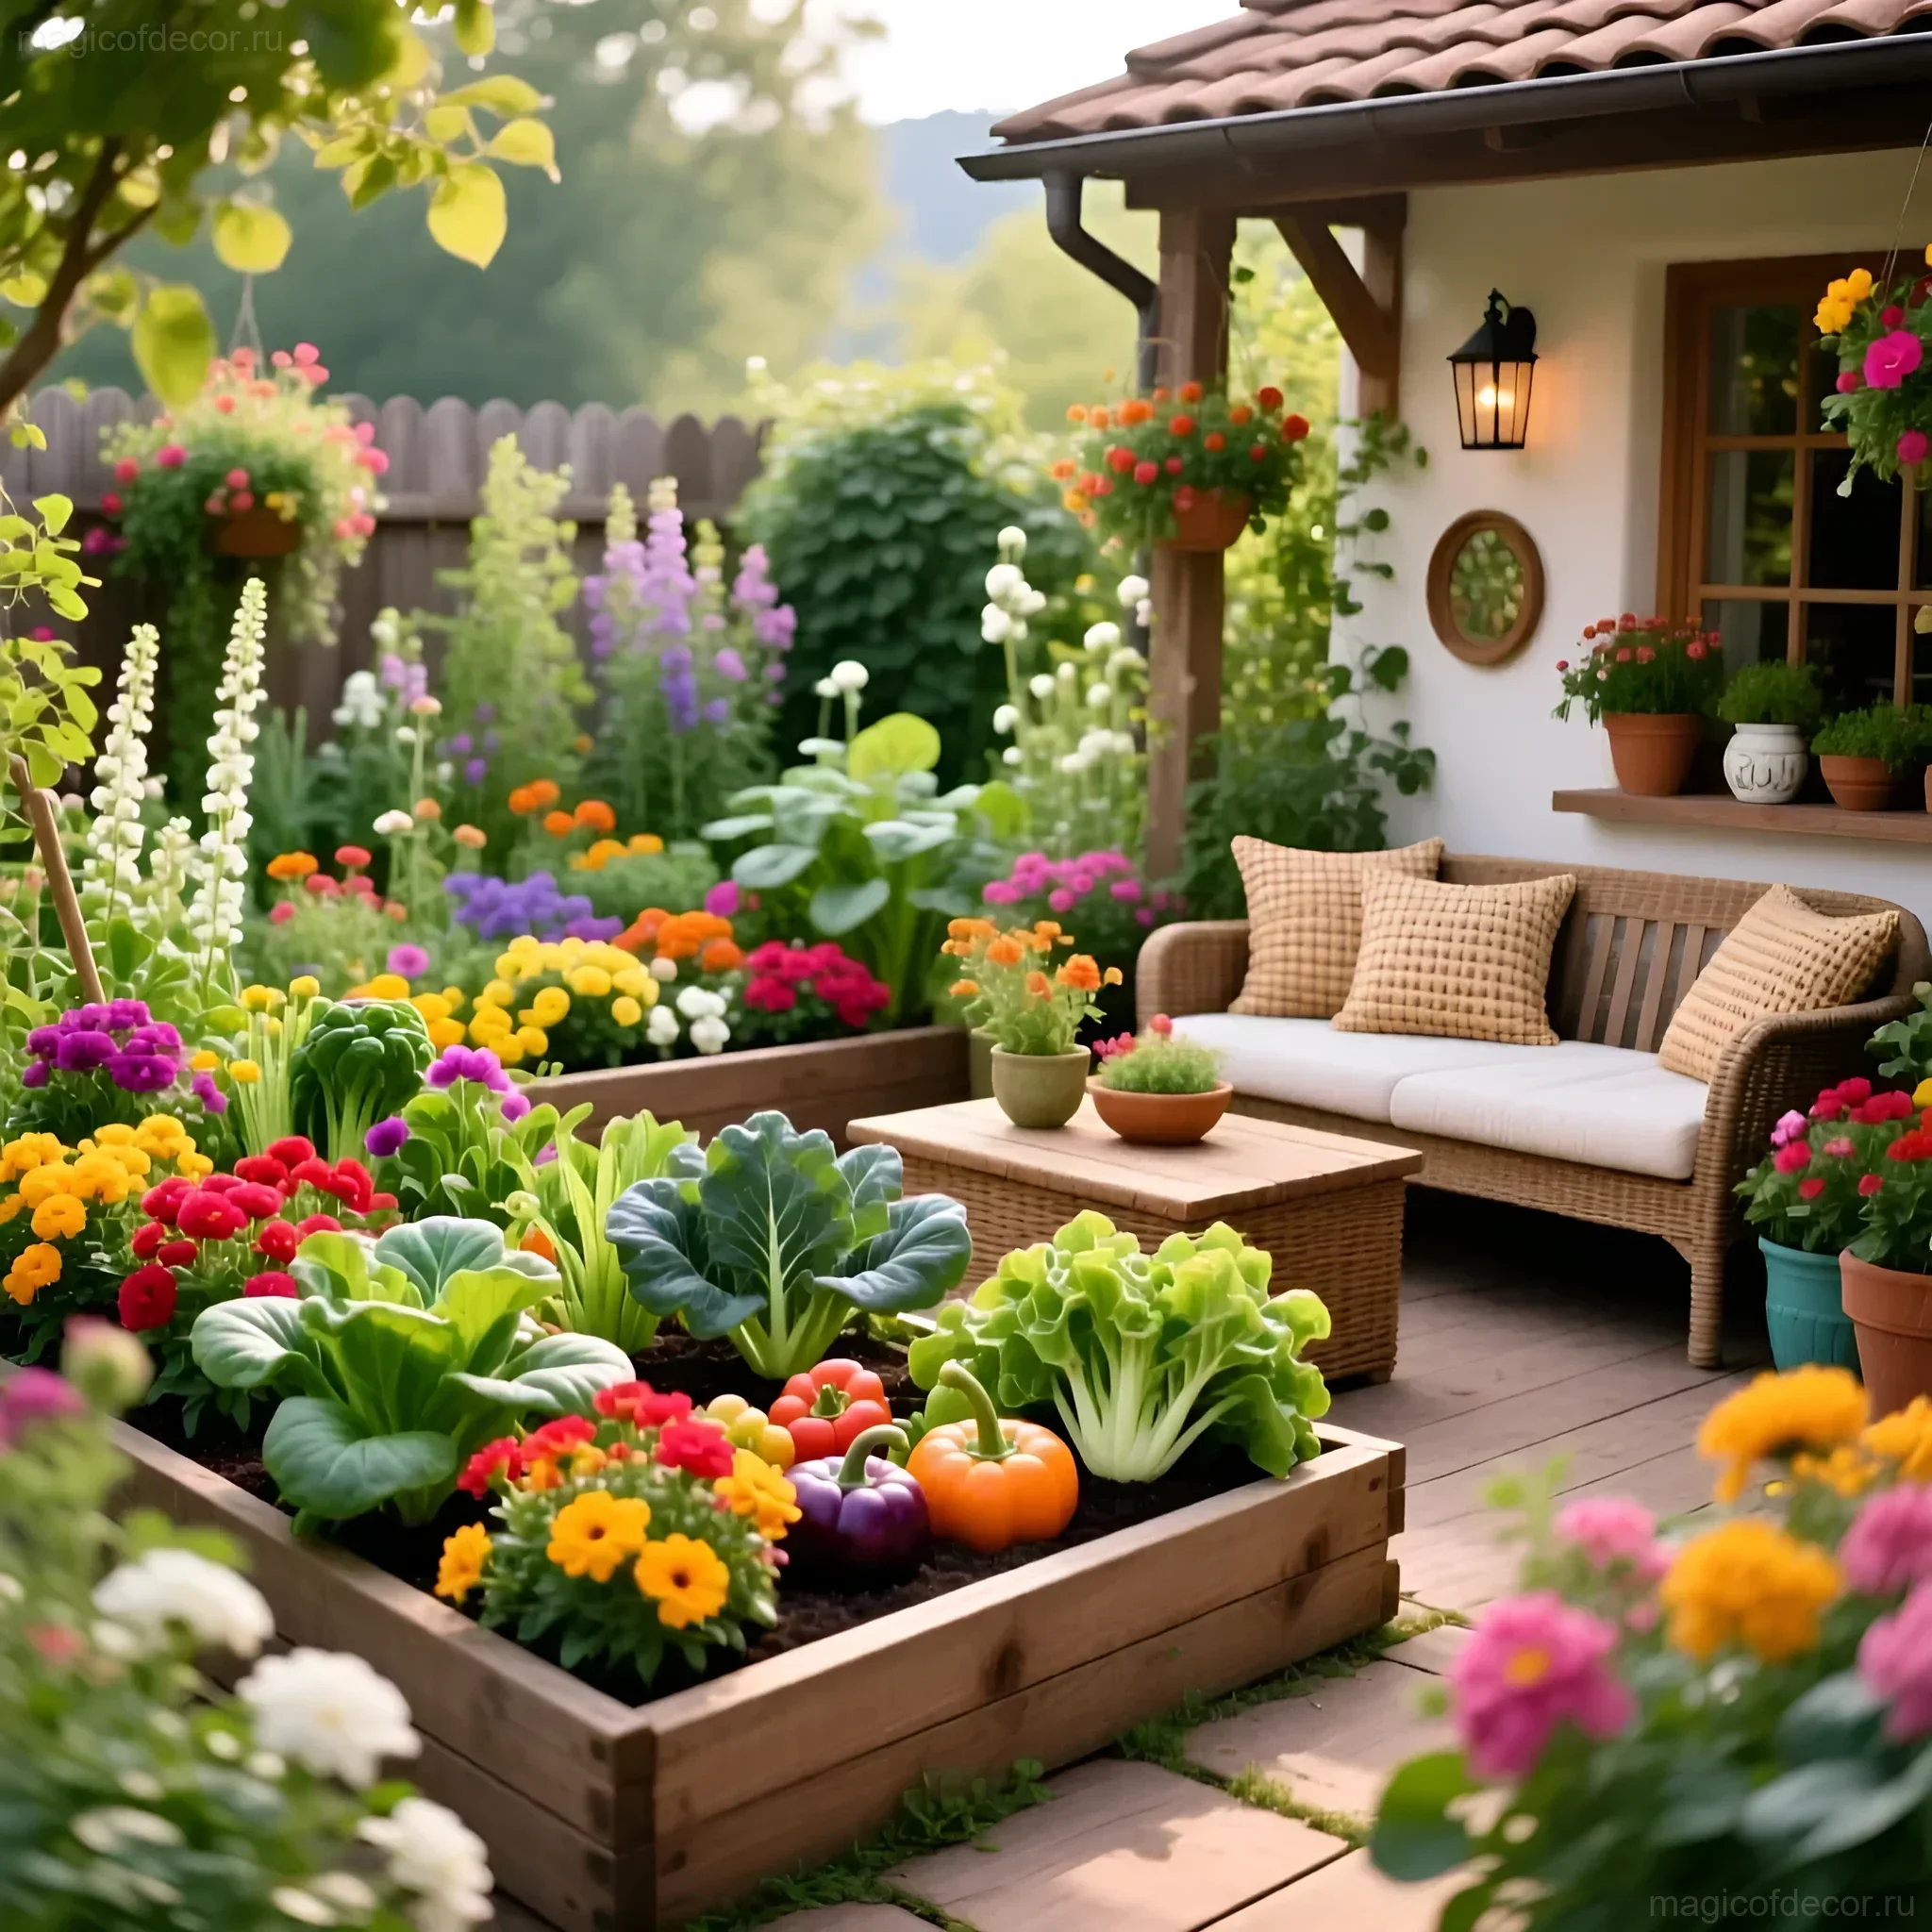
Coziness is not just a soft blanket and candlelight in the living room. Coziness can and should extend beyond the threshold of the house, encompassing the terrace, patio, and, of course, our vegetable garden. For many of us, a garden is a place of hard work, but I am sure that even the most utilitarian corners of the plot can become a true work of art, bringing not only a harvest but also aesthetic pleasure. We are talking about a decorative garden, or, as it is called in France, a potager. This is when the beds are not just straight rows of potatoes, but structured, beautiful compositions where greens and vegetables play the role of texture and color, and neat borders serve as a frame for this living picture. Let’s breathe soul into your garden together!
Decorative Garden: Turning Beds into a Work of Art ✨
A decorative garden is a philosophy that combines utility and beauty. There is no room for chaos and neglected corners here. Every bed, every path, and even every weed (if it appears at all!) has its purpose and place. The main secret lies in planning, symmetry, and the use of proper, aesthetic borders.
Advantages of Decorative Beds
- Visual Appeal: Beds become part of the landscape design, not just a growing area. They look neat all year round.
- Ergonomics and Convenience: Raised beds reduce back strain, and clear paths allow for easy plant care without compacting the soil.
- Zoning: Decorative borders clearly separate areas, helping to control weed spread and retain heat.
- Budget Decor: Most of the beauty is achieved with affordable materials and a DIY approach.
Where to start? Before you grab a shovel, draw a plan. A decorative garden loves geometry. Think about squares, rectangles, circles, or even a mandala shape. Clear lines are half the battle in creating a visually appealing composition.
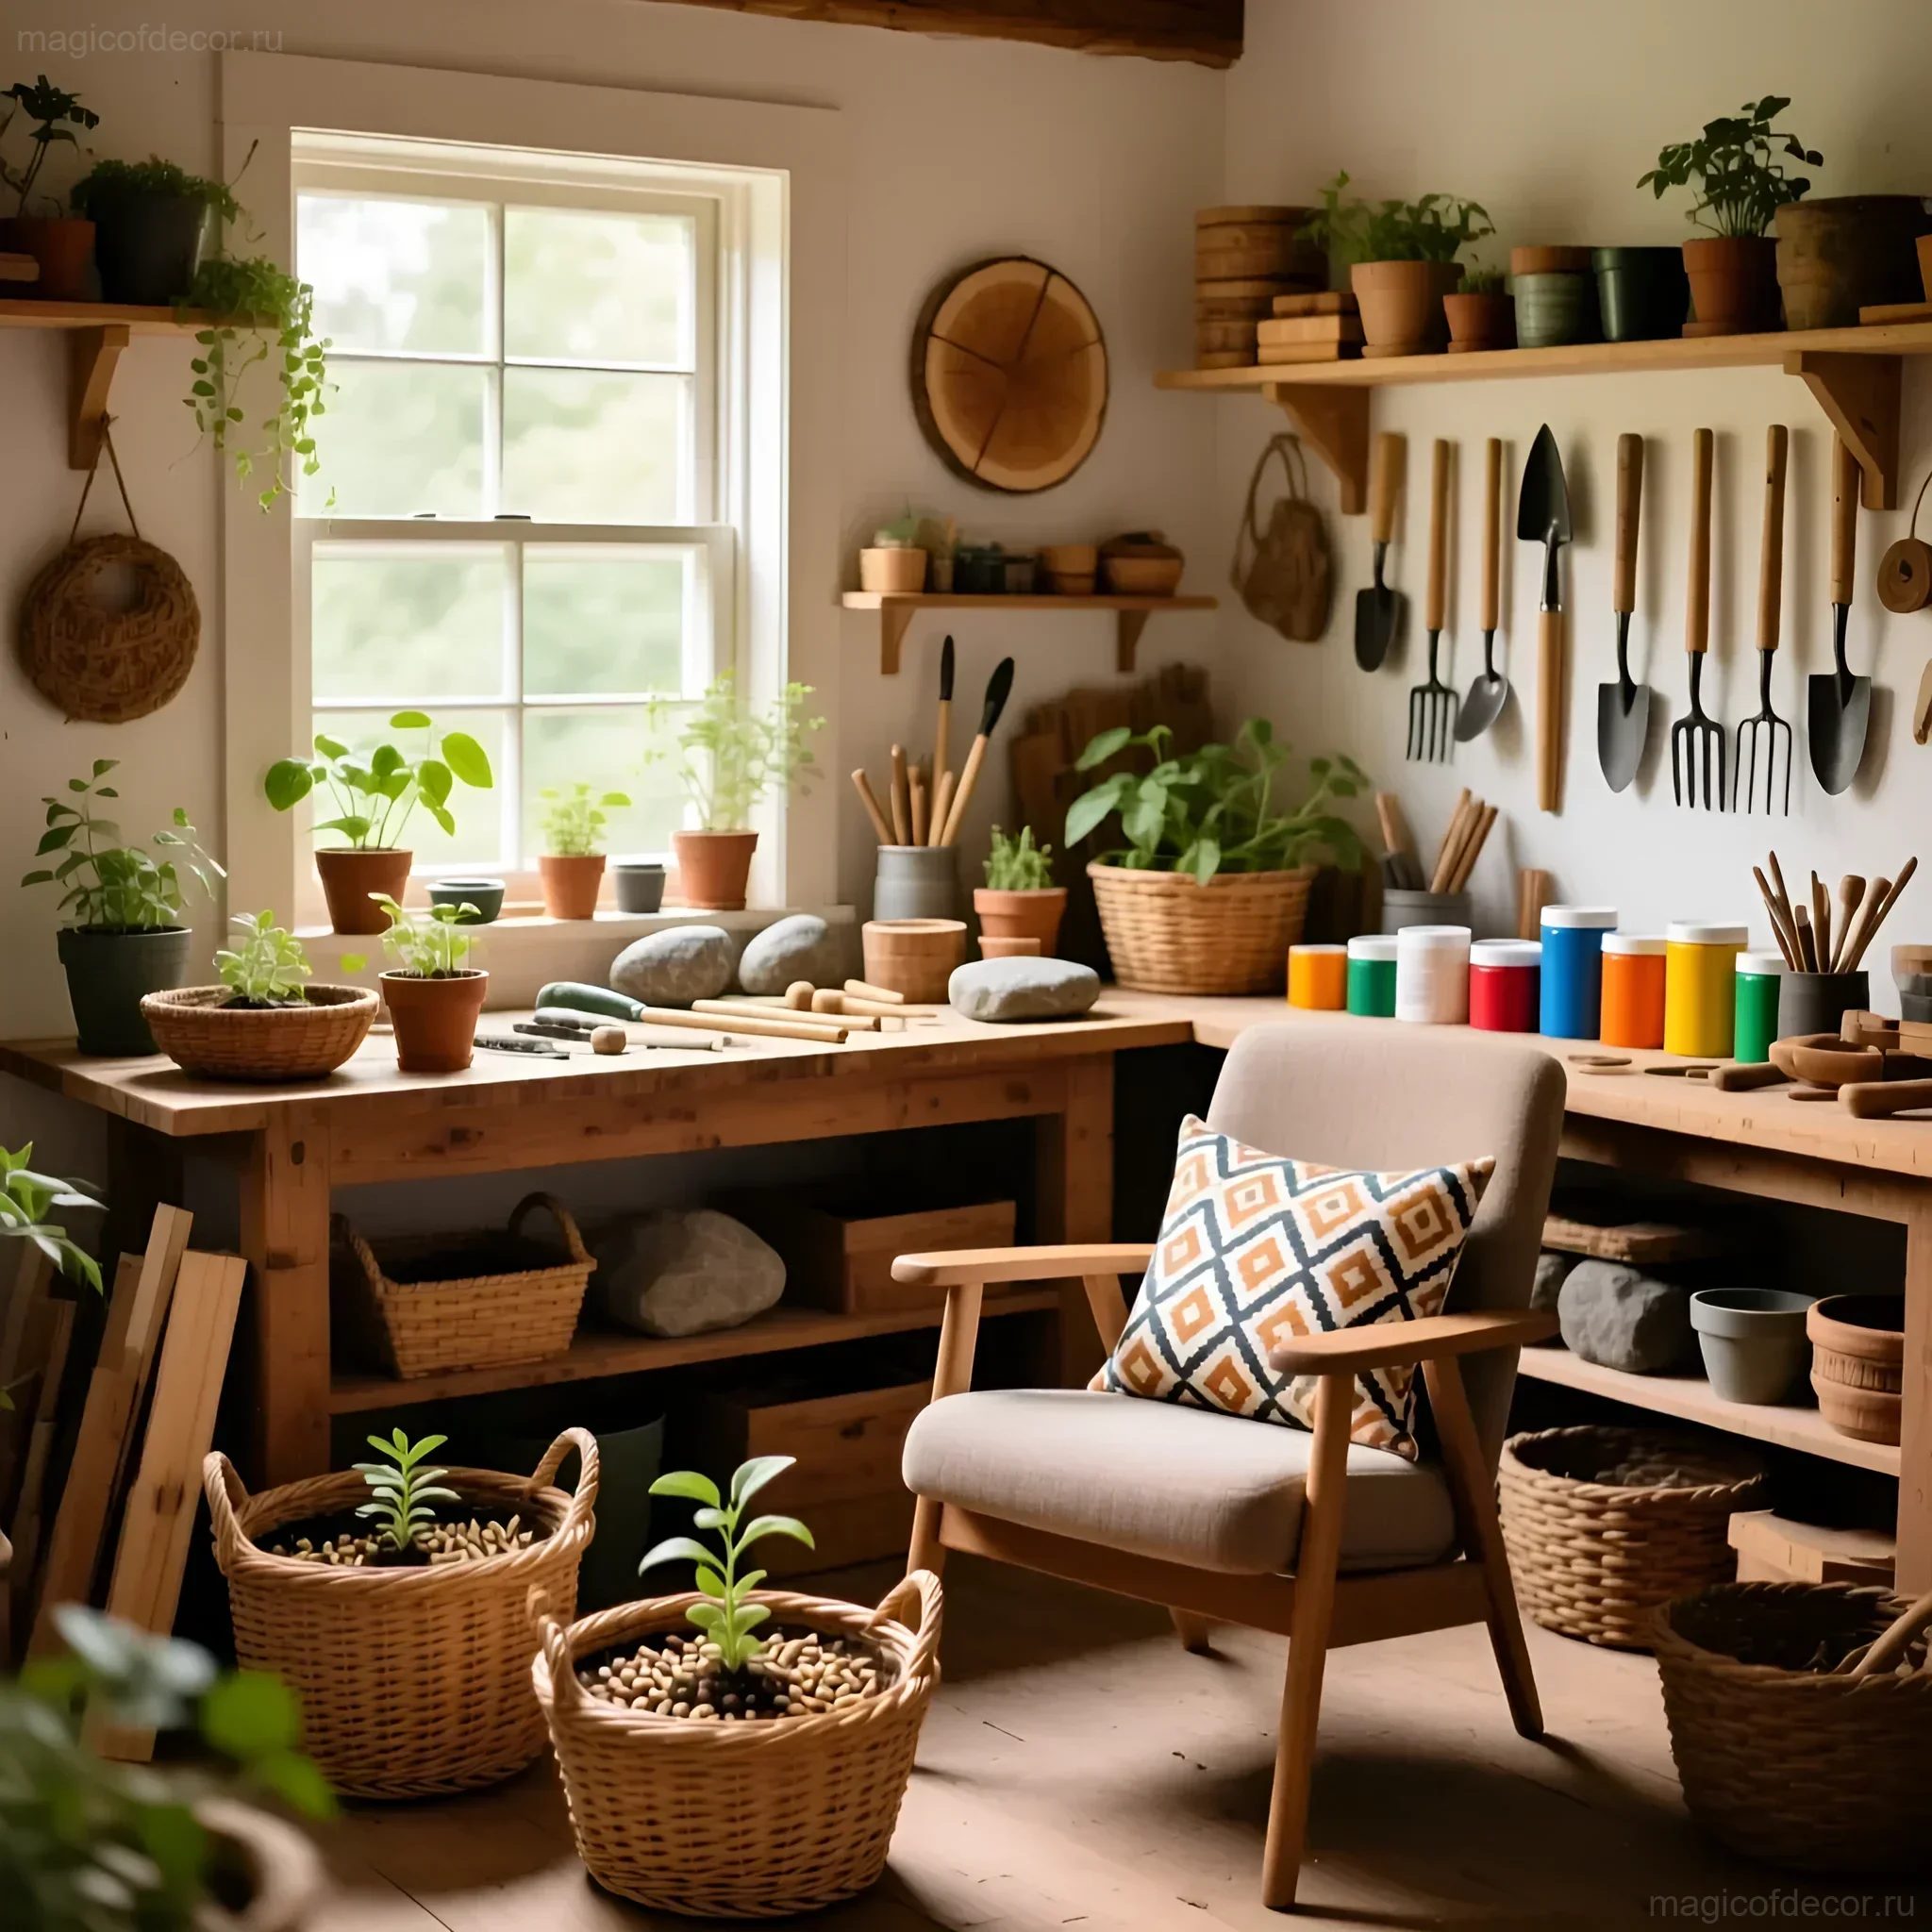
Materials and Tools for Creating Beautiful Beds 🛠️

The choice of material for framing the beds is a key moment that determines the style and durability of your decorative garden. Here we will consider the most popular, budget-friendly, and aesthetic options.
1. Wood: Warmth and Classic Style
Wood is the most popular material for raised beds. It is easy to work with and gives a feeling of warmth and country coziness. However, it requires protection from moisture.
- Treated Lumber (Budget Option): Use boards at least 2-3 cm thick. Be sure to treat them with an antiseptic or outdoor sealant. Life Hack: to extend their lifespan, line the inner walls of the bed with dense polyethylene film or geotextile so that the soil does not come into direct contact with the wood.
- Sleepers or Beams: Create a more massive and substantial look. Ideal for a rustic style.
- DIY from Pallets: If you have access to old wooden pallets, this is practically free material! Disassemble them, sand them, and assemble simple square or rectangular boxes.
2. Stone and Brick: Durability and Elegance
If you want your beds to look like part of an old European garden, choose stone or brick. This requires more effort during installation, but the result will last for decades.
- Natural Stone (Gabions): For a modern yet natural look, you can use wire mesh cages (gabions) filled with stones. This looks very impressive and does not require mortar.
- Old Bricks: If you have old bricks left over from renovations, use them to create low borders or simply embed bricks at an angle around the perimeter of the bed – this will create a beautiful “toothed” edge.
3. Metal and Plastic: Modernity and Minimalism
Galvanized or painted metal sheets (e.g., corrugated metal) are a modern and very neat way to decorate. They are thin, do not take up much space, and do not rot.
- Galvanized Steel: Ideal for a minimalist or industrial style. The beds will be smooth and clean. Important: choose sheets with rounded or bent edges for safety.
- Plastic Edging: The quickest and most budget-friendly option. They are flexible, allowing for curved shapes, but are less durable and do not always look as solid as wood or stone.
4. Budget DIY Ideas from Recycled Materials
To create a truly unique and budget-friendly decorative garden, you can use what is often thrown away:
- Glass Bottles: Bury them neck-down around the perimeter of the bed. This creates a very unusual and shiny border.
- Old Tires: Paint them in bright colors (e.g., terracotta or mint) and use them for growing herbs or strawberries.
- Woven Borders (Wattle): If you have willow or hazel branches, weave a low fence from them. This is an ideal option for a country style and French potager.
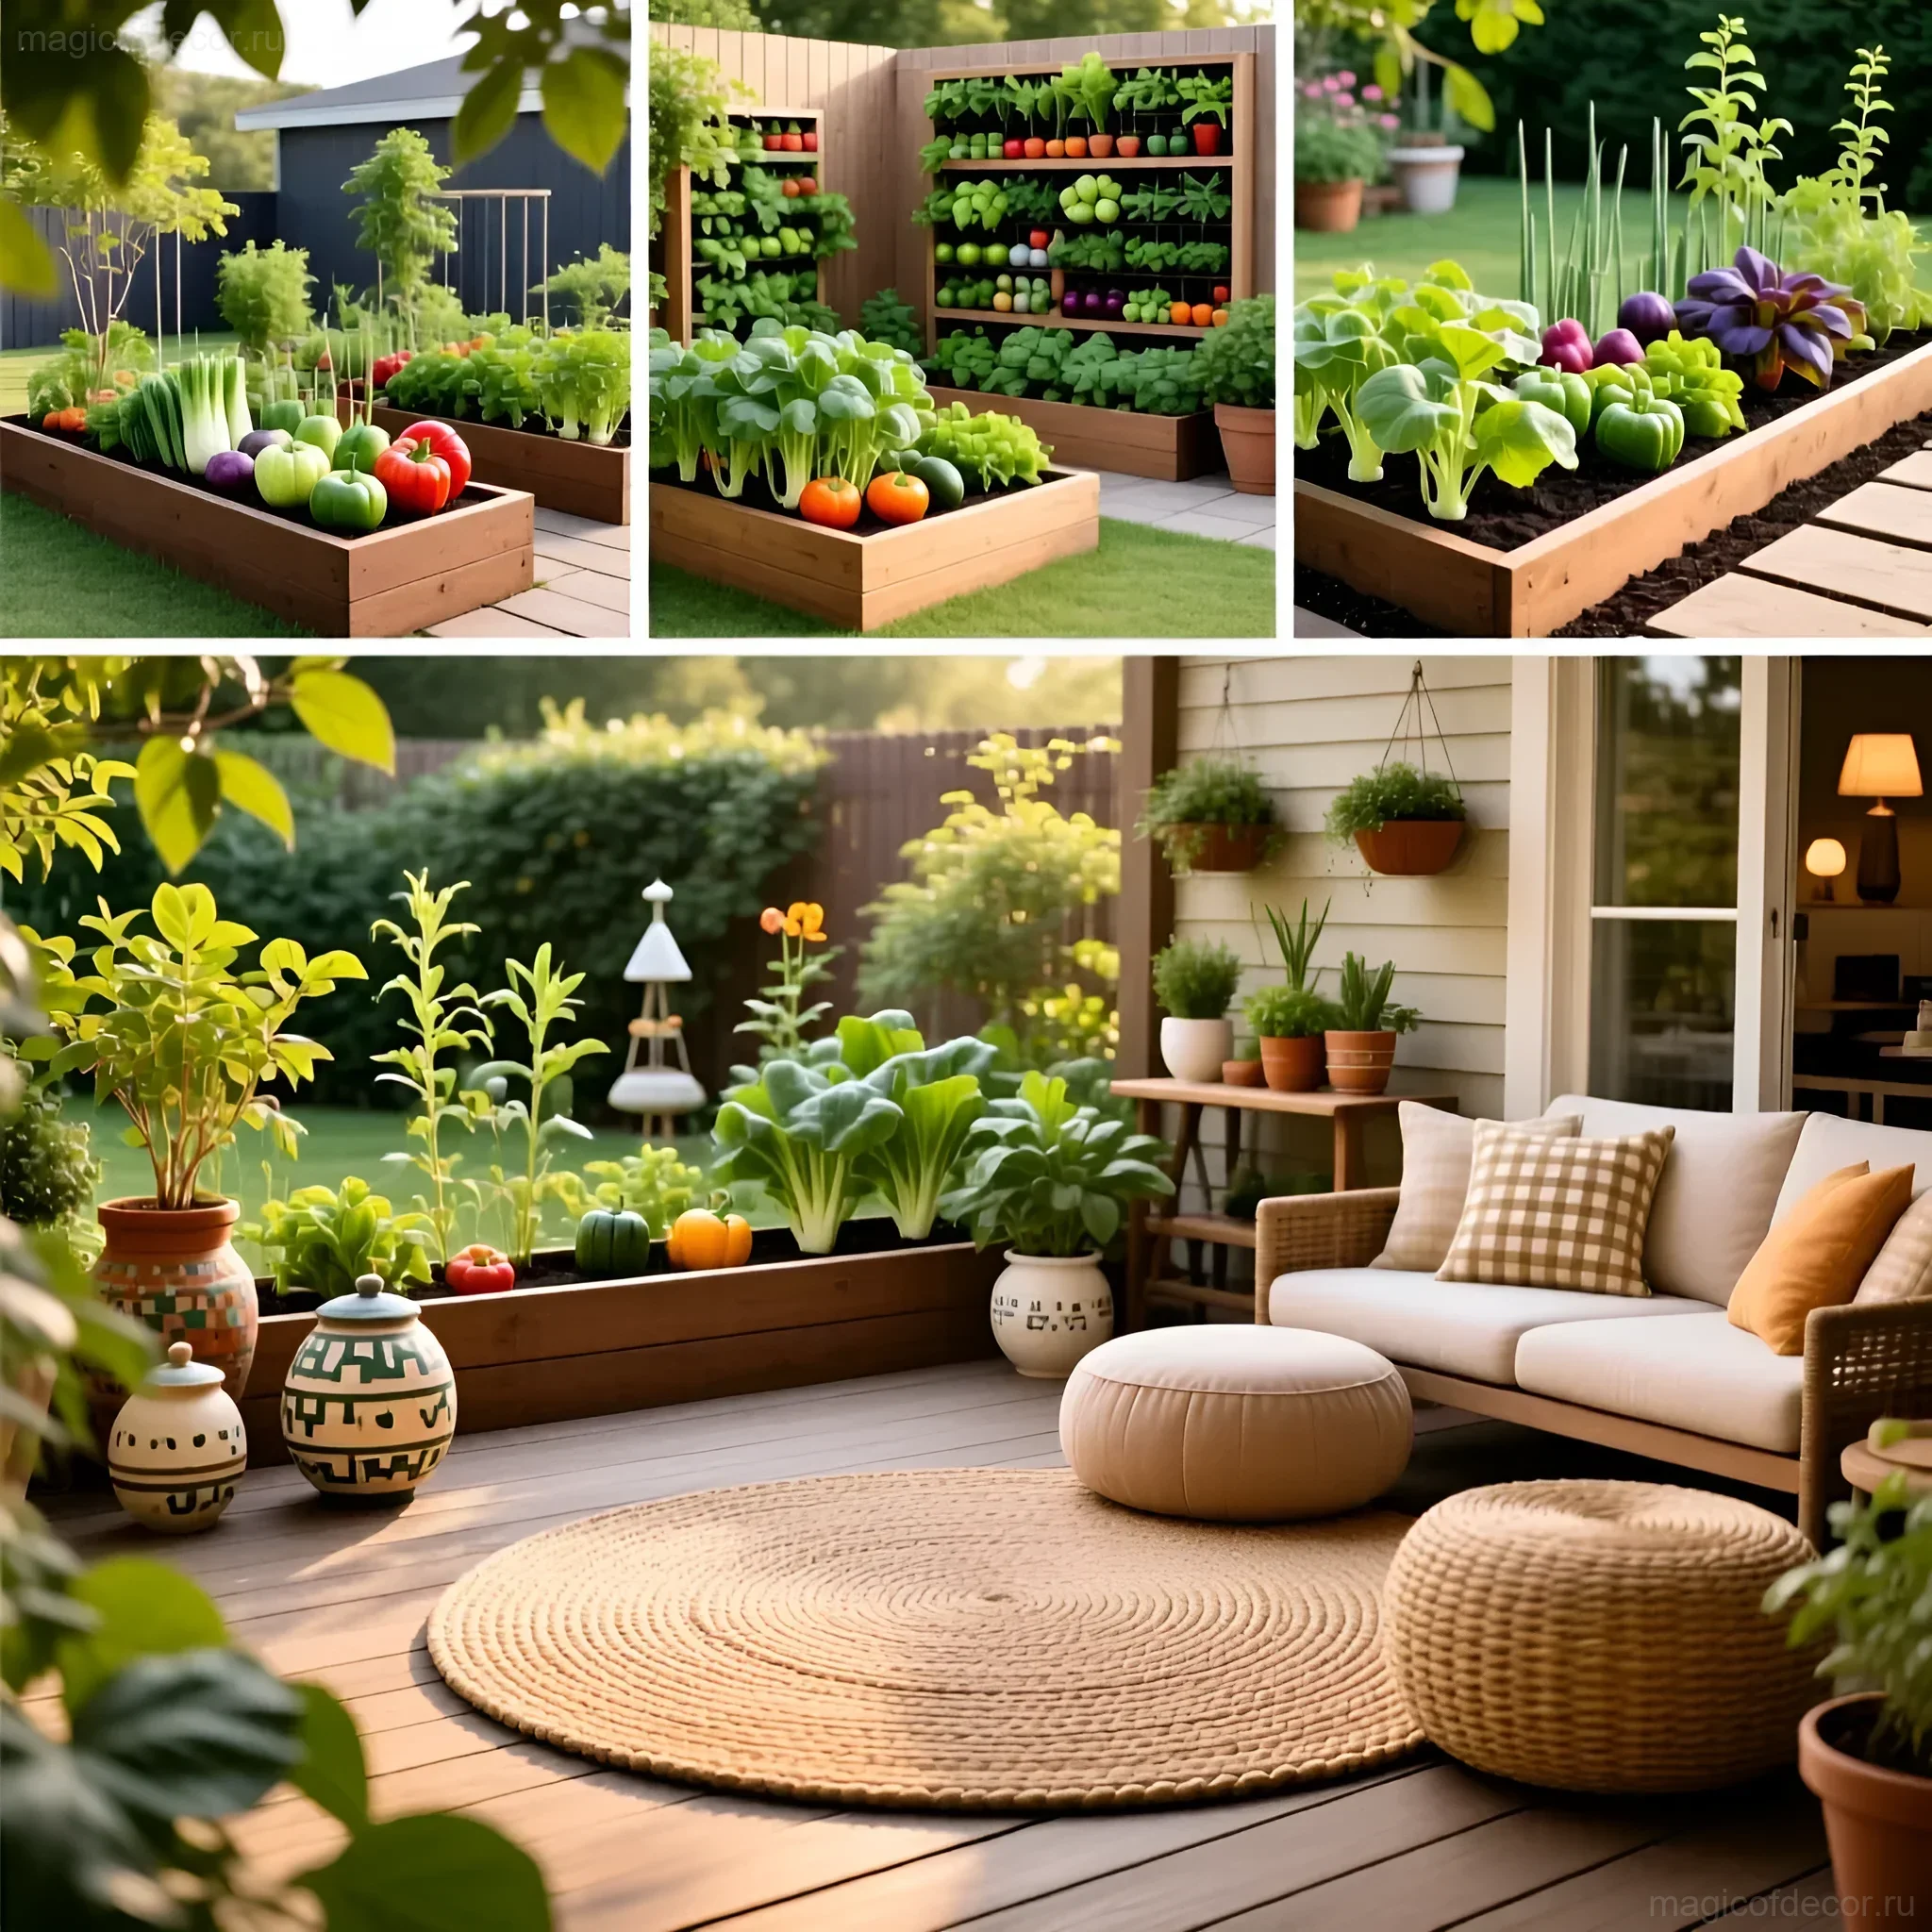
Step-by-Step Guide: Creating Your Dream Beds 🌿

Let’s consider the process of creating the most popular and aesthetic structure – a raised wooden bed. It will provide perfect drainage and a beautiful appearance.
Step 1: Planning and Marking
Determine the size. The ideal width for a decorative bed is 100–120 cm. This will allow you to reach the middle from both sides without stepping on the soil. The length can be anything, but usually does not exceed 3 meters for convenience.
- Mark the contours of the future bed with stakes and taut twine.
- Ensure that the paths between the beds are wide enough (at least 60–80 cm) for you to walk comfortably with a wheelbarrow or basket.
Step 2: Preparing Materials and Assembling the Frame
Cut the boards according to the plan. The height of the bed should be at least 30–40 cm for most vegetables.
- Assemble a rectangular frame using metal brackets or wooden posts attached from the inside.
- Ensure that all corners are exactly 90 degrees (use a square).
- Treat the wood with protective coatings or paint the exterior.
Step 3: Installation and Bottom Protection
Place the frame in the chosen location.
- Weed Protection: Be sure to lay cardboard, newspapers, or dense geotextile at the bottom of the bed. This will prevent weeds from growing from the lower soil layer but will allow water to drain.
- Rodent Protection: If you have problems with moles or mice, place fine-mesh metal netting under the geotextile.
Step 4: Filling the Bed (Lasagna Method)
To make the bed fertile and warm, use the multi-layer filling method:
- Drainage and Nutrition (Bottom Layer): Large branches, wood chips, sawdust. They will decompose slowly, releasing heat.
- Nitrogen (Middle Layer): Compost, semi-rotted manure, mown grass, food scraps.
- Nutrient-Rich Soil (Main Layer): A mixture of garden soil, sand, and mature compost. This layer should be the thickest (at least 20 cm).
Step 5: Final Decorative Touches
To make the bed look complete, add decorative elements:
- Neat Labels: Instead of plastic markers, use wooden planks painted in a unified style, or ceramic markers.
- Decorative Paths: Cover the paths between the beds with gravel, wood chips, or lay natural stone. This will immediately give the garden a well-groomed appearance.
Execution Options: From Country to Modern 🌸

A decorative garden allows for creativity and integration into the overall style of your plot. Here are a few popular directions:
1. French Potager (Potager Français)
This is the pinnacle of garden aesthetics. Key features include strict symmetry, the use of boxwood or low-growing lavender borders, and a combination of vegetables with flowers.
- Geometry: The central element is a circle or fountain, from which four or eight symmetrical beds radiate, separated by neat paths.
- Plants: Use vegetables with beautiful foliage (red-leaf lettuce, chard, decorative cabbage) and be sure to add roses, clematis, or sweet peas to the central arches.
- Borders: Low wattle, wood, or a living hedge of greens.
2. Country and Rustic Style
This style favors natural, unfinished materials and a light touch of casualness that looks cozy, not messy.
- Materials: Rough beams, woven borders, old barrels used as vertical flower beds.
- Decor: Old watering cans, clay pots hanging on the fence, and decorative scarecrows.
- Plants: Lots of sunflowers, pumpkins that sprawl on the ground, and aromatic herbs (dill, fennel).
3. Minimalism and Modern
If you love clean lines and subdued colors, this style is for you. Here, impeccable neatness and the absence of unnecessary details are important.
- Materials: Metal (galvanized steel), concrete, smoothly sanded wood painted in a dark or light solid color.
- Shape: Strict rectangles, arranged on the same level.
- Plants: Focus on texture rather than color. Use green crops with interesting leaf shapes (artichokes, asparagus, various types of basil).
4. Vertical Garden (for Small Plots)
If space is limited, you can raise your beds! Vertical structures look very modern and save space.
- DIY Ideas: Use old pallets, attaching pots to them; or build a pyramid bed from boards, where each tier is smaller than the previous one.
- Materials: Plastic pipes cut lengthwise, or wooden crates attached to a wall.
Tips for Caring for Decorative Beds 🌷
Creating a beautiful bed is only half the battle. The main thing is to keep it that way throughout the season. Decorative care is not just watering, but constant work on the visual aspect.
Aesthetic Mulching
Mulch not only retains moisture and suppresses weeds but is also an important decorative element. Choose materials that contrast with the borders and highlight the green of the plants:
- Wood Chips or Bark: Ideal for a country style. Choose natural or dark-colored (for contrast with bright greenery).
- Straw: Looks great on strawberries and tomatoes, giving the garden a rustic look.
- Gravel or Small Pebbles: Ideal for paths and beds in a modern style.
Color Coordination and Companions
In a decorative garden, vegetables should be friends with flowers. Use the principle of mixed plantings to simultaneously decorate and protect the harvest:
- Marigolds (Tagetes): Their bright orange and yellow flowers look cheerful and repel nematodes. Plant them around the perimeter of the beds.
- Nasturtiums: Their round leaves and bright flowers (which, by the way, are edible!) create a beautiful cascading effect, hanging over the edges.
- Edible Flowers: Violets, calendula, borage – they add bright accents and can be used in salads.
- Decorative Vegetables: Alternate the bright red leaves of chard with green curly parsley and purple basil.
Maintaining Clean Lines
Regularly trim anything that goes beyond the bed’s boundaries – this applies to both grassy paths and plants. If you use living borders (thyme, lavender), they need to be trimmed to maintain their clear geometric shape.
Inspiration: Ideas for Your Decorative Garden 🌻

Want your garden to become a real highlight of your plot? Here are a few inspiring ideas that you can implement yourself.
DIY Project 1: Mandala Bed (Circular Garden)
Circular beds look incredibly aesthetic and optimize space. The center of the circle is often raised, and sectors radiate from it like rays, separated by narrow paths. This is an ideal shape for a French potager.
- How to Implement: Use flexible materials (plastic edging or thin metal sheets) to create the circles. The center can be decorated with a vertical support for climbing plants (beans, cucumbers).
- Aesthetics: Alternate sectors by height and color: tall dill, low lettuce, flowering basil.
DIY Project 2: Arch Supports for Climbing Crops
Arches and pergolas not only support plants but also create vertical volume, making the garden cozier and more magical. Use them for zoning or as an entrance to the garden area.
- Budget Solution: Make an arch from thick wire mesh, bending it, or use old wooden ladders, joining them at the top.
- What to Plant: Ornamental beans, climbing pumpkins, cucumbers, or even grapes.
DIY Project 3: Container Garden (Mobile Potager)
If you don’t want to create stationary beds, use containers. This allows you to change the composition depending on your mood or the season.
- Containers: Old galvanized buckets, wooden crates, large clay pots. The main thing is to paint them in a uniform color or decorate them in the same style.
- Advantage: You can place them right next to your house or terrace, so that greens are always at hand and pleasing to the eye.
FAQ: Answers to the Most Popular Questions ❓
1. How to protect wooden borders from rot on a budget?
The simplest and most budget-friendly way is to treat the boards with used motor oil (if you don’t mind the smell) or special linseed oil-based impregnations. Be sure to use roofing felt or thick film on the inside to prevent direct contact of damp soil and wood.
2. Which plants look decorative all year round?
To maintain aesthetics even in winter or early spring, use:
- Perennial Herbs: Rosemary, sage, thyme (their structure is preserved).
- Winter Greens: Decorative cabbage (it becomes even brighter after the first frost) and chard.
- Bulbs: Plant tulips or daffodils in the corners of the beds – they will bloom before the main greens have sprouted, decorating the empty beds.
3. How to make beautiful plant labels yourself?
Don’t buy boring plastic markers! Here are a few DIY ideas:
- Stones: Collect flat stones, paint them white, and write the names with a permanent marker or acrylic.
- Wine Corks: Insert a toothpick into the cork and write the name on it.
- Wooden Spoons: Old wooden spoons or popsicle sticks are a great base for labels.
4. How to design paths to be both beautiful and practical?
Use materials that are easy to clean and do not turn into mud after rain. A practical and cozy option is geotextile covered with fine wood chips or sawdust. If you prefer something more durable, use paving slabs (you can use leftovers from renovations) or loose gravel with edging.
Interesting Facts About Decorative Gardens 🧐
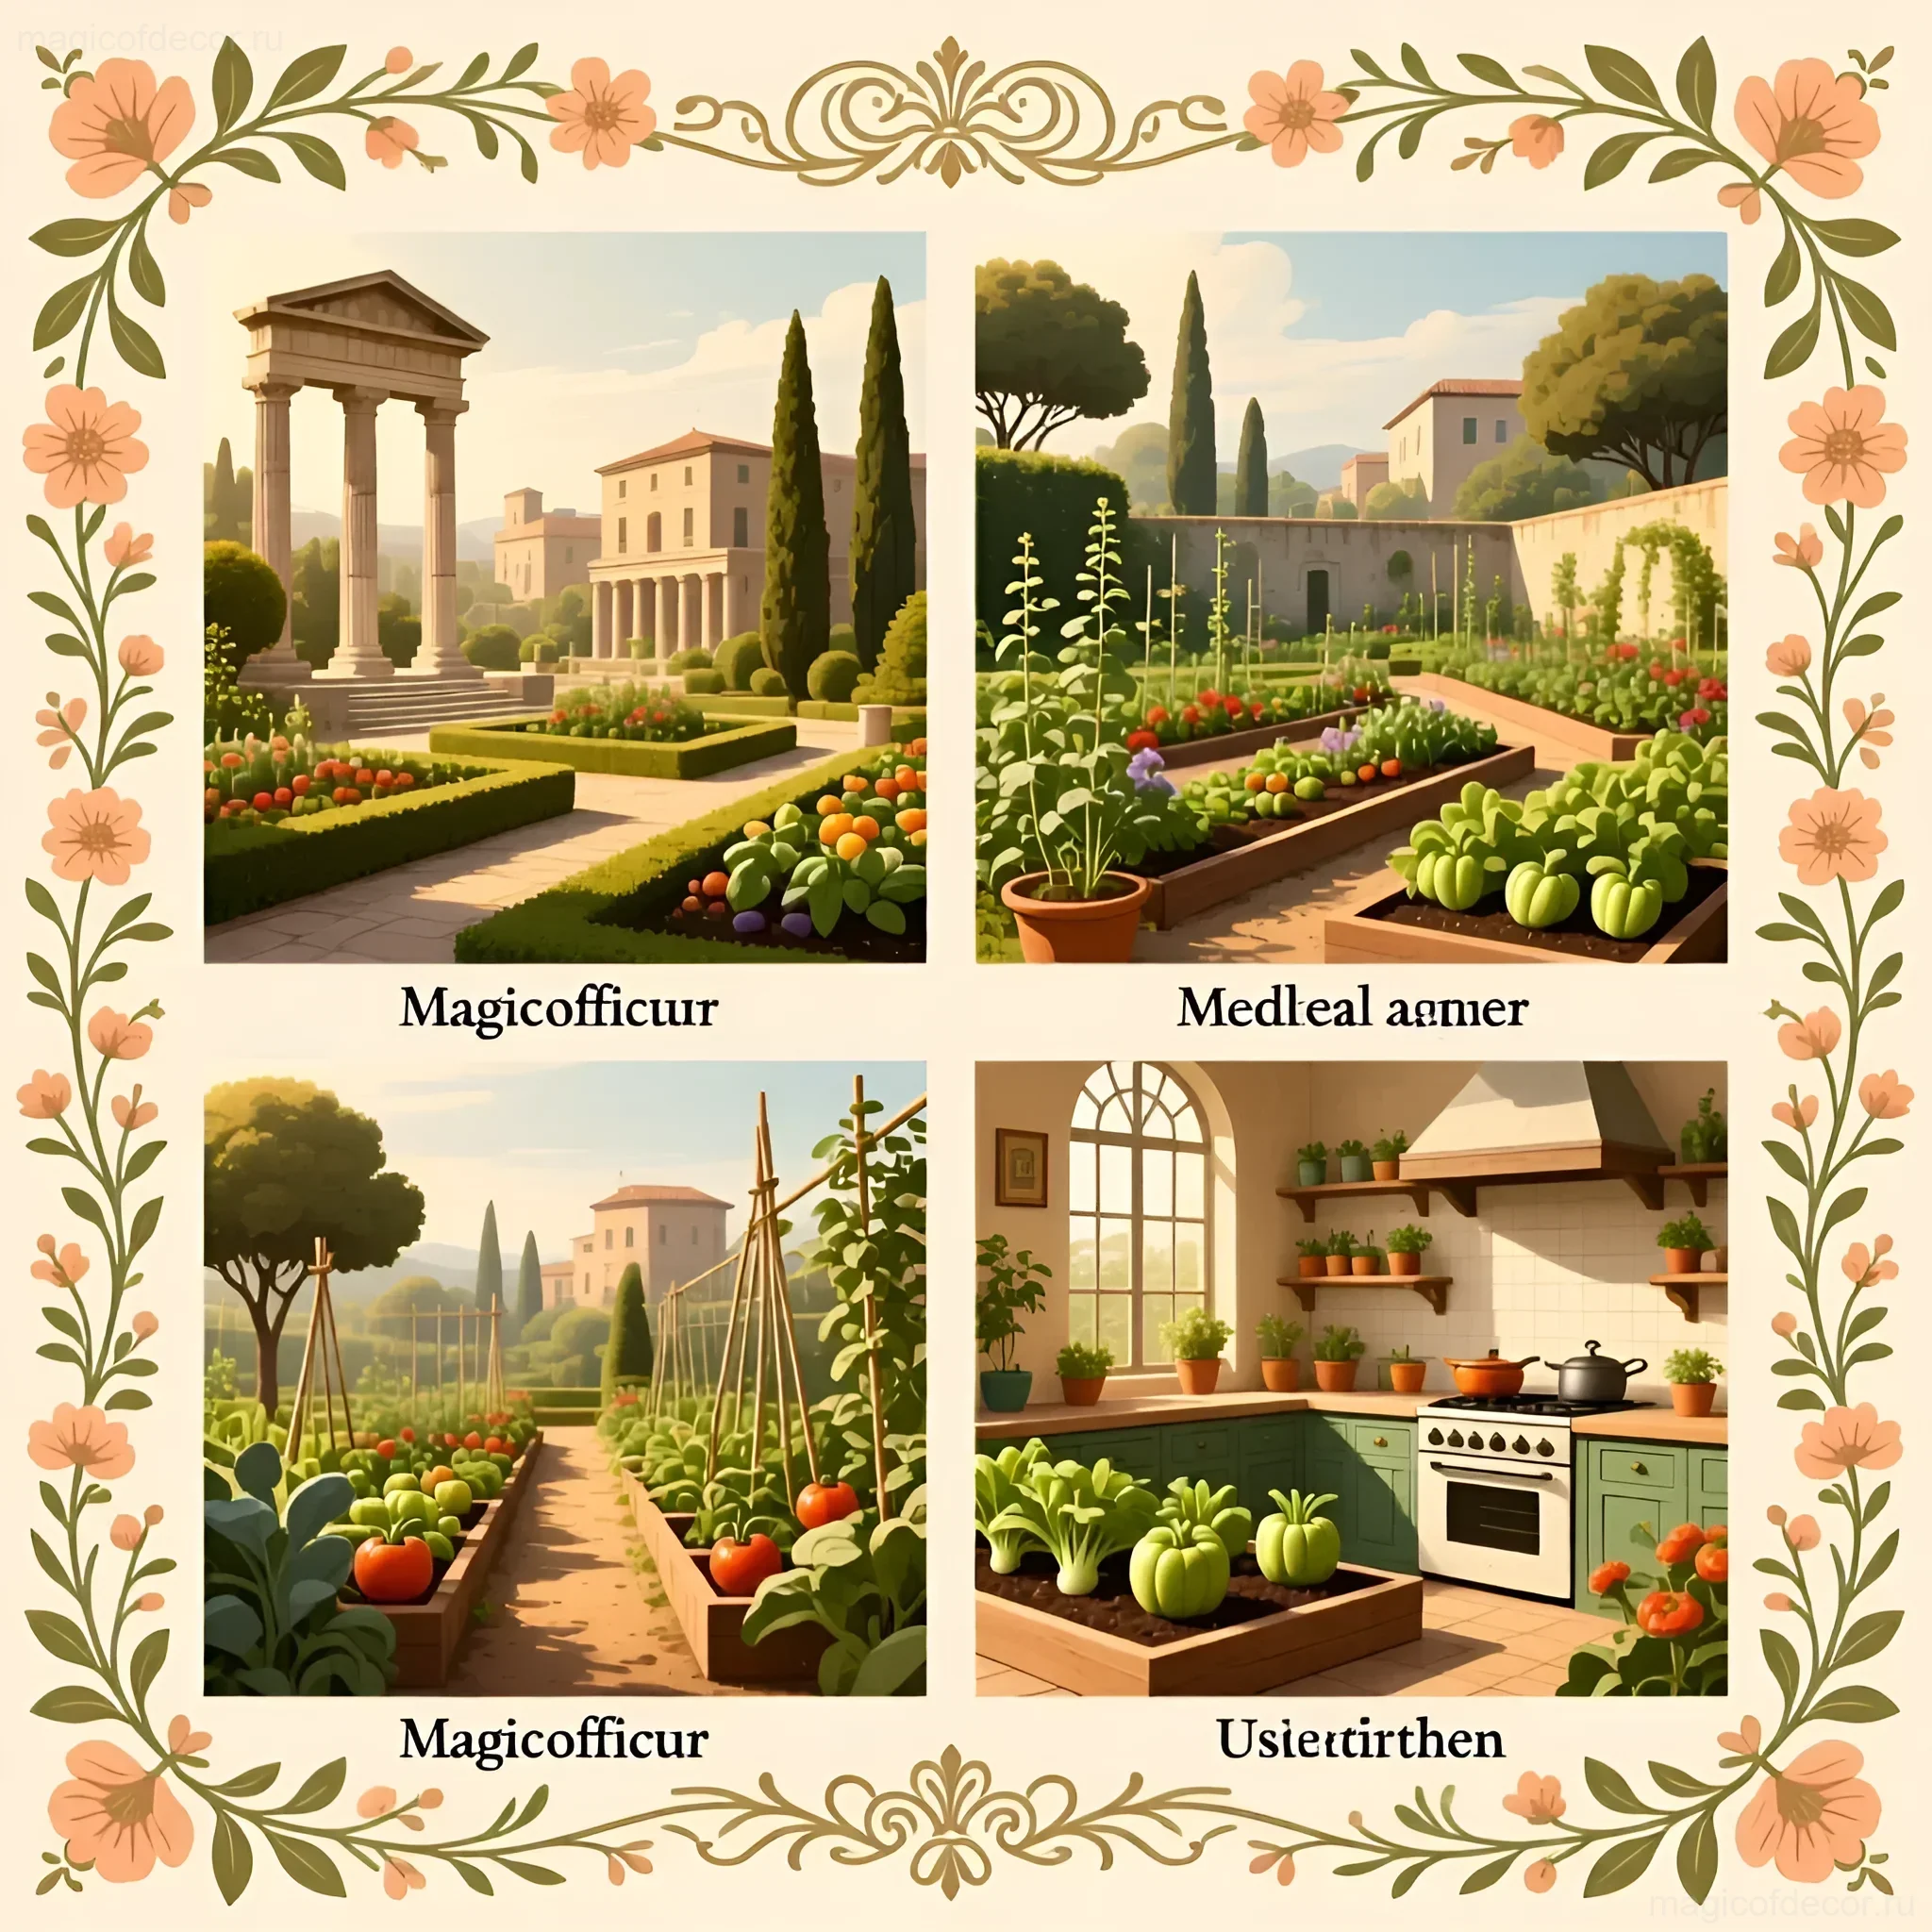
The history of decorative beds dates back deep into the past, proving that the pursuit of beauty in the garden is not just a modern trend but an ancient tradition.
1. The Birth of the Potager in France. The classic French potager appeared in the Middle Ages in monasteries. Monks grew medicinal herbs and vegetables, but they did so in a strictly geometric order (most often in the shape of a cross or square) to facilitate care and give the garden divine order. Later, during the Renaissance, potagers became an integral part of royal gardens, where vegetables and fruits were grown alongside the most expensive flowers.
2. The Garden as a Status Symbol. In the 17th–18th centuries in Europe, having a beautifully designed garden, where decorative varieties of cabbage and lettuce were combined with flower beds, indicated the owner’s high status and refined taste. It was proof that the owner could afford not only practical but also exquisite beauty.
3. Edible Hedges. In old English gardens, hedges made of currants, gooseberries, or even raspberries were often used. They served as both dividers and a source of harvest, which perfectly aligns with the principles of a decorative garden.
4. The Most Famous Potager. The most famous decorative garden is located at the Château de Villandry in France. It consists of nine huge squares, each designed in a strict geometric style and planted with vegetables that are changed twice a year, creating a living, ever-changing picture.
Conclusion: A Garden That Brings Joy
Creating a decorative garden is not extra work, but a fascinating hobby that will transform your plot. When you see your beds not as rows to be weeded, but as stylish, neat flowerbeds, the pleasure of gardening increases many times over. Remember: the soul of the home extends to your plot. Use our DIY tips, don’t be afraid to experiment with materials and colors. May your garden become not just a source of vitamins, but also a place where you can rest your soul and enjoy perfect order created by your own hands.