A home is more than just walls and furniture; it’s a place where our memories, dreams, and, of course, soul reside. We, the experts at magicofdecor.ru, are confident that the most sincere and warm decor is that which is created with your own hands, with love and attention to detail. Today, we invite you into the magical world of the herbarium – an art that allows you to preserve the fleeting beauty of nature and integrate it into the coziness of your home.
A herbarium is more than just dried leaves and flowers. It’s a small but powerful portal to those days when you walked through a summer meadow, collected autumn leaves in the park, or enjoyed the scent of spring wildflowers. Creating a herbarium is a meditative process accessible to everyone, and it’s one of the most budget-friendly ways to add a unique, natural charm to your interior. Forget expensive purchases: everything you need is already waiting for you just outside your door.
DIY Herbarium: Revive Summer Memories in Your Interior ✨
The art of herbarium making has been known for centuries, but in modern decor, it’s experiencing a true renaissance. Why? Because we increasingly value naturalness, eco-friendliness, and “slow” creativity. A herbarium fits perfectly into these trends, bringing a touch of boho, Scandinavian minimalism, or classic elegance to urban apartments.
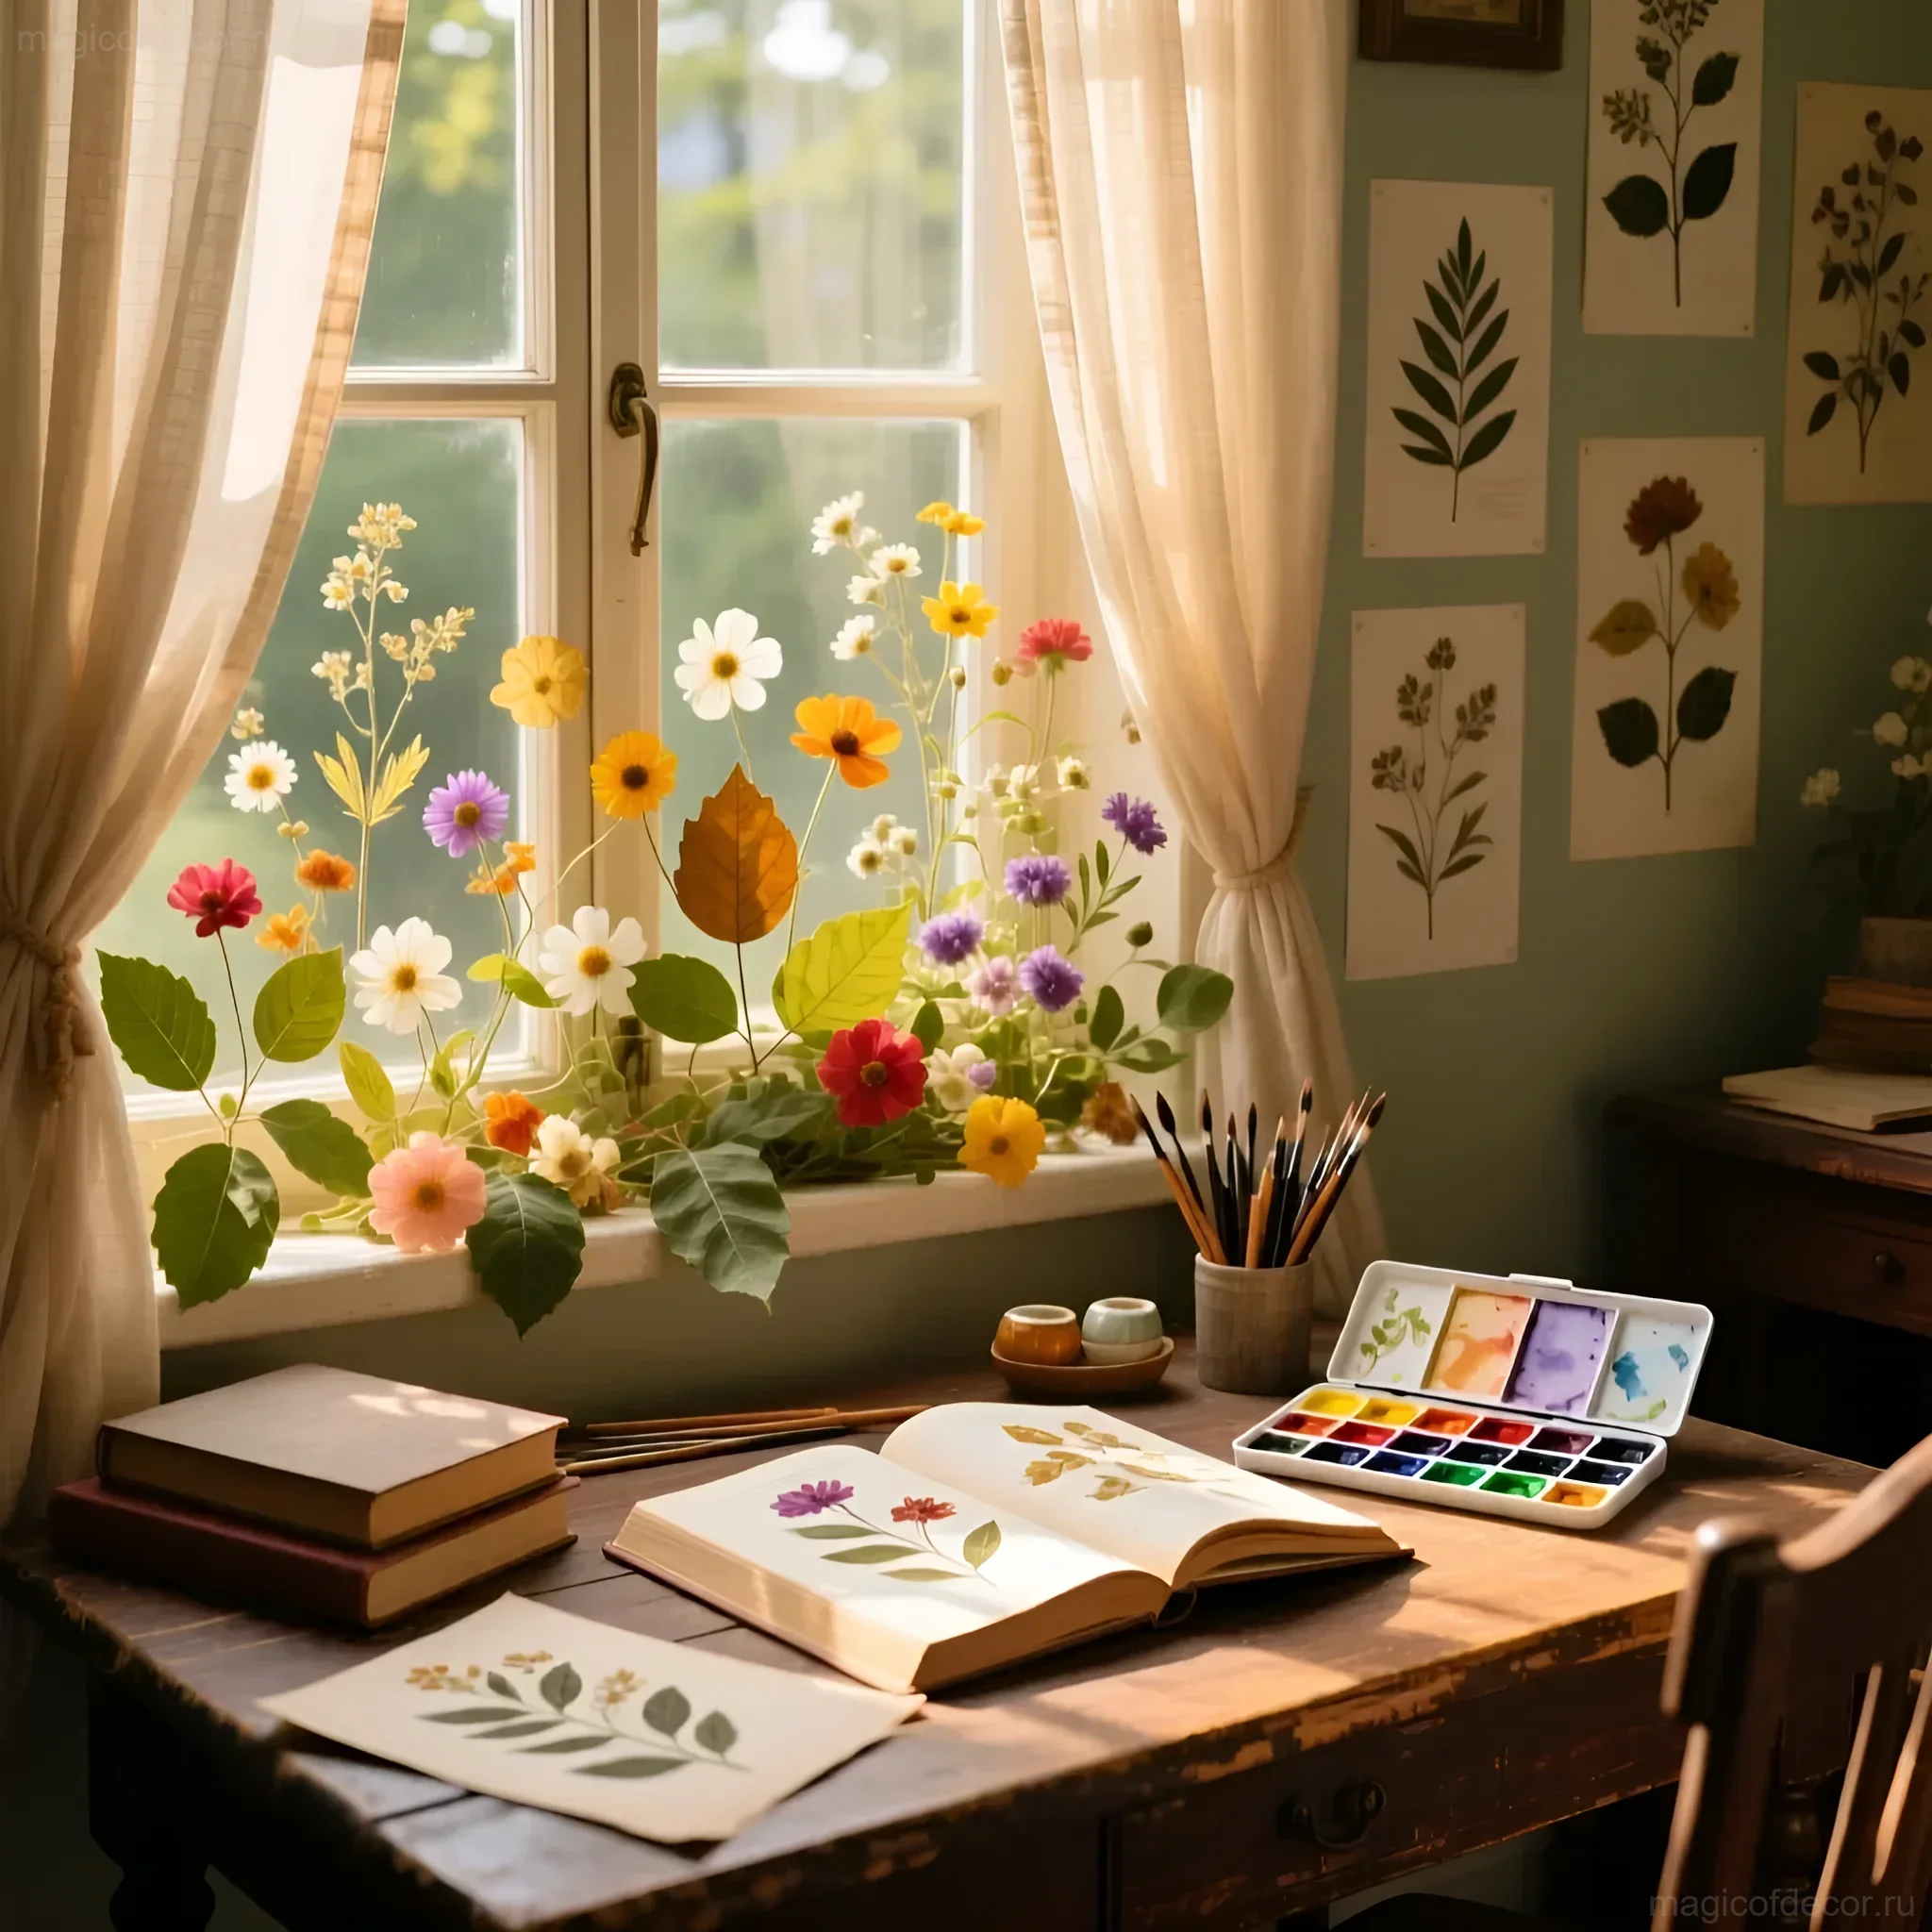
Before we dive into the technical details, let’s get inspired. Imagine: on your wall hangs not just a picture, but a composition of flowers you collected during your vacation. This isn’t just decor; it’s a personal story. A herbarium allows you to:
- Personalize your space: Each plant has its own story and meaning.
- Save money: The main “materials” are free.
- Add texture and color: Dried flowers have an amazing, noble palette that artificial materials can’t match.
- Engage in art therapy: The process of collecting and arranging is relaxing and focuses the mind.
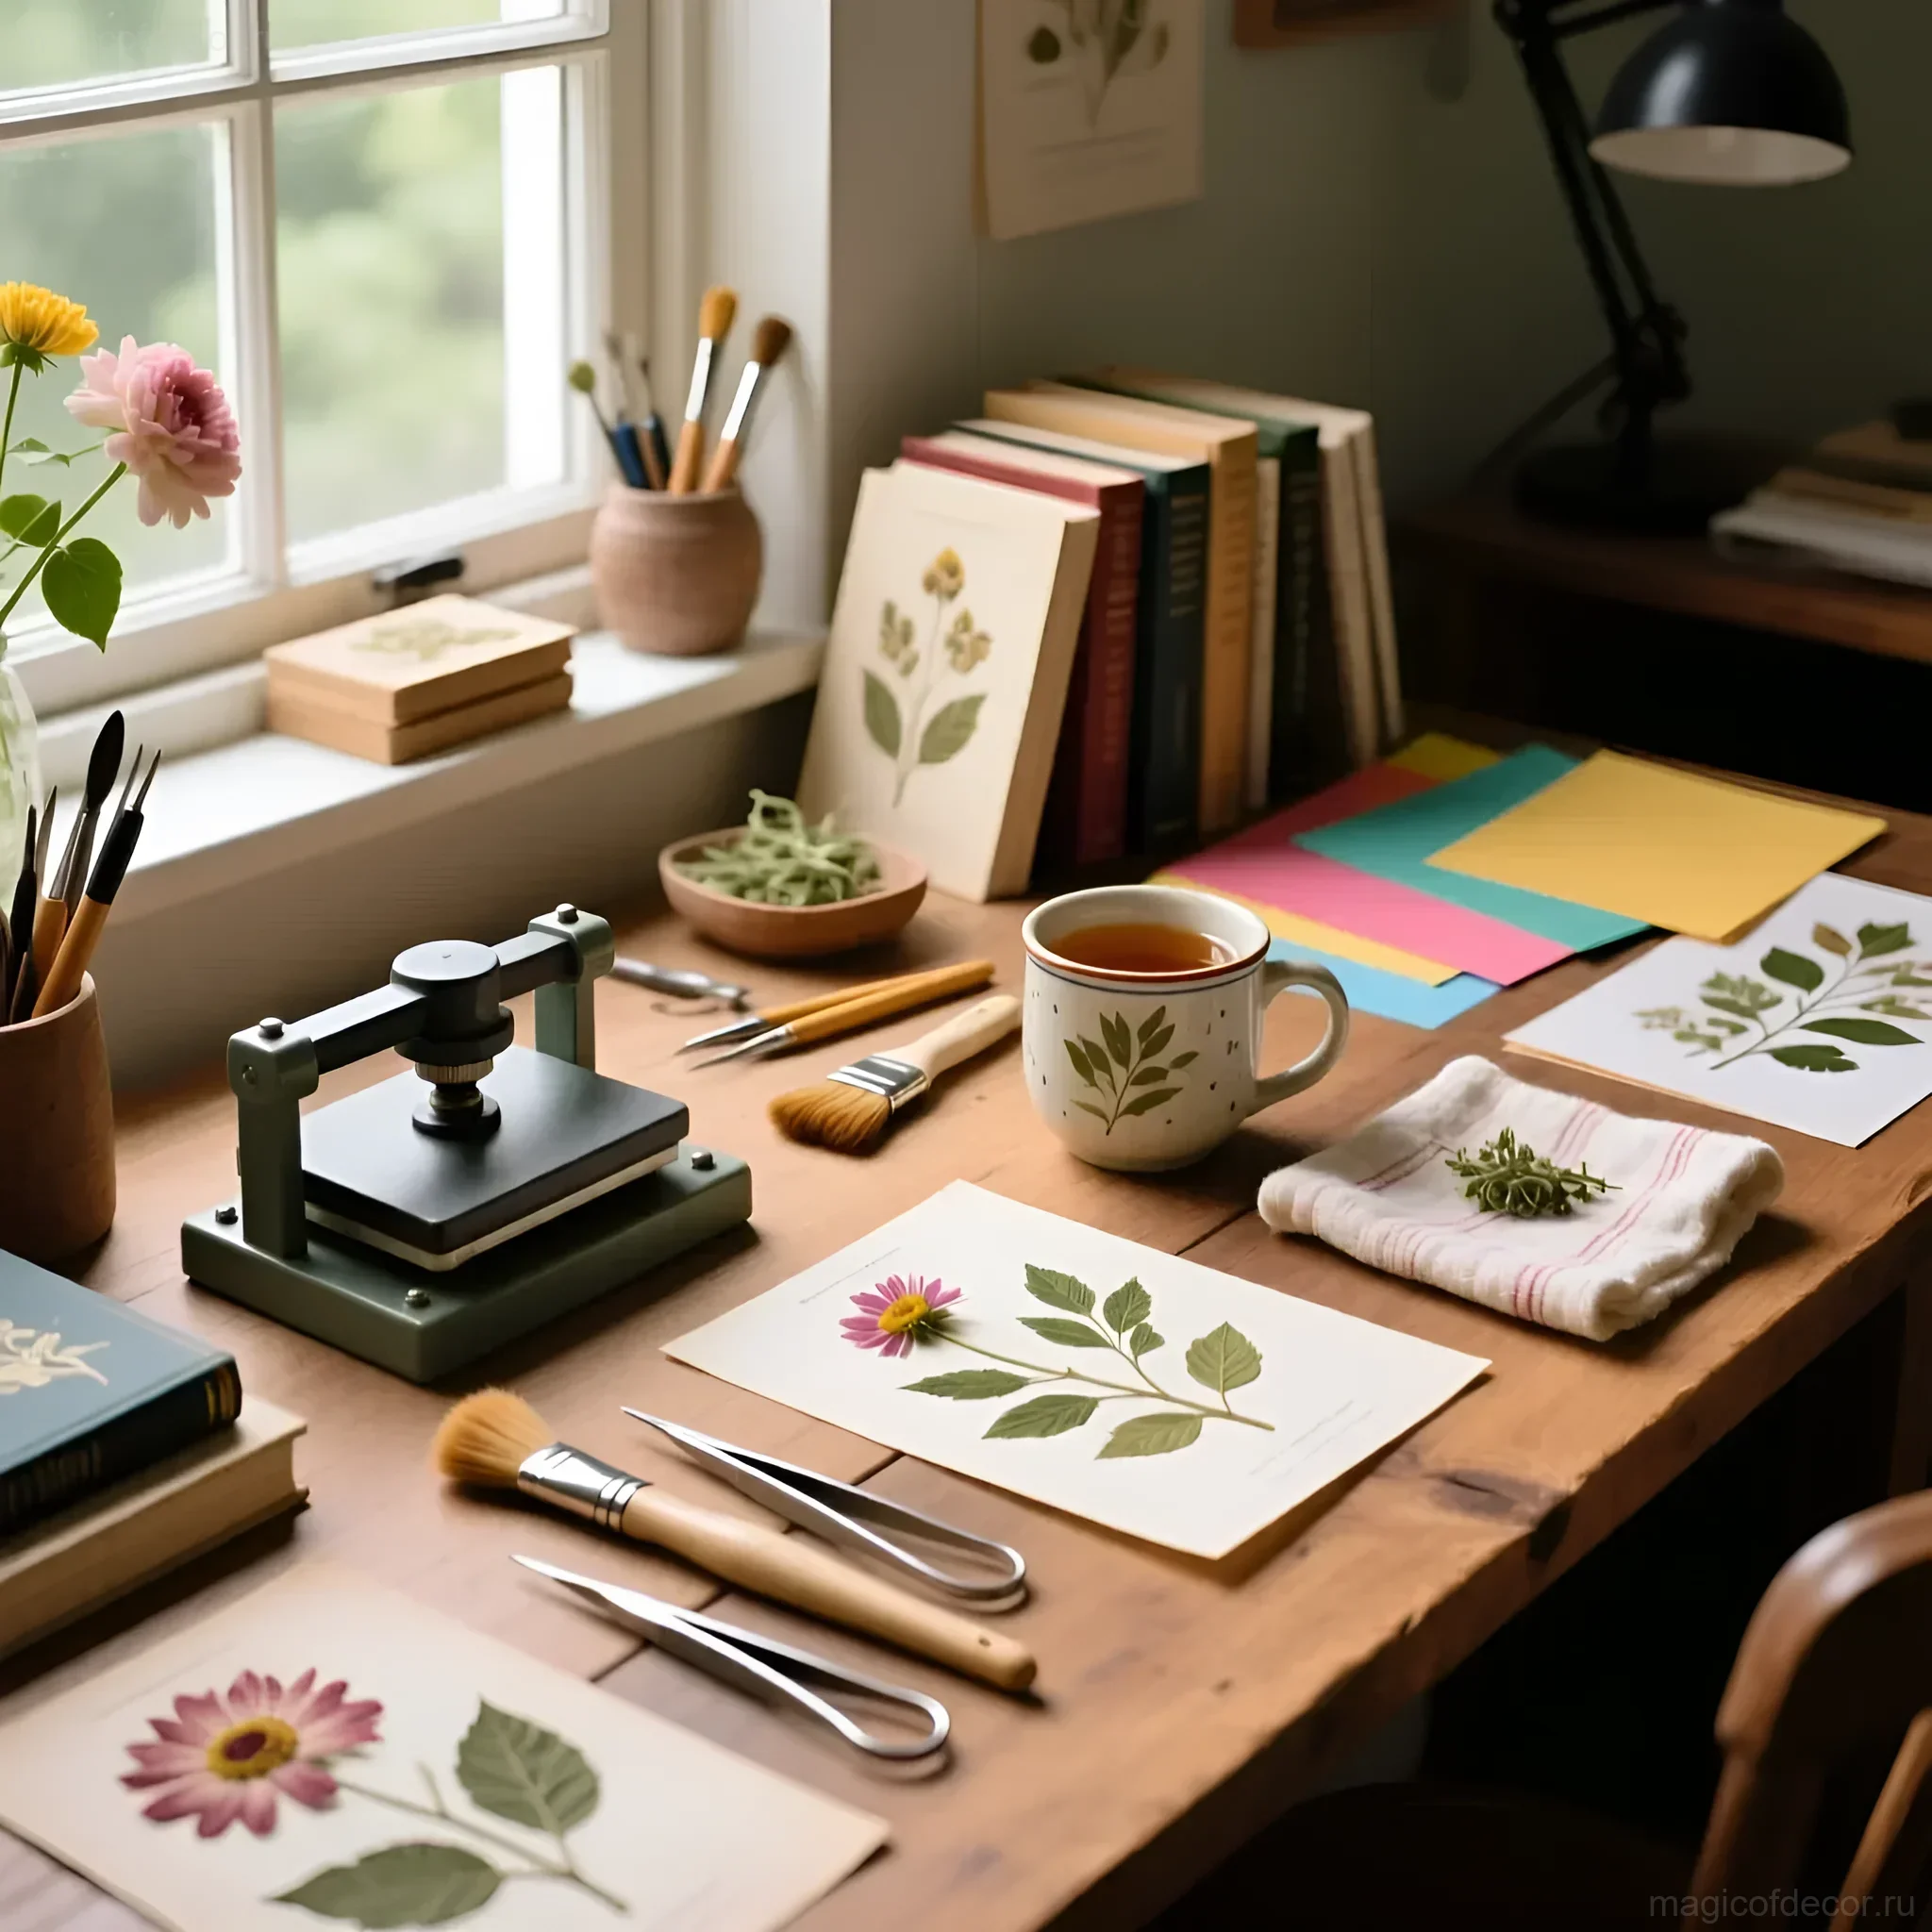
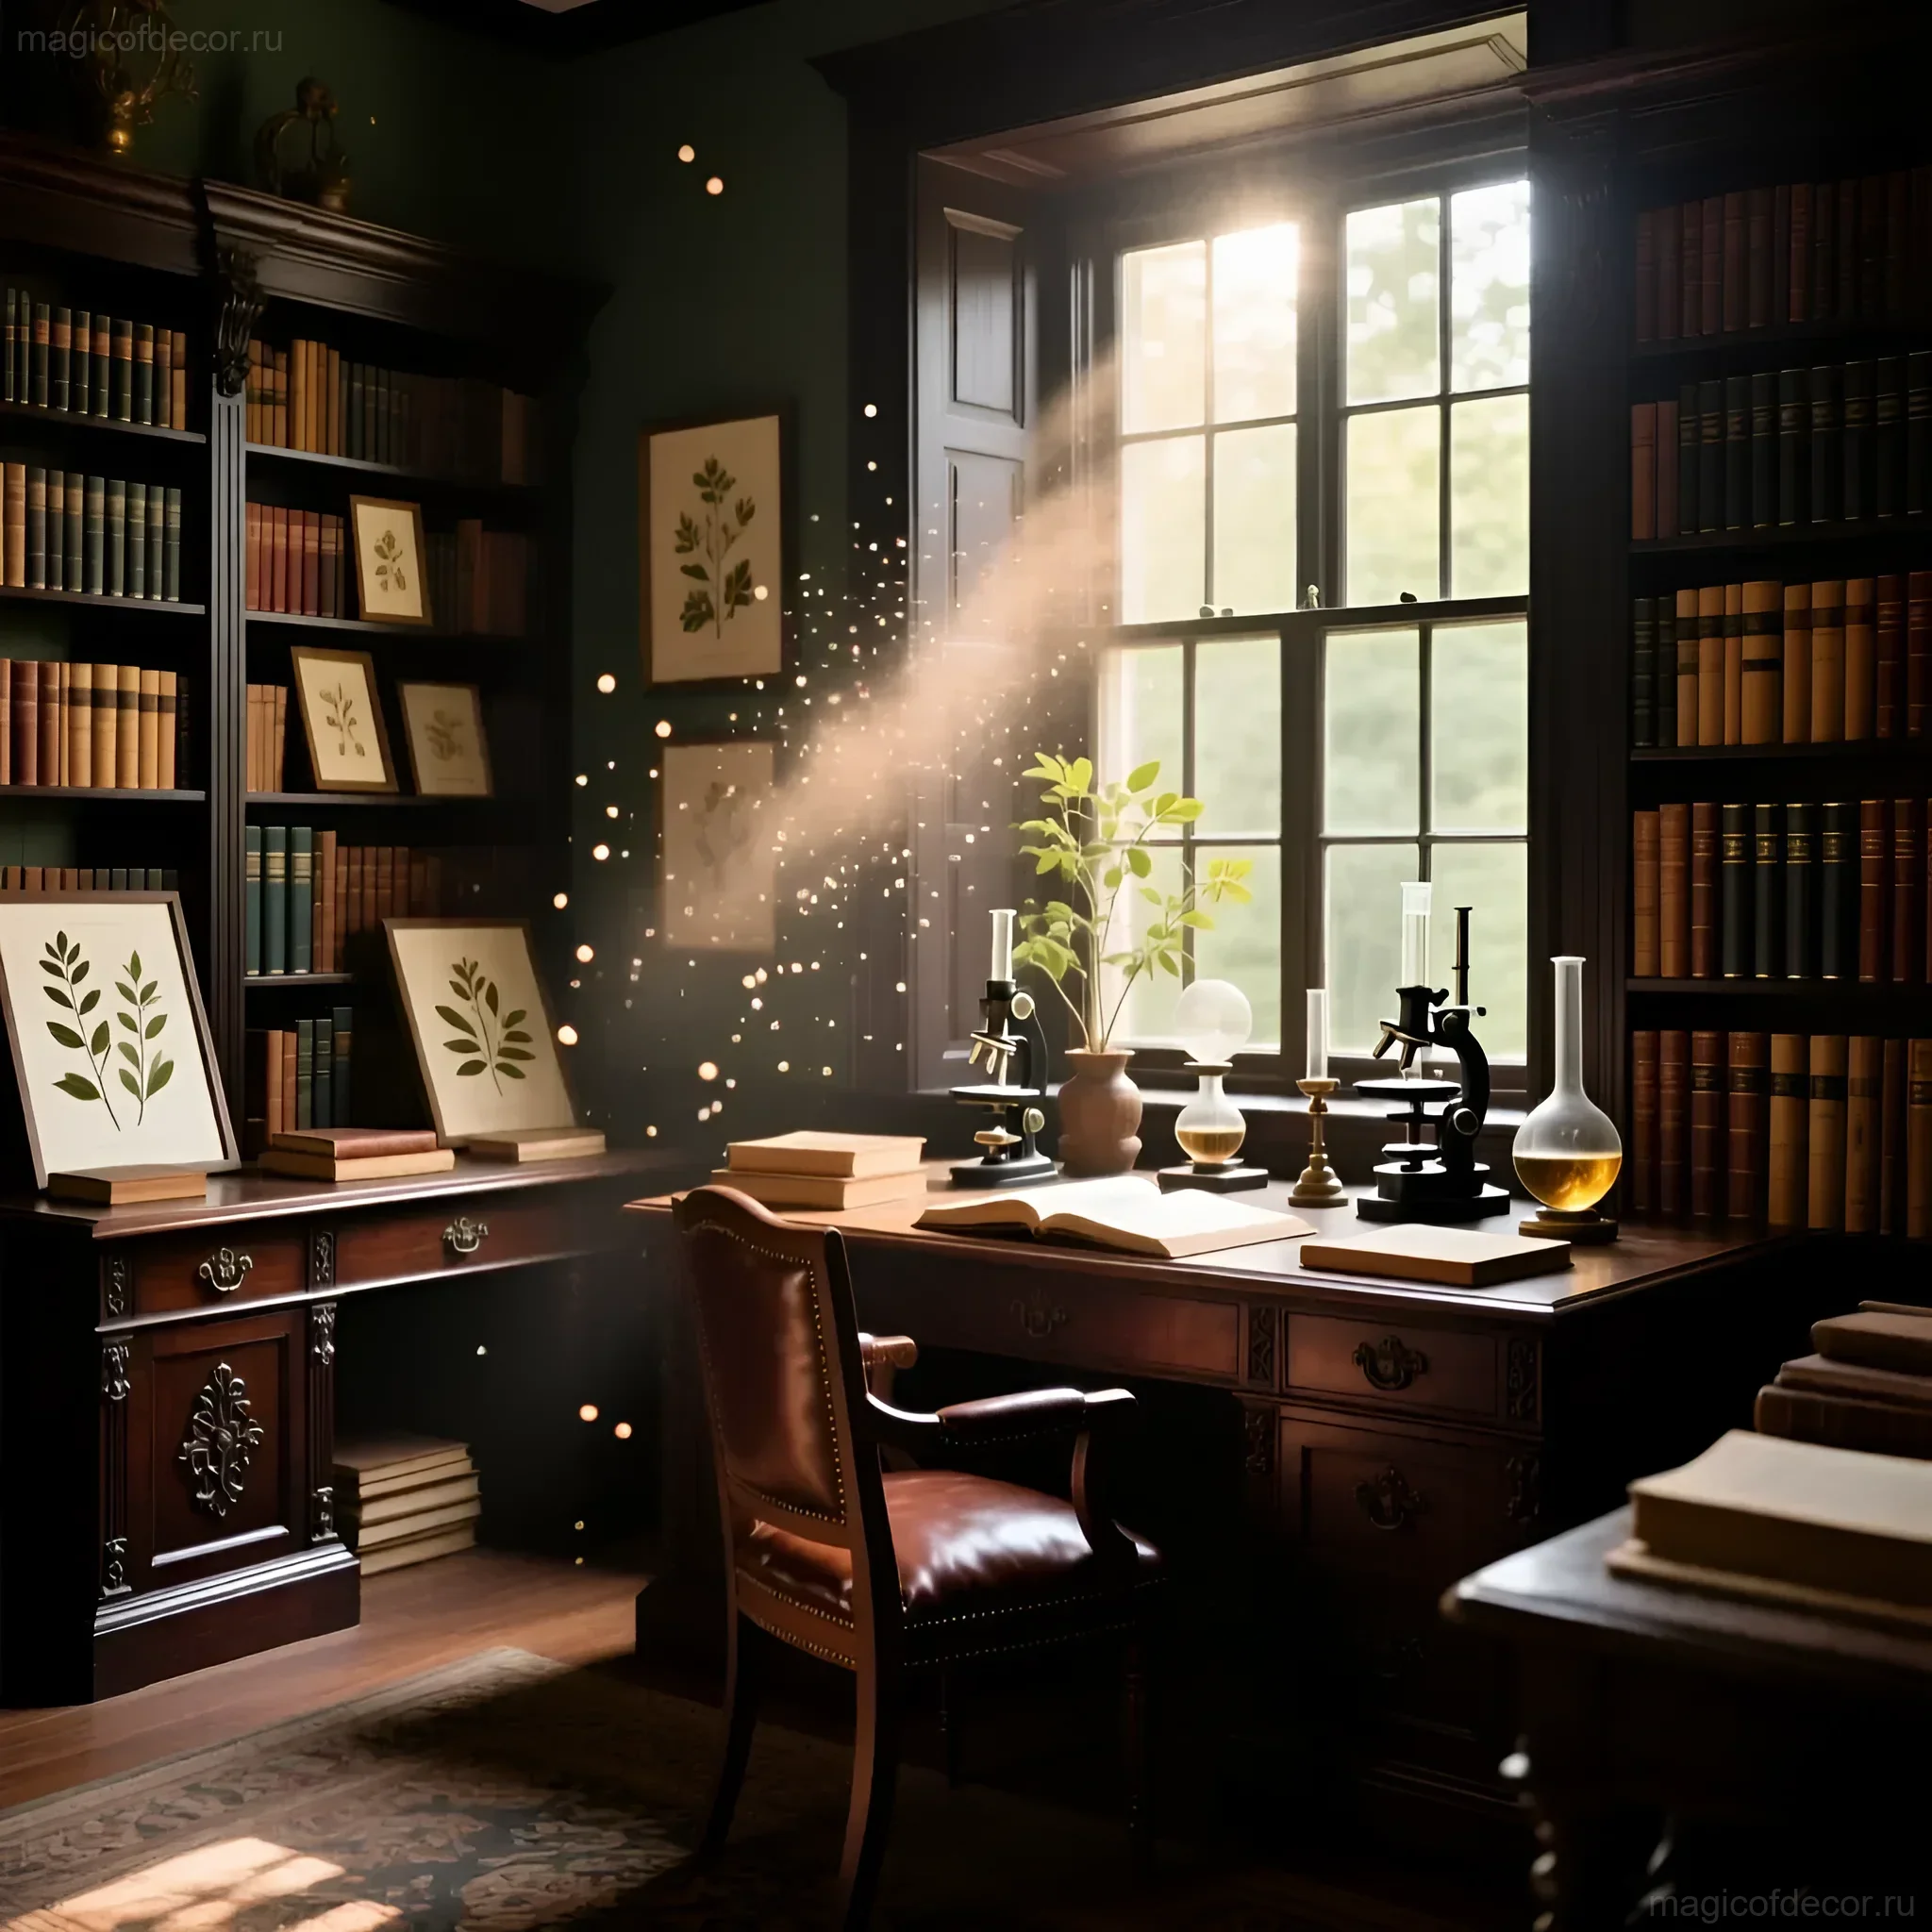
What You’ll Need to Create a Herbarium: Materials and Tools 🌿
You won’t need professional equipment to create a quality herbarium. Many tools are already in your home. The most important things are patience and the right choice of drying materials.
1. Materials for Collecting and Preparing Plants
- Pruning shears or sharp scissors: For neatly cutting plants.
- Folder or press folder: To transport fragile plants home without damaging them. A regular thick magazine or two cardboard sheets secured with rubber bands will work.
- Tweezers: Indispensable for handling small and delicate petals during assembly.
2. Pressing and Drying Equipment (Budget-Friendly Solutions)
There are several drying methods. The choice depends on how quickly and well you want to achieve results.
Method 1: Classic Press (Best Results)
If you plan to make a herbarium regularly, it’s best to buy or make a press yourself. This consists of two wooden boards tightened with screws. A press ensures even pressure and air circulation.
Method 2: Thick Books (Budget-Friendly and Accessible)
Old encyclopedias or dictionaries are ideal. The key is to use blotting paper (newspaper, blotting paper, or tracing paper) between the plant and the page to prevent moisture and pigment from damaging the book.
Method 3: Iron (for Express Drying)
This method is suitable for flat, not too juicy leaves. Place the plant between two sheets of paper (e.g., parchment paper) and iron it with a warm (NOT hot!) iron without steam. Be careful not to burn or over-dry the plant to the point of fragility.
3. Materials for Arrangement and Assembly
- Archival paper or cardstock: Choose thick paper in neutral shades (white, cream, black) that won’t yellow over time.
- Glue: PVA glue diluted with water (for thin application) or special decoupage glue is ideal. The main thing is that the glue dries clear and doesn’t leave stains.
- Frames: The most popular option is double-sided glass frames (floating frames), which create an effect of weightlessness.
Step-by-Step Guide: Creating the Perfect Herbarium 🌸
Creating a perfect herbarium requires attention at every stage. Don’t rush; enjoy the process, and your plants will retain their shape and color for as long as possible.
Step 1: Proper Plant Collection
The quality of a herbarium depends 80% on how you collected the material. Here are a few golden rules:
- Collection Time: Collect plants in dry, sunny weather, preferably in the middle of the day when the dew has already dried. A wet plant will dry poorly and may mold.
- Selection: Choose healthy, undamaged specimens. Avoid plants with signs of wilting or disease.
- On-Site Preparation: Immediately remove excess leaves and parts not needed for the composition. This reduces moisture and speeds up the drying process.
- Transportation: Transport plants in a folder or between sheets of newspaper so they don’t get crushed.
Step 2: Preparation for Pressing
Upon returning home, start pressing immediately. If a plant is too bulky, carefully spread out its parts with tweezers. If a flower is thick (e.g., a rosebud), it’s best to cut it in half lengthwise so it can dry flat.
- Place the plant between two layers of blotting paper or newspaper.
- Spread out each petal and leaf. Remember: how you lay it now is how it will remain forever.
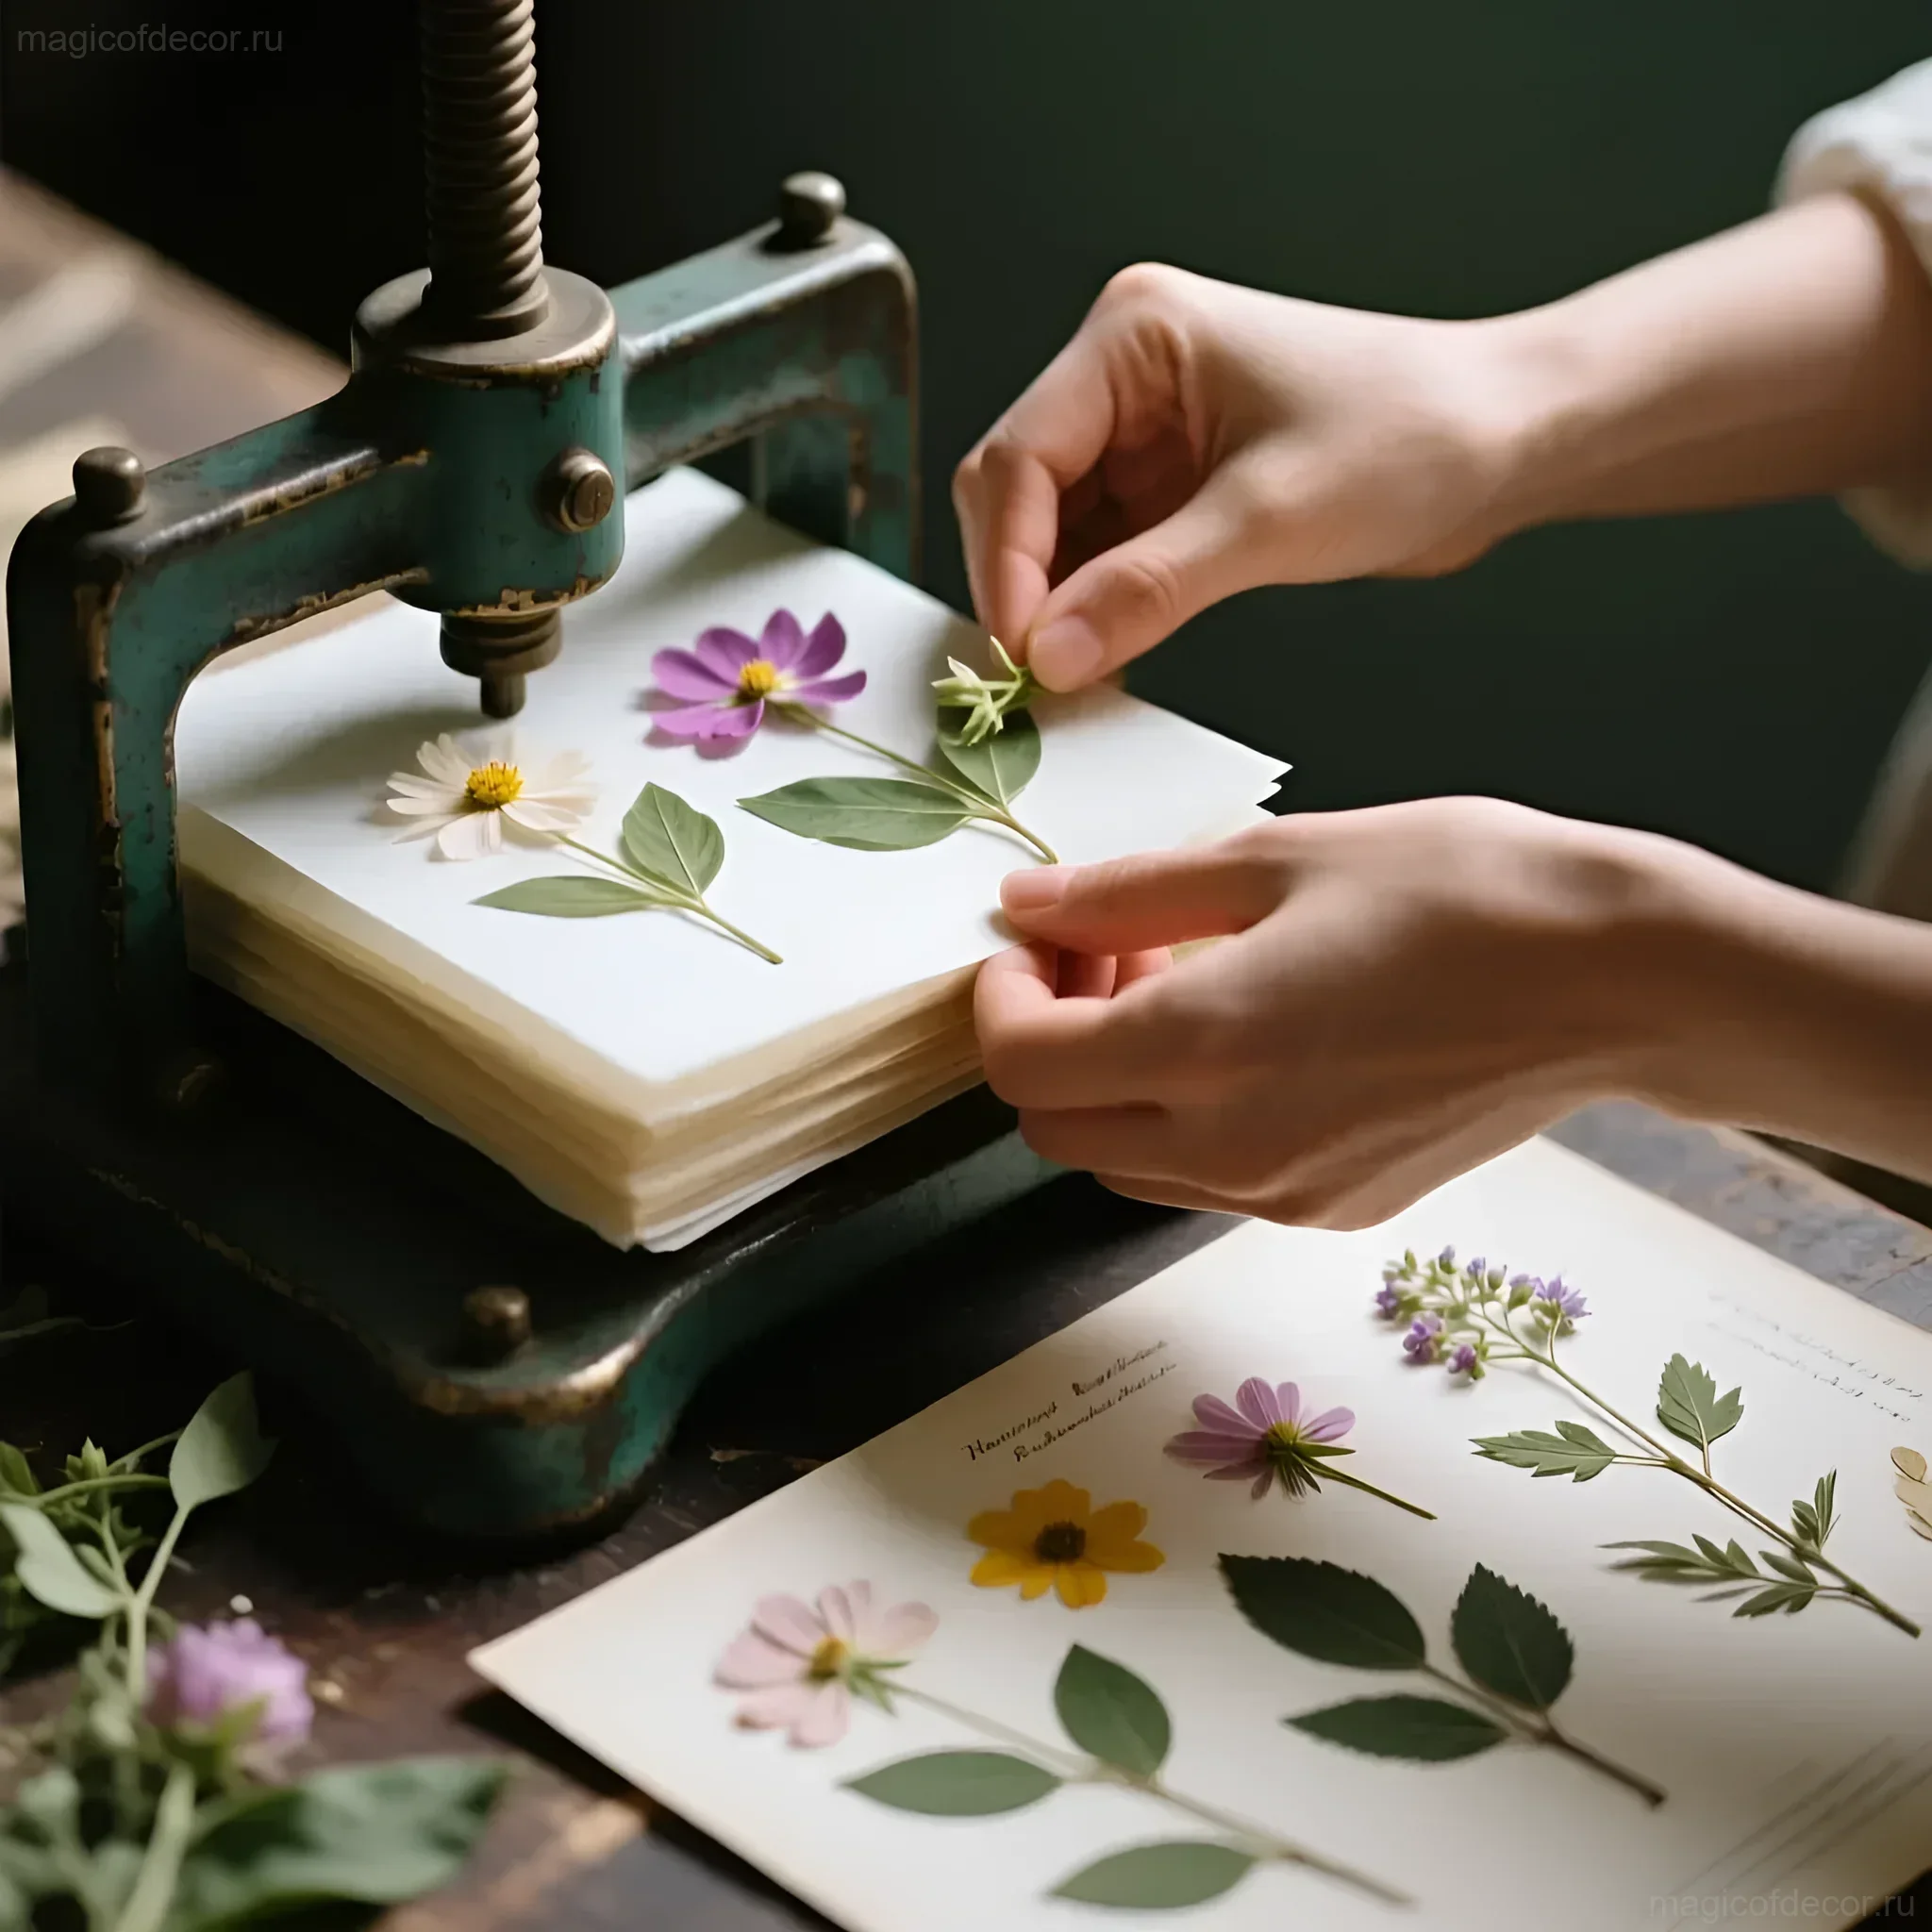
Step 3: Pressing and Drying
Place the blotting paper layers with the plants in a press or between the pages of a thick book. If using books, be sure to place additional weight on top (several more heavy books, bricks).
Important Drying Points:
Changing the Paper: For the first 3-5 days, the paper absorbs the maximum amount of moisture. To prevent mold and preserve color, be sure to change the blotting paper every 24-48 hours. This is a critical step!
Drying Time: Depending on the juiciness of the plant, the process takes from 1 to 4 weeks. Thin leaves (ferns) will dry faster than thick flowers (hydrangeas).
Sign of Readiness: The plant should be completely dry, stiff, and not flexible. If it bends, it means there is still moisture inside.
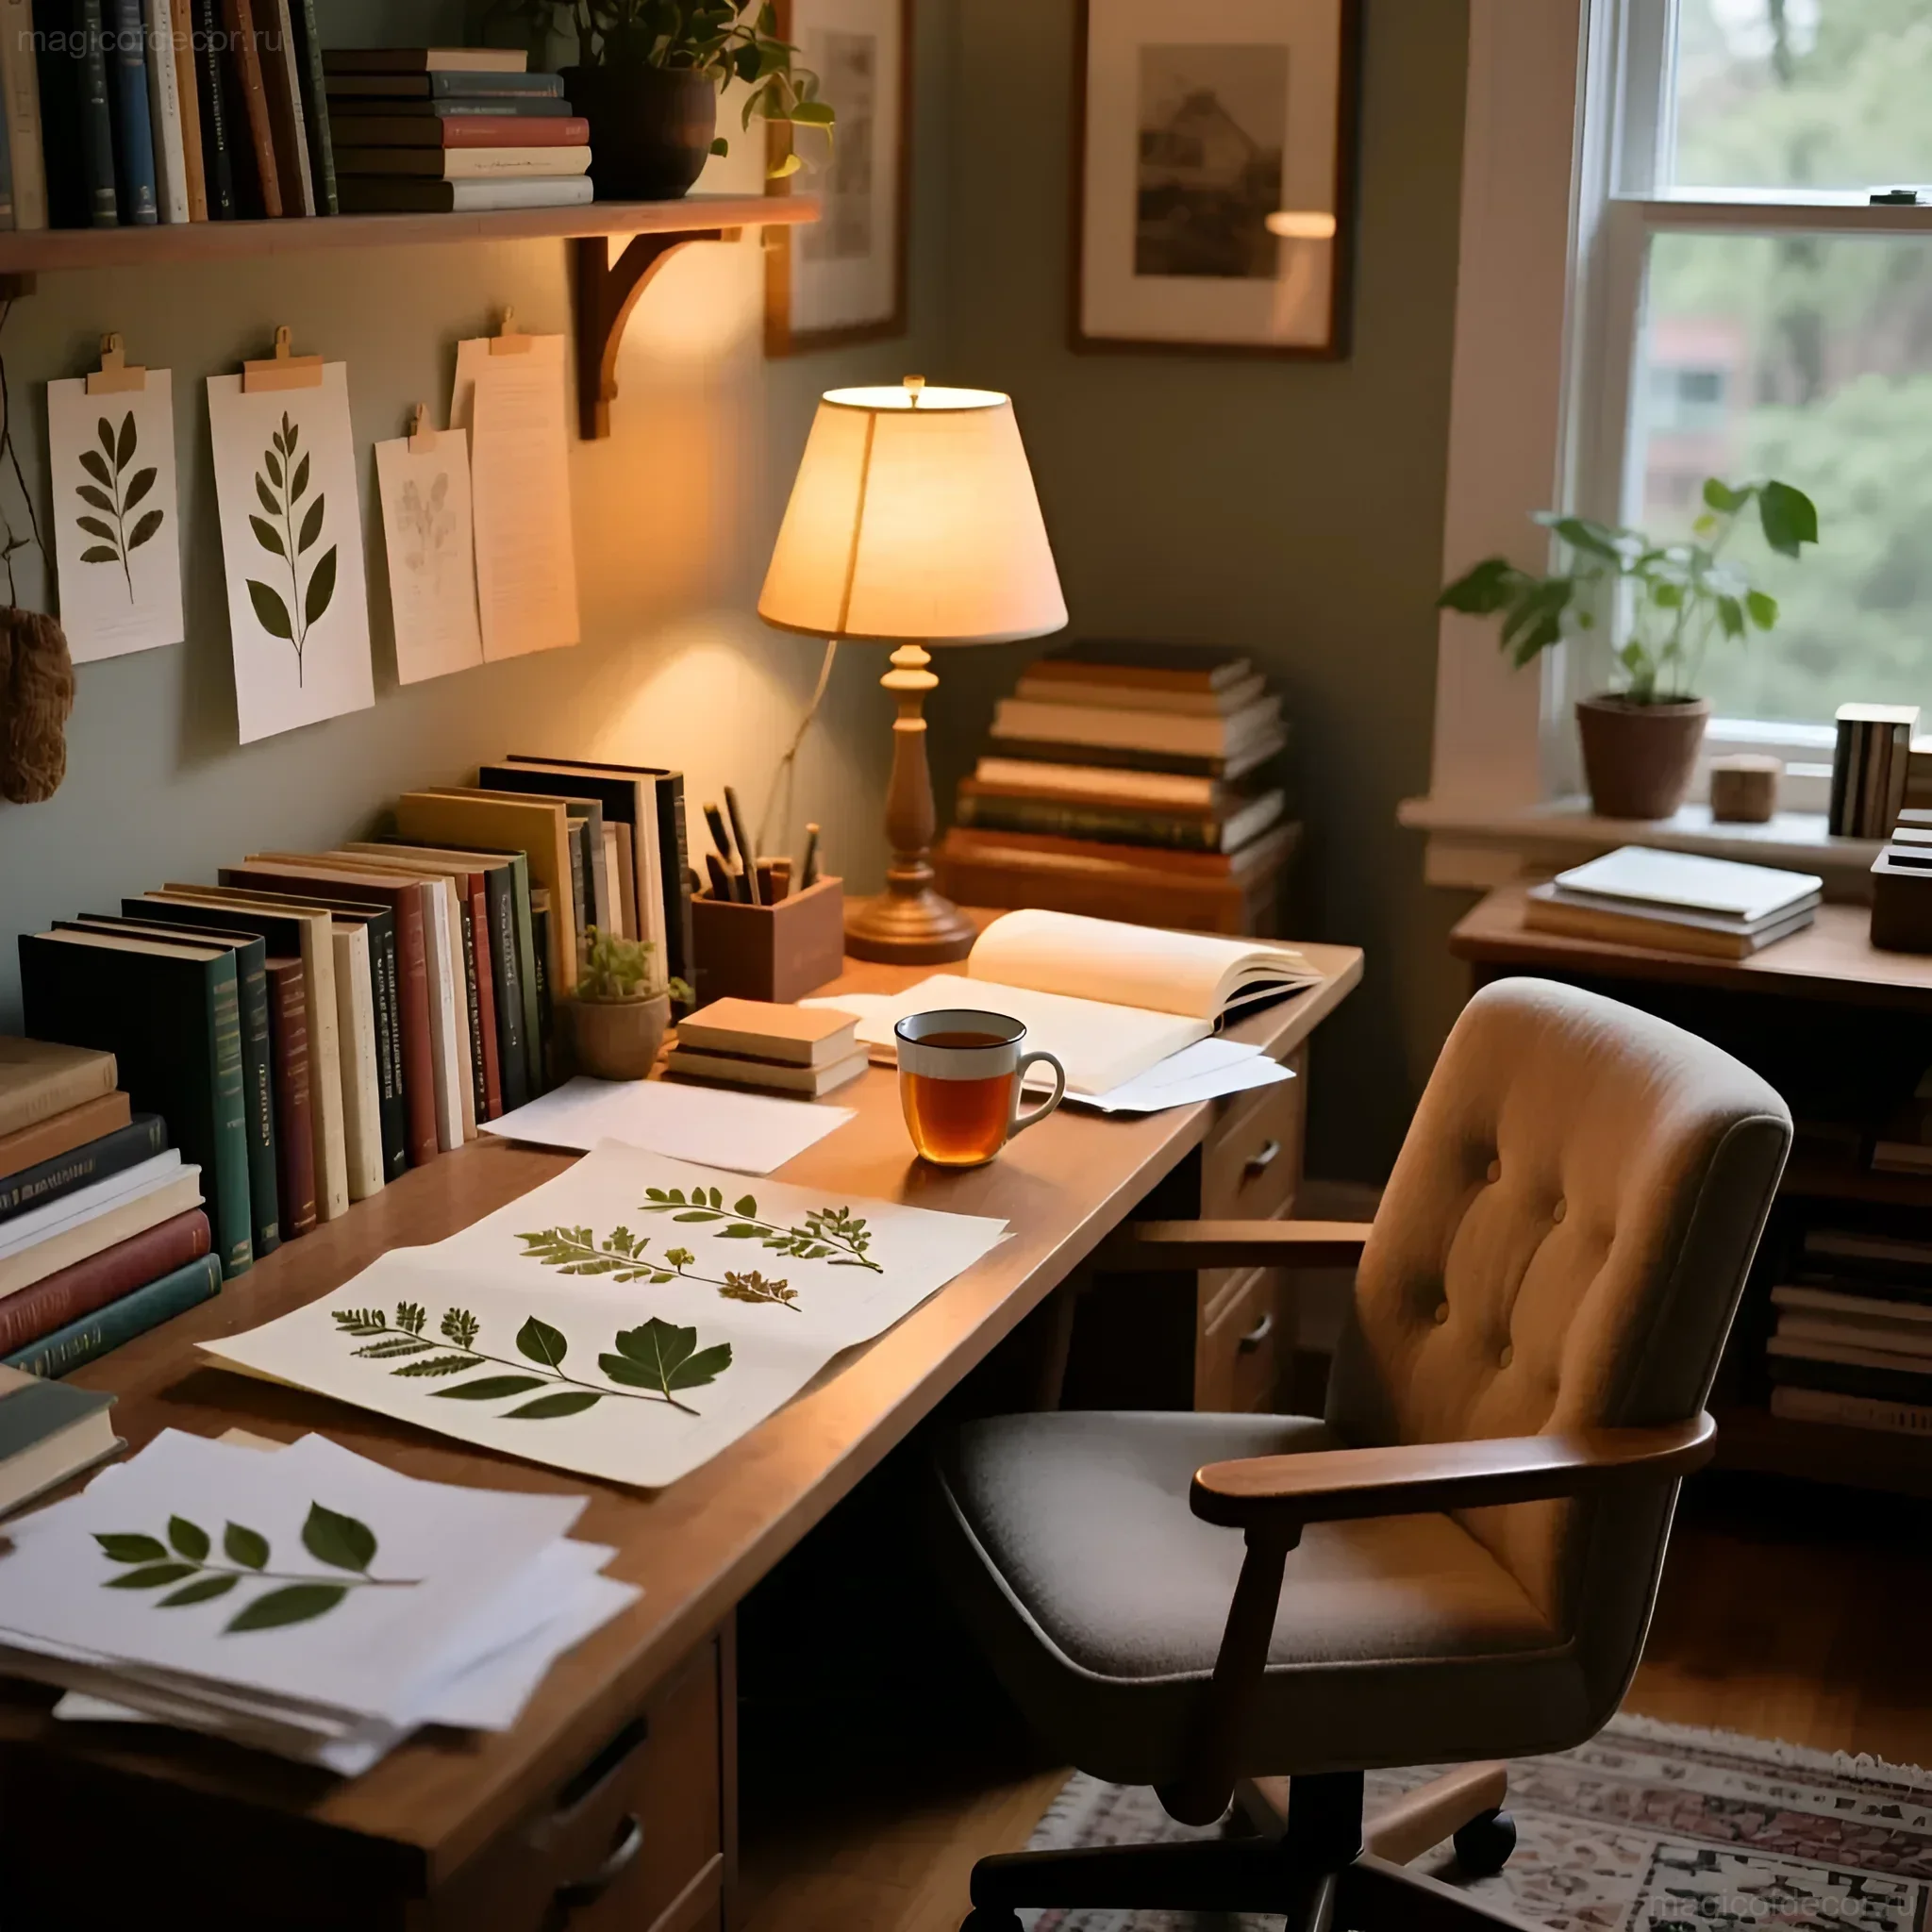
Step 4: Assembly and Arrangement
When the plants are completely dry, the most creative stage begins – creating the composition.
- Planning: Arrange the composition on a clean sheet of paper. Experiment with placement until you find the perfect balance.
- Attachment: Use tweezers to move the plants. Apply glue in a very thin line or dots to the back of the plant. For very thin petals, it’s best to use microscopic strips of double-sided tape or special herbarium tape.
- Finishing: Place the arranged sheet in a frame. If you’re using a standard frame, make sure the plant isn’t pressed too tightly against the glass.
Herbarium Arrangement Options: From Classic to Modern Ideas 🖼️
Once you have the perfect dried material in hand, it’s time to turn it into a work of art. The beauty of a herbarium is that it fits into almost any interior style.
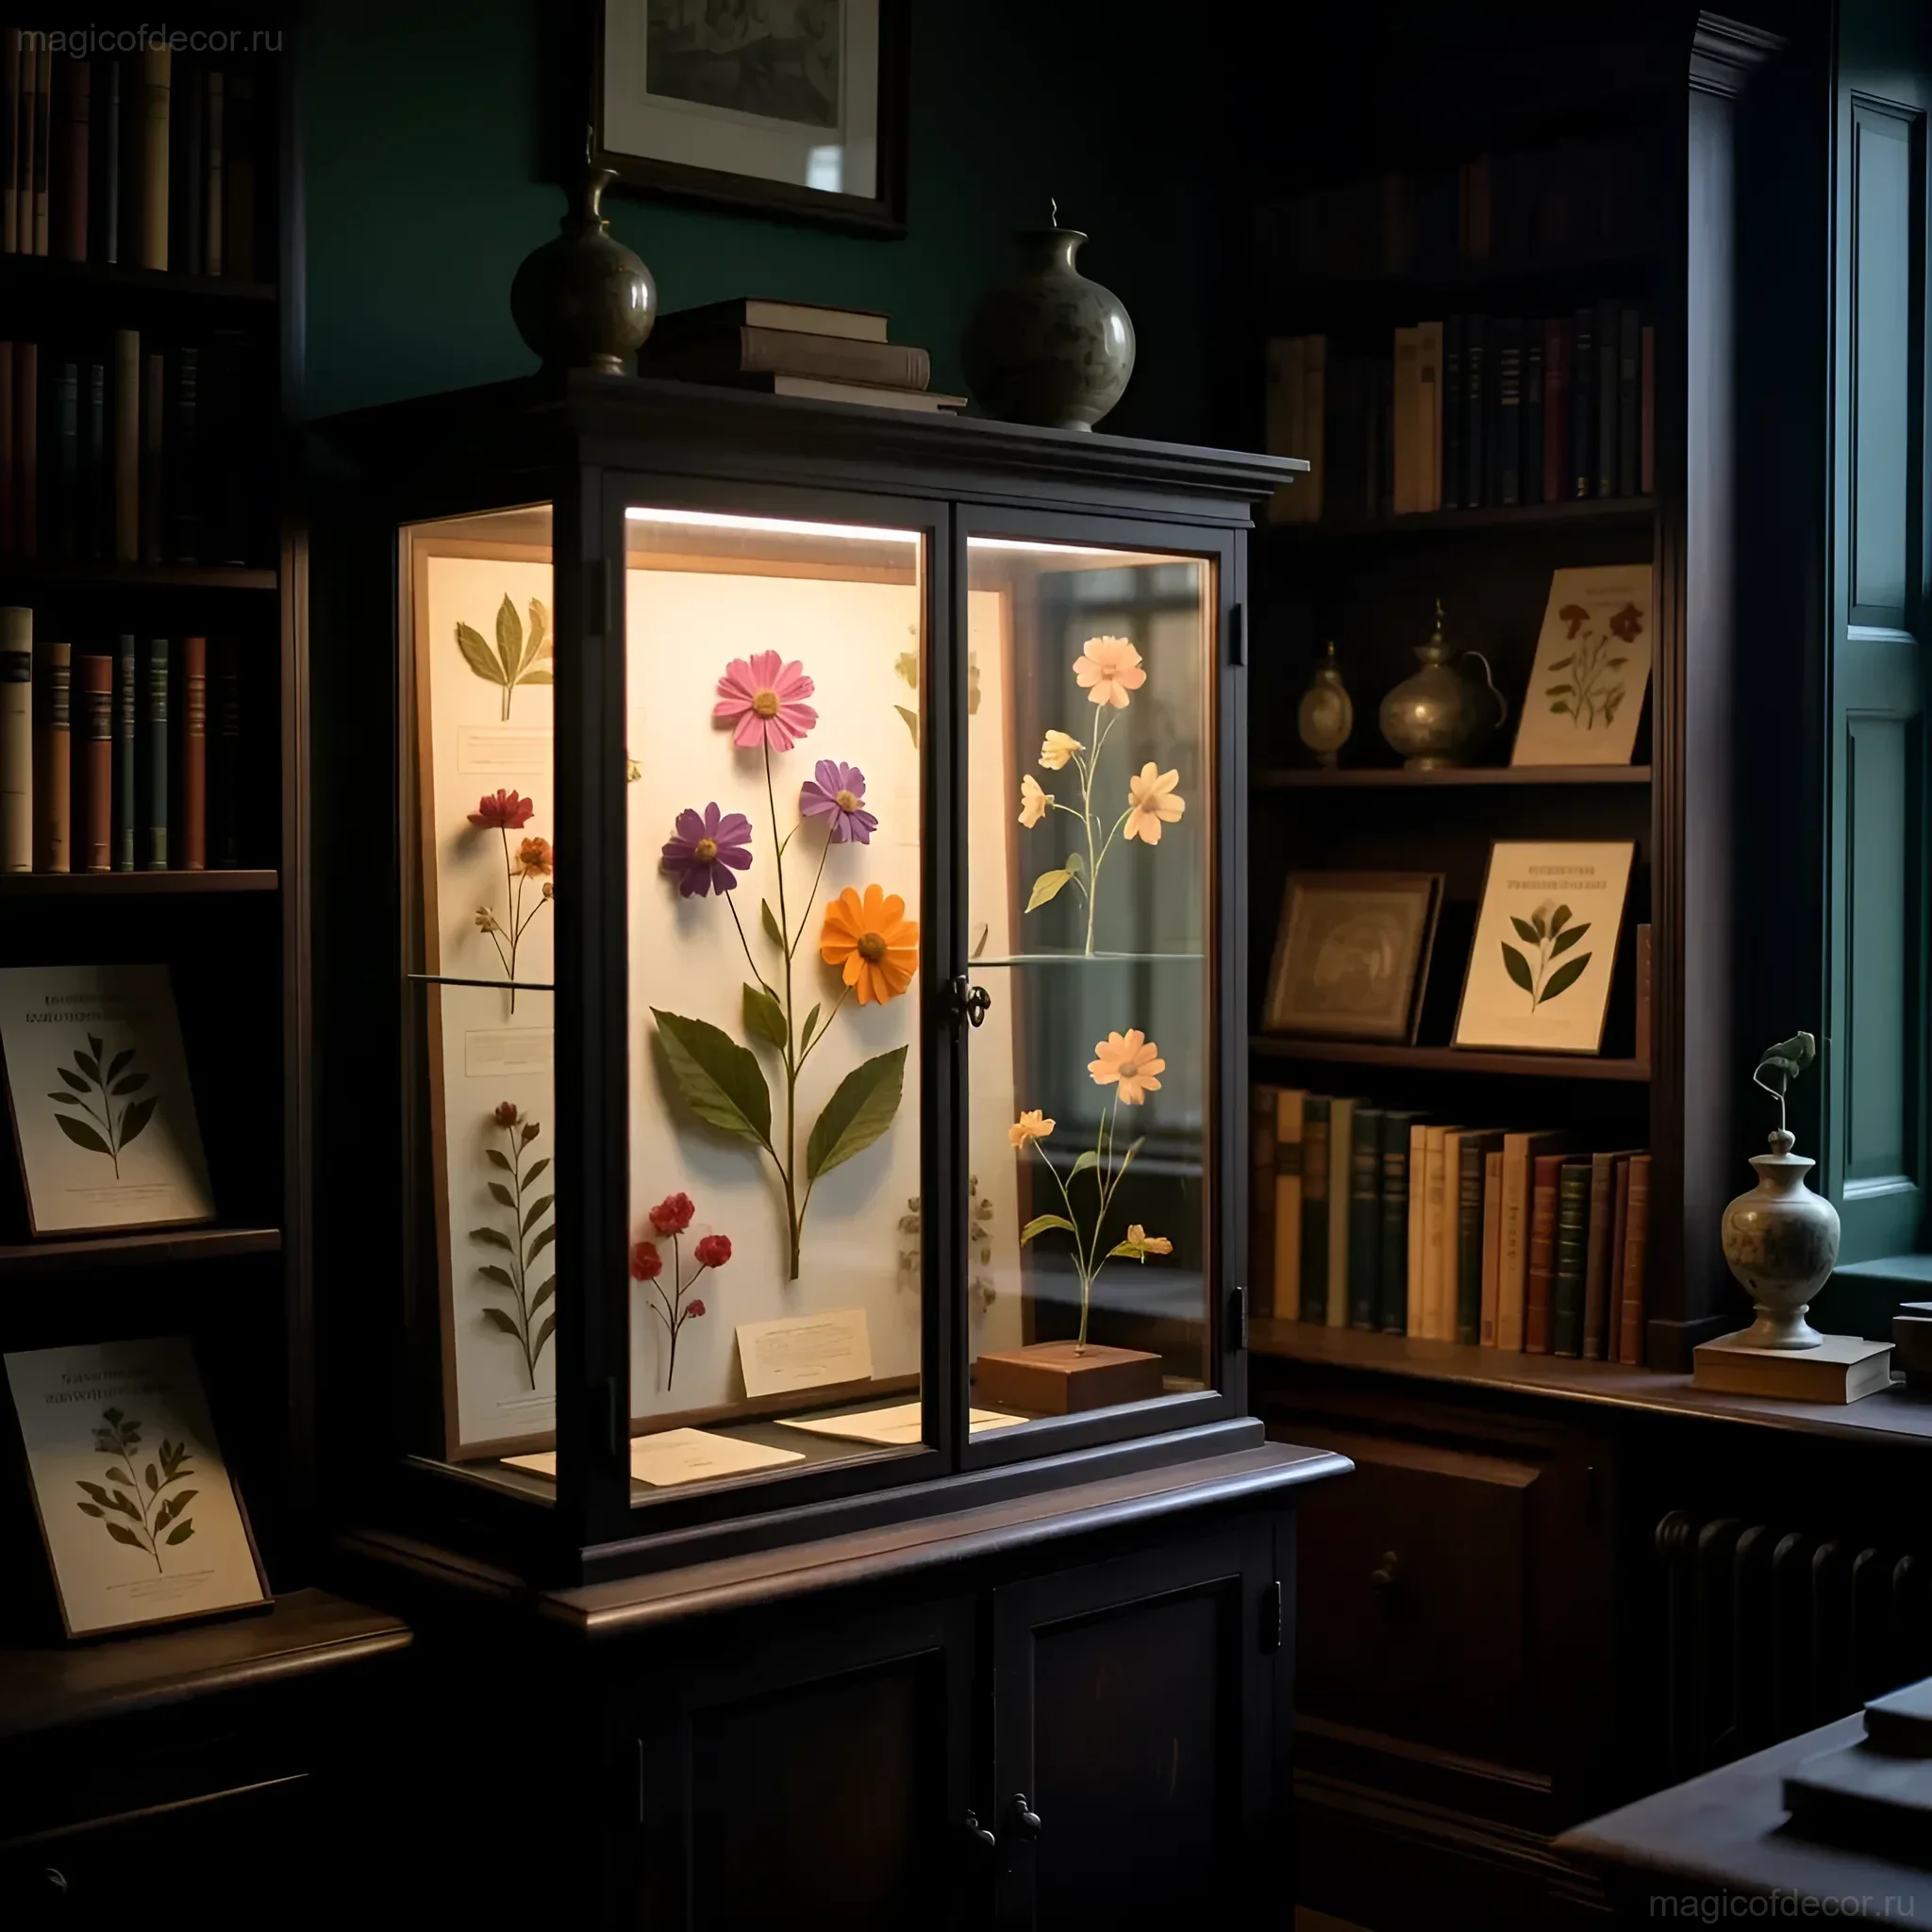
1. Classic and Floating Frames
Classic with a Mat: This is the most traditional method. You attach the plant to thick cardstock (a mat) and place it in a standard frame. Choose frames with a wide border so the plant looks like a museum exhibit.
“Floating” Panels (Glass-to-Glass): This is an absolute hit in modern decor. The plant is sandwiched between two glass panes without a backing. This creates the effect that the plant is floating in the air. It’s an ideal solution for minimalist or Scandinavian interiors. Budget Tip: You can find such frames in DIY sections or make them from two identical photo frames by removing the back.
2. Functional Decor and DIY Accessories
A herbarium doesn’t have to be just on the wall. You can use it to decorate everyday items, which is especially relevant for budget transformations.
- Coasters: Pour small flowers (e.g., pansies or clover) into epoxy resin. This requires care, but the result is stunning, durable coasters that protect your table and delight the eye.
- Bookmarks: Glue thin stems and leaves to thick paper, laminate, or cover with self-adhesive film. A wonderful DIY gift!
- Candle Decor: Use thin, translucent leaves. Attach them to a candle and gently heat with a hairdryer so the wax melts slightly and secures the plant.
- Furniture Refresh: Decorate drawer fronts or tabletops with dried flowers. After applying the composition, cover the surface with several layers of varnish or resin.
3. Volumetric Compositions and Lamps
For more voluminous flowers that don’t press well (e.g., miniature roses or lavender), use the silica gel drying method (it preserves volume and color) and arrange them in:
- Glass Vials (Terrariums without soil): Create a miniature composition under glass.
- Lampshades: Glue thin, translucent leaves and flowers to the inside of a lampshade. When the lamp is on, the light will softly diffuse through the natural patterns, creating an incredibly cozy atmosphere.
Herbarium Care Tips: Preserving Nature’s Beauty for Years to Come 🍂
You’ve spent time and soul creating your natural collection; now it’s important to ensure it has a long life. Dried flowers, while durable, require protection from three main enemies: sunlight, humidity, and pests.
1. Protection from Sun and Fading
The biggest threat to a herbarium is direct sunlight. UV rays quickly destroy pigments, especially in bright colors (red, blue). If you want to preserve color saturation:
- Placement: Never hang a herbarium opposite a window. Choose walls where the sun only hits in the morning or evening, or places with diffused light.
- UV-Protective Glass: If your herbarium is very valuable, consider using museum glass with UV protection. It’s more expensive but guarantees color longevity.
2. Humidity and Mold Control
Humidity is the number one cause of mold and paper deformation. A herbarium should be kept in a dry room.
- Avoid Bathrooms and Kitchens: Sharp temperature changes and high humidity are contraindicated for them.
- Airtightness: If you live in a very humid climate, use airtight frames or seal the frame edges with a thin strip of tape.
3. Pest Control
While dried plants are less attractive to insects than fresh ones, they can still become prey for small beetles that feed on cellulose.
- Pre-Treatment: Before pressing, some decorators recommend (especially for grasses) placing plants in the freezer for a few days – this will kill potential larvae.
- Inspection: Periodically inspect the herbarium. If you notice fine dust or holes, pests may have taken hold. In this case, it’s best to remove the affected element and treat the frame.
Inspiration: Herbarium in the Interior – Ideas for Your Home 🏡
How to integrate natural motifs into decor so it looks stylish, not like a school project? The secret is in scale, quantity, and proper presentation.
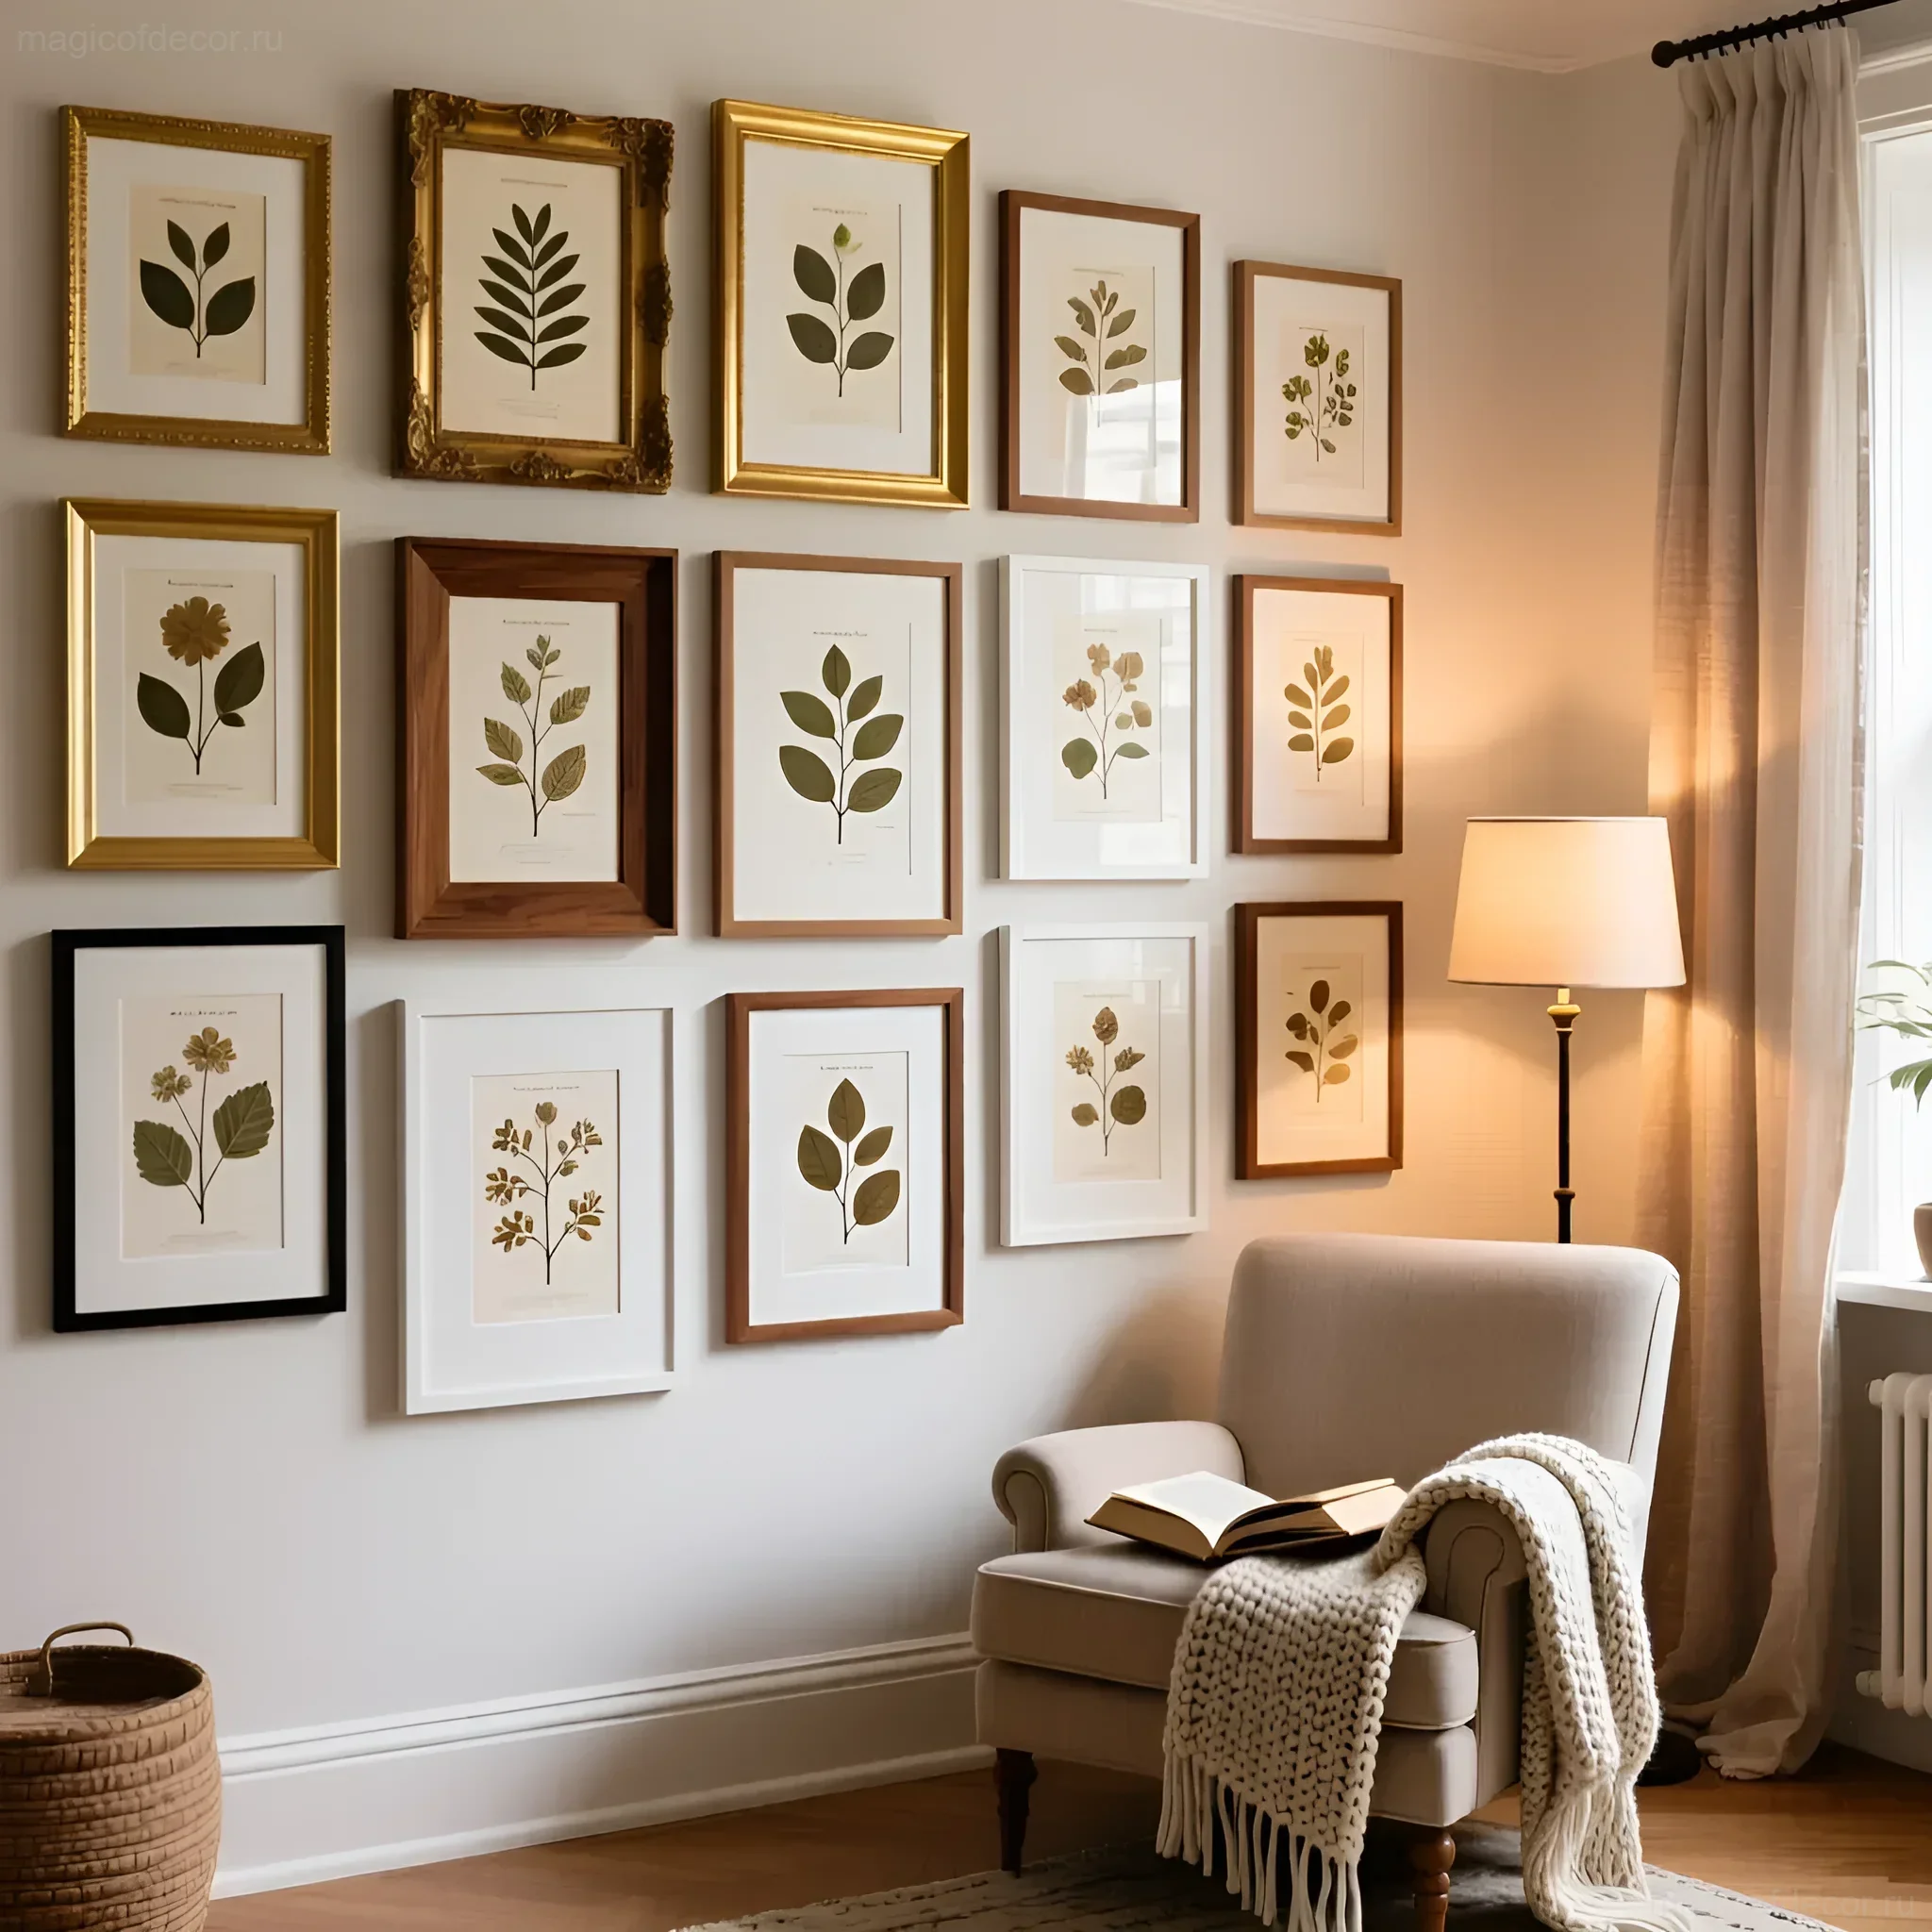
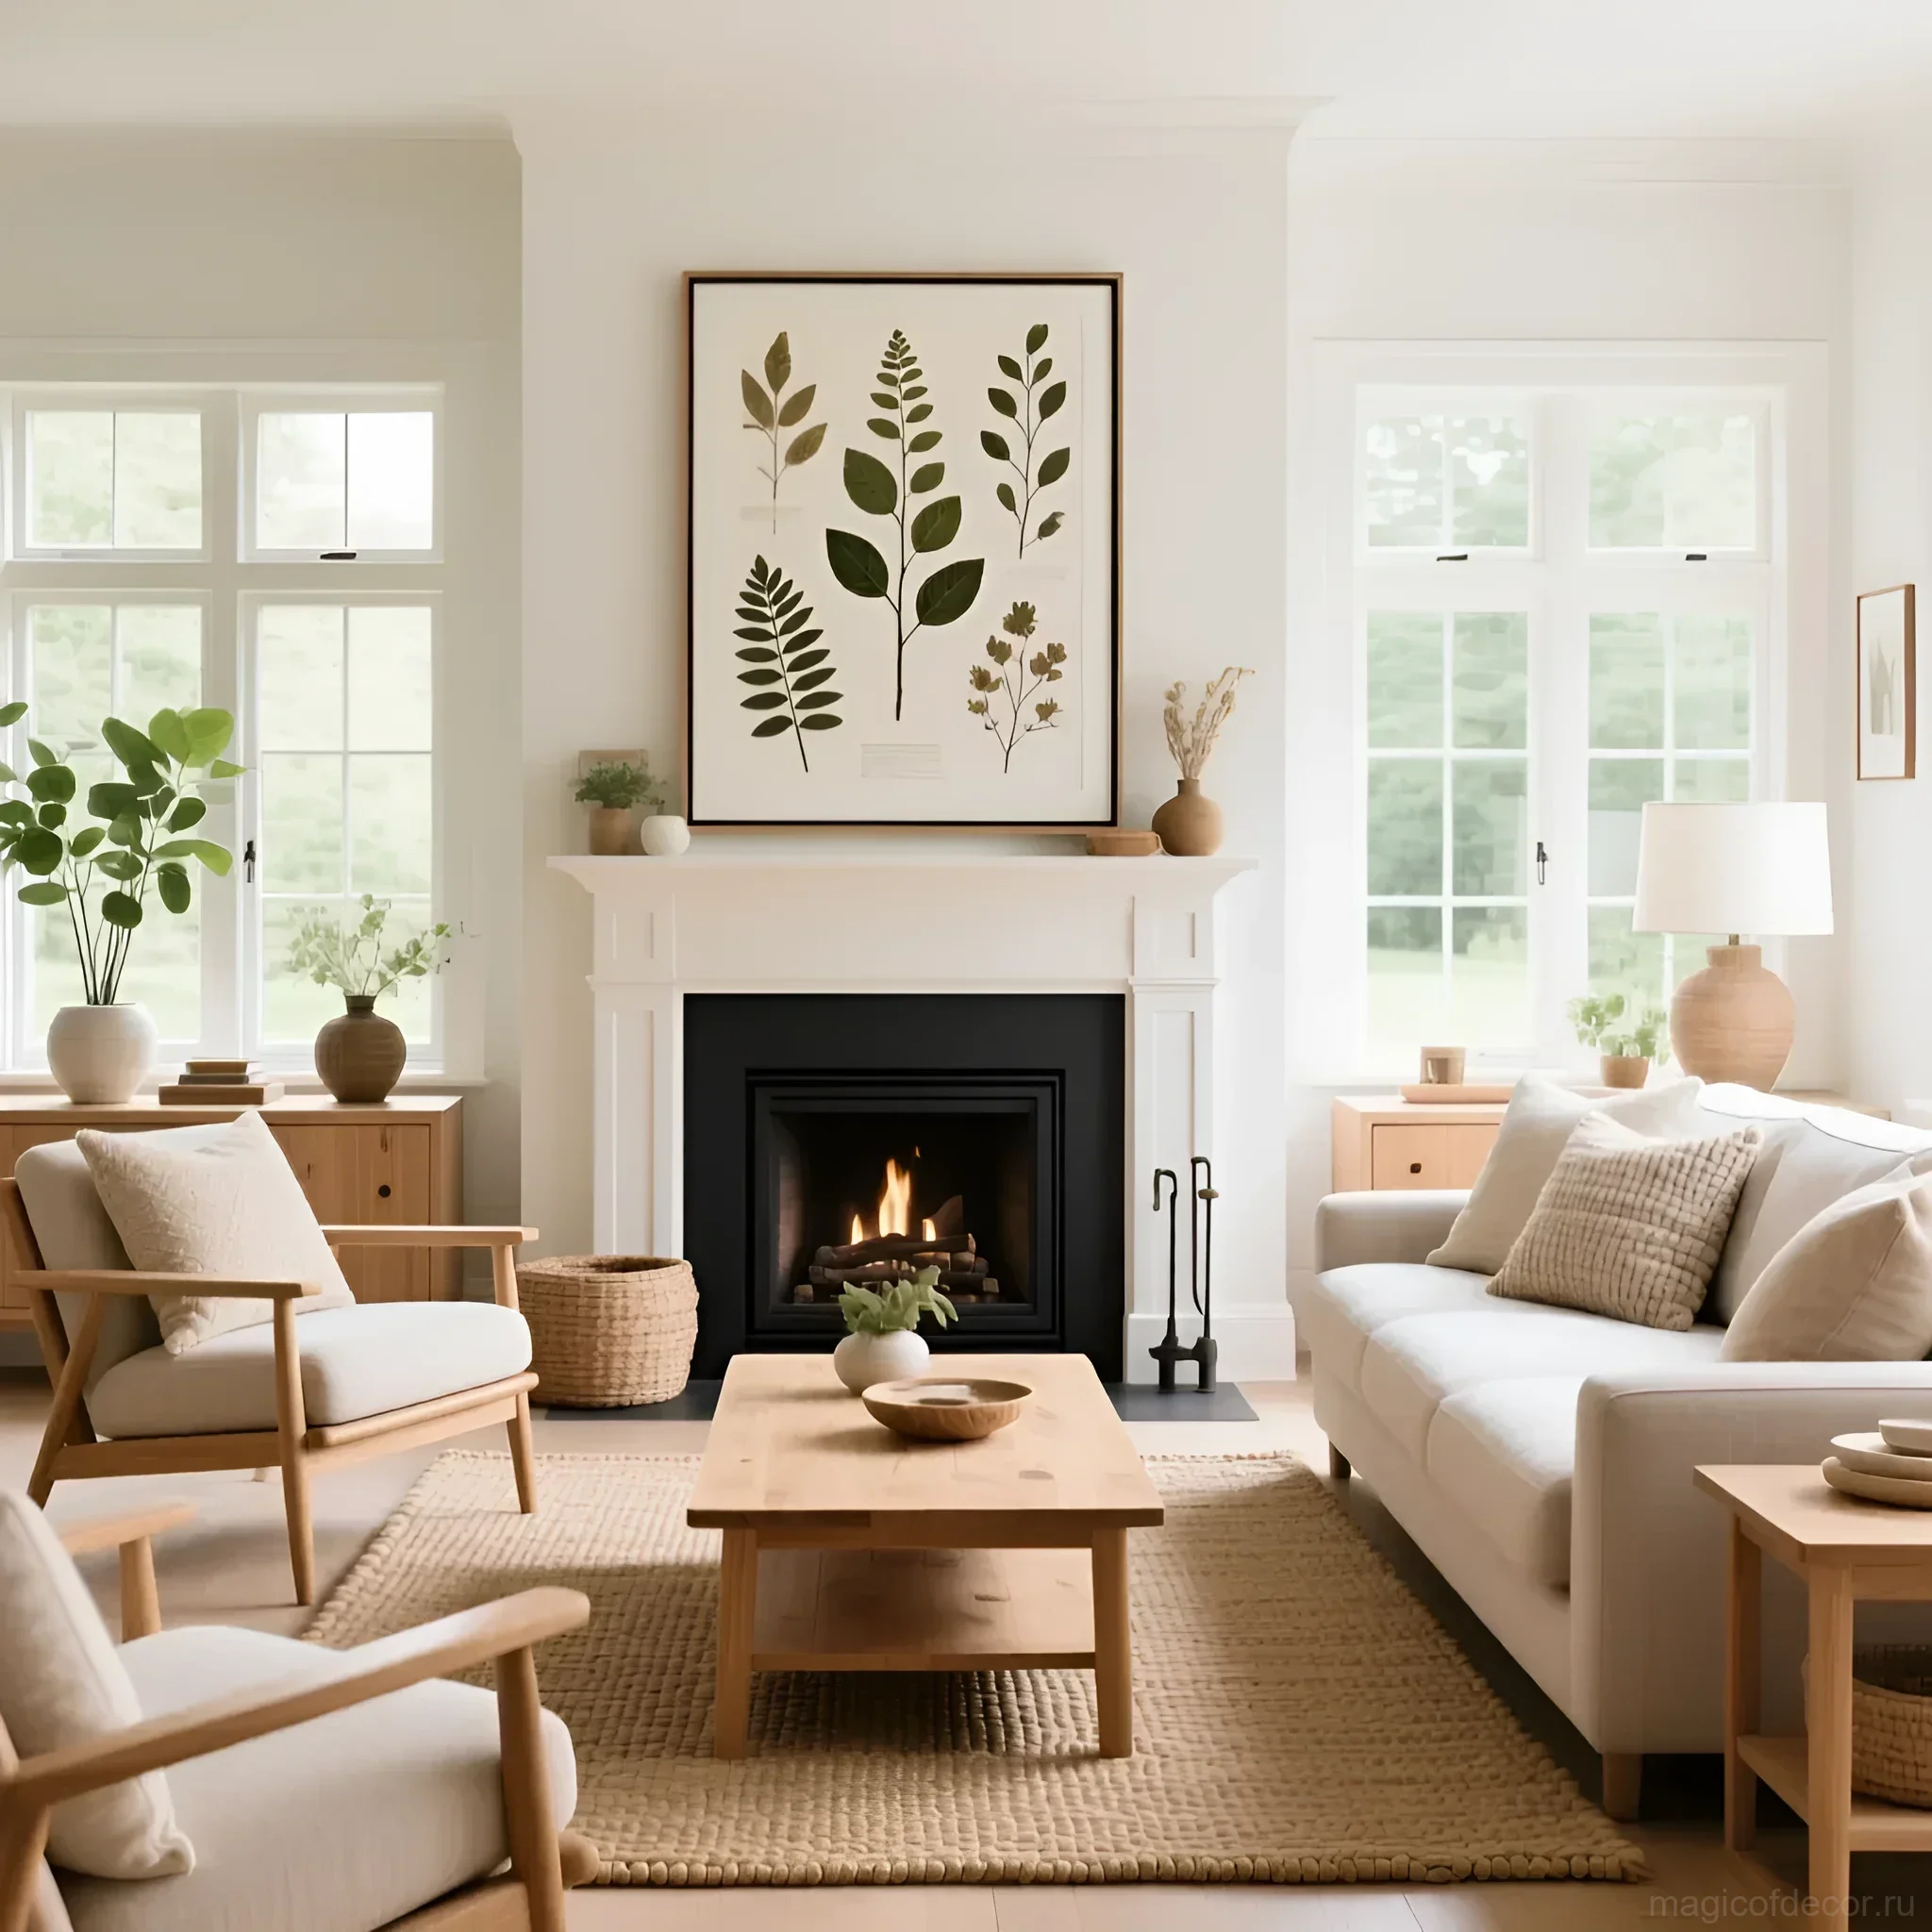
1. Nature Gallery Wall
Instead of hanging one large herbarium, create a gallery of 5-7 small frames. Use different formats but stick to a unified frame color scheme (e.g., all black, or all light wood).
- Thematic Unity: In one gallery, you can combine only ferns; in another, only wildflowers; in a third, autumn leaves.
- Contrast: Try using a dark background (black or graphite cardstock) for light, delicate flowers. This contrast looks very graphic and modern.
2. Decor for Kitchen and Dining Room
Frame not just flowers, but culinary herbs: sprigs of rosemary, thyme, lavender. This perfectly emphasizes the atmosphere of coziness and freshness. Place them near the spice rack or on the wall of the dining area. It’s a reminder of summer and fresh harvests.
3. Accent in the Bedroom
In the bedroom, a herbarium looks best in the form of delicate, pastel compositions. Use thin plants – feather grass, lily of the valley sprigs, small daisies. Place a floating panel on the bedside table or above the headboard. This brings tranquility and peace, characteristic of the Japandi or Hygge style.
4. Large Formats for the Living Room
If you need a main accent, frame a large leaf (e.g., monstera or grape) in a large frame (A2 or A1). Use the “mono” technique – one plant for the entire format. This is a bold but very effective solution that works as modern abstraction but with living texture.
FAQ: Answers to the Most Popular Questions About Creating a Herbarium ❓
Let’s address the most common questions that arise for those just starting their journey in the world of herbarium making.
1. Which flowers are best suited for a herbarium?
Flat flowers and leaves with low moisture content press best. Ideal choices include:
- Ferns and thin tree leaves.
- Wildflowers: daisies, forget-me-nots, clover, cornflowers.
- Garden flowers: cosmos, pansies, lavender, delphinium.
- For color retention: violets (retain a rich blue), geraniums (hold their shape well).
Avoid very thick and fleshy plants (succulents, thick rosebuds, lilies) – they dry slowly and often mold.
2. How to preserve the bright color of a plant?
Preserving color is the biggest challenge. To minimize color loss:
- Fast Drying: The faster the plant dries, the less time the pigment has to degrade. Change the paper regularly!
- Darkness: Dry plants in a dark place. Light destroys color even during the drying process.
- Silica Gel: To preserve the saturation of red and yellow colors, use silica gel. It draws out moisture faster than pressing and preserves shape (though it doesn’t make the plant perfectly flat for framing).
3. Can regular Scotch tape be used for a herbarium?
No, regular office tape yellows over time, and the adhesive can damage paper and leave stains on the plant. If you don’t want to use glue, look for special archival tape or very thin strips of double-sided tape designed for scrapbooking.
4. What to do if the herbarium turns yellow?
Yellowing is a natural aging process, especially if non-archival paper was used or the plant was exposed to light. Unfortunately, color cannot be restored. If the paper has yellowed, carefully transfer the plant to a new, neutral background (e.g., black or gray). Sometimes a slight yellowing adds a vintage, noble look.
Interesting Facts About Herbariums: History and Significance 📜
A herbarium is not just decor; it’s a scientific and cultural heritage rooted in the Renaissance.
The Birth of an Art: The invention of the herbarium is attributed to the Italian physician and botanist Luca Ghini (16th century). He didn’t just dry plants but also glued them onto paper, recording information about the place and time of collection. This became the standard for botanical research and collections.
Herbariums and Female Researchers: In the 18th-19th centuries, herbarium making became one of the few scientific pursuits available to women. Many renowned female artists and naturalists, such as Anna Atkins (a pioneer of photography), used herbariums as a basis for their work, combining science and art.
Largest Collections: The largest herbarium in the world is located in Paris (National Museum of Natural History) and contains over 9.5 million specimens. These collections are an invaluable resource for studying climate change and the history of Earth’s flora.
Herbarium as a Symbol: Today, the herbarium has moved from the realm of strict science to decor and personal creativity. It symbolizes respect for nature, a desire for conscious consumption, and the wish to preserve the beauty of the moment. By creating a herbarium, you’re not just decorating your home; you’re becoming part of this long and beautiful history.
We hope this guide inspires you to create your own collection. Dry the summer, preserve the autumn, and let your home be filled with warmth and memories captured in delicate yet eternal petals. Good luck with your creative endeavors!