Close your eyes for a second and imagine: a gentle breeze rustles the treetops, the distant buzz of bees can be heard, and the air is filled with the scent of sun-warmed pine needles and mown grass. These are familiar sensations, aren’t they? We, as dacha owners, strive to create not just beds and flowerbeds on our plots, but a true extension of our homes, a place of strength and inspiration. And sometimes, the most amazing discoveries and exciting projects are born from the most unexpected sources. Today, we’ll talk about something that might seem unusual for a dacha plot, but can bring a lot of benefit and pleasure – an ant farm.
What is an Ant Farm and Why Can It Be Useful at the Dacha?
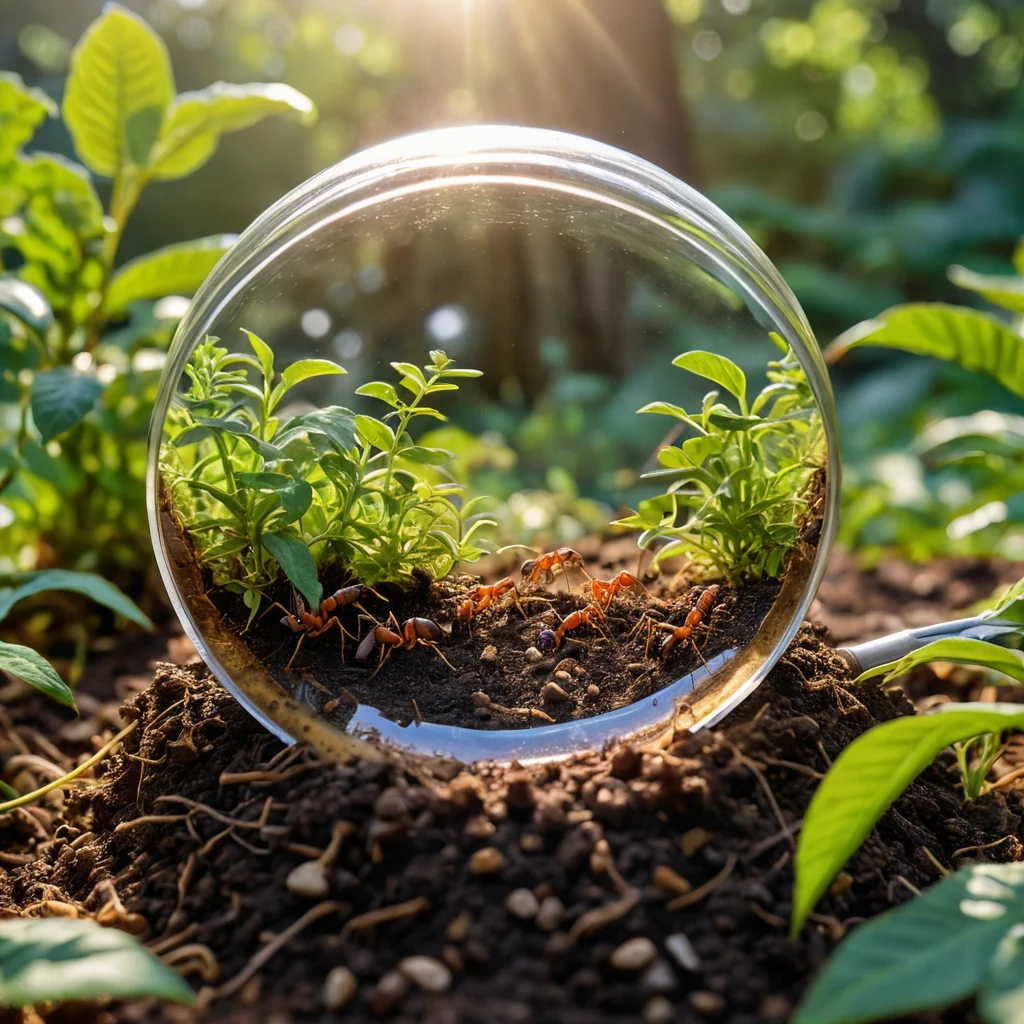
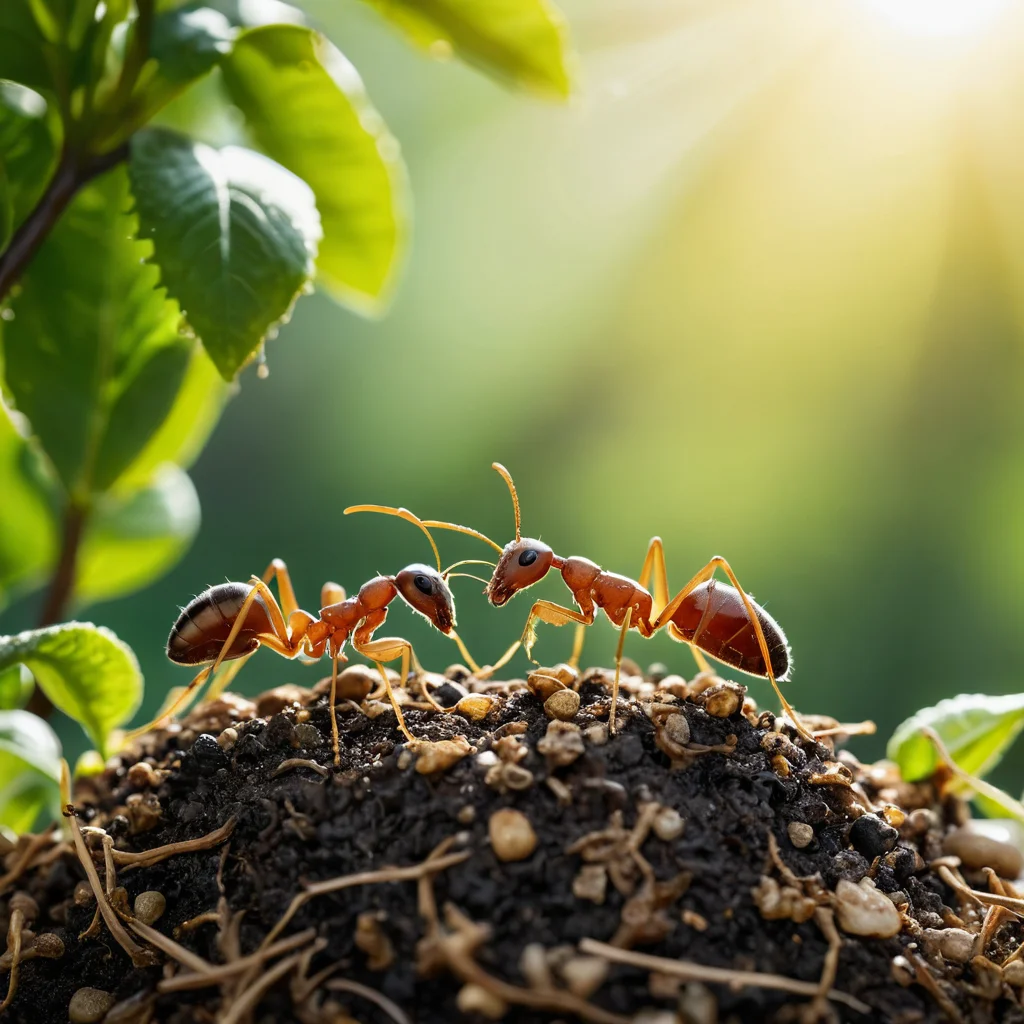
An ant farm, or formicarium, is essentially a specially created habitat for ants that allows you to observe their lives, behavior, and complex social structure. For most of us, ants are small insects that sometimes bother us in the garden beds or try to get into the house. But if you look at them differently, as amazing builders, logisticians, and workers, a whole new world opens up. In essence, an ant farm is a closed mini-ecosystem where you can observe the most complex processes occurring in nature without leaving your home or right on your veranda.
But why can such a farm be useful specifically at the dacha? Let’s look at a few key points:
- Educational Value: It’s an incredibly fascinating way to study insect life. Children (and adults!) will enthusiastically watch ants build tunnels, forage for food, and care for their young. It’s a great opportunity to foster an interest in biology and natural sciences.
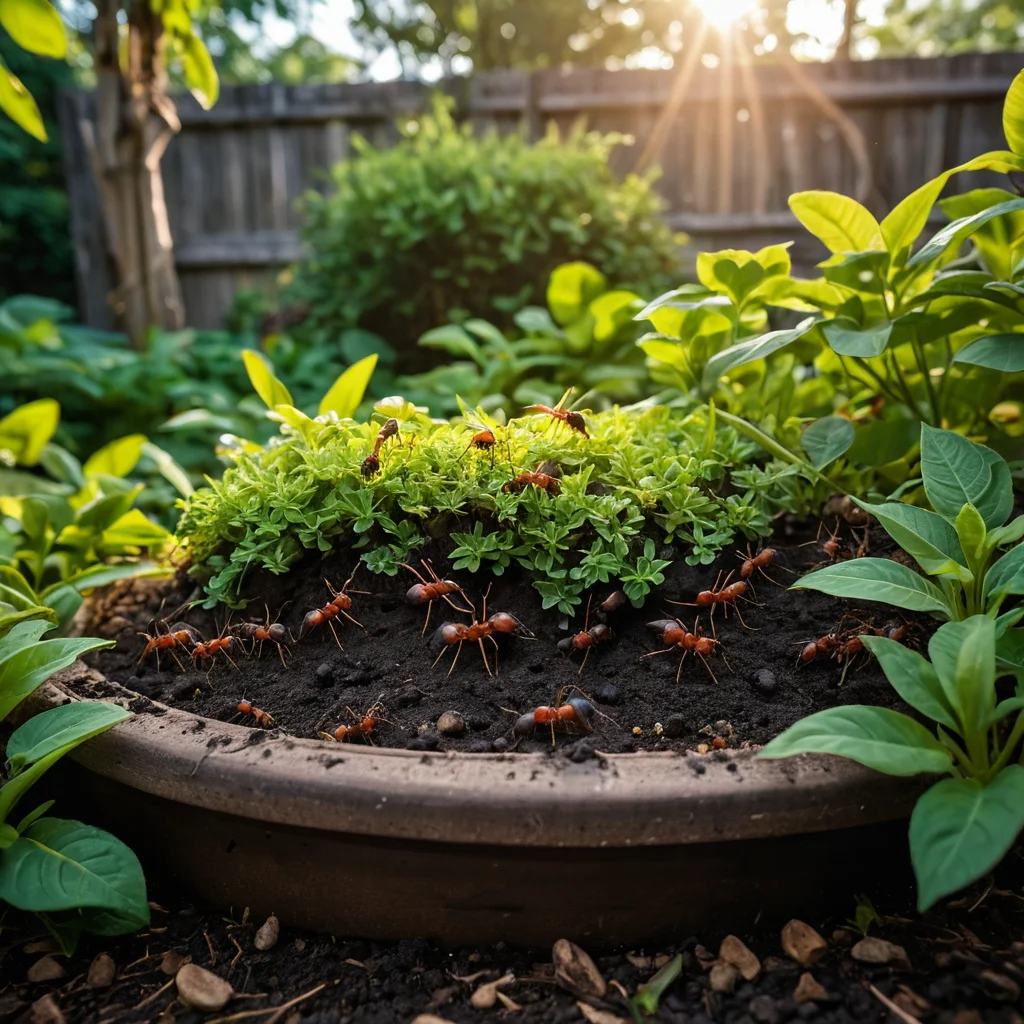
- Environmental Friendliness: Ants are natural scavengers. They can process organic waste, thereby reducing the amount of garbage on the plot. Some ant species can help control pests by eating their larvae.
- Development of Observation Skills and Patience: Caring for ants requires attention, care, and regularity. It teaches responsibility and the ability to notice small details.
- Stress Reduction: Strangely enough, observing the ordered and coordinated life of an ant colony has a calming effect. It’s a form of living meditation, a way to escape from everyday worries.
- Unique Decor: A stylish, well-designed ant farm can become an original element of garden interior or a veranda decoration, attracting guests’ attention and causing surprise.
- Educational Project: For those working with children, an ant farm is invaluable visual material for biology, ecology, or even basic project-based learning lessons.
Sometimes we perceive ants as enemies, but in reality, with the right approach, they can become our amazing neighbors and helpers. The main thing is to understand their world and create comfortable conditions for them.
Types of Ant Farms: From Simple to Advanced Designs
Today, there is a huge variety of formicariums on the market, and everyone can choose an option to their taste and budget. Understanding the basic types will help you make an informed choice or inspire you to create your own unique project.
Classification by Materials and Construction:
- Acrylic Farms: This is perhaps the most popular and affordable option. They consist of transparent walls (most often acrylic or plastic), inside which there is a gypsum or sand chamber for the ants’ life. Acrylic allows observation of the colony from all sides, and gypsum holds moisture well, creating an optimal microclimate.
- Advantages: Good visibility, ease of maintenance, affordable price, relatively light weight.
- Disadvantages: Over time, acrylic can scratch, and gypsum can crumble with improper handling.
- Gel Farms: In these farms, ants live in a special nutrient gel that also serves as their food. This is a very simple solution that doesn’t require additional feeding.
- Advantages: Maximum simplicity, no need to feed.
- Disadvantages: Limited colony lifespan, the gel can dry out, limited opportunities to observe the development of larvae and the queen. Not always suitable for long-term keeping.
- Gypsum Farms: These farms are entirely or partially made of gypsum. Gypsum absorbs moisture excellently and releases it slowly, creating ideal conditions for many ant species that prefer a humid climate.
- Advantages: Good moisture retention, ability to create complex tunnels, durability.
- Disadvantages: Can be heavy, require care when watering (to avoid washing out tunnels).
- Sand or Soil Farms: In these constructions, ants themselves form their tunnels in sand or soil. This is as close as possible to natural conditions.
- Advantages: Maximally natural environment, interesting to observe the construction process.
- Disadvantages: Visibility can be limited, requires humidity control to prevent soil from collapsing.
- Foam Polyurethane (FPU) or Other Polymer Farms: Modern materials allow for the creation of lightweight, durable, and well-ventilated farms with diverse tunnel architecture.
- Advantages: Lightweight, durable, good thermal insulation properties, ability to create interesting designs.
- Disadvantages: Price may be higher than acrylic models.
- Combined Farms: Constructions combining different materials are often found. For example, acrylic walls with gypsum or sand chambers. This allows for combining the advantages of different types.
It’s important to remember: Regardless of the type of farm, it must consist of two main parts:
- Living Chamber (Arena): The place where the ants will live, build tunnels, and raise their young.
- Arena: An open space where ants will forage for food, clean up waste, and where you will place feeders and waterers.
For beginners, I would recommend paying attention to simple acrylic or gypsum farms. They are the most predictable in terms of care and allow for a good view of all stages of the colony’s life.
Choosing Ants for Your Farm: Which Species Are Suitable for Beginners?
Choosing the right ant species is perhaps one of the most crucial steps. The success of the entire venture and your enjoyment of observation depend on it. For beginners, it’s best to choose unpretentious, relatively calm, and well-studied ants.
Recommended Species for Beginners:
- Harvester Ants (Messor structor, Messor barbarus): These are perhaps a classic choice for beginners. They are unpretentious, have interesting behavior (they store seeds, hence the name “harvester”), are relatively calm, and reproduce easily in captivity. They are not aggressive and are not prone to escape if the farm is sealed.
- Keeping Conditions: Do not require high humidity, prefer moderate temperatures, a mixture of sand and soil or just a gypsum chamber will suit them.
- Diet: Seeds (special mixes or millet, poppy, amaranth), protein food (insects), sugar syrup.
- Black Garden Ants (Lasius niger): Also a very common and unpretentious species. They build actively, are often found in nature, so observing them is interesting. They adapt well to various conditions.
- Keeping Conditions: Moderate humidity, normal room temperature. Gypsum, sand, or acrylic farms are suitable.
- Diet: Sugar syrup, protein food (small insects, aphids), sometimes sweet fruits.
- Pharaoh Ants (Monomorium pharaonis): These small yellowish ants are very active and grow quickly. They are very prolific and reproduce easily.
- Keeping Conditions: Require consistently warm temperatures and moderate humidity.
- Diet: Omnivorous. They like sweets, protein foods, and fruits.
- Important: Due to their ability to reproduce quickly and penetrate the smallest cracks, it is important to ensure maximum farm sealing to prevent escape.
What to Look for When Buying:
- Presence of a Queen: Make sure the kit includes a queen. Only the queen can lay eggs and ensure the colony’s growth. A colony without a queen is doomed.
- Colony Size: For a start, it’s best to choose either a newly founded colony (with a queen and a few workers) or a small but stable colony. A too-large colony might be harder to adapt to a new environment.
- Ant Health: Worker ants should be active, with no visible damage.
- Seller Reputation: Buy ants from trusted sellers who guarantee the colony’s health during transportation.
Which Species to Avoid for Beginners:
- Large and Aggressive Species: For example, giant ants (Dinoponera) or some species of the genus Camponotus. They require specific conditions and can be dangerous to handle.
- Rare and Exotic Species: They are often very demanding regarding keeping conditions (temperature, humidity, lighting) and can be difficult to breed.
- Species Requiring Specific Diet: Some ants feed exclusively on certain types of insects or fungi, which complicates care.
Always read a detailed description of the species before purchasing. What suits one may be fatal for another.
How to Build an Ant Farm Yourself: Step-by-Step Instructions

Creating your own ant farm is an exciting process that will not only save you money but also give you a unique device that perfectly matches your vision. Let’s look at how to make a simple yet functional farm from readily available materials.
Option 1: Farm from a Plastic Container and Gypsum
This option is one of the most popular and relatively easy to implement.
- Material Preparation:
- A transparent plastic container with a tightly closing lid (large enough to accommodate the living chamber and arena).
- Gypsum (building or sculpting).
- Sand (preferably fine, sifted).
- Two plastic tubes or drinking straws (one for ventilation, one for hydration).
- Fine-mesh screen (for ventilation).
- Glue (hot glue or epoxy).
- Tools: drill or awl, scissors, ruler.
- Creating the Living Chamber:
- In one of the container walls (or the bottom, if you’re making a horizontal farm), make a hole for the living chamber. The size of the hole depends on the volume you want to allocate for the living area.
- A thick mass is mixed from gypsum and sand (ratio approximately 1:1 or 2:1 in favor of gypsum).
- The resulting mass is poured into a prepared mold or simply shaped as desired. You can use a plastic box of a suitable size as a temporary mold, which will be removed later.
- While the gypsum is still wet, form tunnels in it. You can use your fingers, a spoon, or special tools. Don’t make the tunnels too wide, especially for small ants.
- Let the gypsum set for 24-48 hours.
- Preparing the Container:
- Divide the container into two zones: the living chamber (where the gypsum will be inserted) and the arena.
- In the side wall adjacent to the gypsum, make a hole to connect the gypsum to the arena.
- In the lid or the upper part of the side wall, make holes for ventilation. Make one hole slightly larger for the hydration tube.
- Cover the ventilation holes from the inside with a fine-mesh screen to prevent ants from escaping.
- Assembly:
- Insert the set gypsum chamber into the container.
- Secure it with glue.
- Insert the hydration tube into the designated hole so that it extends into the gypsum chamber.
- You can also install a tube leading from the arena to the main part of the farm if you plan to use separate test tubes for expansion.
Option 2: Farm from Acrylic Tubes (for small colonies)
This option is suitable for starting out when you only have a queen and a few workers.
- Materials:
- Acrylic tube (diameter 20-30 mm, length 15-20 cm).
- Acrylic plug or other sealing material.
- Cotton pad or sponge for hydration.
- Syringe.
- A small container for the arena (a small plastic jar can be used).
- Process:
- In the acrylic tube, make a small hole for hydration (approximately in the center).
- Seal one end of the tube with a plug.
- At the other end of the tube, place a cotton pad or sponge that you will moisten.
- Through the hole in the center, start slowly filling the tube with gypsum or sand, forming tunnels.
- Let the gypsum/sand set.
- Connect the tube to the arena (e.g., by drilling a hole in the arena jar and inserting the tube).
- Moisten the cotton pad/sponge through the special hole using a syringe.
Tips from an Experienced Gardener:
- Don’t Rush: Let the gypsum or other materials dry completely and gain strength.
- Thoroughly Check for Sealing: Ants are escape artists. The slightest gap can become a problem.
- Ventilation is Key to Success: Ensure sufficient air intake, but not so much that the farm dries out quickly.
- Scalability: Consider how you can expand the farm in the future if the colony grows. You can provide for additional connectable modules.
Building a farm yourself is a creative process. Don’t be afraid to experiment with materials and shapes, but always remember the needs of your future pets.
Setting Up the Farm: Materials, Fillers, and Decorations
Simply creating the farm structure is not enough – it needs to be properly set up so that the ants are comfortable and you can observe their lives with interest. The choice of fillers, decorations, and the correct placement of elements play an important role.
Choosing a Filler for the Living Chamber:
- Gypsum: The most popular option. It retains moisture well and allows for the formation of complex tunnels. It’s important to use high-quality gypsum without impurities that can be harmful to ants.
- Sand: Often used in a mixture with gypsum (1:1 or 2:1). Sand helps prevent excess moisture and crumbling of gypsum. The main thing is to sift it to remove large particles and debris.
- Soil: Can be used for some ant species that live in soil in nature. It’s important to ensure the soil does not contain pesticides, fertilizers, or other chemicals. It’s best to pre-bake the soil in the oven or freeze it to kill potential pests and parasite eggs.
- Coconut Substrate: Retains moisture well and is breathable. Can be used as an additive to other fillers.
- Mixtures: Different combinations of fillers may be suitable for different ant species. For example, for harvester ants, a mixture of sand and soil is often used, while for tropical species, coconut substrate with added moss is used.
Decorations and Elements for the Arena:
- Stones and Pebbles: Natural stones of various sizes will give the arena a natural look. They can serve as hiding places for ants or simply as decoration. Ensure the stones are clean and have no sharp edges.
- Driftwood and Branches: Small pieces of driftwood or branches (pre-treated with boiling water or baked) will add a natural touch. Some ant species like wood.
- Artificial Plants: Small plastic or silk plants can liven up the arena. The main thing is that they are safe for ants and do not release harmful substances.
- Sand or Fine Gravel for the Top Layer of the Arena: Creates a more natural look and allows ants to dig small burrows.
- Colored Sand: Can be used to create interesting patterns on the arena.
- Small Figurines: You can add miniature decorative elements, such as a small house or windmill, to give the farm a fairy-tale look.
Setting Up a Hygiene Zone:
- Ants are quite clean creatures. They tend to carry waste to a specific location. You can create such a “trash can” for them in the arena, for example, a small corner where it will be convenient for them to store food scraps and construction debris.
- Regular cleaning of the arena is essential for the colony’s health. Remove food scraps that can mold and other debris.
Important Points When Setting Up:
- Safety: All materials used must be non-toxic and safe for ants. Avoid painted elements that can peel, and sticky surfaces that can block tunnels.
- Functionality: Decorations should not hinder ants from building tunnels, foraging, or moving around.
- Humidity: Do not overdo it with decorations that can retain excess moisture, promoting mold growth.
- Size: Consider the size of your colony. A young colony does not need a very large and complex arena.
Experiment! Creating a beautiful and functional farm is part of the enjoyment of this hobby. Your imagination is the only limit.
Feeding and Caring for Ants: Basics for a Healthy Colony
Proper feeding and care are the keys to a long and happy life for your ant colony. Although many ant species are quite unpretentious, regular attention and adherence to simple rules will help you avoid many problems.
What to Feed Ants?
The basis of most ants’ diet consists of two types of food: carbohydrates (for energy) and protein (for growth and development). It’s important to ensure a balance.
- Carbohydrates:
- Sugar Syrup: The simplest and most accessible source of energy. You can make it yourself by dissolving sugar in water (usually 1:2 or 1:1). You can use natural honey (diluted with water).
- Seeds: For harvester ants (Messor), this is their main food. You can use special mixes for harvesters, as well as millet, poppy, amaranth, and canary seed.
- Fruits: Small pieces of sweet fruits (apple, pear, banana) can be given occasionally. Remove leftovers after 1-2 days to prevent mold.
- Protein:
- Insects: This is the most natural source of protein. You can use mealworms, superworms, crickets, cockroaches (specialized, not household ones!). Insects can be given live (if the colony is large enough to handle them) or pre-killed.
- Chicken Meat or Boiled Eggs: Very small pieces of lean chicken meat (without salt and spices) or boiled egg (yolk or white) are also suitable.
- Termites, Flies, Aphids: Some ant species readily feed on these insects.
How Often to Feed?
- Carbohydrates: Sugar syrup or honey can be given 2-3 times a week. Seeds for harvester ants should be available constantly.
- Protein: Protein food is given 1-2 times a week in small portions. Remove uneaten leftovers after 1-2 days.
Important: Do not overfeed ants. Excess food can lead to mold and attract unwanted guests.
Hydration:
- Maintaining optimal humidity is one of the key aspects of care. Each ant species has its own preferences.
- How to Hydrate: Usually, a special test tube with water connected to the farm is used, or water is simply added to the gypsum/sand through a special opening.
- Frequency: Depends on the type of farm, filler, and ant species. Usually, it’s hydrated as it dries out, 1-3 times a week. Monitor condensation on the walls: there should be a little.
- Do Not Let It Dry Out: This can lead to the death of the colony.
- Avoid “Swamp”: Excess moisture is also harmful, promoting mold growth and ant death.
Temperature Regime:
- Most common ant species feel comfortable at room temperature (20-25°C).
- Avoid sudden temperature changes and direct sunlight, which can overheat the farm.
- Some species may require additional heating (e.g., with a heat mat), but for beginners, it’s better to choose species that don’t require this.
Cleaning:
- Regularly clean the arena of food scraps, debris, and dead individuals. This will prevent mold and diseases.
- Use tweezers or a cotton swab for cleaning.
Observation:
- Regularly observe your colony. Pay attention to ant activity, the queen’s condition, the presence of eggs and larvae, and signs of disease or mold.
- Try to disturb the ants as little as possible, especially during the colony formation period.
Caring for an ant farm is not difficult, but it is a responsible process. The main thing is to create stable conditions and provide proper nutrition.
Common Mistakes When Creating and Maintaining an Ant Farm
Even with the best care, unpleasant things can sometimes happen. To minimize risks and avoid common mistakes, let’s look at what most often goes wrong when creating and maintaining an ant farm.
Mistakes When Creating a Farm:
- Insufficient Sealing: The most common mistake. Ants, even small ones, can find the slightest gap and escape. All seams, openings, and the lid – everything must be securely closed.
- Poor Ventilation: A farm without sufficient air intake will quickly become damp, start to mold, which is fatal for the colony. Excessive ventilation will lead to rapid drying.
- Incorrect Filler Choice: Using low-quality gypsum (with impurities), overly moist soil without treatment, or a filler that is not suitable for the chosen ant species.
- Tunnels That Are Too Large or Too Small: Tunnels that are too wide can make it difficult for small ants to care for their young, while tunnels that are too narrow can hinder movement.
- Using Toxic Materials: Glue, paints, low-quality plastic can release harmful substances.
- Ignoring Species Needs: Creating a high-humidity farm for desert ants or, conversely, a dry farm for tropical species.
Mistakes When Maintaining:
- Over-watering: One of the most fatal mistakes. Leads to mold, ant death, and erosion of tunnels. It’s always better to under-water than over-water.
- Drying Out: Equally dangerous. The farm must be kept moist, corresponding to the species’ needs.
- Improper Feeding:
- Excess Food: Food leftovers quickly mold, attracting mites and other pests.
- Lack of Food: The colony stops growing, the queen may stop laying eggs.
- Incorrect Diet: For example, feeding only carbohydrates without protein, which stops colony growth.
- Sudden Temperature Fluctuations: Ants are sensitive to temperature changes. Avoid placing the farm near radiators, air conditioners, or in direct sunlight.
- Frequent Disturbances: Constantly shaking the farm, tapping on the walls, moving it – all this is stressful for ants, especially for a young colony.
- Ignoring Cleaning: A dirty farm is a breeding ground for diseases and pests.
- Attempting to Accelerate Development: For example, by heating the farm to extreme temperatures. This can harm the colony.
- Introducing a New Colony into Unsuitable Conditions: Ants need time to adapt. Do not immediately overload the farm with decor or try to feed them something exotic.
- Buying Ants Without a Queen: Worker ants can live for some time, but without a queen, the colony is doomed.
How to Avoid Mistakes:
- Thoroughly Study the Species: Before buying ants, study information about their needs for temperature, humidity, and diet.
- Use Quality Materials: Do not skimp on the farm’s construction and materials.
- Start Small: For your first farm, choose unpretentious species and a simple design.
- Maintain Regularity: Farm care requires routine – feeding, hydration, cleaning.
- Observe: Carefully monitor the colony’s condition to notice problems in time.
- Don’t Be Afraid to Ask for Advice: There are many forums and communities of ant enthusiasts where you will gladly be helped.
Remember that mistakes are also part of learning. The main thing is to draw conclusions and continue to care for your little pets.
An Ant Farm as a Decor Element and an Educational Project for the Whole Family
An ant farm is much more than just a hobby or a scientific experiment. It’s an amazing way to bring a piece of nature into your home or dacha, making the space more interesting and educational. Let’s explore how a farm can become a true decoration and a valuable educational tool.
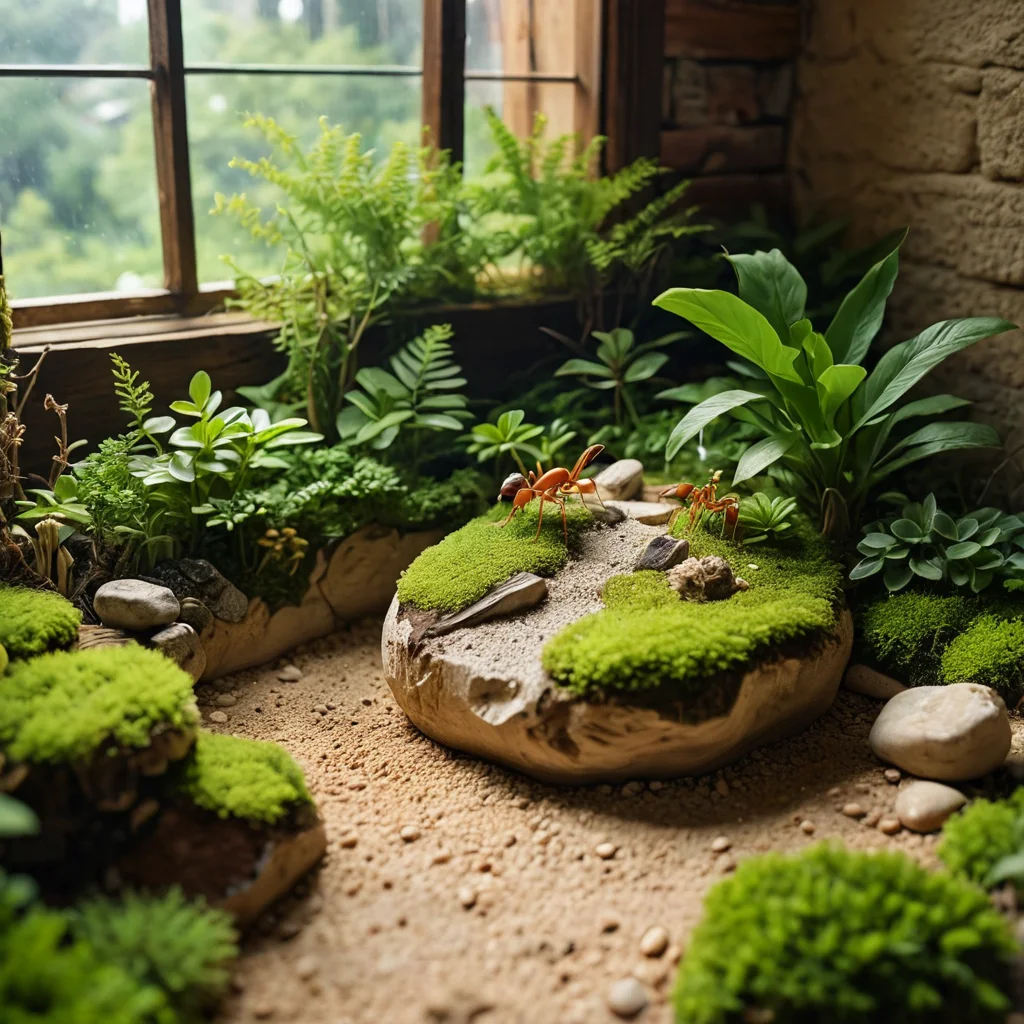
The Farm as an Art Object:
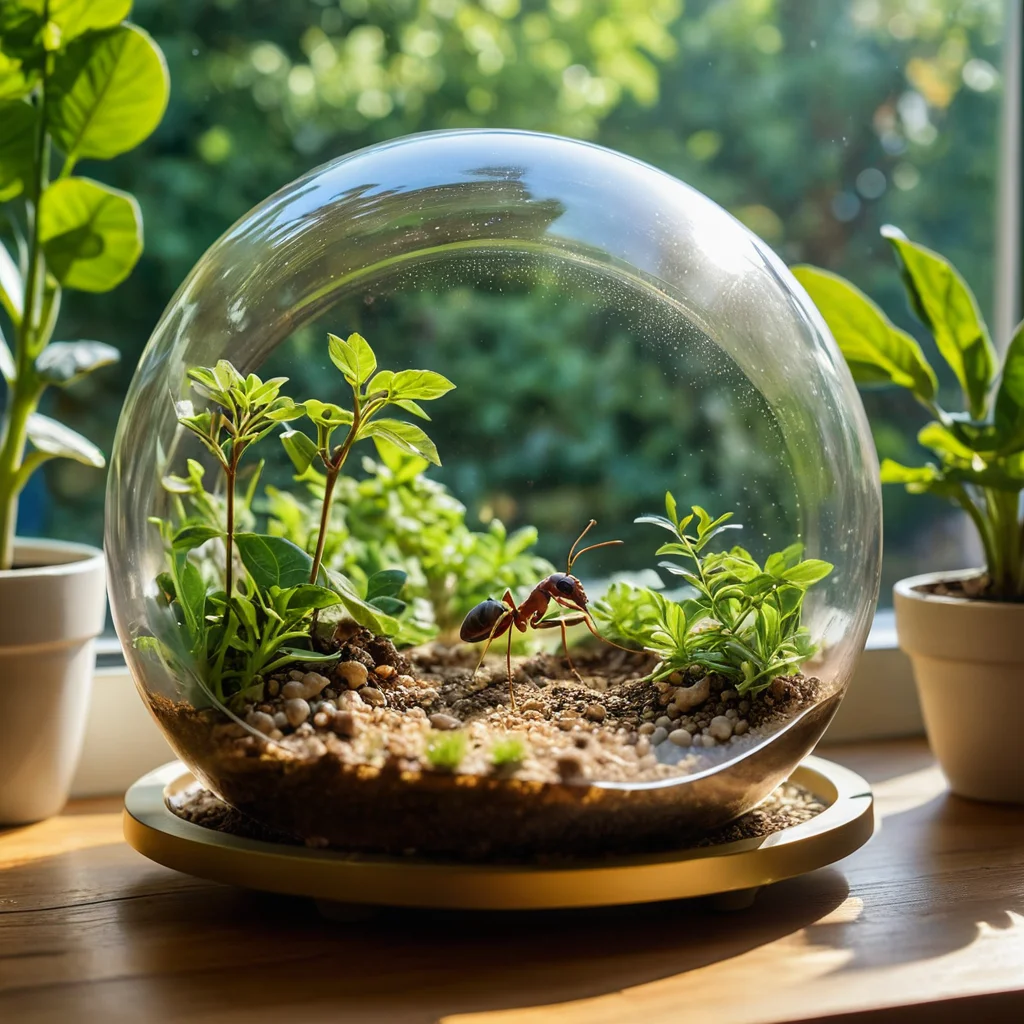
- Design and Aesthetics: Modern formicariums can be true works of art. From minimalist acrylic structures to complex multi-level systems with lighting – you can choose or create a farm that perfectly fits your interior.
- Living Installation: Imagine a stylish farm on a bookshelf, desk, or veranda. Observing the coordinated work of ants, their construction activities – it’s a mesmerizing sight that can become a central element of your decor.
- Naturalness and Organic Feel: While many strive to decorate their homes with artificial elements, a living ant farm will bring a sense of nature, dynamism, and natural beauty into it.
- Element of Surprise: A farm with ants is always something unusual that sparks interest and surprise in guests. It’s a great conversation starter and a way to share your passion.
Educational Project for Children and Adults:
- Studying Biology and Ecology: A farm is a visual example of a complex social structure, labor organization, and the life cycle of insects. It’s a great way to study biology in a fun way, without boring textbooks.
- Developing Observation Skills: Children (and adults!) will have to carefully observe the ants, notice changes in their behavior, diet, and development. This trains attention to detail.
- Fostering Responsibility: Regular farm care – feeding, hydration – teaches responsibility. Children learn that their actions affect the lives of other creatures.
- Developing Patience: Observing the slow but steady development of the colony teaches patience and the understanding that great results are achieved over time.
- Stimulating Curiosity: A farm encourages questions like: “Why do ants do that?”, “How do they communicate?”, “What will happen next?”. This is a great incentive for independent information seeking.
- Joint Creativity: Creating and setting up a farm can become a joint project for the whole family. Children can participate in choosing decorations and preparing materials, while parents can guide and explain.
- Psychological Benefits: Observing ant life can have a calming effect, helping to relieve stress and improve focus.
Practical Tips for Integrating the Farm into Family Life:
- Organize “Ant Observation Days” when the whole family gathers to observe the colony’s life and discuss what they’ve seen.
- Keep a “Farmer’s Diary” where important events are recorded: the appearance of new individuals, changes in the queen, changes in behavior.
- Use the Farm as a Visual Aid to explain concepts like “colony,” “queen,” “worker,” and “symbiosis” to children.
- Encourage children to ask questions and help them find answers in books or online.
An ant farm is not just a container with insects. It’s a window into an amazing world that can enrich your life, become a source of inspiration, and a valuable educational tool for the whole family. It reminds us that even in the smallest creatures, nature creates true wonders worthy of our attention and admiration.