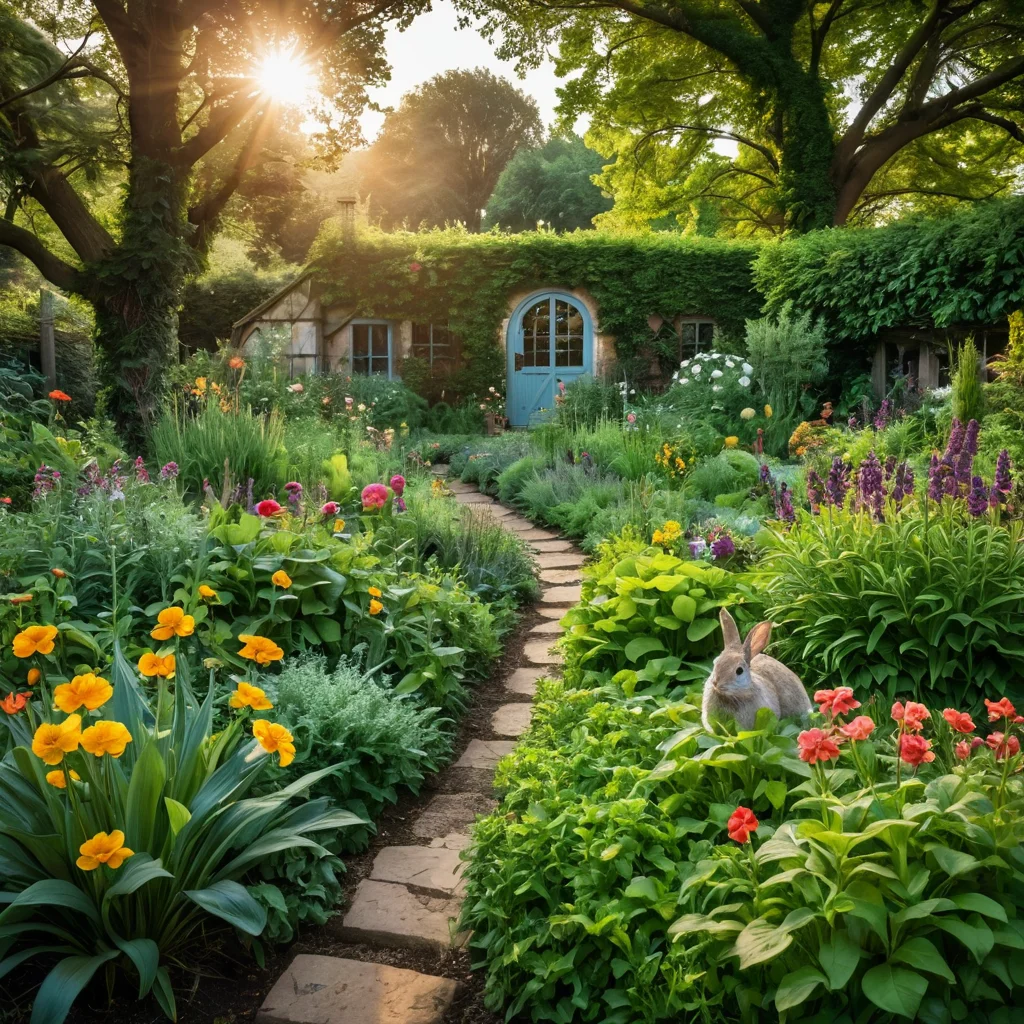
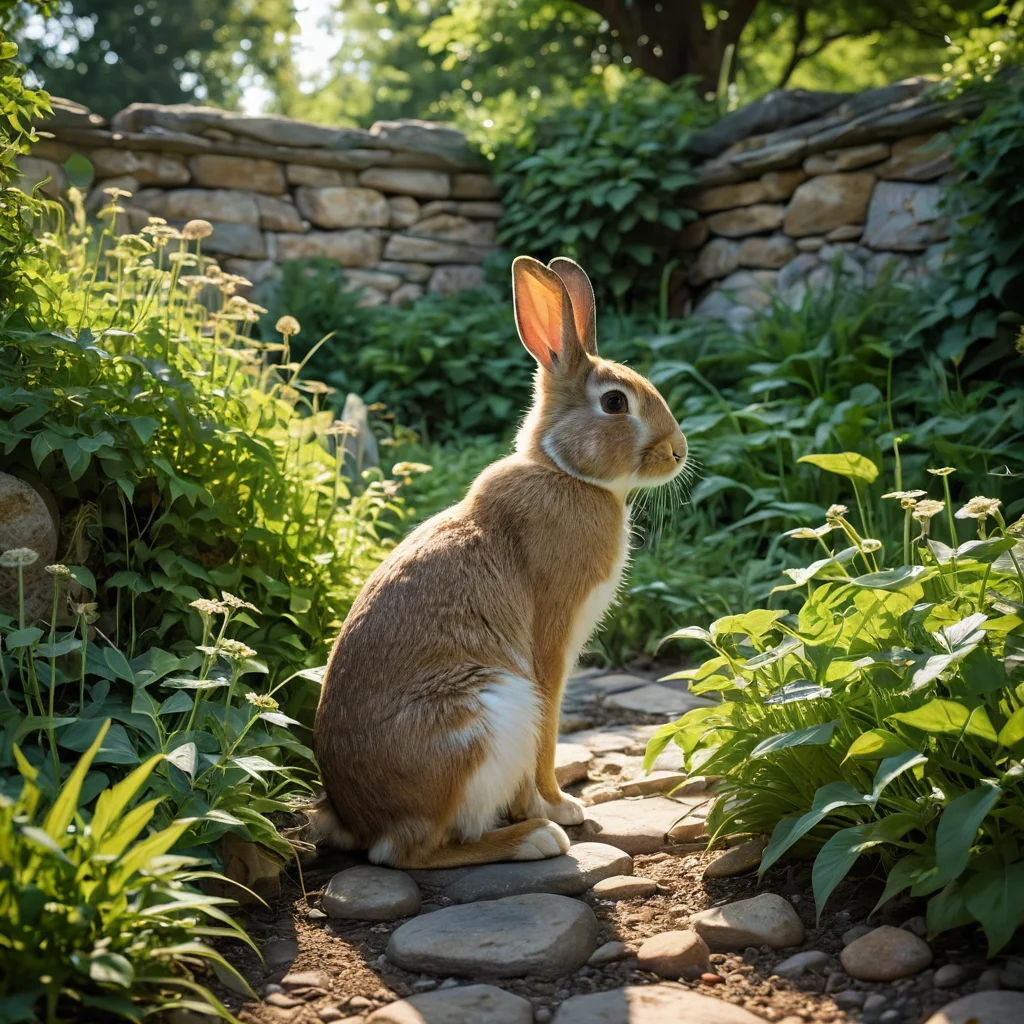
Remember how as children we watched every tiny sprout with bated breath, rejoicing when the first green stem appeared from the ground? Do we miss this thrill of life, this quiet magic of germination, in the hustle and bustle of everyday life? What if your garden could become not just a place for relaxation, but a small, magical land where fairy tales come to life? Where every corner holds a surprise, and plants not only grow but serve as your loyal helpers, bringing joy and benefit? Today, we’ll talk about the “bunny” garden – a concept that can transform your plot, filling it with coziness, charm, and even a little benefit. It’s not just a flowerbed, it’s a whole world that you will create with your own hands.
Why You Need a “Bunny” Garden: Reviving Your Dacha Plot with Benefit and Pleasure
A “bunny” garden is not just a trendy name, but a whole philosophy. Its main idea is to create a small, picturesque corner that will please the eye, but at the same time bring some benefit. Often, such gardens are made decorative, but at the same time use plants that can be edible, medicinal, or attract beneficial insects. Imagine: you are sitting on the veranda with a cup of tea, admiring the colorful flowers, and nearby, literally at your fingertips, grows fragrant mint for tea, or bright strawberries that can be added to breakfast. Or perhaps you dream of a place where your children or grandchildren can safely get acquainted with the world of plants, learn to distinguish parsley from dill, and at the same time admire the ladybugs that have chosen this place?
Such a garden is:
- A Charming Decorative Element: It can become a real highlight of your garden, giving it individuality and coziness.
- A Source of Fresh Greens and Berries: Small, but always at hand. It’s incredibly convenient when you want to add fresh herbs to a dish or enjoy ripe strawberries straight from the bush.
- A Place for Educational Purposes: Ideal for introducing children to the world of plants, vegetables, and herbs.
- Attracting Beneficial Insects: Flowering plants will attract bees and butterflies, and some herbs will help deter pests from larger plantings.
- Stress Reduction and Relaxation: Working in such a small, cozy corner is enjoyable, like meditating in the fresh air.
- An Opportunity to Experiment: The small size allows you to try new plants and ideas without significant cost or effort.
Believe my experience, even the smallest “bunny” garden can transform your perception of your dacha plot. It makes it more lively, interesting, and functional. It’s a step towards creating a garden that truly reflects your individuality and brings true enjoyment.
“Bunny” Garden Ideas: From Classics to Modern Interpretations
When we talk about a “bunny” garden, the first thing that comes to mind is, of course, its appearance. The classic version is usually associated with something cute, handmade, and a bit naive. But the modern view of landscape design opens up many possibilities for creating these little wonders. The main thing is to preserve that very atmosphere of coziness and functionality.
Classic Ideas:
- A Garden-Flowerbed: This is perhaps the most popular option. Plants are planted in a picturesque mess, mixing flowers, herbs, and vegetables. For example, strawberry bushes can be planted among bright marigolds, and climbing beans can be grown along the edge.
- A Miniature Garden: A small area, enclosed by a low fence (often made of branches or twigs), where the most beloved and fragrant herbs are planted. Imagine: rosemary, thyme, sage, mint, lemon balm – all in one place, fragrant and attractive.
- A “Lace” Garden: Plants with lacy leaves and delicate flowers are used, creating an impression of lightness and airiness. Ferns, hostas, ornamental grasses combined with herbs are ideal.
Modern Interpretations:
- Vertical “Bunny” Gardens: If space is very limited, vertical structures are an excellent solution – multi-tiered planters, hanging pots, or even old wooden boxes attached to a wall. You can grow strawberries, greens, and miniature flowers in them.
- Gabion Garden: A combination of stone and plants. Fertile soil is created inside a gabion wire mesh, in which unpretentious plants are planted, for example, succulents, sedums, or even aromatic herbs. It looks very stylish and modern.
- “Edible” Landscape Design: The emphasis is on plants that are not only beautiful but also edible. For example, you can create a composition of bright chard, colorful carrots, lollo rosso lettuce, and edible flowers (nasturtiums, calendula).
- “Provence” or “Country” Style Garden: Natural materials, old items (e.g., a cart, vintage watering cans), lots of greens, flowers, and herbs are used.
Don’t be afraid to experiment! You can mix styles, add your own discoveries. The main thing is that your “bunny” garden reflects your individuality and brings you joy.
Choosing a Location and Planning: Where to Best Set Up a “Bunny” Garden
Once you’ve decided on an idea, it’s time to think about where exactly this little oasis will settle on your plot. Choosing a location is half the battle, as plant growth and your convenience depend on it.
Key Criteria for Choosing a Location:
- Sunlight: Most vegetables, berries, and herbs love the sun. Therefore, choose a well-lit area, preferably with a southern or southwestern exposure. However, if you plan to grow shade-tolerant plants (e.g., some types of lettuce, mint, parsley), partial shade will also work.
- Wind Protection: Strong winds can damage delicate plants and dry out the soil. It’s ideal if the area is protected from drafts by a house wall, fence, shrubs, or trees.
- Accessibility: A “bunny” garden should be easily accessible. It should be convenient for you to water, weed, and harvest. It’s best to place it near a relaxation area, a terrace, or right by the house.
- Visibility: You want your work to be pleasing to the eye, right? Place the garden where it can be easily seen from the house windows or from your favorite resting spot.
- Drainage: Ensure that there is no water stagnation in the chosen area. If the plot is prone to waterlogging, consider creating raised beds or drainage ditches.
Placement Options:
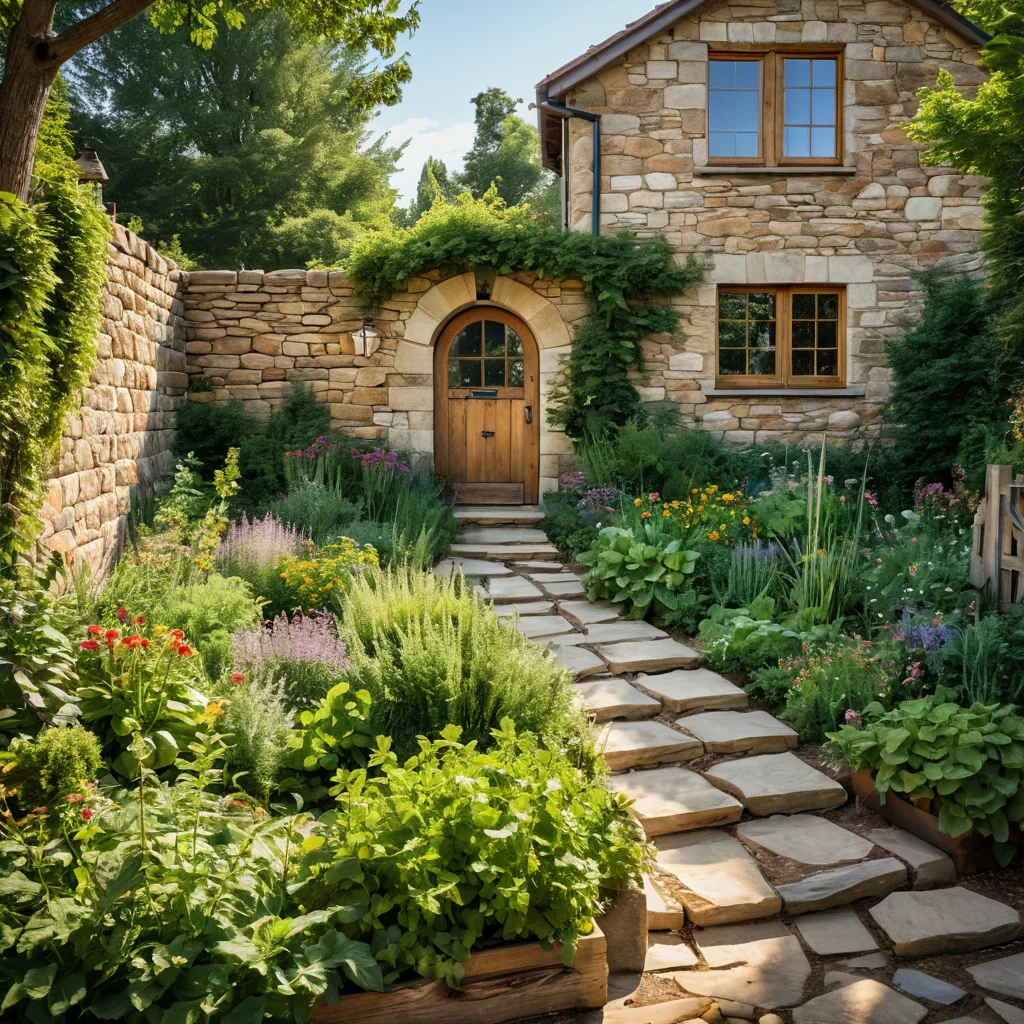
- Against a House Wall or Fence: An excellent solution for creating a protected zone. The wall can be used for vertical gardening or as support for plants.
- In a Garden Corner: Often, such corners remain unused. Turn them into a picturesque “bunny” garden.
- Near a Relaxation Area: For example, by a gazebo or terrace. This will allow you to enjoy the aromas of herbs and the freshness of greens without going far.
- In the Center of the Lawn: A small, neat garden can become an effective accent on a smooth green carpet.
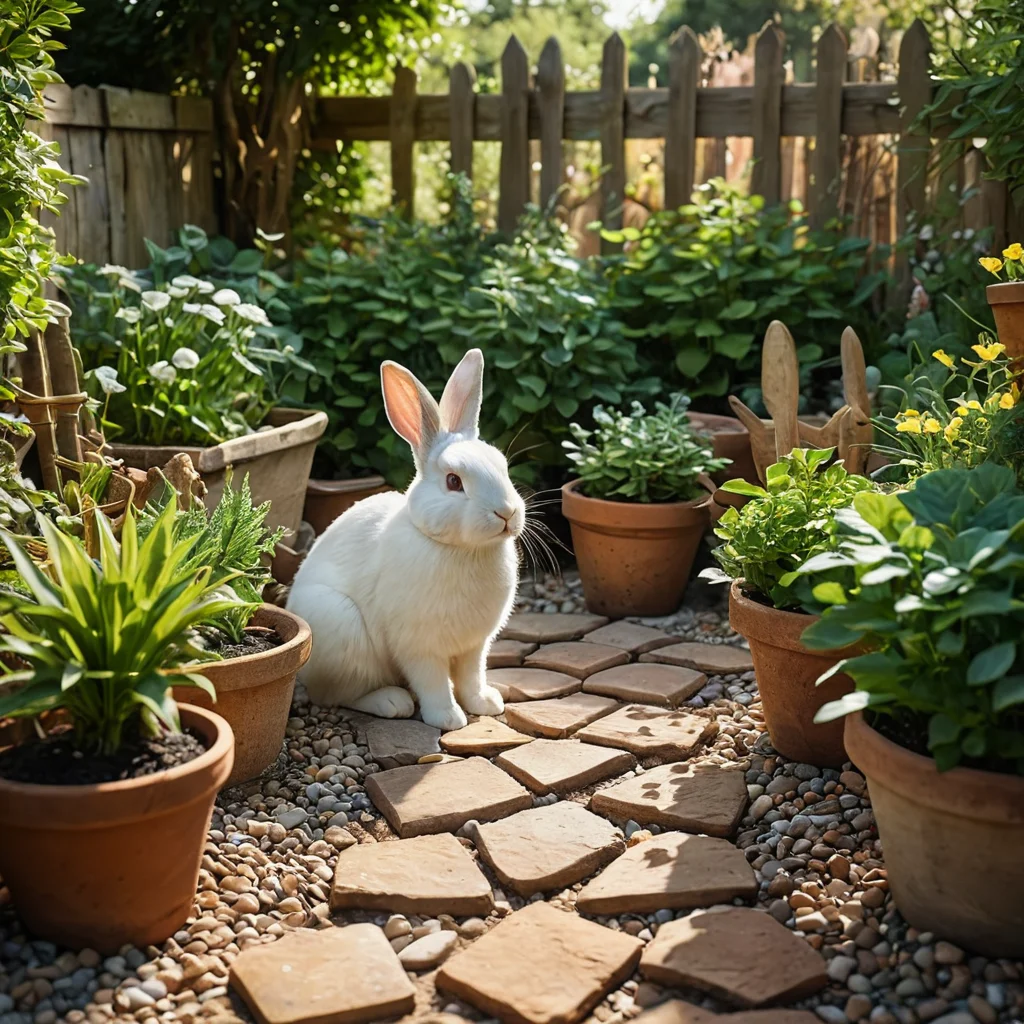
- In Old Furniture or Containers: Using old chests of drawers, boxes, wheelbarrows, vases is not only original but also allows you to create a garden almost anywhere.
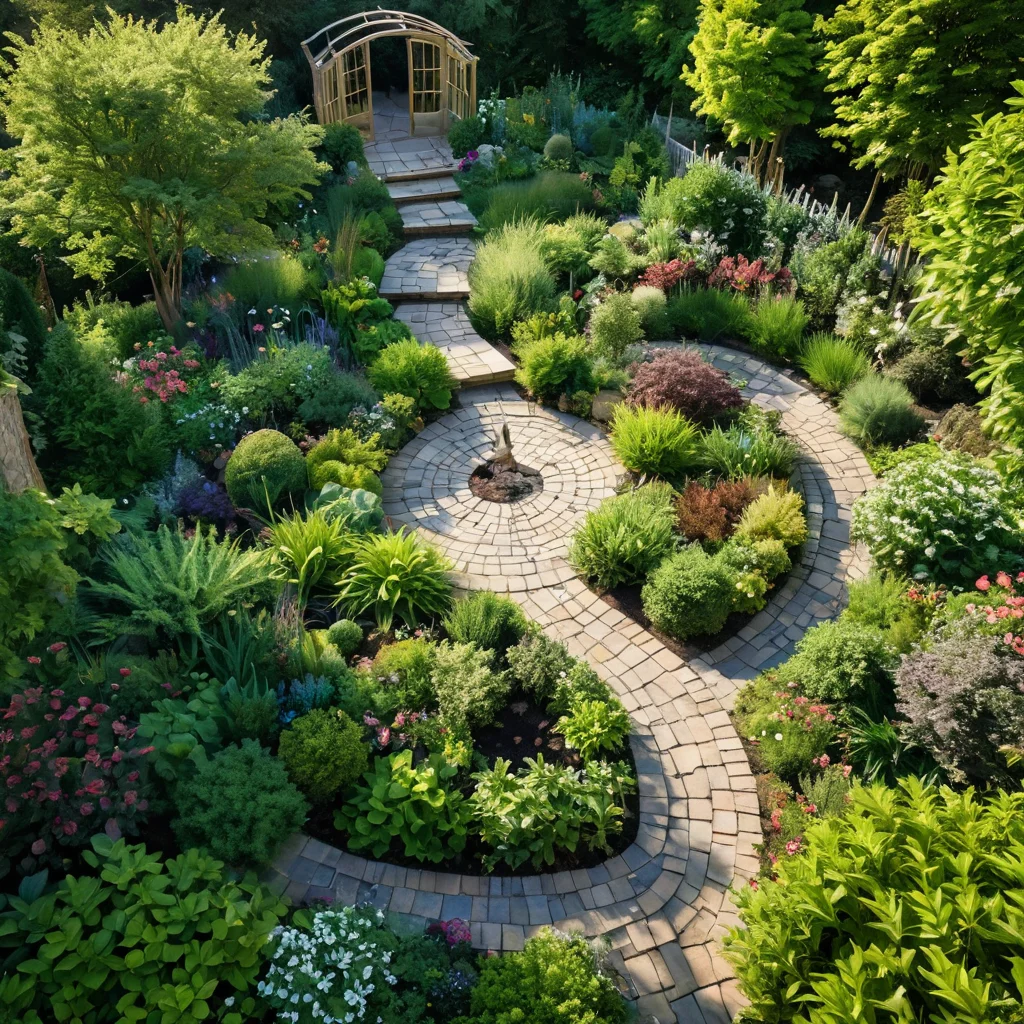
Layout:
Even for a small garden, a well-thought-out layout is important. Consider the shape of the beds: they can be round, square, rectangular, or have a more complex, curved shape. Create small paths between the beds for easy plant care. If you are using raised beds, consider their height and construction. I often advise starting with a simple shape to avoid overloading the space and to make the task easier. The main thing is a harmonious combination of functionality and aesthetics.
Materials for Creating a “Bunny” Garden: From Stones to Decorative Elements
The choice of materials is where your imagination can run wild! After all, it is from them that the overall style and charm of your “bunny” garden is formed. You don’t have to spend a lot of money; often the most interesting solutions come from readily available materials.
Main Materials for Fencing and Edging:
- Natural Stone: Looks great, is durable, and creates a sense of natural harmony. You can use flat stones for paving or larger boulders for creating borders.
- Wood: The most popular and affordable material. This can include:
- Picket fence or planks: Ideal for creating neat, classic borders.
- Branches and twigs: For creating light, “woven” fences in a country style.
- Logs or slices: Create a more massive, rustic look.
- Brick: Can be either new or old and weathered. Creates a more strict, classic look.
- Plastic edging: The most budget-friendly and easy-to-install option. There are various shapes and colors, but personally, I prefer natural materials.
- Metal: Forged elements, flexible metal strips – for creating more modern and refined shapes.
- Old Items: Vintage watering cans, teapots, old plates, pieces of tile – all of these can become original borders or decorative elements.
Materials for Filling Beds:
- Fertile Soil: The foundation of everything. Use high-quality topsoil, compost, peat.
- Drainage Layer: Expanded clay, gravel, broken brick, or crushed stone can be laid at the bottom of the beds to ensure good water drainage.
Decorative Elements:
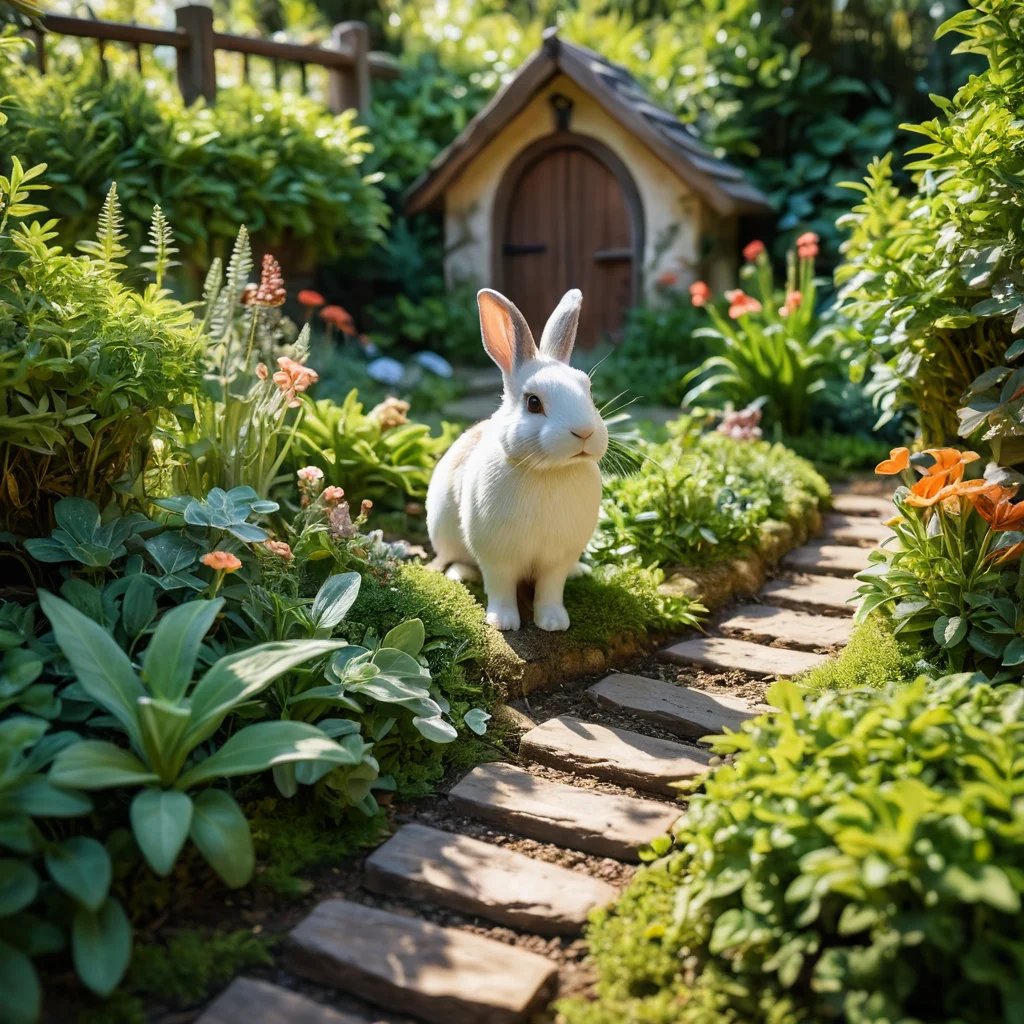
- Animal Figurines: Ceramic or wooden bunnies, hedgehogs, birds look especially cute.
- Old Household Items: Bundles of hay, watering cans, barrels, cartwheels – anything that adds charm and reflects your style.
- Landscape Stones: Decorative stones of various shapes and sizes for creating compositions.
- Mulch: Bark, wood chips, decorative gravel – not only beautify but also retain moisture in the soil.
- Lighting: Small garden lanterns or fairy lights can create a magical atmosphere in the evening.
- Arches and Trellises: For climbing plants, which will add volume and vertical structure to the garden.
When choosing materials, focus on the overall style of your plot and your personal preferences. The main thing is that all elements harmonize with each other and create that very atmosphere of coziness and fairy tale.
Step-by-Step Guide: How to Create a “Bunny” Garden with Your Own Hands
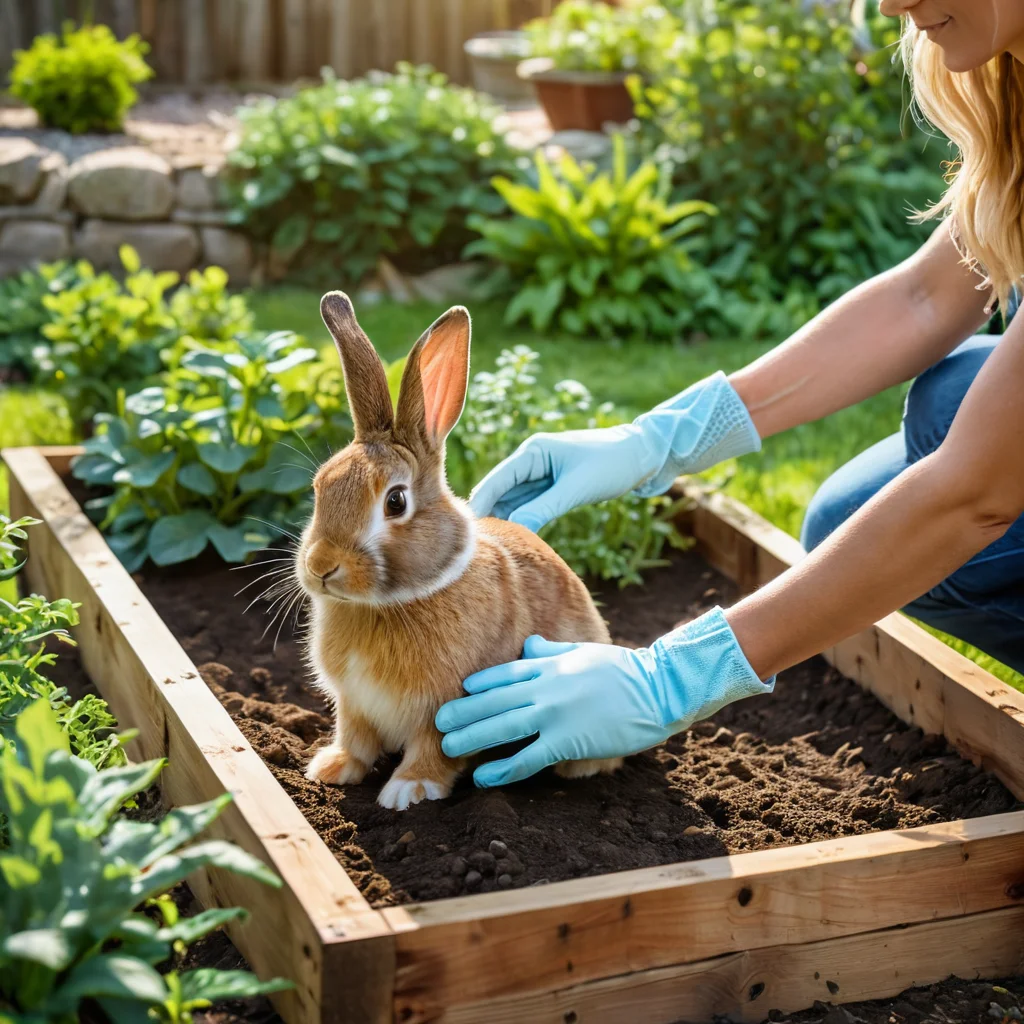
Creating a “bunny” garden is an exciting process that is within everyone’s reach. Don’t be afraid to start, because the main thing is the desire to create! Here is a detailed guide that will help you step by step create your own little paradise.
Step 1: Planning and Choosing a Location
- Determine where your garden will be located, considering sunlight, wind protection, and accessibility.
- Think about the shape and size of the beds. Start with something simple – a circle, square, or rectangle.
- Draw a simple sketch of your future garden, marking where the plants and decorative elements will be placed.
Step 2: Preparing the Site
- Clear the chosen area of weeds, stones, and debris.
- If the soil is poor, dig it up and add compost or manure.
- Mark out the future beds using stakes and string.
Step 3: Creating Beds and Borders
- Raised Beds (Recommended for better drainage and convenience):
- Install edging around the perimeter of the bed using your chosen materials (planks, stone, brick, etc.). Ensure the structure is sturdy.
- Lay a drainage layer (expanded clay, gravel) at the bottom of the bed.
- Fill the bed with fertile soil mixed with compost.
- Ground-Level Beds:
- Simply outline the boundaries of the bed and begin preparing the soil within it.
- You can reinforce the edges by embedding flat stones or special edging strips along the perimeter to prevent soil erosion.
Step 4: Planning Plantings
- Zoning: Distribute plants among the beds, considering their needs for sun, moisture, and neighbors. Taller plants are best planted on the north side so they don’t shade shorter ones.
- Combination: Mix vegetables, herbs, berries, and flowers. This is not only beautiful but also beneficial (e.g., marigolds repel nematodes).
- Decorative Appeal: Use plants with different leaf shapes, colors, and textures to create an interesting composition.
Step 5: Planting
- Carefully plant seedlings or sow seeds according to your plan.
- Observe the recommended spacing between plants.
- Water the plants well after planting.
Step 6: Decorating
- Arrange decorative elements: figurines, stones, old items.
- Mulch the soil around the plants (bark, wood chips) – it’s beautiful and beneficial.
- Install supports for climbing plants if necessary.
- If planned, add garden lanterns or fairy lights.
Step 7: Care
- Water plants regularly, especially in hot weather.
- Weed regularly.
- Fertilize plants as needed.
Don’t rush! Creating a “bunny” garden is a process that can continue and evolve. The main thing is to enjoy every stage.
Plants for a “Bunny” Garden: What to Plant for Beauty and Functionality
Choosing plants is perhaps the most enjoyable part of creating a “bunny” garden. There are no strict rules here, but there are proven combinations that will help you create a beautiful and functional composition. I always advise choosing unpretentious plants that won’t require too much effort from you.
Edible and Beneficial Plants:
- Strawberries (Garden Strawberries): The queen of “bunny” gardens! Beautiful leaves, fragrant berries, easy to propagate. Looks great in hanging baskets and on the edge of beds.
- Herbs:
- Basil: A variety of cultivars with different leaf colors – from green to purple.
- Parsley: Curly or flat-leaf – always useful in the kitchen.
- Dill: Fragrant and unpretentious.
- Mint: There are many varieties with different aromas (peppermint, lemon, chocolate).
- Lemon Balm: Delicate lemon aroma, calming effect.
- Thyme: Low-growing, ground cover, with small fragrant leaves.
- Rosemary: An evergreen shrub with a strong aroma (in regions with cold winters, it’s better to grow it in containers and bring it indoors for winter).
- Sage: A medicinal and aromatic plant with beautiful silvery leaves.
- Oregano: Fragrant, with a pleasant spicy taste.
- Lettuces: Various types of leafy lettuces (lettuce, arugula, chard, lollo rosso) – grow quickly, add volume and color to the bed.
- Radishes: Mature quickly, bright roots decorate the bed.
- Peas and Beans (dwarf varieties): Add vertical structure and decorate with their flowers and pods.
- Cherry Tomatoes (determinate varieties): Compact bushes with bright fruits are a real decoration.
Decorative Plants:
- Flowers:
- Marigolds: Bright, unpretentious, repel pests.
- Calendula: Bright flowers, edible petals.
- Nasturtium: Climbing or bushy plant with bright flowers and edible leaves and flowers.
- Pansies (Viola): Delicate flowers in various colors.
- Lobelia: Trailing plant with small blue, purple, or white flowers.
- Portulaca: Low-growing, ground cover, with bright flowers that open in the sun.
- Ornamental Grasses: Add volume and airiness to the composition.
- Hostas: Shade-tolerant plants with beautiful carved leaves in various shades.
- Succulents: Unpretentious, drought-tolerant, diverse in shape and color.
Combination Tips:
- Contrast: Combine plants with different leaf shapes (lacy, round, long) and colors.
- Layering: Plant tall plants at the back, short ones at the front.
- Blooming Time: Choose plants so that your garden blooms and delights the eye for as long as possible.
- Aroma: Combine herbs with flowers to create a pleasant aroma.
Remember that the most important thing is your personal choice and love for plants. Don’t be afraid to try new things and create your own unique combinations!
Caring for a “Bunny” Garden: Watering, Fertilizing, and Pest Protection
Creating a “bunny” garden is only half the battle. To ensure it delights you with its appearance and harvest, it needs proper care. Fortunately, thanks to its small size and well-chosen plants, caring for such a garden usually doesn’t require much time or effort.
Watering:
- Frequency: Water plants as the top layer of soil dries out. In hot, dry weather, watering may be needed daily; in cool weather, every few days.
- Time of Watering: The best time to water is early morning or evening, when the sun is less intense. Avoid watering at noon, as water can evaporate quickly, and drops on leaves under direct sunlight can cause burns.
- Watering Method: Try to water at the base of the plants, avoiding water on leaves and flowers, especially if they are prone to fungal diseases. A watering can with a thin spout is convenient for a small garden.
- Consider Plant Needs: Some plants (e.g., mint, lettuce) prefer moist soil, while others (succulents, thyme) prefer it drier.
Fertilizing:
- Necessity: In small, well-prepared beds, plants may have enough nutrients added during planting. However, for abundant flowering and fruiting, fertilization can be beneficial.
- Types of Fertilizers:
- Organic: Compost, manure, herbal infusions (e.g., nettle) are excellent options for a “bunny” garden. They enrich the soil and stimulate plant growth.
- Mineral: Use complex mineral fertilizers for vegetables or flowers, but use them at half the recommended dose to avoid overfeeding the plants.
- Frequency: Usually, 1-2 fertilizations per season are sufficient, especially if you use organic matter.
Weeding:
- Regularly remove weeds, as they take nutrients, moisture, and light away from cultivated plants.
- Weeding is easiest after rain or watering, when the soil is soft.
- Mulching (covering the soil with bark, wood chips, compost) significantly reduces the amount of weeds and conserves moisture.
Pest and Disease Protection:
- Prevention: The best way to combat pests is prevention. Choose resistant plant varieties, practice crop rotation (if possible in a small area), remove affected plant parts.
- Folk Remedies: For aphid control, you can use soapy water or garlic infusion. Beer traps or eggshells help with slugs.
- Biological Products: There are safe biological plant protection products that can be used even on edible crops.
- Attracting Natural Enemies: Place birdhouses, bird baths in the garden, attract ladybugs – they will deal with many pests themselves.
Pruning and Shaping:
- Some plants (e.g., mint, basil) can be pinched or pruned to stimulate bushiness and get a larger harvest of greens.
- Remove faded flowers to encourage further blooming.
The main thing is to observe your plants. They will tell you what they need. Even a small, but well-maintained “bunny” garden will delight you with its beauty and benefits.
Common Mistakes When Creating a “Bunny” Garden and How to Avoid Them
Even with all its apparent simplicity, some mistakes can be made when creating a “bunny” garden. But don’t worry, knowledge is power! Knowing about them in advance, you can avoid many disappointments and do everything right from the start.
Mistake 1: Incorrect Location Choice
- Problem: The garden is in complete shade, where plants don’t get enough light, or, conversely, in an open, windswept location where they are blown away and dried out.
- How to Avoid: Carefully choose a location, considering the plants’ needs for light and wind protection. If in doubt, observe the chosen area throughout the day to understand how lighting and air circulation change there.
Mistake 2: Overcrowding the Space
- Problem: Too many plants in a small area. Plants lack space to develop, they start competing with each other, get sick, and produce poorly.
- How to Avoid: Observe the recommended spacing between plants. It’s better to plant fewer but give each plant enough space to grow. Remember that a “bunny” garden is not a warehouse, but a picturesque corner.
Mistake 3: Incorrect Plant Selection
- Problem: Plants with completely different care requirements are planted (e.g., moisture-loving mint next to drought-resistant thyme) or plants that are incompatible with each other.
- How to Avoid: Plan your plantings by grouping plants with similar needs. Study information on plant compatibility.
Mistake 4: Insufficient Drainage
- Problem: Water stagnates in the beds, plant roots rot. This is especially relevant for plots with clay soil or low terrain.
- How to Avoid: Create raised beds or ensure a good drainage layer at the bottom of regular beds.
Mistake 5: Neglecting Fertilization and Care
- Problem: Plants look weak, pale, grow and bloom poorly due to lack of nutrients or improper watering.
- How to Avoid: Even unpretentious plants need minimal care. Ensure regular, but not excessive, watering, and apply fertilizers if necessary.
Mistake 6: Excessive Use of “Chemicals”
- Problem: Use of aggressive chemical fertilizers and pesticides that can harm not only plants but also you, your children, pets, and beneficial insects.
- How to Avoid: Prefer organic fertilizers and folk remedies for protection. If chemicals are unavoidable, use them strictly according to instructions and only as a last resort.
Mistake 7: Lack of Individuality
- Problem: The garden looks like a standard bed, without a “highlight” or your personal touch.
- How to Avoid: Don’t be afraid to experiment with design, add decorative elements, use unusual materials. Your “bunny” garden is a reflection of your soul!
Remember that a garden is a living organism, and mistakes are part of the learning process. The main thing is not to be afraid to try, learn from your experience, and enjoy the creative process!