Remember that unique, slightly thick, and honey-like aroma that fills the air when it buzzes with life? This scent is a symphony of blooming herbs, wildflowers, and the tireless work of bumblebees. These fluffy laborers are not just cute creatures but also indispensable pollinators, without whom our gardens wouldn’t be so lush and fruitful. Today, I want to share with you a secret on how to make your plot even more attractive to these noble insects by building them a real home. This is not just an act of kindness to nature but also a wise decision for every gardener who values natural harmony.
Why You Should Build a Bumblebee House on Your Plot: Benefits for the Garden and Nature
Have you ever thought that your garden could benefit not only you but also the small inhabitants of nature? Bumblebees are true pollination superheroes. They can pollinate plants that bees cannot, such as tomatoes, clover, and blueberries. The more bumblebees on your plot, the better your vegetable beds and berry bushes will fruit. This is a direct contribution to your future harvest!
Besides the practical benefits for the garden, a bumblebee house is an opportunity to observe the amazing life of these insects. It’s like a small television, but live, where new, exciting stories unfold every day. You can see how the founding queen builds her nest, how the first workers appear, and how they bring nectar and pollen. It’s incredibly fascinating and educational, especially for children who can learn about nature not from books but through personal observation.
Here are just a few reasons why you should consider building a bumblebee house:
- Improved Pollination: Bumblebees are among the most effective pollinators, especially for crops requiring vibrational pollination (e.g., tomatoes, peppers).
- Support for Biodiversity: The bumblebee population is unfortunately declining in many regions. By creating comfortable conditions for them, you contribute to nature conservation.
- Pest Reduction: Some bumblebee species help control harmful insects by eating them.
- Educational Experience: Observing the life of a bumblebee colony is a unique opportunity to learn more about nature and its inhabitants.
- Eco-friendliness: Instead of chemical agents to attract insects or control pests, you are using natural mechanisms.
- Aesthetics: A beautifully designed house can become an original element of garden decor.
Types of Bumblebee Houses: Choosing the Right Construction
There are several main types of houses you can build for bumblebees. The choice depends on your capabilities, materials, and even which specific bumblebees you want to attract. In my experience, the simplest and most accessible option is a house that mimics a natural nest.
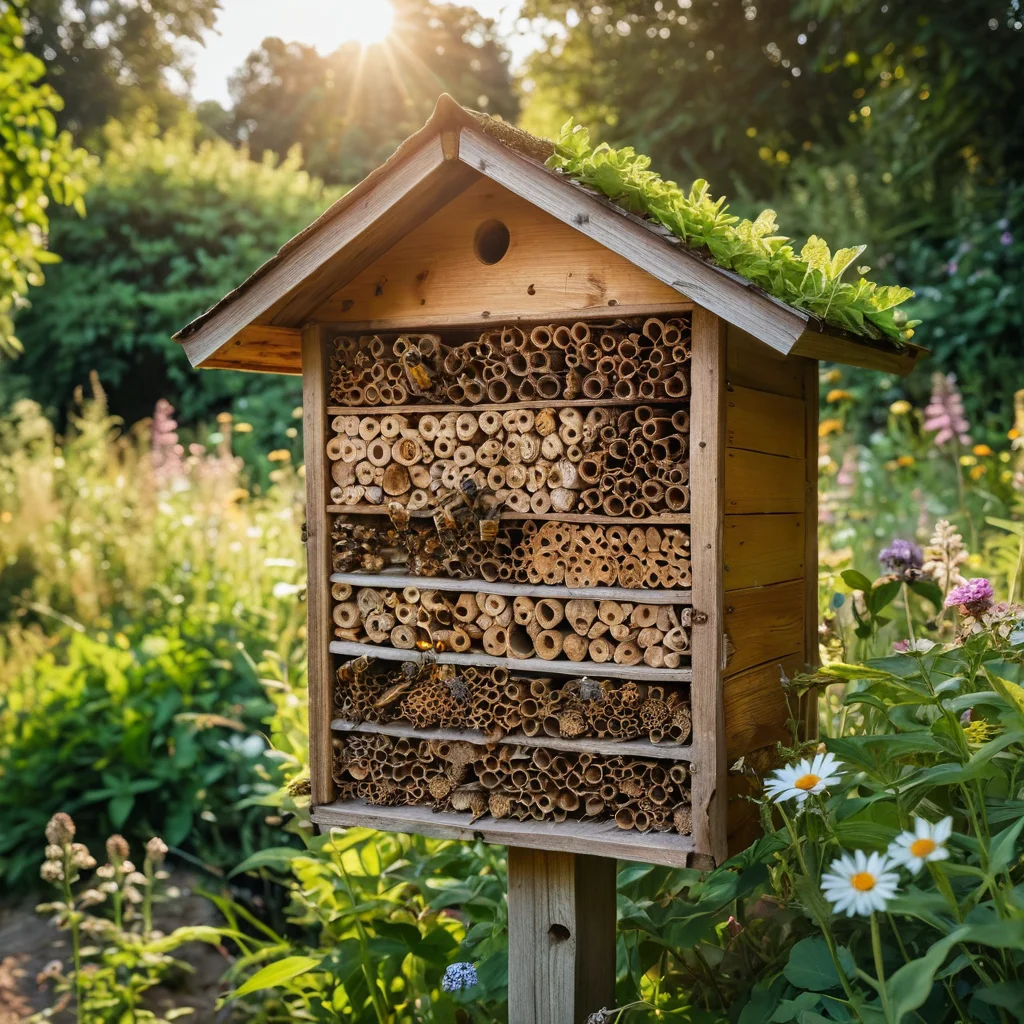
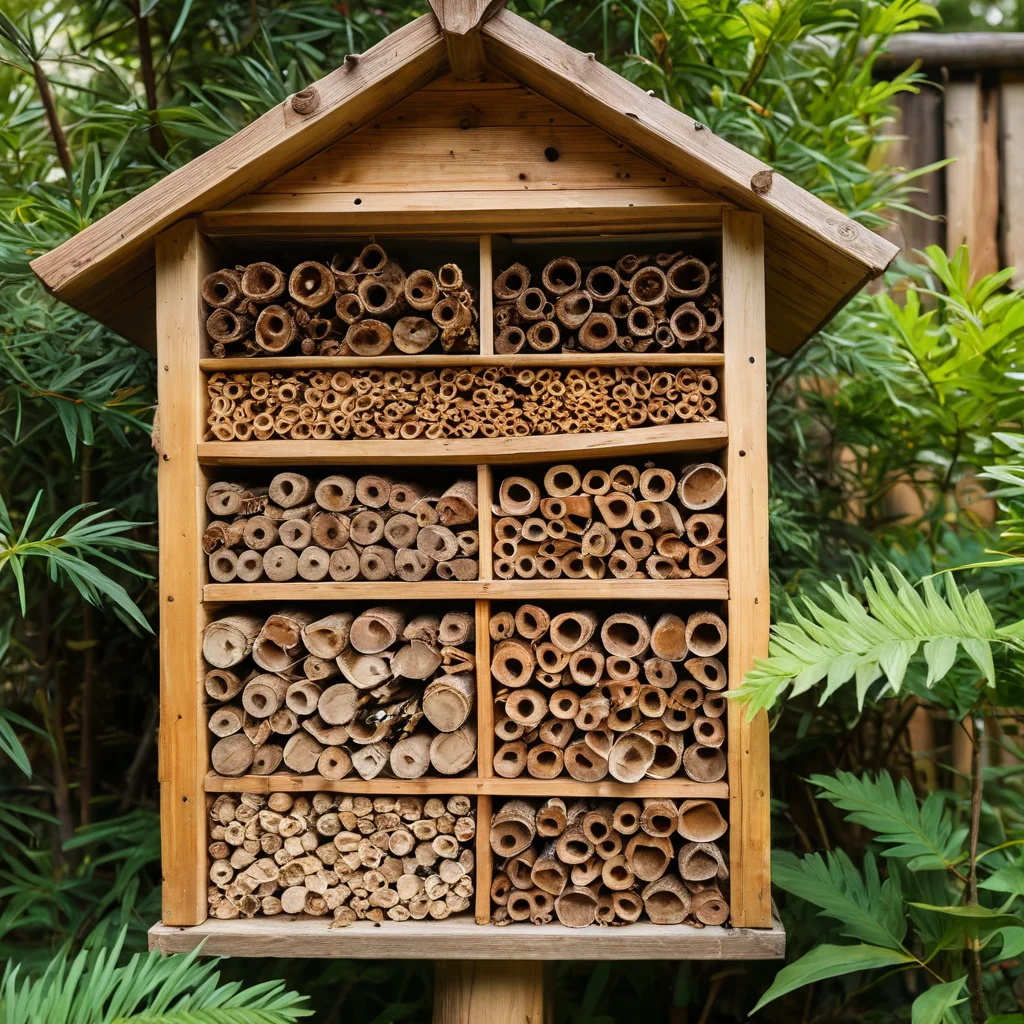
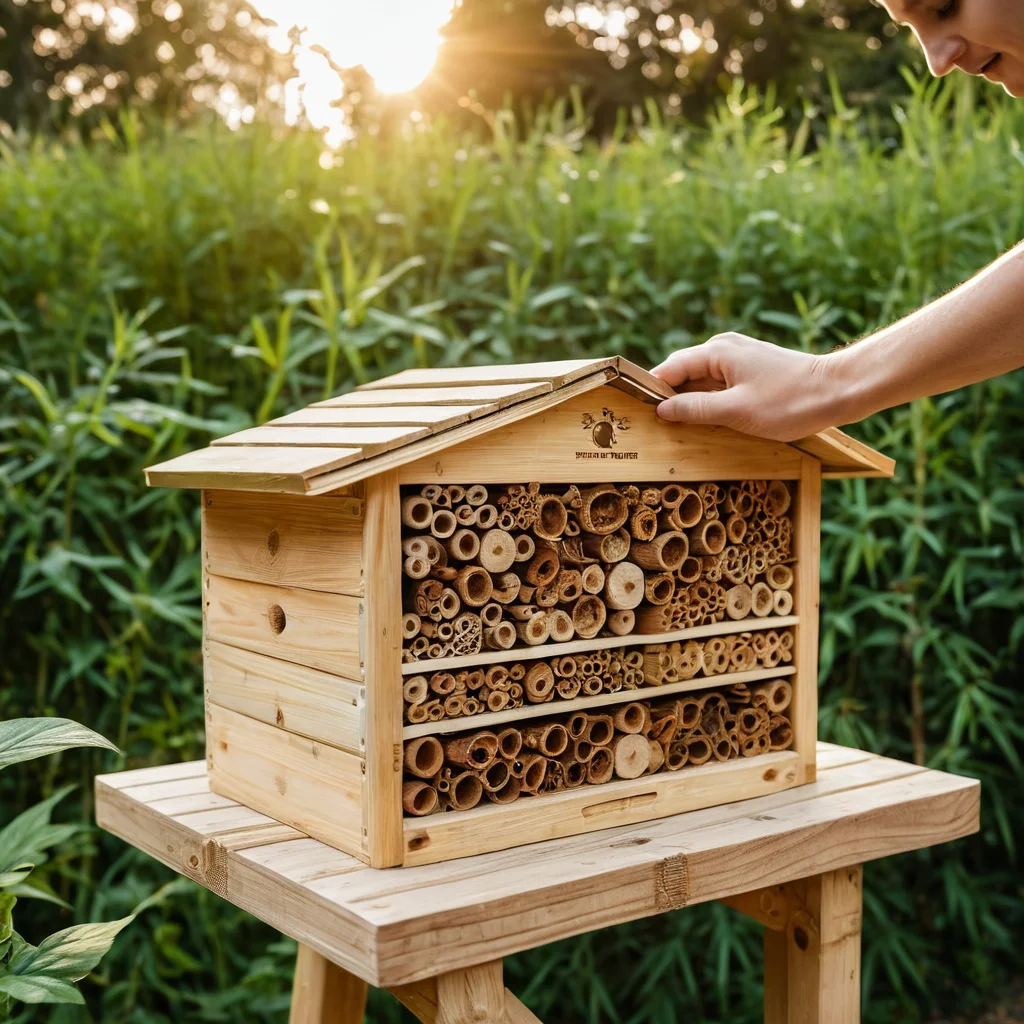
1. Box Houses (or “Bumblebee Hotels”):
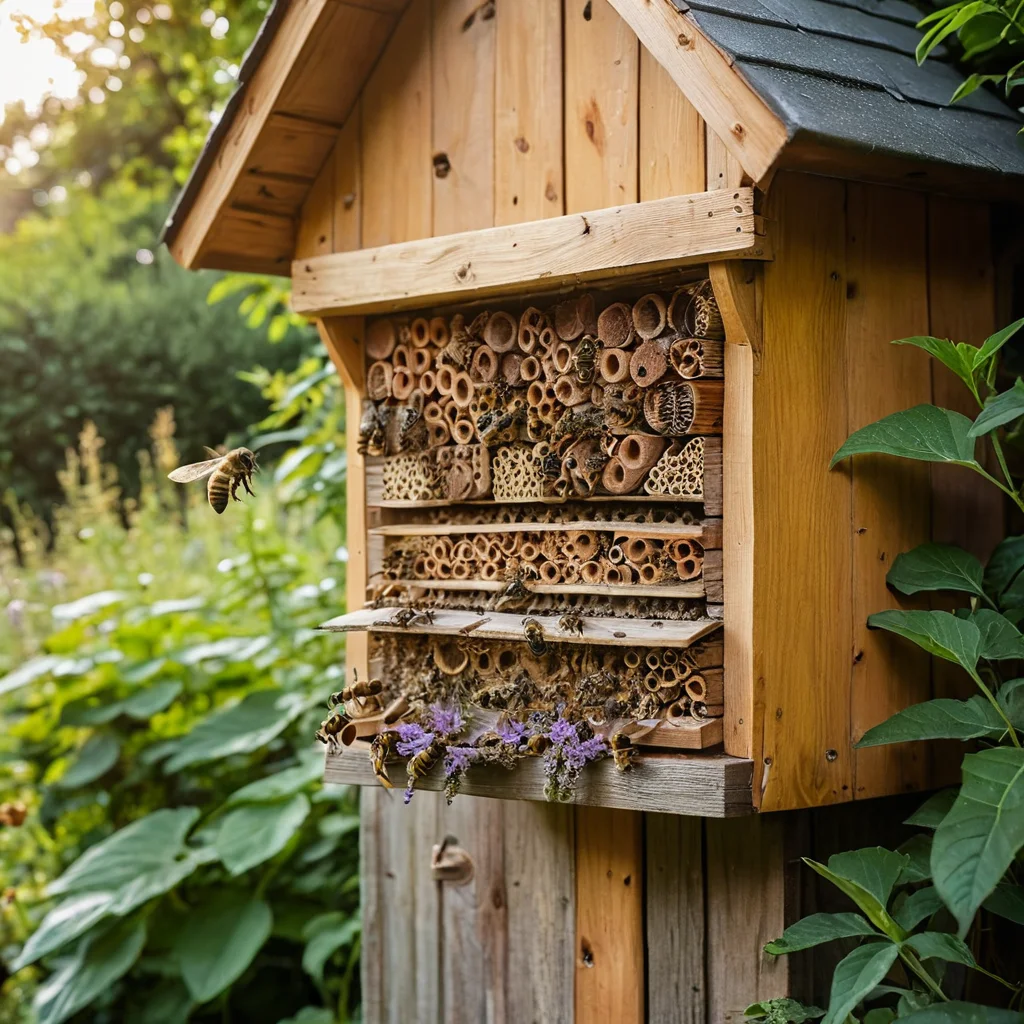
This is the most common type, often called “bumblebee hotels” or “bumblebee houses.” They mimic natural shelters where bumblebees usually build their nests: underground (in old rodent burrows), in hollow stems, or under wooden structures.
- Construction: Usually a wooden box with one or more entrance holes (flight openings). Inside, a space is created that can be filled with natural materials.
- Types: There are both above-ground and partially buried options. Partially buried ones better mimic natural conditions and provide more stable temperatures.
- Advantages: Relatively easy to make, can be made in various sizes, and provide good protection from the weather.
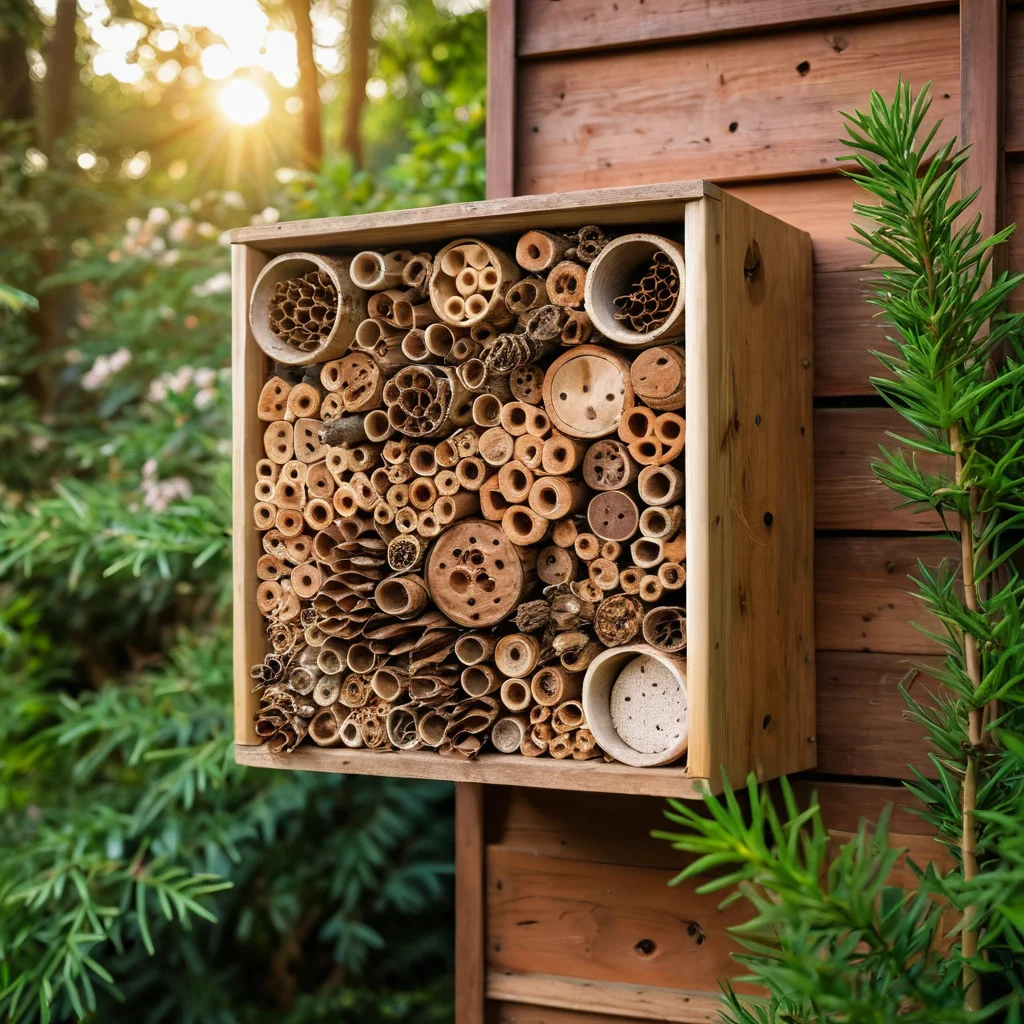
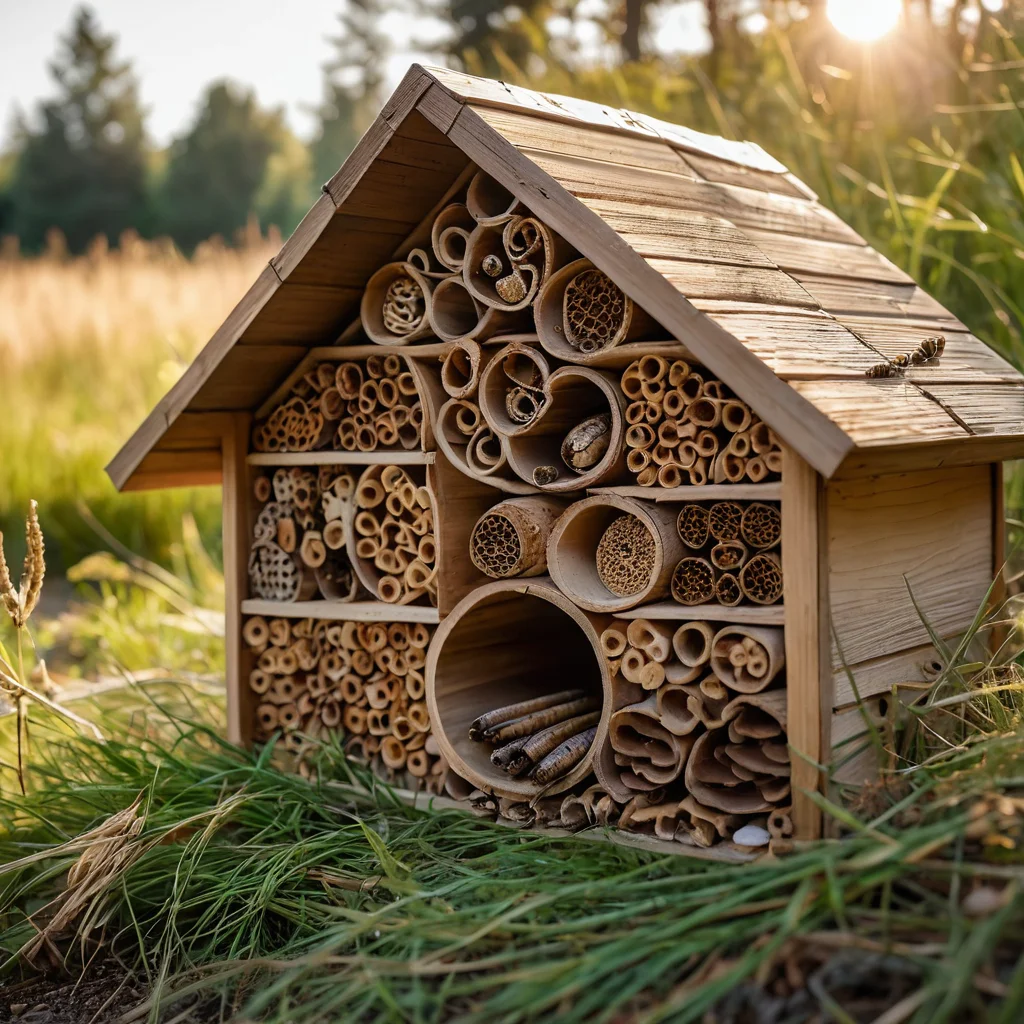
2. Tube Houses:
This type of construction is more suitable for attracting solitary wasps and some types of solitary bees, but sometimes bumblebees may use them, especially if there are no other suitable shelters.
- Construction: Consists of many tubes of different diameters (bamboo, reed, cardboard tubes) fastened together.
- Advantages: Very simple to make, takes up little space.
- Disadvantages: Less durable, may be less attractive to colonial bumblebees, which prefer more extensive nests.
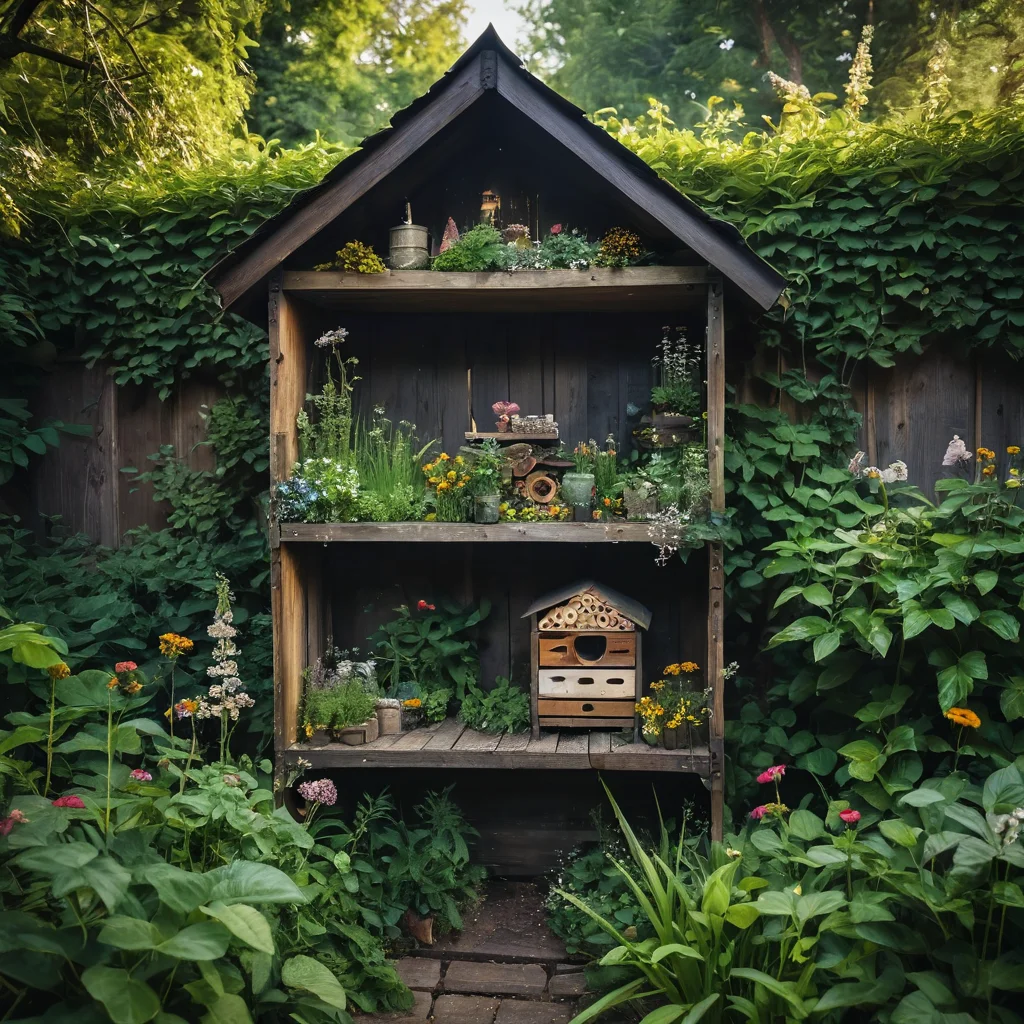
3. Natural Shelters (Imitation):
This option involves creating conditions as close to natural as possible without building a complex box.
- Construction: For example, you can leave a pile of old branches, a rotten stump, or create a small mound of earth and grass with some hollow stems on your plot.
- Advantages: Minimal labor and material costs, looks natural.
- Disadvantages: Less control over internal conditions, may be less protected from predators and weather.
For our purpose – attracting bumblebee colonies – I would recommend sticking with the first type: a box house. It offers the best balance between ease of construction, protection for the insects, and imitation of natural conditions.
Materials for a Bumblebee House: What to Use and What to Avoid
When it comes to choosing materials, the main thing to remember is that we are creating a safe and natural home for insects. This is not a decorative structure but a real dwelling where bumblebees will live, breed, and overwinter.
What to Use:
- Wood: This is the primary material. Use untreated wood – pine, spruce, larch, birch. It’s important that the wood is dry and free from chemical treatment. Avoid particleboard and plywood, as they can release harmful substances and swell from moisture.
- Natural Fillers: To create a cozy nest inside the box, the following are excellent:
- Dry grass, straw
- Moss
- Plant fluff (e.g., fireweed)
- Sheep wool (clean, chemical-free)
- Small pieces of bark
All these materials must be absolutely dry and clean.
- Roof: Can be made from the same wooden boards, but it’s better if it slightly overhangs the walls to protect from rain. For additional waterproofing, you can use:
- A piece of roofing felt (with a slight overhang)
- Wooden shingles
- Layers of bark
It’s important that the roof materials do not release toxic substances.
- Fasteners: Use rust-resistant screws or nails.
What to Avoid:
- Plastic: Do not use plastic parts. They do not allow air to pass through, overheat in the sun, and can release harmful fumes.
- Paints and Varnishes: Never paint or varnish the inside of the house. Even seemingly safe paints can have a strong odor that will deter insects or be toxic. The exterior can be painted with eco-friendly water-based paint, but it’s best to use natural shades that blend with the landscape.
- Metal elements inside: Metal heats up quickly and can be dangerous for insects.
- Particleboard, MDF, plywood: These materials release formaldehyde and other harmful substances, and are prone to swelling from moisture.
- Synthetic fillers: Cotton wool, padding polyester – they don’t breathe, accumulate moisture, and can lead to the death of the colony.
- Sealants: Avoid silicone and other sealants.
Remember, the main goal is to create the most natural and safe environment possible. Bumblebees are very sensitive to smells and chemicals.
Choosing the Ideal Location for a Bumblebee House: Sun, Shelter, and Accessibility
Choosing the right location is half the battle. Even the best house will remain empty if it’s placed in the wrong spot. I always advise looking closely at your plot and finding a corner that meets several important criteria.
1. Lighting:
Bumblebees are heat-loving creatures. They need sunlight to warm up after a cold night or a cloudy day. Ideally, the entrance to the house should face south or southeast. This will allow the sun to warm the dwelling from early morning.
- Direct Sunlight: The house should receive at least 4-6 hours of direct sun per day, especially in the morning.
- Avoid Overheating: Too much scorching sun during the hottest part of the day can be detrimental. Partial shade at midday is good. For example, a spreading bush nearby or tall grass can provide such partial shade.
2. Protection from the Elements:
The house should be protected from strong winds, direct rain, and snow. A bumblebee colony is very vulnerable to dampness and drafts.
- Wind Direction: Ensure the entrance is not exposed to all winds.
- Height: If the house is above ground, it should be raised from the ground to avoid flooding during rain. If you are making a partially buried version, ensure proper drainage.
- Protection from Predators: Place the house away from areas where cats, foxes, or martens might live. Do not place it near playgrounds or areas frequented by people.
3. Accessibility and Proximity to Food:
Bumblebees need flowers to collect nectar and pollen. Therefore, the ideal location is:
- Near Flowering Plants: Proximity to meadow grasses, flowering shrubs (clover, lupine, sage, heather, lavender) will be a big plus.
- Without Competition: It’s desirable that there are no other strong colonies of pollinating insects nearby that could compete with your future residents.
- Away from Bustle: Bumblebees are quite timid creatures. They need a quiet place where they won’t be constantly disturbed.
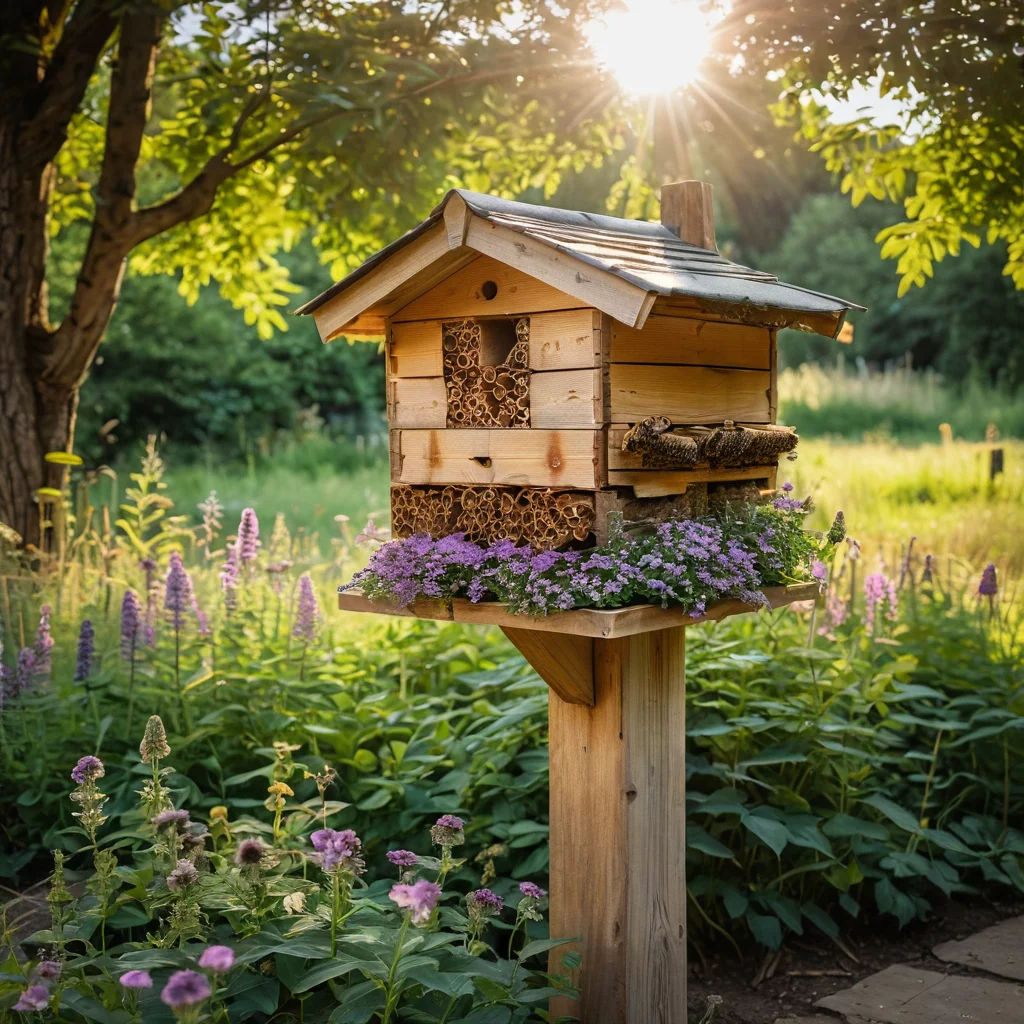
Where to Place it Best:
- At the edge of the plot: In a place bordering a meadow, field, or forest.
- At the base of a hedge.
- Among tall grass or shrubs.
- On a low post or stand (for above-ground options) to ensure drainage and protection from rodents.
Important: Do not place the house in direct, scorching sun without shade. And do not place it in a shady, damp spot. Find a happy medium.
Step-by-Step Instructions: How to Make a Bumblebee House Yourself (Simple Version)
Let’s get to the most interesting part – building! This version of the house is as simple, accessible, and most importantly, effective as possible. You won’t need complex tools or rare materials.
Step 1: Prepare Materials
You will need:
- Wooden boards (untreated, dry) – about 1.5-2 cm thick.
- Wood screws.
- Saw (handsaw or jigsaw).
- Screwdriver.
- Tape measure and pencil.
- A bit of dry moss, grass, or sheep wool for filler.
- A piece of roofing felt or bark for the roof (optional).
Step 2: Measure and Cut
We will make a simple box approximately 20x20x20 cm (internal dimensions). The external dimensions will be slightly larger due to the thickness of the boards.
- Bottom: 1 pc. (e.g., 20×20 cm).
- Side walls: 2 pcs. (e.g., 20 cm wide and 20 cm high).
- Front and back walls: 2 pcs. (e.g., 20 cm wide and 20 cm high).
- Lid: 1 pc. (make it slightly larger than the base so it overhangs – e.g., 24×24 cm).
Note: Dimensions can be varied. The main thing is that the volume is sufficient for a nest.
Step 3: Assemble the Box
- Take the bottom and attach the side walls to it using screws.
- Then attach the front and back walls. You will have an open-top box.
- Ensure all joints are tight, without gaps.
Step 4: Create the Entrance Hole (Flight Opening)
In one of the walls (preferably the front one, which will face south), drill an entrance hole.
- Diameter: The optimal diameter is 1.5-2 cm. This is enough for bumblebees but not for larger animals.
- Location: Make the hole closer to the top of the wall.
- No Ledge: It’s important that there are no ledges or landing boards around the flight opening that could interfere or attract predators.
Step 5: Prepare the Lid
If you are making a removable lid (this is convenient for cleaning), attach small wooden blocks around the perimeter that will fit inside the box, securing the lid. If the lid will be stationary, simply attach it from above.
Step 6: Waterproof the Lid (Optional)
On top of the wooden lid, you can attach a small piece of roofing felt, bark, or other waterproof material. It’s important that it overhangs the edges slightly, like an umbrella.
Step 7: Final Finishing (Exterior)
Check all joints, make sure there are no sharp edges or splinters. If you wish, you can paint the exterior of the house with eco-friendly paint of a natural color. Leave the interior untreated!
Step 8: Installation
Once the house is ready, it’s time to choose a location for it (see the previous section) and secure it firmly. Make sure it stands level and doesn’t wobble.
Believe my experience, even such a simple house will become a real home for a bumblebee family!
Filling a Bumblebee House: Creating a Comfortable Dwelling for Insects
When the “foundation” of the house is ready, it’s time to create the most comfortable and natural conditions inside. Proper filling is key to ensuring that the founding queen chooses your dwelling.
1. Nest Base:
Bumblebees prefer soft, warm, and insulating materials. Their nests in nature are often located in old rodent burrows, where there is loose soil, grass, and moss.
- Dry Grass and Straw: This is perhaps the best option. Collect dry, soft grass (preferably meadow grass) and chop it slightly. Fill the house about 2/3 full.
- Moss: Dry moss is an excellent insulator. It can be used on its own or mixed with grass.
- Sheep Wool: If you have access to clean, undyed sheep wool, it’s also perfect. It’s very warm and soft.
- Plant Fluff: Fluff from fireweed, sedge, or other plants can also be added, but in small quantities so it doesn’t clump.
How to Fill:
Fill loosely, creating volume. Imagine you are making a bird’s nest – it should be soft and cozy.
- Do not pack the filler too tightly.
- Leave a small free space near the flight opening.
- Ensure the filler is absolutely dry. Moisture is the enemy of a bumblebee nest.
2. Creating a “Tunnel” to the Flight Opening:
It will be easier for the founding queen to find the entrance if you create a small, soft “tunnel” from the entrance hole to the main mass of filler.
- Carefully lay a few hollow stems (e.g., from reeds or last year’s grasses) towards the flight opening.
- Or simply form a small “path” from smaller blades of grass.
3. Additional Elements (Optional but Useful):
- A small piece of bark: Can be placed on the bottom to provide additional protection from moisture.
- A few empty snail shells: If you find empty snail shells, they can be placed inside. Bumblebees sometimes use such shelters.
What NOT to Put Inside:
- Fresh or wet materials.
- Synthetic materials (cotton wool, foam).
- Hay with seeds (bumblebees might prefer insects over sprouting seeds).
- Food scraps or garbage.
When is the Best Time to Install the House:
The ideal time is early spring, as soon as the snow melts and the ground begins to warm up. It is in spring that bumblebee queens wake up, looking for a place to found a new colony. If you install the house later, the chances of attracting a colony may decrease.
I often do this: in the fall, I prepare the house, fill it with dry grass, and in the spring, as soon as the first greenery appears, I take it out and place it in the chosen spot. This allows the filler to dry and air out well over the winter.
Bumblebee House Maintenance: Cleaning, Repair, and Observation
Many people think that a bumblebee house is like a birdhouse: you put it up and forget about it. But, like any home, a bumblebee dwelling also needs minimal care. It’s not complicated but very important for the well-being of its inhabitants.
1. Spring Preparation:
- Inspection: In early spring (March-April), carefully inspect the house. Are there any damages that might have occurred over the winter?
- Repair: If the roof has come loose, or the walls are wobbly – now is the time to fix everything. A sturdy, intact house is key to the colony’s safety.
- Replacing Filler (or partially): This is the most debated point. Some believe that the filler should not be changed every year to avoid disturbing any overwintering individuals. I, however, believe that old filler can accumulate moisture and pathogens. Therefore, I recommend:
- Carefully remove the old filler.
- Thoroughly air out and dry the box.
- Fill with fresh, dry material (grass, moss).
This should be done very carefully to avoid harming sleeping bumblebees. If you see that the old filler is completely dry and clean, you can just add a little fresh material.
- Check the Flight Opening: Ensure the entrance hole is clear and not blocked by debris or cobwebs.
2. Seasonal Observation:
- Do Not Disturb! The most important rule is not to open the house once bumblebees have settled in. They are very sensitive to disturbance, and this can lead to the death of the colony.
- Observe from a Distance: You can observe activity at the flight opening. If bumblebees are actively flying and bringing pollen – everything is fine.
- Spraying: Never spray the house or plants nearby with insecticides.
3. Autumn and Winter Preparation:
- After the Season Ends: When the bumblebee colony dies off (usually in autumn), you can remove the lid and carefully remove all old filler.
- Cleaning: The box should be cleaned of nest remnants, debris, and cobwebs.
- Drying: Leave the house open for airing and drying until the cold weather sets in.
- Storage: For the winter, it’s best to store the house in a dry, cool place (shed, garage) to protect it from precipitation and temperature fluctuations. This will extend its lifespan.
- Overwintering Females: Some female bumblebees overwinter in the ground or under fallen leaves. If you find such a female, do not touch her! She will find a place to overwinter on her own.
Caring for the house is a simple ritual that shows your respect for nature and your concern for its small inhabitants. And believe me, these workers will surely thank you with their presence and useful work in your garden.
Common Mistakes in Building and Placing Bumblebee Houses
Even with the best intentions, we sometimes make mistakes that can prevent our fluffy friends from finding a home. I’ve compiled the most common blunders so you can avoid them and ensure success.
Construction Mistakes:
- Using Toxic Materials: Painting interior walls, using particleboard, plywood, plastic – all of these can deter bumblebees or even harm them.
- Incorrect Flight Opening Size: Too large a flight opening (over 2.5 cm) can attract unwanted guests – mice, birds, wasps. Too small will make it difficult for the bumblebees themselves to enter.
- Lack of Ventilation: If the house is hermetically sealed, it will be stuffy and humid inside, leading to the death of the colony.
- Gaps and Holes: Large gaps let in drafts and moisture, making the house uninhabitable.
- Overly Complex Design: Sometimes the desire to make it “beautiful” leads to complications that bumblebees don’t need. A simple, functional box is the best solution.
- Metal elements inside: Metal heats up significantly in summer and can burn insects.
Location Selection Mistakes:
- Too sunny a spot without shade: Scorching sun can overheat the house.
- Too shady and damp a spot: In such a place, the house will be constantly damp, which is detrimental to bumblebees.
- A spot in a draft: Strong winds will blow through the dwelling.
- Proximity to sources of noise and disturbance: Bumblebees love peace. Construction, playgrounds, frequent comings and goings – all of these can deter them.
- Placement on the ground without protection: The house can be flooded, attacked by ants or rodents.
- Too far from flowering plants: Bumblebees will have to expend too much energy searching for food.
Mistakes in Filling and Care:
- Using damp filler: Moisture is the main enemy.
- Packing too tightly: Bumblebees need loose, airy material.
- Replacing filler at the wrong time: Disturbing them during the breeding season can be fatal.
- Opening the house too often: Bumblebees are very sensitive to interference.
- Using chemicals near the house: Insecticides, pesticides are enemies of all beneficial fauna.
By avoiding these simple but important mistakes, you will significantly increase the chances that your bumblebee house will become a cozy and safe home for an entire colony. This will not only benefit your garden but also give you the opportunity to observe the amazing life of these wonderful creatures. Make your garden a place where life thrives – both useful and beautiful!